The Ultimate Guide to Pie Crusts for Beginners
Disclosure: Some of the links in this post are affiliate links. This means if you click on the link and purchase an item, I will receive an affiliate commission at no extra cost to you.
Pie Crusts for Beginners can feel intimidating when your first crust turns tough, cracks around the edges, or shrinks inside the pan. However, homemade pie crust becomes much easier once you understand how flour, butter, water, temperature, and handling work together. You do not need expensive equipment or advanced pastry skills to create a flaky, tender crust. You need the right technique and enough patience to let the dough behave naturally.
The biggest secret involves keeping the ingredients cold and handling the dough gently. Butter creates pockets that contribute to flaky layers, while flour provides structure. Water brings everything together, but too much can encourage gluten development and produce a tougher result. Temperature also matters throughout mixing, rolling, chilling, and baking.
If you are still developing your general baking skills, start with The Ultimate Beginners Guide to Baking (Everything You Need To Know to Start) before tackling more advanced pastry techniques.
This guide walks through the essential steps, common mistakes, helpful troubleshooting tips, and techniques that make homemade pie crust more reliable.
The Ultimate Guide to Pie Crusts for Beginners
A homemade pie can look impressive without requiring complicated decoration.
The crust, however, determines much of the final experience.
A good crust should feel tender when you bite through it.
It should also provide enough structure to support the filling.
Most importantly, it should complement the filling instead of overpowering it.
Learning Pie Crusts for Beginners starts with understanding what each ingredient contributes.
Once you understand those roles, troubleshooting becomes much easier.
Understanding What Makes a Good Pie Crust
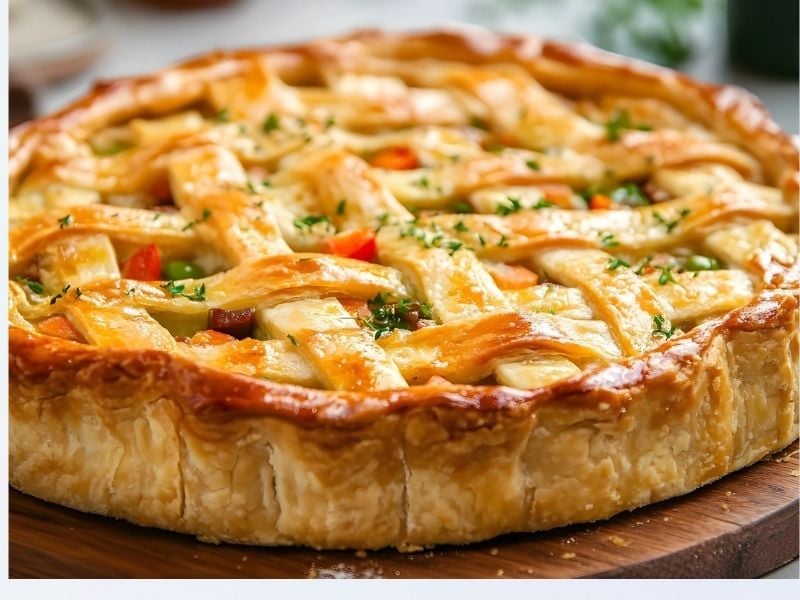
A successful pie crust balances tenderness, flakiness, structure, and flavor.
Flour provides the framework.
Fat contributes tenderness and flavor.
Water helps bring the dough together.
Salt enhances the overall taste.
Sugar can add sweetness and encourage browning in certain recipes.
The technique matters just as much as the ingredients.
Too much handling can develop gluten.
Too little hydration can leave the dough crumbly.
Excessive water can create toughness.
Warm butter can disappear into the flour instead of forming distinct pockets.
Therefore, temperature and technique deserve as much attention as ingredient selection.
If you want to understand how different ingredients behave, Baking Ingredients Explained: What Every Ingredient Actually Does provides useful background.
1. Choose the Right Flour
All-purpose flour works well for many pie crusts.
It provides enough structure without creating an overly chewy texture.
Some bakers prefer pastry flour because its lower protein content can create a more delicate crust.
However, you do not need several flour varieties to begin.
Start with one reliable all-purpose flour.
Measure it carefully.
Scooping flour directly from the bag can pack more flour into the measuring cup.
That extra flour can make your dough dry.
Using a kitchen scale gives you more consistent results.
For a deeper explanation of flour varieties, explore Types of Baking Flour and When to Use Them.
2. Use Cold Fat
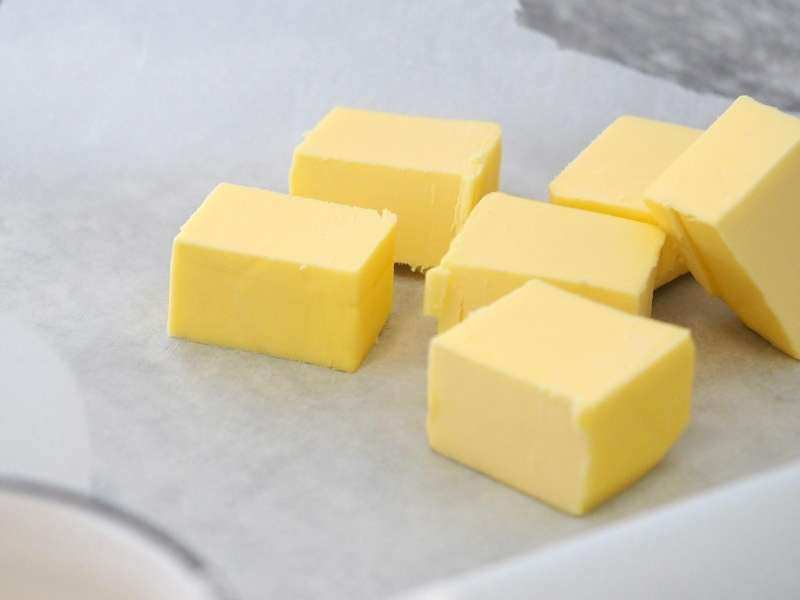
Cold butter plays an important role in flaky pastry.
When you work cold butter into flour, small pieces remain throughout the dough.
During baking, those pieces melt.
The water inside the butter turns into steam.
That steam helps separate layers within the crust.
Warm butter behaves differently.
It blends into the flour more thoroughly.
That can produce a less flaky texture.
Therefore, keep your butter cold from the beginning.
If your kitchen feels warm, chill the butter again before continuing.
You can even refrigerate the prepared dough between stages.
3. Understand the Difference Between Butter and Shortening
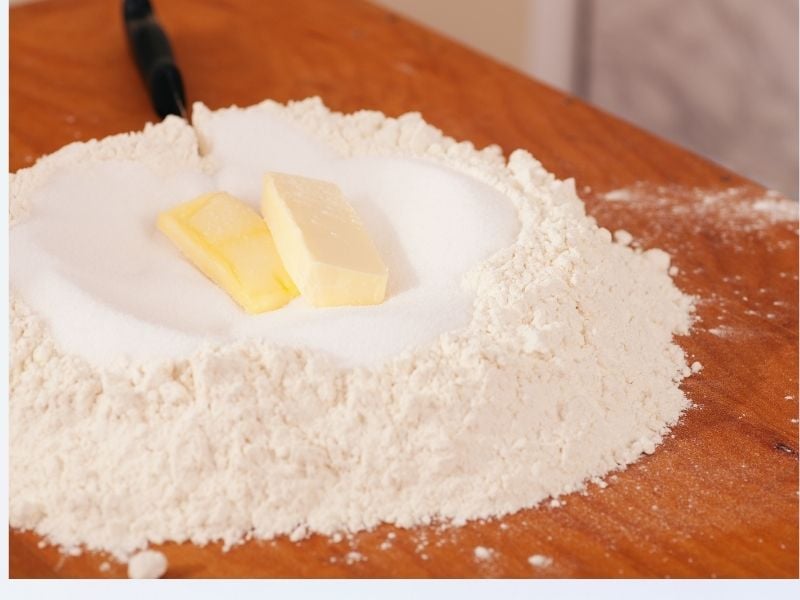
Butter provides excellent flavor and contributes to flaky layers.
Shortening can create a tender crust and often remains easier to handle in warm conditions.
Some bakers combine both.
That combination can balance flavor, tenderness, and workability.
You do not need to choose one ingredient forever.
Experiment with different formulas once you understand the basic technique.
For another useful comparison, read Butter vs Margarine in Baking: Does It Really Matter?.
The same principle applies across many baked recipes.
Different fats create different textures.
4. Measure Your Ingredients Accurately
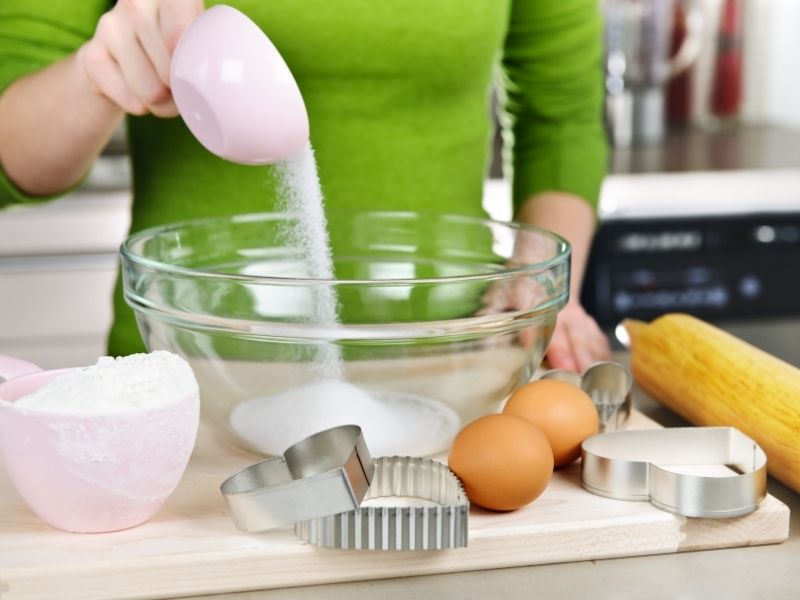
Accuracy matters when making pastry.
A little extra flour can dramatically change the dough.
Too much liquid can make the dough sticky.
Too little liquid can prevent the dough from coming together.
Therefore, measure carefully.
A digital kitchen scale provides excellent consistency.
If you use cups, spoon flour gently into the measuring cup.
Then level the top without pressing the flour down.
For additional measurement guidance, keep Baking Measurements Conversion Chart (Cups, Grams, Ounces Explained) available while baking.
5. Add Water Gradually
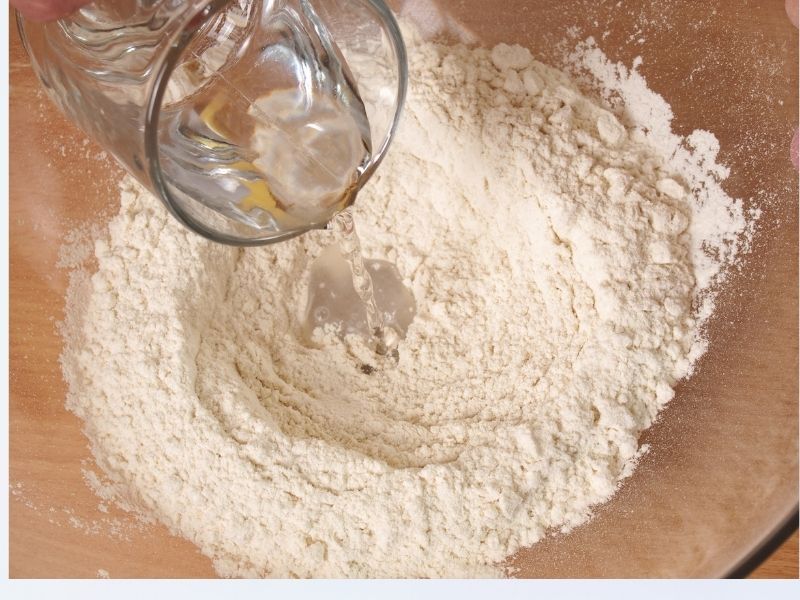
Water should bring the dough together without making it wet.
Start with the smaller amount suggested by your recipe.
Then add more only when necessary.
The dough should look shaggy rather than perfectly smooth.
Small dry patches can disappear during gentle pressing.
Many beginners add too much water because the dough does not immediately resemble bread dough.
Pie pastry does not need that consistency.
You want enough moisture to bind the flour.
You do not want excess liquid encouraging gluten development.
6. Avoid Overworking the Dough
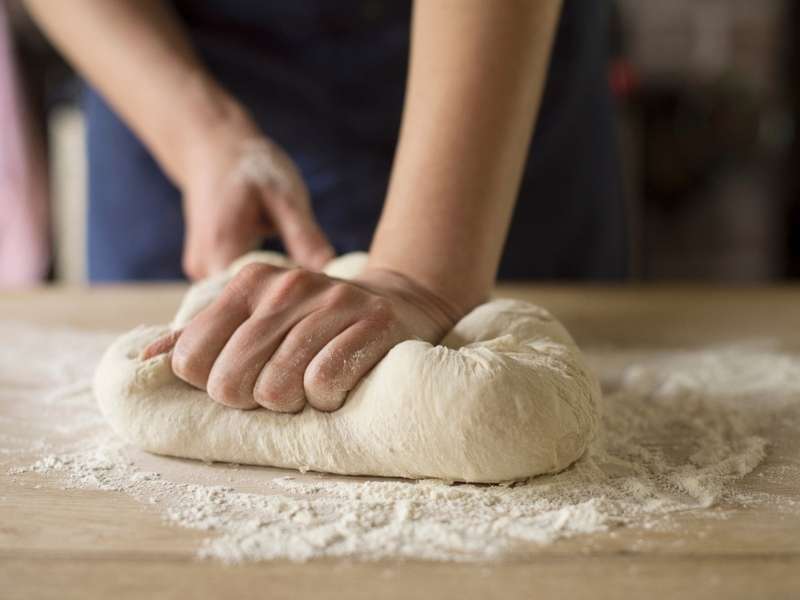
Overworking ranks among the biggest problems in Pie Crusts for Beginners.
Flour contains proteins that form gluten when they meet water and receive mechanical action.
Gluten provides structure.
However, pie crust usually needs less gluten development than bread.
Too much mixing can therefore produce a tougher crust.
Work quickly.
Stop once the dough comes together.
Do not knead it like bread.
If you want to understand baking terminology before starting, visit Baking Terms Explained (Fold, Cream, Knead & More For Beginners).
7. Chill the Dough Before Rolling
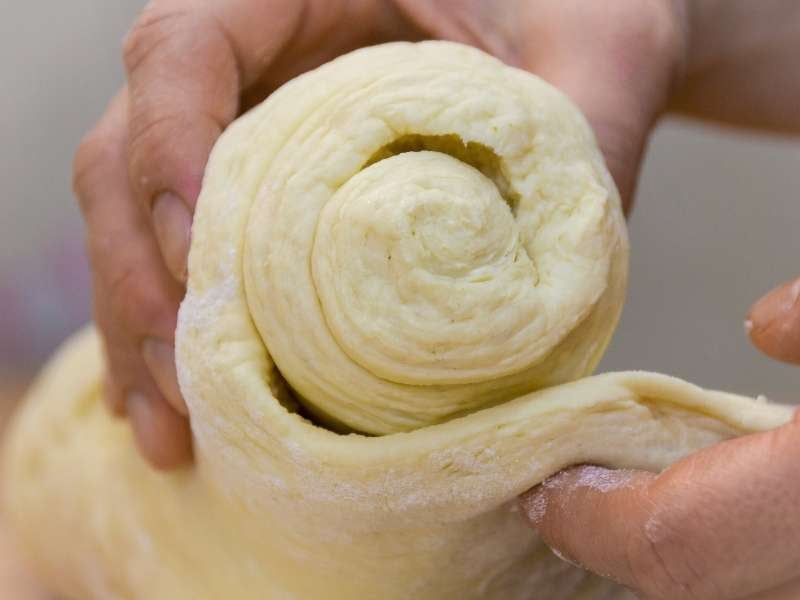
Chilling accomplishes several things.
First, it firms the butter.
Second, it allows the flour to hydrate.
Third, it relaxes gluten that developed during mixing.
That relaxation makes rolling easier.
Wrap the dough securely before refrigerating it.
Avoid leaving it uncovered because the surface can dry out.
A short chilling period can improve the dough considerably.
Some recipes benefit from longer refrigeration.
Follow the recipe’s specific instructions.
Do not rush directly from mixing to rolling if the dough feels soft.
8. Roll the Dough Correctly
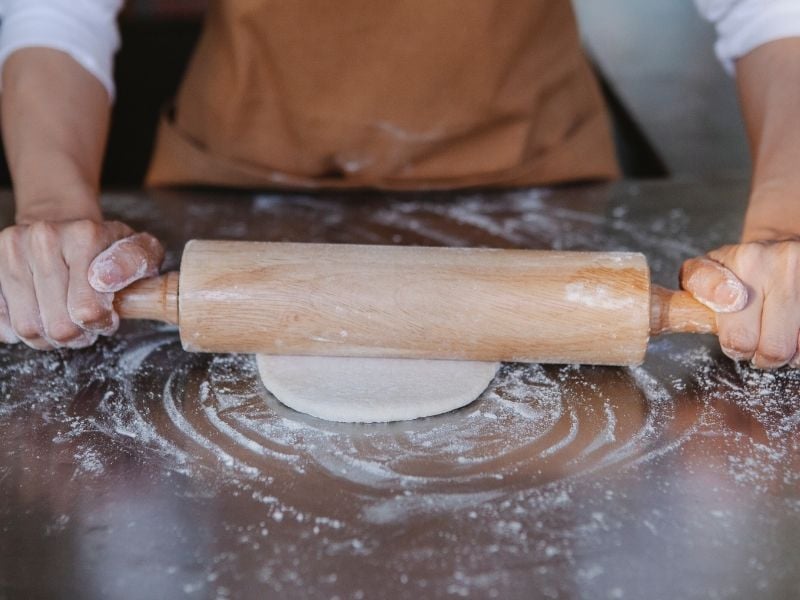
Rolling requires gentle, even pressure.
Start from the center.
Roll outward.
Then rotate the dough slightly.
Continue until you reach the desired thickness.
Avoid repeatedly rolling over the same spot.
That can create uneven thickness.
Also, avoid pressing aggressively.
If the dough cracks around the edges, allow it to warm slightly.
If it becomes sticky, return it to the refrigerator.
The ideal dough should remain cool but flexible.
9. Use Enough Flour for Rolling
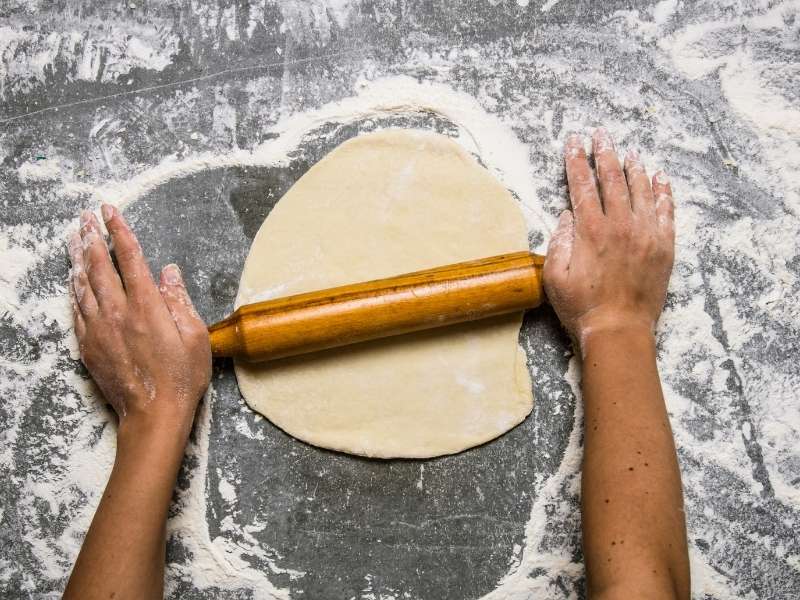
A lightly floured surface prevents sticking.
However, excessive flour can dry the dough.
Use just enough to prevent attachment.
Lift the dough occasionally while rolling.
That allows you to check whether it sticks underneath.
You can also rotate it frequently.
If the dough begins sticking badly, stop adding handfuls of flour.
Instead, chill it briefly.
A cooler dough often becomes easier to manage.
10. Fit the Dough Into the Pie Plate Carefully
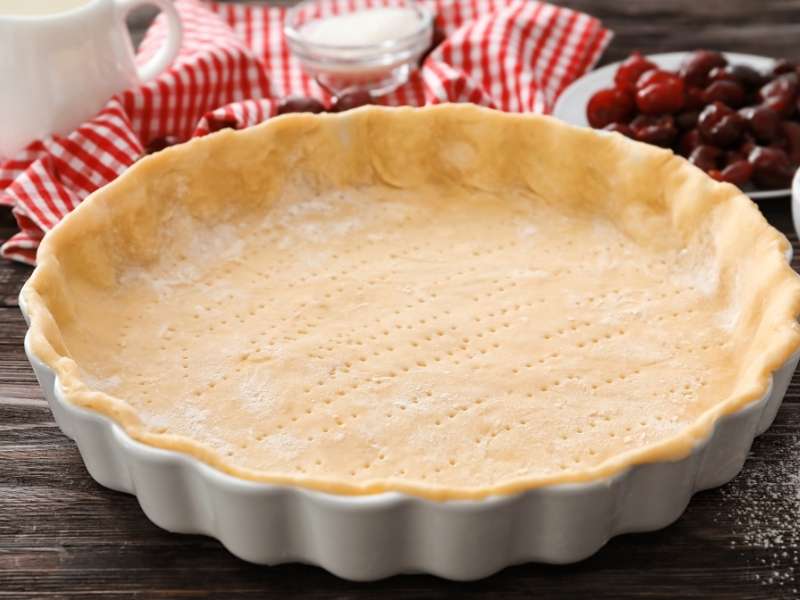
Once rolled, transfer the dough gently.
Avoid stretching it to make it fit.
Stretching creates tension.
That tension can encourage shrinkage during baking.
Instead, lift the dough and allow it to settle naturally into the corners.
Press gently along the bottom and sides.
Do not force the dough tightly against the pan.
Leave enough material around the edge for trimming and decorating.
This small step can make a major difference.
11. Crimp the Edges
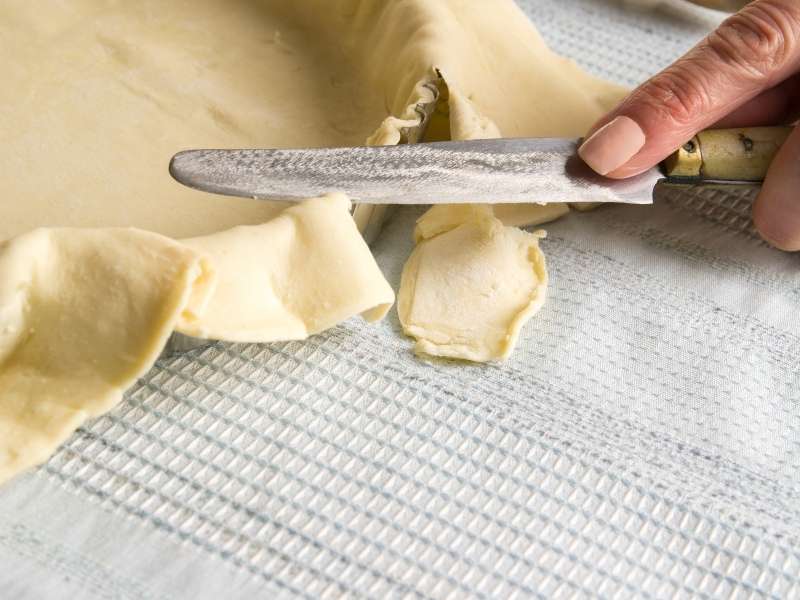
Crimping adds both structure and decoration.
You can create a simple fluted edge using your fingers.
A fork can create a classic pattern.
You can also use decorative cutters for special occasions.
Keep the edge reasonably thick.
A thin rim can burn before the filling finishes cooking.
For more inspiration, explore 23 Beautiful Pastry Decorating Ideas.
Those techniques can inspire your next pie design.
12. Chill the Shaped Crust Again
After shaping, chill the entire pie shell.
This step helps firm the butter again.
It also allows the dough to relax after rolling.
Cold dough generally holds its shape better during baking.
If your kitchen feels warm, use the refrigerator generously.
Do not view chilling as wasted time.
It forms part of the technique.
For Pie Crusts for Beginners, this simple habit can prevent many problems before they happen.
13. Know When to Blind Bake
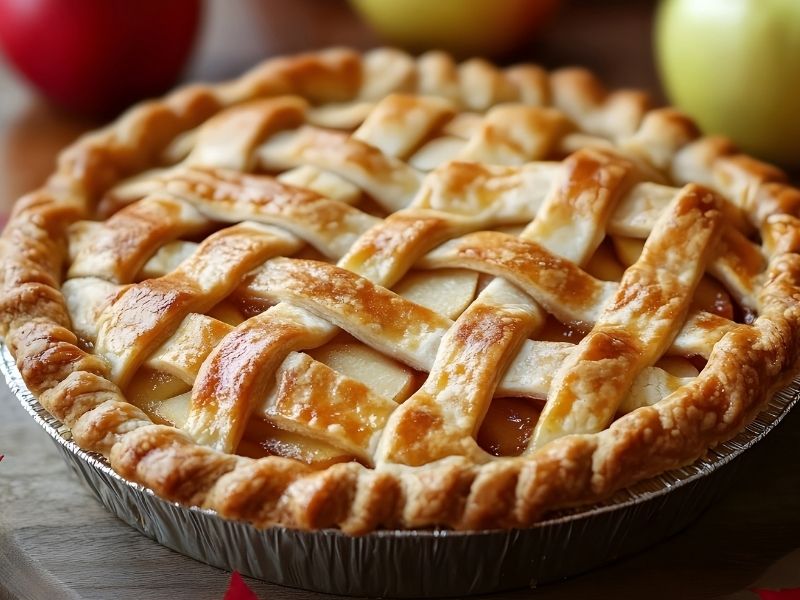
Some pie fillings require a fully baked crust before you add the filling.
Others need partial baking.
This process is called blind baking.
Custard fillings often benefit from a pre-baked crust.
No-bake fillings may also require a fully baked shell.
Follow your specific recipe.
Do not automatically blind bake every pie.
If you need additional troubleshooting help, see 17 Pie Baking Mistakes That Ruin Perfect Crusts.
14. Prevent a Soggy Bottom
A soggy bottom can ruin an otherwise beautiful pie.
Several factors can cause this problem.
The filling may contain too much liquid.
The crust may not have baked long enough.
The oven may not have reached the correct temperature.
The pie may also sit for too long before baking.
For some recipes, blind baking provides additional protection.
You can also place the pie on a preheated baking sheet.
That gives the bottom crust stronger exposure to heat.
Choose the method that suits your recipe.
15. Understand Oven Temperature

Temperature affects browning, butter behavior, and crust structure.
An oven that runs too cool may leave the crust pale.
An excessively hot oven can brown the edges too quickly.
Always preheat the oven completely.
Use an oven thermometer if you suspect inaccurate temperature readings.
For more detailed guidance, explore Understanding Baking Temperatures for Better Results.
Accurate temperature control makes pastry results more predictable.
16. Protect the Edges From Burning
Pie edges often brown faster than the center.
You can protect them with a pie shield.
Aluminum foil can also work when placed carefully.
Cover the edges once they reach the desired color.
Do not cover the entire pie unless the recipe requires it.
The center still needs enough heat to bake properly.
Check your pie periodically during the final stage.
Avoid opening the oven repeatedly.
17. Recognize a Properly Baked Crust
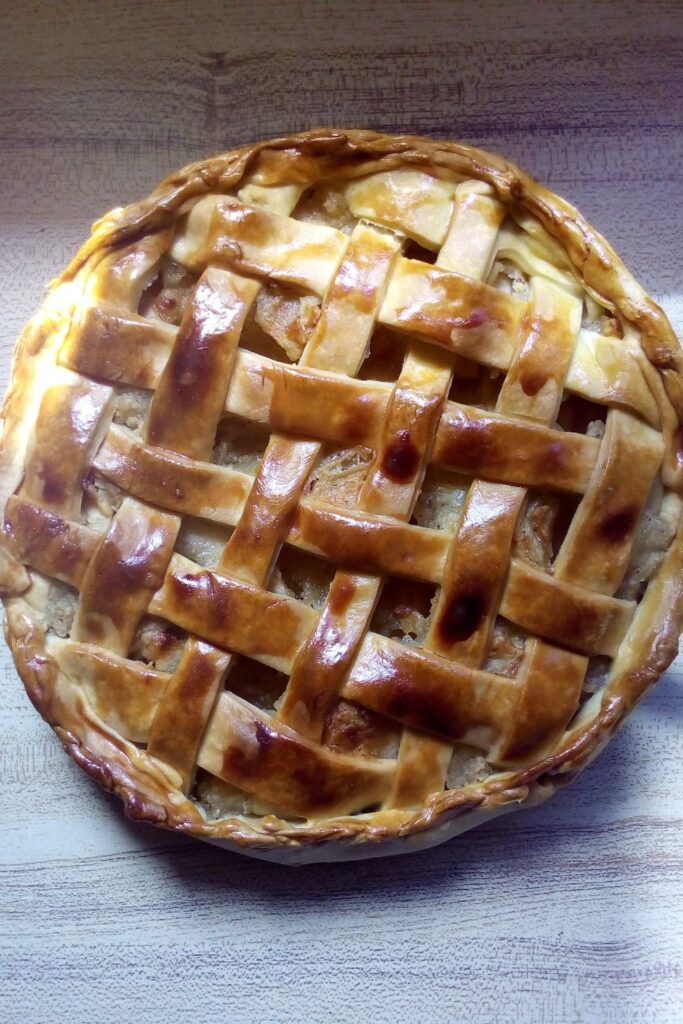
A finished crust should look golden rather than pale.
The bottom should feel firm.
The edges should look crisp.
The exact shade depends on the recipe.
A fruit pie may continue cooking while the crust develops color.
A custard pie requires different visual cues.
Do not rely solely on appearance.
Consider the filling, recipe, and baking time together.
Baking Tips That Instantly Improve Your Results offers additional techniques for improving your overall results.
Why Does Pie Crust Shrink?
Shrinkage usually happens because the dough contains tension.
Stretching the pastry while fitting it into the pan can contribute.
Overworking can also create excessive gluten development.
Skipping the chilling stage may worsen the problem.
To reduce shrinkage, handle the dough gently.
Allow it to rest.
Chill the shaped crust before baking.
Avoid pulling the dough tightly across the pan.
These small changes can make the crust hold its shape much better.
Why Is My Pie Crust Tough?
A tough crust often results from too much gluten development.
Too much water can contribute.
Excessive mixing can also create problems.
Adding excessive flour during rolling may produce a dry, firm texture.
Therefore, keep handling minimal.
Work with cold ingredients.
Measure carefully.
Add water gradually.
Stop mixing as soon as the dough holds together.
These fundamentals make Pie Crusts for Beginners much easier to master.
Why Does My Crust Crack?
Cracking can happen when the dough becomes too dry or too cold.
A dough with insufficient water may break apart during rolling.
Very cold dough can also resist movement.
Allow it to rest briefly before rolling.
If cracks appear around the edges, press them together gently.
Do not immediately add large amounts of water.
You can also patch small cracks with scraps of dough.
Once baked, minor imperfections often disappear beneath the filling.
Why Does My Crust Become Soggy?
A soggy crust often points toward excess moisture.
Fruit fillings can release significant liquid.
Custards also contain moisture.
If the crust does not receive enough heat, it may remain soft.
Blind baking can help certain recipes.
Using the correct baking temperature matters too.
Allow the finished pie to cool according to the recipe.
Cutting immediately can release hot filling across the crust.
Patience helps preserve texture.
Why Does My Crust Become Dry and Crumbly?
Dry pastry usually needs more moisture.
However, adding water blindly can create another problem.
Start by checking your flour measurement.
You may have accidentally added too much.
Then review how much liquid the recipe requires.
Environmental conditions can also affect dough.
Flour absorbs moisture differently depending on storage and humidity.
Add liquid gradually when making adjustments.
Stop once the dough becomes cohesive.
Do not aim for a wet texture.
Different Pie Crust Styles to Try
Once you master basic pastry, you can experiment with different formulas.
A traditional butter crust offers rich flavor.
A shortening crust provides tenderness.
A butter-and-shortening combination balances both qualities.
A sweet crust works beautifully with dessert pies.
A savory crust can complement quiches and vegetable fillings.
You can also explore other pastry families.
The world of Different Types of Pastries includes shortcrust, puff pastry, choux pastry, laminated doughs, and many regional specialties.
Each style requires different techniques.
For a useful comparison, read Puff Pastry vs Phyllo Dough vs Shortcrust What’s the Difference.
Essential Tools for Making Pie Crust
You do not need a huge equipment collection.
A large mixing bowl provides enough space.
A pastry cutter can help incorporate butter.
A rolling pin creates an even sheet.
A pie plate provides the final shape.
A bench scraper helps move dough without excessive handling.
A kitchen scale improves measurement accuracy.
A pastry brush helps with egg washes.
For a broader equipment list, explore Essential Baking Tools Every Home Baker Needs (with budget options).
Start with essentials before purchasing specialized gadgets.
25. How to Store Homemade Pie Crust
You can prepare pie dough ahead of time.
Wrap it tightly.
Then refrigerate it for short-term storage.
For longer storage, freezing can provide a convenient option.
Label frozen dough with the date.
Allow frozen dough to thaw gradually in the refrigerator.
Avoid leaving it at room temperature for extended periods.
Proper storage helps preserve quality.
Once baked, storage depends on the filling.
Cream pies require different handling from fruit pies.
For additional storage information, read How to Store Baked Goods to Keep Them Fresh Longer.
Common Beginner Mistakes to Avoid
Beginners often make several predictable mistakes.
They add too much flour.
They use warm butter.
They overmix the dough.
They stretch pastry into the pie plate.
They skip chilling.
They add excessive water.
They bake before fully preheating the oven.
They also cut the pie immediately after baking.
Each mistake can affect texture.
Fortunately, you can correct most of them with better preparation.
For broader troubleshooting, explore Common Baking Mistakes and How to Fix Them Fast.
How to Make Pie Baking Less Stressful
Prepare everything before mixing.
Measure the ingredients.
Cut the butter.
Clear your workspace.
Prepare the pie plate.
Read the complete recipe.
Then begin.
This approach prevents unnecessary interruptions.
A well-organized workspace also helps you work quickly while the butter remains cold.
If your kitchen feels crowded, Small Kitchen Baking Ideas for Limited Spaces offers practical organization inspiration.
How to Build Confidence With Pastry
Pastry improves through repetition.
Your first crust may not look perfect.
Your second attempt may still have cracks.
Your third might brown unevenly.
Keep practicing.
Take notes after every bake.
Write down the flour quantity.
Record the amount of water.
Note how long you chilled the dough.
Record your oven temperature.
Then compare results.
This process helps you identify patterns instead of relying on guesswork.
Baking Confidence Tips for Complete Beginners can help you develop a more relaxed approach.
Final Thoughts
Mastering Pie Crusts for Beginners becomes much easier when you stop treating pastry as a mysterious baking skill.
The process follows a clear pattern.
Keep the fat cold.
Measure carefully.
Add water gradually.
Handle the dough gently.
Chill between stages.
Roll evenly.
Avoid stretching.
Bake at the correct temperature.
Those habits create a strong foundation for homemade pies.
As your confidence grows, you can experiment with sweet crusts, savory pastry, lattice tops, decorative edges, and other Different Types of Pastries.
You can also explore more advanced baking projects once you feel comfortable with basic pastry.
Most importantly, remember that imperfect pastry still provides valuable practice.
A cracked crust teaches you about hydration.
A tough crust teaches you about gluten.
A shrinking crust teaches you about handling.
A pale crust teaches you about oven temperature.
Each attempt gives you another opportunity to understand the process.
With consistent practice, Pie Crusts for Beginners can become one of the most enjoyable parts of your baking routine.