Baking Measurements Conversion Chart (Cups, Grams, Ounces Explained)
If you’ve ever stared at a recipe and felt confused because flour measurements don’t match liquid measurements (or any other ingredient), then this post is for you. Measurement confusion is one of the most common struggles in baking, and honestly, it affects even people who’ve been baking for years.
Don’t miss this helpful guide: The Ultimate Beginner Guide To Baking
Here’s the thing: unlike cooking, where a little extra of this or a little less of that usually doesn’t ruin anything, baking involves precision and that is what baking measurements conversion chart is all about. The difference between a perfectly tender cake and a dense, gummy cake can be traced down to whether you used 120g of flour or 180g. That’s not an exaggeration. Measurements matter very well in baking, and understanding how they work and how to convert between them is one of the most practical skills you can have in the kitchen.
In this post, we’re going to break down everything you need to know about baking measurements conversion chart: what cups, grams, and ounces actually are, why they’re so different from each other, and how to convert between them confidently. We’ve also put together a full baking measurements conversion chart that you can bookmark and refer back to every time you bake.
Let’s start from the beginning.
Why Are There So Many Different Measurement Systems in Baking?
The short answer is: history and geography.
The metric system which uses grams, kilograms, millilitres, and litres is used by the vast majority of countries around the world. Recipes from the UK, Europe, Australia, and most of Asia use metric measurements. It’s precise, consistent, and mathematically logical.
The imperial system which uses cups, tablespoons, teaspoons, ounces, and pounds is primarily used in the United States. American recipes are almost entirely written in cups and ounces. Since American food culture has enormous global reach, home bakers everywhere end up dealing with cups whether they like it or not.
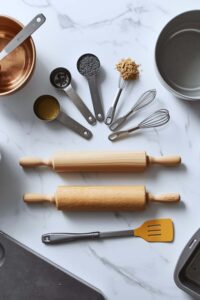
See this: Essential Baking Tools Every Home Baker Needs
Then there’s the volume vs. weight debate, which is where things get really interesting and where most of the confusion in baking actually comes from.
Volume vs. Weight: The Root of All Confusion
In this guide baking measurements conversion chart, here’s the core issue that causes most measurement headaches in baking.
Volume measures how much space something takes up. Cups, tablespoons, teaspoons, and millilitres are all volume measurements. A cup is always the same size, it holds the same amount of space regardless of what’s in it.
Weight measures how heavy something is. Grams and ounces are weight measurements. A gram is always exactly one gram, no matter what ingredient it’s weighing.
The problem? Different ingredients have completely different densities. A cup of flour weighs around 120–130 grams. A cup of granulated sugar weighs around 200 grams. A cup of honey weighs around 340 grams. The cup is the same size in all three cases but the contents weigh wildly different amounts because they’re packed differently, they have different densities, and their particles are different sizes.
This is exactly why baking by weight (grams) is more accurate than baking by volume (cups). When a recipe says 200g of sugar, there’s no ambiguity. When a recipe says 1 cup of flour, there’s room for variation depending on how you scoop it, whether the flour is packed or airy, and which brand you’re using. This is why this guide baking measurements conversion chart is essential to you.
That said, cups are what millions of recipes use, especially American ones. So you need to understand both systems and know how to move between them.
Understanding Cups: What Exactly Is a “Cup”?
In baking, a cup is a standardised unit of volume equal to 240ml (8 fluid ounces). This is the US standard cup, which is what the vast majority of recipes using cups are referring to.
There are also fractions of a cup that you’ll see constantly in recipes:
- 1 cup = 240ml
- ¾ cup = 180ml
- ⅔ cup = 160ml
- ½ cup = 120ml
- ⅓ cup = 80ml
- ¼ cup = 60ml
It’s worth noting that some countries have slightly different cup sizes. An Australian cup is 250ml, and a Japanese cup is 200ml. This rarely causes major problems in practice, but it’s good to be aware of if you’re following a recipe from a specific country and something seems slightly off.
Baking Measurements Conversion chart
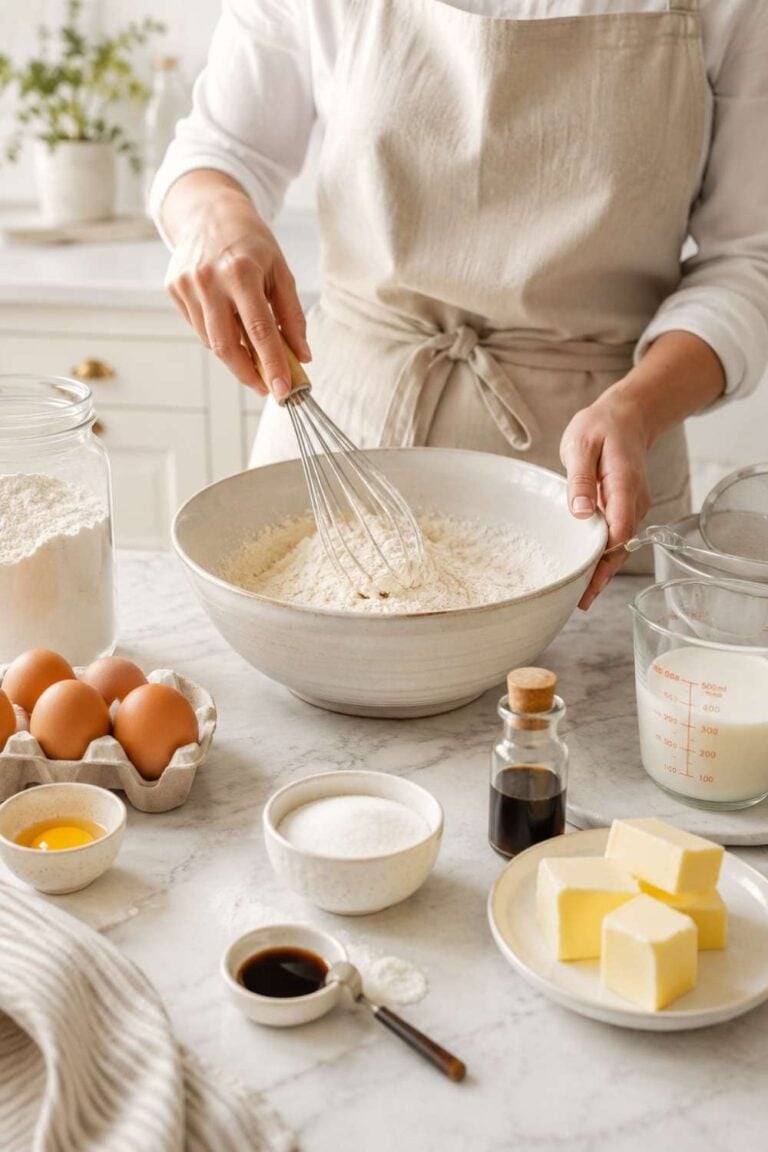
How to Measure Cups Correctly
Measuring cups correctly makes a significant difference in your results. Here are the golden rules:
For dry ingredients like flour: Don’t scoop directly from the bag with the measuring cup. This compacts the flour and can give you 20–30% more than you need. Instead, use a spoon to scoop flour into the measuring cup, then use the back of a flat knife or straight edge to level it off. Even better, just weigh it.
For ingredients like brown sugar: Brown sugar is typically measured by packing it firmly into the cup until it holds the shape of the cup when turned out. Recipes will usually specify “packed brown sugar” when this is required.
For liquids: Use a liquid measuring cup (the kind with a spout and markings on the side). Pour the liquid in, then crouch down and read the measurement at eye level — reading from above gives you an inaccurate result.
For sticky ingredients like honey, syrup, or peanut butter: Lightly grease the measuring cup with a bit of oil before measuring. The sticky ingredient will slide right out cleanly without leaving half of it stuck to the cup.
Understanding Grams: The Baker’s Best Friend
Grams are a unit of weight in the metric system. They are the most accurate way to measure ingredients for baking, which is why professional bakers, pastry chefs, and most international recipes use grams as the default. The baking measurements conversion chart guide will guide you.
One of the beautiful things about grams is that they’re completely consistent. 100g of flour is 100g of flour, always. It doesn’t matter if the flour is sifted or packed, fine or coarse, 100g is an exact amount. There’s no room for the kind of variation that cups introduce.
Avoid these mistakes: Common Baking Mistakes and How to Fix Them Fast
Grams are measured using a kitchen scale with the tare function (which lets you zero the scale after placing your bowl on it, so you’re only weighing the ingredient).
If you’re not already baking by weight, making the switch will genuinely improve your results. Once you try it, you’ll also notice that it makes baking faster instead of dirtying multiple measuring cups, you just add ingredients directly to your bowl, taring between each one.
Understanding Ounces: Weight vs. Fluid Ounces
Ounces are where things get a little confusing, because there are actually two different kinds of ounces used in baking:
Weight ounces (oz) measure how heavy something is. These are the ounces used when a recipe says “4 oz of chocolate” or “8 oz of cream cheese.” 1 ounce = approximately 28.35 grams.
Fluid ounces (fl oz) measure volume, specifically for liquids. These are the ounces used when a recipe says “4 fl oz of milk.” 1 fluid ounce = approximately 30ml.
Here’s the catch: weight ounces and fluid ounces are not the same thing, and they cannot be substituted for each other. Water happens to be close (1 fl oz of water weighs approximately 1 oz), but for anything else — oil, milk, honey, cream — the weight and volume are different.
When a recipe specifies ounces, always check whether it means weight ounces or fluid ounces. Usually the context makes it clear (solid ingredients = weight, liquids = fluid), but when in doubt, look for “fl oz” versus just “oz.”
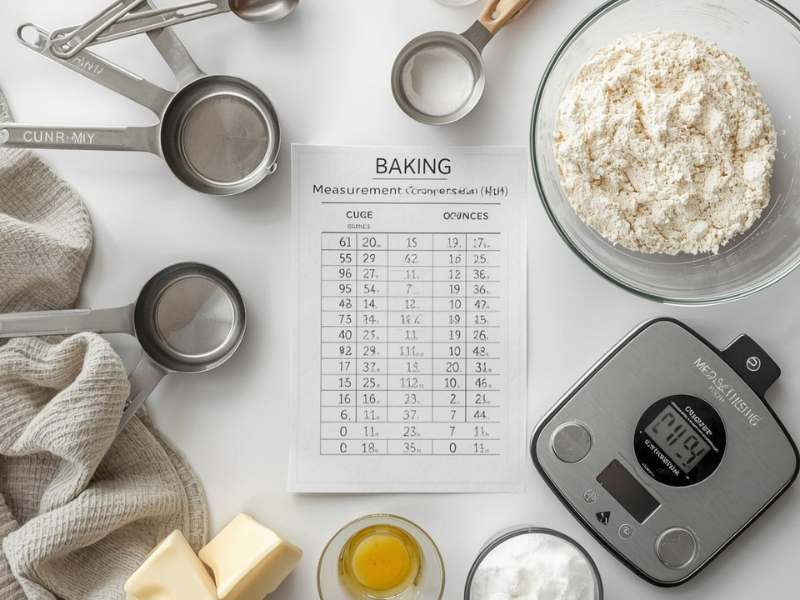
The Conversion Chart You’ve Been Looking For
Baking Measurements Conversion chart is a guide you need for all your baking conversions. Let’s get to the practical bit. Below is a comprehensive baking measurements conversion chart covering the most commonly used baking ingredients. These are approximate values, since density can vary slightly by brand, grind, and how ingredients are stored — but they’re accurate enough for everyday home baking. Let’s take a look at baking measurements conversion chart for different ingredients.
Flour Conversions
| Cups | Grams | Ounces |
|---|---|---|
| ⅛ cup | 15g | 0.5 oz |
| ¼ cup | 30g | 1 oz |
| ⅓ cup | 40g | 1.4 oz |
| ½ cup | 60g | 2.1 oz |
| ⅔ cup | 80g | 2.8 oz |
| ¾ cup | 90g | 3.2 oz |
| 1 cup | 120g | 4.2 oz |
Values based on spooned and levelled all-purpose flour.
Granulated White Sugar Conversions
This Take a look at this baking measurements conversion chart and learn.
| Cups | Grams | Ounces |
|---|---|---|
| ⅛ cup | 25g | 0.9 oz |
| ¼ cup | 50g | 1.8 oz |
| ⅓ cup | 65g | 2.3 oz |
| ½ cup | 100g | 3.5 oz |
| ⅔ cup | 135g | 4.8 oz |
| ¾ cup | 150g | 5.3 oz |
| 1 cup | 200g | 7.1 oz |
Brown Sugar Conversions (Packed)
Take a look at this baking measurements conversion chart and learn.
| Cups | Grams | Ounces |
|---|---|---|
| ¼ cup | 55g | 1.9 oz |
| ⅓ cup | 73g | 2.6 oz |
| ½ cup | 110g | 3.9 oz |
| ¾ cup | 165g | 5.8 oz |
| 1 cup | 220g | 7.8 oz |
Powdered Sugar (Icing Sugar) Conversions
| Cups | Grams | Ounces |
|---|---|---|
| ¼ cup | 30g | 1.1 oz |
| ⅓ cup | 40g | 1.4 oz |
| ½ cup | 60g | 2.1 oz |
| ¾ cup | 90g | 3.2 oz |
| 1 cup | 120g | 4.2 oz |
Butter Conversions
Baking Measurements Conversion chart is a guide you need for all your baking conversions. Butter is one of the most converted ingredients in baking, so it deserves extra attention. American recipes often measure butter in sticks or tablespoons. Here’s how it all maps out:
| Cups | Grams | Ounces | Tablespoons | Sticks (US) |
|---|---|---|---|---|
| ⅛ cup | 28g | 1 oz | 2 tbsp | ¼ stick |
| ¼ cup | 57g | 2 oz | 4 tbsp | ½ stick |
| ½ cup | 113g | 4 oz | 8 tbsp | 1 stick |
| 1 cup | 227g | 8 oz | 16 tbsp | 2 sticks |
H2: Cocoa Powder Conversions
| Cups | Grams | Ounces |
|---|---|---|
| 2 tbsp | 12g | 0.4 oz |
| ¼ cup | 25g | 0.9 oz |
| ⅓ cup | 33g | 1.2 oz |
| ½ cup | 50g | 1.8 oz |
| ¾ cup | 75g | 2.6 oz |
| 1 cup | 100g | 3.5 oz |
Oats (Rolled Oats) Conversions
| Cups | Grams | Ounces |
|---|---|---|
| ¼ cup | 20g | 0.7 oz |
| ⅓ cup | 27g | 0.95 oz |
| ½ cup | 40g | 1.4 oz |
| ¾ cup | 60g | 2.1 oz |
| 1 cup | 80g | 2.8 oz |
Honey, Maple Syrup, and Golden Syrup Conversions
| Cups | Grams | Ounces |
|---|---|---|
| 1 tbsp | 21g | 0.75 oz |
| ¼ cup | 85g | 3 oz |
| ⅓ cup | 113g | 4 oz |
| ½ cup | 170g | 6 oz |
| ¾ cup | 255g | 9 oz |
| 1 cup | 340g | 12 oz |
Milk and Water Conversions
Liquids are much more consistent because they don’t have the density variation that dry ingredients do and this Baking Measurements Conversion chart will guide you.
| Cups | Millilitres | Fluid Ounces |
|---|---|---|
| 1 tbsp | 15ml | 0.5 fl oz |
| ¼ cup | 60ml | 2 fl oz |
| ⅓ cup | 80ml | 2.7 fl oz |
| ½ cup | 120ml | 4 fl oz |
| ⅔ cup | 160ml | 5.4 fl oz |
| ¾ cup | 180ml | 6 fl oz |
| 1 cup | 240ml | 8 fl oz |
Teaspoon and Tablespoon to Millilitres and Grams
These small measurements come up constantly in baking — for leavening agents, salt, vanilla, and spices.
| Measurement | Millilitres | Grams (water/milk) |
|---|---|---|
| ¼ teaspoon | 1.25ml | ~1g |
| ½ teaspoon | 2.5ml | ~2g |
| 1 teaspoon | 5ml | ~5g |
| 1 tablespoon | 15ml | ~15g |
| 2 tablespoons | 30ml | ~30g |
Oven Temperature Conversions
Since we’re talking about conversions, it makes sense to include oven temperatures here too because this trips up bakers all the time when following recipes from different countries. This guide Baking Measurements Conversion chart will help you.
| Description | Fahrenheit (°F) | Celsius (°C) | Gas Mark |
|---|---|---|---|
| Very low | 250°F | 120°C | ½ |
| Low | 300°F | 150°C | 2 |
| Moderately low | 325°F | 165°C | 3 |
| Moderate | 350°F | 175°C | 4 |
| Moderately hot | 375°F | 190°C | 5 |
| Hot | 400°F | 200°C | 6 |
| Very hot | 425°F | 220°C | 7 |
| Extremely hot | 450°F | 230°C | 8 |
Quick formula if you ever need to convert manually:
- °F to °C: Subtract 32, then multiply by 5/9
- °C to °F: Multiply by 9/5, then add 32
And remember — if your oven has a fan/convection setting, reduce the listed temperature by about 15–20°C (25–30°F) and start checking your bake a few minutes before the recipe says it should be done.
Tips for Getting Your Measurements Right Every Time
Having a reference chart is great. But knowing how to measure accurately is what actually makes the difference in your bakes. Here are some practical habits worth building.
Always weigh when the recipe gives you grams.
If a recipe is written in grams, use a kitchen scale. Don’t try to convert grams to cups in your head and measure with a cup — you’ll introduce errors. Buy a digital kitchen scale (they’re inexpensive) and use it. Your baking will improve noticeably.
Level off dry ingredients every time.
When using cups for dry ingredients, always level them off with a straight edge. The difference between a heaped cup and a levelled cup of flour can be 30–40 grams — that’s a lot.
Check this out next: Common Baking Mistakes And How To Fix Them
Use the right cup for the right job.
Dry measuring cups and liquid measuring cups are designed for different things and give different results when used for the wrong ingredient. Keep both types in your kit.
Don’t pack flour (unless told to).
Unless the recipe specifically says “packed flour,” never pack flour into a measuring cup. Flour should be light and airy in the cup, not compressed. Packed flour gives you far too much.
Pin this: Essential Baking Tools Every Home Baker Needs
Always pack brown sugar.
Brown sugar is the one common exception — recipes almost always mean packed brown sugar when they call for a cup of it. Press it firmly into the cup until it holds the shape of the cup when tipped out.
Measure over the counter, not over the bowl.
When measuring baking powder, baking soda, or salt, hold the spoon over the counter (not the mixing bowl) before levelling it off and adding it to your ingredients. This way, if you accidentally over-pour, you haven’t dumped excess leavening into your batter.
Room temperature matters for accurate measuring too.
Cold butter is much harder to measure accurately in cups or tablespoons than softened butter. Measure butter when it’s at the temperature your recipe calls for.
A Quick Guide to Baking Measurements Conversion Chart for Recipe
Sometimes you’ll find a recipe you love but it’s written in a measurement system you’re not comfortable with. Like cups when you’d prefer grams, or grams when you’re used to cups. Here are a few simple pointers for converting recipes:
Convert the whole recipe at once, before you start baking.
Don’t try to convert each measurement as you go — that’s how mistakes happen. Using this guide on Baking Measurements Conversion chart will help you greatly. Sit down with the recipe, convert everything using your reference chart, write out the converted version, and bake from that.
Be consistent with your conversions.
If you’re converting a recipe to grams, convert everything to grams. Don’t mix systems within one recipe — using cups for some things and grams for others is a recipe for confusion.
Round sensibly.
If your conversion gives you something like 113.4 grams, round to 113g. If it gives you 118g, 120g is perfectly fine. A gram or two either way won’t affect your results for most baked goods. The exception is very small measurements — for things like ¼ teaspoon of baking soda, precision matters more, so be careful with those. This is easy r Baking Measurements Conversion chart
Trust your instincts when something seems off.
If you’ve converted a recipe and the quantities look strange — like way more flour than seems logical — double-check your conversion. Mistakes happen, especially with numbers like ounces where it’s easy to mix up weight and volume ounces.
The Easiest Way to Never Need to Convert Again
In as much as Baking Measurements Conversion chart is available to help with your conversions. Here’s a slightly controversial opinion, but it’s worth saying: the simplest long-term solution to measurement confusion is to stop relying on cups altogether and switch to baking entirely by weight.
This isn’t as dramatic as it sounds. Once you own a kitchen scale and start using it, you’ll realise that weighing ingredients is actually faster and easier than measuring in cups — not harder. You just add each ingredient directly to your mixing bowl, taring the scale between each addition. No cups to dirty. No levelling off. No wondering if you packed the flour too much.
More importantly, baking by weight gives you more consistent, reliable results. When something works, it works the same way every single time because your measurements are exact.
If you’re following a recipe that only gives cup measurements, use a reference chart to convert to grams the first time, then note down the gram amounts in the recipe for next time. Before long, you’ll have a personalised collection of recipes in grams that you can rely on completely.
Final Thoughts
Measurement systems in baking can feel like a headache — especially when you’re dealing with cups, grams, ounces, and millilitres all at once. But once you understand why they’re different and how they relate to each other, it all starts to make a lot more sense.
The baking measurements conversion chart in this post is your practical reference — bookmark it, screenshot it, print it out and stick it inside a cupboard door. Use it every time you hit a measurement you’re not sure about, and over time, you’ll start to remember the key conversions naturally.
More than anything, remember this: accurate measurements are one of the simplest and most powerful things you can do to improve your baking. It doesn’t require expensive equipment or advanced technique. It just requires a little knowledge — and now you have it in this guide (Baking Measurements Conversion Chart)
If this guide was of help, do let me know.