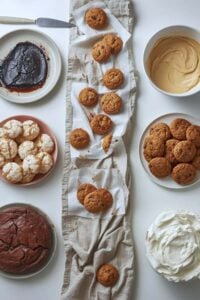
Baking Terms Explained (Fold, Cream, Knead & More For Beginners)
If you’ve ever opened a recipe and felt confused by terms like “fold,” “cream,” or “knead,” you’re not alone. Baking has its own language, and understanding it is the key to turning simple ingredients into delicious masterpieces. Whether you’re just starting out or looking to sharpen your skills, learning these essential baking terms will boost your confidence in the kitchen and help you avoid common mistakes.
Baking recipes are full of specific terminology, words and phrases that describe exact techniques in precise ways. The problem is that most recipes use these terms without explaining them, assuming you already know what they mean. If you’re new to baking, this can make a recipe feel like it’s written in a foreign language.
But here’s the good news: there really aren’t that many of these terms to learn, and once you understand what each one means and why it matters, following recipes becomes so much clearer and easier. You also start to understand why you’re doing each step and that understanding is what takes you from just following instructions to actually knowing how to bake.
This guide will take you through essential baking terms beginners need to know, explained in plain, everyday language with practical tips on how to do each one correctly.
Why Baking Language Matters
Before we dive in, here’s something important to understand: baking terms aren’t just fancy jargon. They describe specific techniques that produce specific results. When a recipe tells you to fold instead of stir, it’s not being pretentious — it’s telling you to use a different action because stirring would ruin what you’ve worked to build.
Save this for later: The Ultimate Beginners Guide to Baking (Everything You Need To Know to Start
Getting the technique right matters in baking in a way it doesn’t always matter in cooking. So when you see a term you don’t recognise, don’t skip it or approximate it. Look it up, understand it, and do it properly. That’s the difference between a recipe that works and one that doesn’t.
Right — let’s get into the terms.
Baking Terms Explained
The Core Mixing Techniques
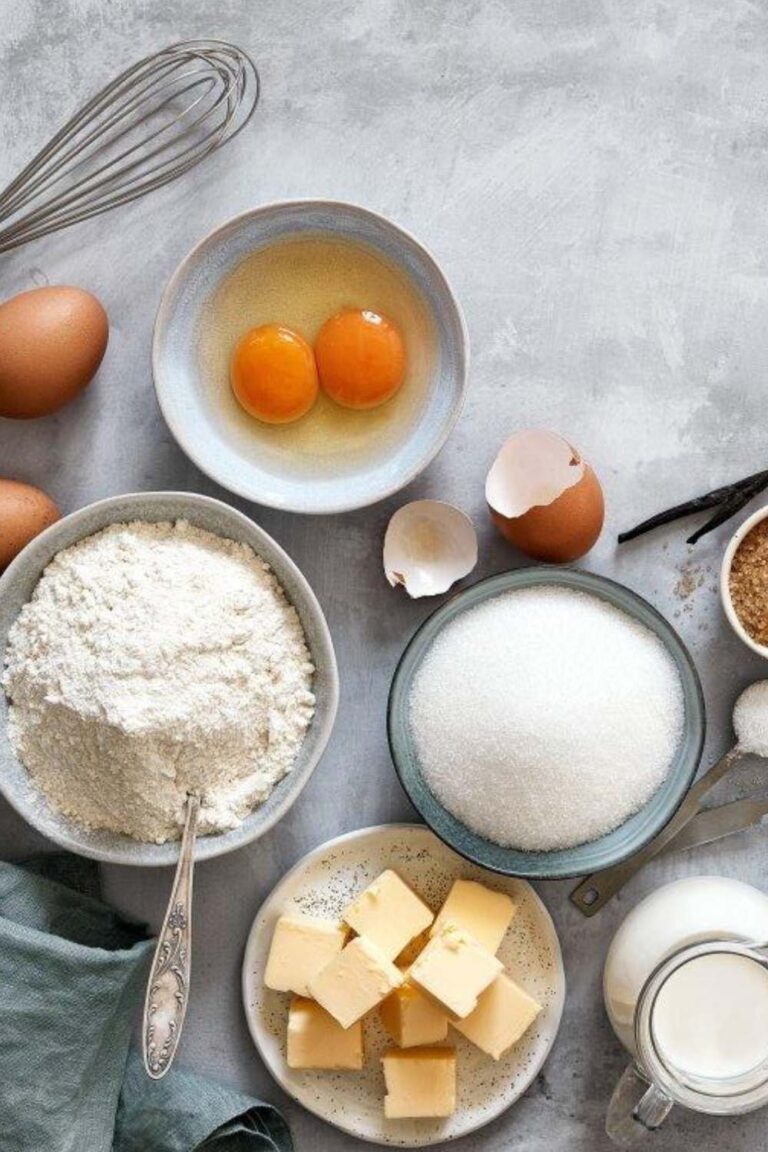
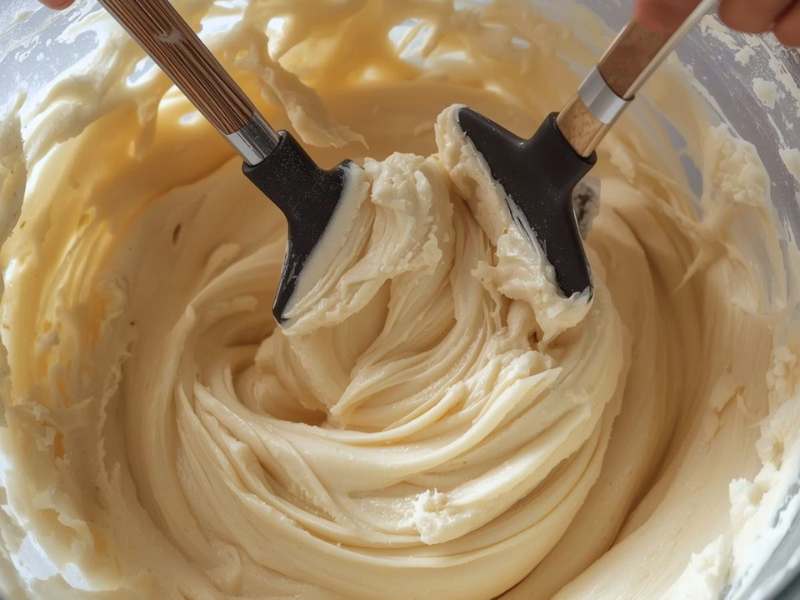
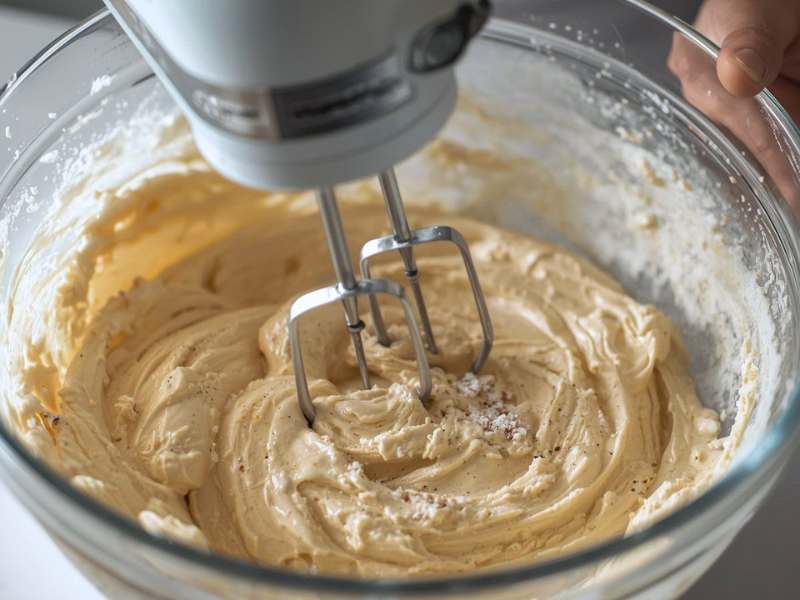
Cream / Creaming
What it means: To beat butter and sugar together until the mixture becomes noticeably lighter in colour, increased in volume, and fluffy in texture.

Why it matters: Creaming is the foundation of most cakes and many cookies. When you beat butter and sugar together, the sharp edges of the sugar crystals cut into the fat and create tiny air bubbles. Those air bubbles get trapped in the batter and expand during baking, helping the cake rise and giving it a light, tender crumb. Skip the creaming or rush it, and you end up with a denser, flatter cake.
How to do it: Start with butter at room temperature — it should be soft enough to leave an indent when you press it but not melted or greasy. Beat the butter alone for about a minute first, then add the sugar and continue beating on medium-high speed for 3–5 minutes. You’re done when the mixture is visibly pale (almost white), fluffy, and significantly increased in volume. Run the timer — most beginners stop too early.
Common mistake: Using cold butter. Cold butter won’t cream properly, and no amount of extra mixing will fix it. Always start with room temperature butter.
Fold / Folding
What it means: To gently combine two mixtures together using a slow, deliberate motion that incorporates them without deflating air.
Why it matters: Folding is used specifically when you’ve taken the time to whip air into something — like egg whites, whipped cream, or a light batter — and you need to combine it with something else without losing that air. Stirring aggressively would pop all those tiny bubbles and leave you with a flat, dense result. Folding preserves them.
How to do it: Use a large rubber or silicone spatula. Cut the spatula straight down through the centre of the mixture, sweep it along the bottom of the bowl, then bring it up and over the top of the mixture. Rotate the bowl slightly and repeat. The motion is like turning pages in a slow, deliberate way. Stop as soon as the two mixtures are combined — a few faint streaks are fine. Don’t rush it.
Common mistake: “Folding” but actually stirring. If you’re moving the spatula quickly and in circles, you’re stirring, not folding. Slow down and be deliberate.
Whisk / Whisking
What it means: To beat ingredients together rapidly using a whisk, incorporating air into the mixture and combining everything smoothly.
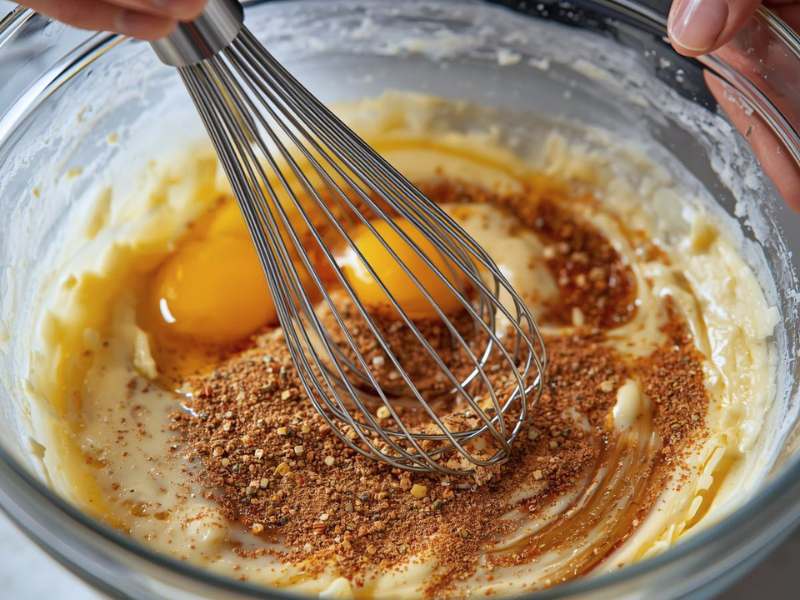
Why it matters: Whisking does several things depending on what you’re whisking. For dry ingredients, it breaks up lumps and blends them evenly. For eggs, it breaks them down and begins incorporating air. For cream or egg whites, vigorous whisking traps air to create volume. For sauces and custards, it keeps things smooth and lump-free.
How to do it: Use a balloon whisk and move it quickly through the mixture in a circular motion or a figure-eight pattern. For whipping cream or egg whites to stiff peaks, a hand mixer or stand mixer will do the job far more efficiently than a hand whisk — it would take many minutes by hand.
Common mistake: Whisking egg whites in a bowl with any trace of fat or yolk. Even a tiny amount of grease prevents egg whites from whipping to stiff peaks. Make sure your bowl and whisk are completely clean and dry.
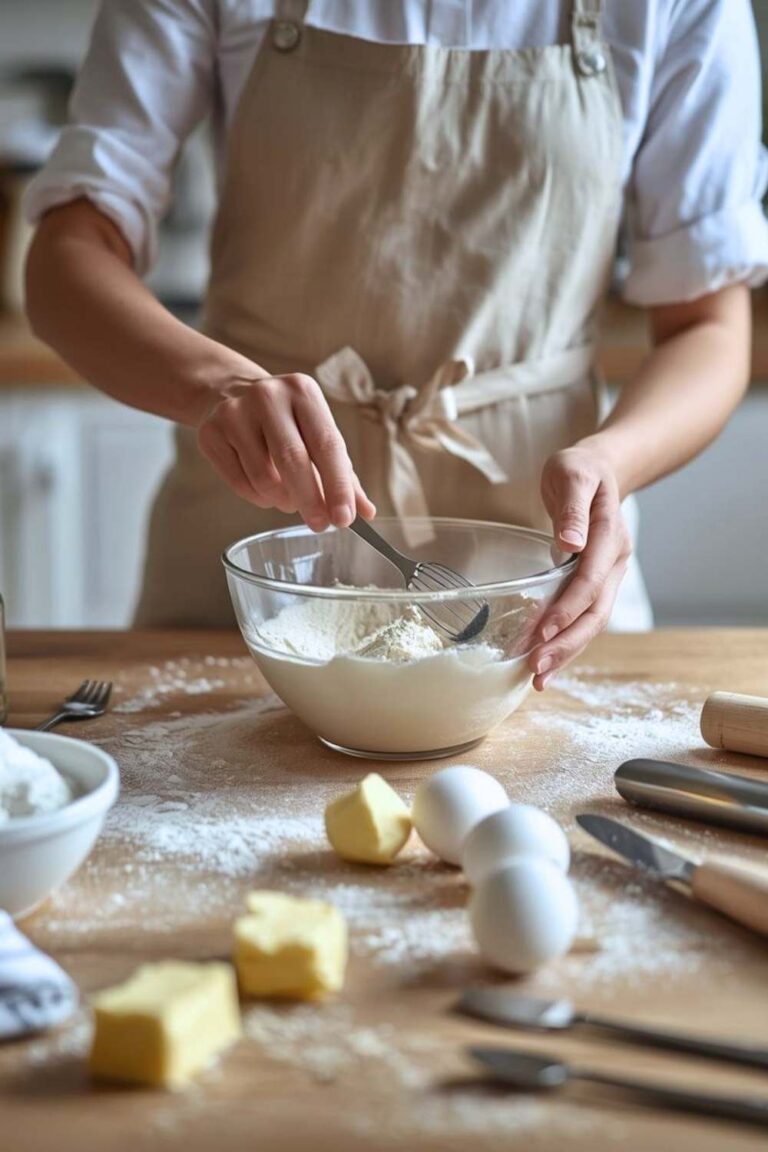
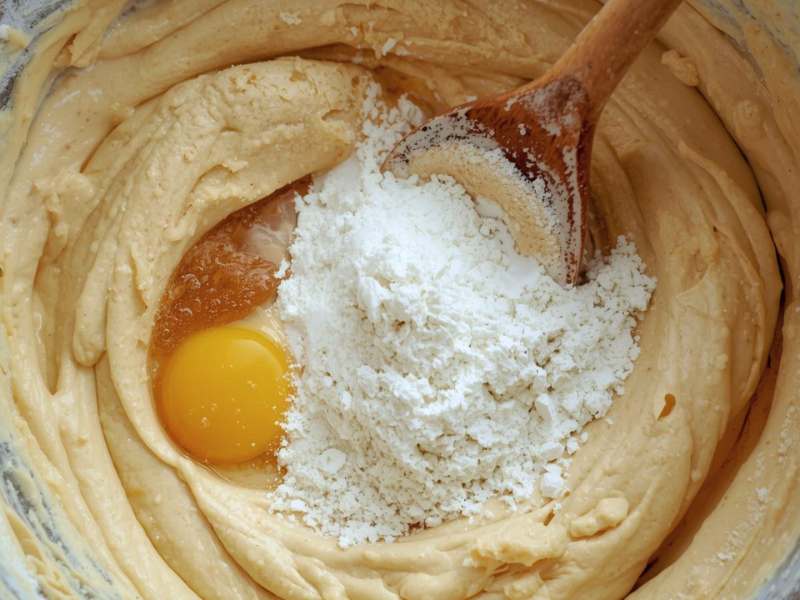
Beat / Beating
What it means: To mix ingredients vigorously and rapidly, either by hand or with an electric mixer, to incorporate air and create a smooth, uniform mixture.
Why it matters: Beating is more aggressive than folding and more intentional about incorporating air than just stirring. It’s used in the early stages of cake making, when making frosting, when making custard bases, or when combining eggs into a batter.
How to do it: Use an electric mixer for speed and efficiency, or a wooden spoon for thicker mixtures. The speed and duration depend on what you’re making — recipes will usually specify when to stop (e.g., “beat until smooth” or “beat for 2 minutes on medium speed”).
Common mistake: Beating when the recipe says to fold. These are not interchangeable instructions. If it says fold, fold.
Stir / Stirring
What it means: To combine ingredients by moving a spoon or spatula through them in a circular or back-and-forth motion, with no particular goal of incorporating air.
Why it matters: Stirring is the gentlest mixing action and is used when you simply need to combine things evenly without developing gluten or incorporating air. It’s often used for mixing dry ingredients together, combining wet ingredients before adding them to dry, or stirring melted chocolate.
How to do it: A wooden spoon, spatula, or whisk will all do the job. Keep the motion slow and even.
Cut In / Rubbing In
What it means: To work cold fat (usually butter) into flour until the mixture resembles rough breadcrumbs or small pea-sized pieces of fat coated in flour.
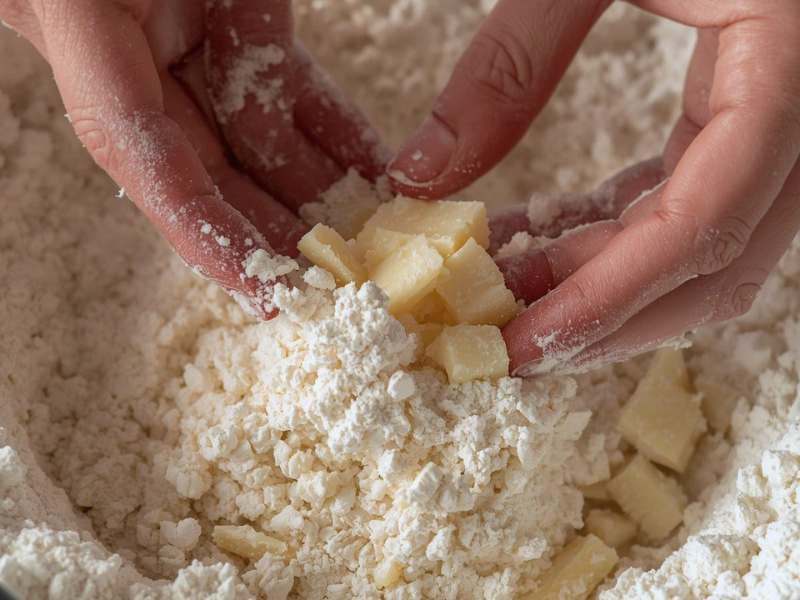
Why it matters: This technique is fundamental to pastry, scones, biscuits, and crumble toppings. By keeping the butter in small, separate pieces rather than fully mixing it into the flour, you create layers and pockets of fat that produce steam during baking — which is what gives pastry and scones their signature flakiness. If the butter melts and blends fully into the flour before baking, you lose that layering effect.
How to do it: Cut cold butter into small cubes and add it to the flour. Using your fingertips (not your whole hand — the warmth of your palms softens the butter too fast), rub the butter into the flour with a quick, light rubbing motion, lifting the mixture as you go to keep it cool and airy. Stop when the mixture looks like rough breadcrumbs with some slightly larger, pea-sized pieces remaining. You can also use a pastry cutter tool for this job.
Common mistake: Overworking the mixture until it comes together into a smooth dough. You want it to look loose and crumbly at this stage, not smooth
Rising and Leavening Terms
Proof / Proofing
What it means: To allow yeast dough to rise. The first proof (also called bulk fermentation) happens after mixing. The second proof happens after shaping.
Why it matters: During proofing, the yeast in the dough is consuming sugars and producing carbon dioxide gas. That gas inflates the dough like tiny balloons, making it light and airy. Without proper proofing, bread is dense, flat, and lacks both texture and flavour. Longer proofing at cooler temperatures also develops more complex flavour in the bread.
How to do it: Place the shaped or unshaped dough in a lightly oiled bowl, cover it with cling film or a damp cloth to prevent it drying out, and leave it somewhere warm — around 24–27°C (75–80°F). A switched-off oven with just the light on, or a warm spot near the cooker, works well. The dough is ready when it has roughly doubled in size.
Common mistake: Proofing in a spot that’s too hot. Very hot temperatures will kill the yeast. If it feels uncomfortable on your hand, it’s too hot for yeast.
Knock Back / Punch Down
What it means: To press or gently punch the risen dough to deflate it after the first proof, before shaping.
Why it matters: After the first rise, dough is full of large, irregular gas bubbles. Knocking it back releases that gas, redistributes the yeast through the dough, and relaxes the gluten so it’s easier to shape. It also leads to a finer, more even crumb in the final bread.
How to do it: With lightly floured hands, press your fist gently into the centre of the dough to deflate it, then fold the edges in toward the centre. It doesn’t need to be dramatic — a gentle deflating is all that’s required.
Activate (Yeast)
What it means: To dissolve yeast in warm liquid (and usually a small amount of sugar) and let it sit for a few minutes until it becomes foamy and bubbly — confirming the yeast is alive and active before adding it to the rest of the recipe.
Why it matters: Yeast is a living organism, and it can die or become inactive from age, improper storage, or liquid that’s too hot or too cold. Activating the yeast first lets you confirm it’s working before committing to the entire recipe. There’s nothing more disheartening than spending three hours on bread dough only to discover the yeast was dead from the beginning.
How to do it: Dissolve the yeast in liquid that’s warm but not hot (around 38–43°C / 100–110°F) with a small pinch of sugar. After 5–10 minutes, it should look foamy and smell distinctly yeasty. If nothing happens, the yeast is dead — discard it and start with fresh yeast.
Leavening / Leavening Agent
What it means: Leavening refers to the process of making a baked good rise. A leavening agent is any ingredient that causes this rise — baking powder, baking soda, yeast, or even beaten eggs.
Why it matters: Without leavening, baked goods would be flat, dense, and unpleasant. Each leavening agent works differently: chemical leaveners (baking powder and soda) produce carbon dioxide through a chemical reaction with moisture and heat; yeast produces carbon dioxide through fermentation; mechanical leavening happens when air is physically beaten or folded into a batter.
Pastry and Dough Terms
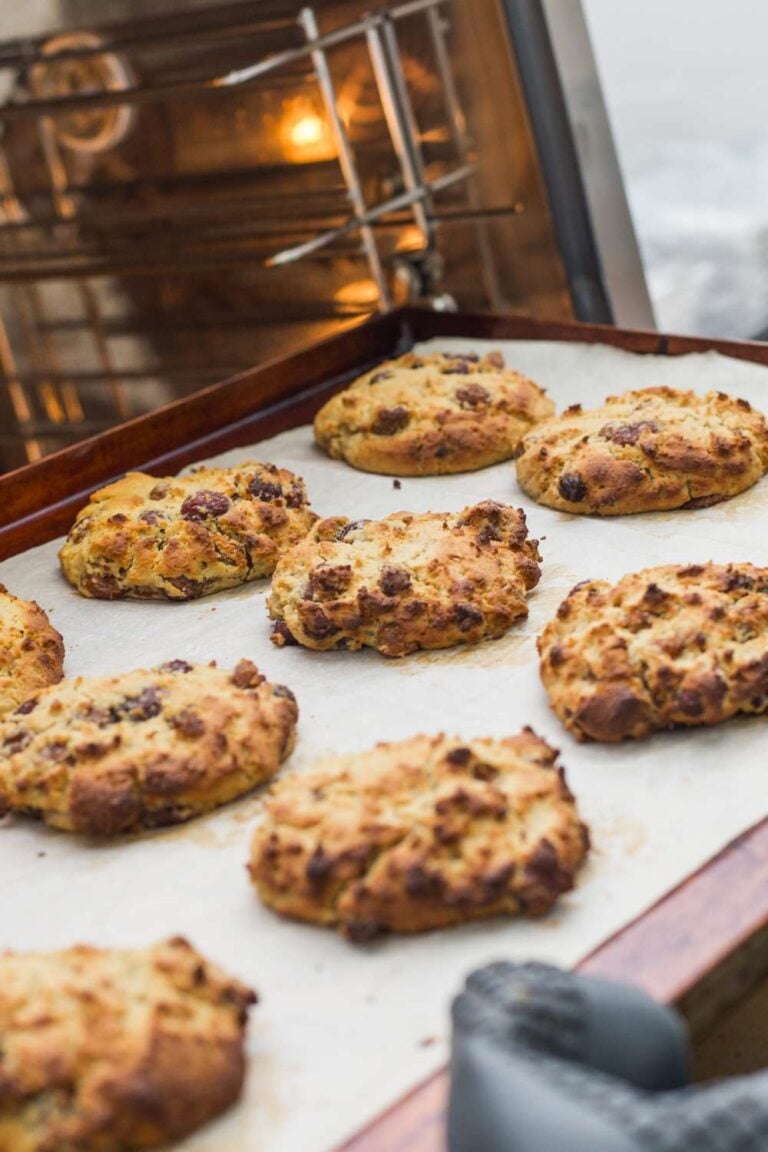
Knead / Kneading
What it means: To work dough by repeatedly pushing, folding, stretching, and turning it in order to develop gluten.
Why it matters: Gluten is the protein network that gives bread its structure and chew. When you knead dough, you’re aligning and strengthening the gluten strands. Well-kneaded dough is smooth, elastic, and strong enough to trap the carbon dioxide produced by yeast — which is what makes bread light and airy. Under-kneaded dough results in bread that’s dense, crumbly, and doesn’t rise properly.
How to do it: Turn the dough out onto a lightly floured surface. Push it away from you with the heel of your hand, fold it back over itself, give it a quarter turn, and repeat. Develop a rhythm — push, fold, turn. For most bread doughs, this takes 8–10 minutes by hand. The dough is ready when it’s smooth, slightly tacky but not sticky, and springs back when you poke it with a finger.
Common mistake: Adding too much flour to prevent sticking. A slightly tacky dough is normal and correct. Over-floured dough makes dense, dry bread.
Score / Scoring
What it means: To cut shallow slashes on the surface of bread dough just before baking.
Why it matters: As bread bakes, it expands rapidly. Without scoring, the bread will burst unevenly through the weakest point in the crust — usually the side. Scoring gives the bread a controlled place to expand, which means better shape and a more open, airy crumb. It also gives artisan loaves their beautiful, professional-looking pattern.
How to do it: Use a sharp knife, a razor blade, or a specialised tool called a bread lame. Make quick, confident slashes about 1cm deep at a slight angle across the top of the loaf just before it goes in the oven. Don’t saw or drag — one clean, decisive motion.
Blind Bake / Blind Baking
What it means: To pre-bake a pastry case (pie or tart shell) before adding the filling.
Why it matters: Some fillings — like custard, cream, or fruit — would make the pastry soggy if baked together. Blind baking firms up and partially cooks the pastry first so it stays crisp once the filling is added. It’s also used for fillings that don’t need to be baked at all (like a cold set cheesecake).
How to do it: Line your pastry-filled tin with parchment paper and fill it with baking beans, dried rice, or ceramic pie weights. This stops the pastry from puffing up. Bake until the edges are set and pale golden, then remove the weights and parchment and bake for a few more minutes until the base is dry and lightly golden.
Dock / Docking
What it means: To poke small holes all over the surface of pastry or dough before baking.
Why it matters: When pastry bakes, steam builds up underneath and causes it to puff up and bubble. Docking lets that steam escape, so the pastry stays flat and even — which is exactly what you want for a tart shell or a cracker base.
How to do it: Use a fork and press it firmly all over the surface of the raw pastry, making rows of small holes. A dedicated tool called a pastry docker (a roller with spikes) makes this faster if you’re doing it regularly.
Temperature and Finishing Terms
Temper / Tempering
What it means: To gradually bring two ingredients or mixtures to a similar temperature before combining them, in order to prevent curdling, scrambling, or seizing.
Why it matters: If you pour hot cream or milk directly onto cold egg yolks (to make a custard, for example), the heat instantly cooks the eggs into scrambled egg bits. Tempering prevents this by slowly raising the temperature of the eggs before they meet the hot liquid — so the transition is gradual and gentle.
How to do it: Ladle a small amount of the hot liquid into the egg mixture while whisking constantly. This warms the eggs slowly. Then pour the egg mixture into the rest of the hot liquid, whisking all the while. Gradual and steady wins the race here.
Tempering also refers to a chocolate process — heating and cooling chocolate to specific temperatures so it sets with a smooth, glossy finish and a satisfying snap. That’s a more advanced technique, but the core principle is the same: controlled temperature change.
Caramelise / Caramelisation
What it means: The process by which sugar melts and turns golden-brown under heat, developing rich, complex, nutty flavour.
Why it matters: Caramelisation is responsible for the golden colour and distinctive flavour of many baked goods — the caramel on a tarte tatin, the golden crust on a crème brûlée, the deeply browned edges of shortbread. It’s also what makes the tops of cakes and muffins golden and appealing.
What to know: Caramelisation happens at temperatures above around 160°C (320°F). Different sugars caramelise at slightly different temperatures, which is why brown sugar and white sugar behave differently when heated.
You’ll love this too: Essential Baking Tools Every Home Baker Needs (with budget options)
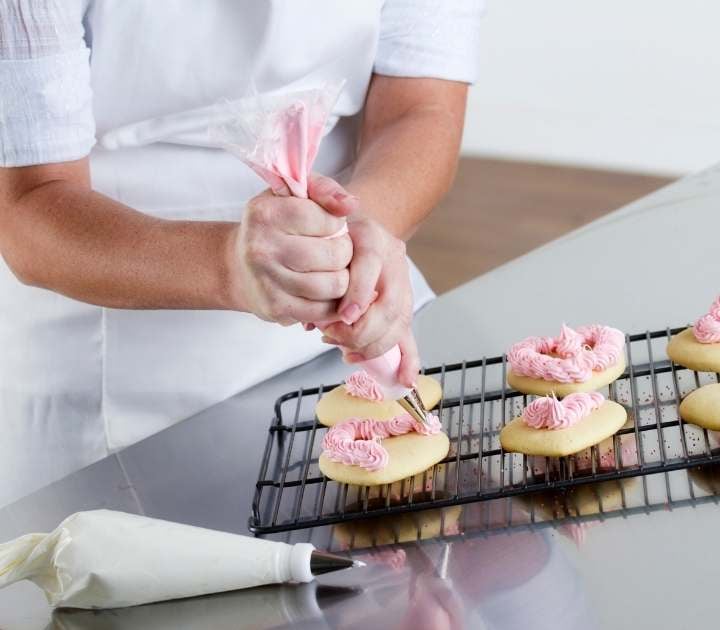
Glaze / Glazing
What it means: To brush or pour a thin, shiny coating over a baked good to give it shine, colour, sweetness, or a protective finish.
Why it matters: Glazing transforms the appearance of baked goods — giving pastries their glossy, professional shine, giving bread loaves their deep golden crust, and adding sweetness to doughnuts and tarts.
Common glazes include:
- Egg wash (beaten egg with a splash of milk or water) brushed on before baking for a golden, shiny finish
- Sugar glaze (icing sugar mixed with liquid) drizzled or spread on after baking
- Apricot jam glaze (warmed and sieved) brushed over fruit tarts to give them a professional, shiny finish
- Honey or syrup glaze brushed on warm bread for shine and flavour
Soft Peaks and Stiff Peaks
What it means: Terms used to describe the consistency of whipped cream or egg whites at different stages of whipping.
Soft peaks — when you lift the beater and the mixture forms a peak that gently curls over and droops back on itself. The mixture holds some shape but is still soft and flowing. This is what you want for folding into batters or using as a light topping.
Stiff peaks — when the peak stands straight up and doesn’t droop or curl at all. The mixture is glossy, firm, and holds its shape completely. This is what you need for meringue, pavlova, and stable frostings.
Why it matters: Using cream or egg whites at the wrong stage of whipping can ruin a recipe. Under-whipped egg whites won’t hold the structure of a meringue. Over-whipped cream turns grainy and then into butter.
Maillard Reaction
What it means: The chemical reaction between amino acids (proteins) and sugars that produces browning and the development of hundreds of complex flavour compounds.
Why it matters: The Maillard reaction is responsible for the golden-brown colour and deeply satisfying flavour of baked goods — the crust of a loaf of bread, the golden top of a muffin, the beautiful colour of cookies. It begins at around 140–165°C (280–330°F) and is distinct from caramelisation (which involves only sugar).
Understanding the Maillard reaction helps you troubleshoot browning problems. If your baked goods are pale, the oven may be too low, the pan may be too light, or the rack position too high. If they’re browning too fast, the oven is too hot or the pan is too dark.
Other Baking Terms Worth Knowing
Sift: To pass dry ingredients through a fine mesh strainer to remove lumps and incorporate air. Used for flour, cocoa, and icing sugar.
Grease: To coat a baking pan with butter, oil, or cooking spray to prevent sticking.
Dust: To lightly coat a surface or finished baked good with a fine layer of flour, icing sugar, or cocoa powder.
Baste: To brush or spoon liquid (like butter, syrup, or egg wash) over a baked good during or after baking.
Rest: To let dough or batter sit undisturbed before baking. Resting relaxes the gluten in pastry and bread doughs, making them easier to roll and shape. It also allows liquid to fully hydrate flour for better texture.
Zest: The colourful outer layer of citrus peel, grated finely. Packed with essential oils and flavour — far more intensely flavoured than juice. When a recipe says “zest of one lemon,” use a microplane or fine grater and only take the coloured part (the white pith underneath is bitter).
Mise en place: The practice of measuring and preparing all your ingredients before you start baking. A French culinary term meaning “everything in its place.” It sounds fussy, but it prevents mistakes, speeds up the baking process, and makes you feel wonderfully organized.
Ganache: A mixture of melted chocolate and warm cream, stirred together until smooth and glossy. Used as a glaze, frosting, filling, or truffle base depending on the ratio of chocolate to cream.
Learn more here: Aesthetic Baking Setup Ideas For Beginners
Final Thoughts
Baking terminology is like learning the vocabulary of a new language. It can feel overwhelming at first, but the more you encounter these terms in recipes and practice the techniques they describe, the more naturally they’ll become part of how you think about baking.
The next time a recipe tells you to fold, you’ll know exactly why — and you’ll do it slowly, deliberately, and with intention. When it says to cream the butter and sugar, you’ll know to start with room-temperature butter and run the mixer for a full five minutes. When it says to knead until smooth and elastic, you’ll understand what you’re building and what you’re aiming for.
That understanding is what makes you a baker, not just someone who follows instructions.