Aesthetic Baking Setup Ideas For Beginners
There’s a moment that happens to a lot of new bakers. You make something for the first time, it turns out well, and you think: “I want to do this more. I want a proper space for this.”
Maybe you’ve been scrolling through baking content online and found yourself drawn not just to the recipes but to the kitchens. You admire the beautiful, organized, photogenic baking setups. The matching canisters. The neatly arranged rolling pins. The morning light coming through the window as a baker bakers her freshly made bread.
You may find this helpful: The Ultimate Beginners Guide to Baking (Everything You Need To Know to Start)
It looks amazing to you and you want to start up something like that. You can absolutely create a beautiful, functional, and inspiring baking space for yourself, without a luxury kitchen renovation and without spending a fortune.
In this guide, you’ll learn how to create an aesthetic baking space that truly works for you, whether you’re using a small corner in a compact kitchen, sharing space with others, or setting up a dedicated baking area.
From smart organisation and storage to choosing a cohesive look and adding simple styling touches, we’ll cover everything you need to turn your baking space into something both functional and genuinely enjoyable to use.
Let’s build your dream baking space.
Why a Beautiful Baking Setup Actually Matters
Aesthetic baking setup ideas for beginners is more than just aesthetics or how large your baking space is. Your environment genuinely affects how you feel when you bake and how often you actually do it.
When your baking tools are buried in cluttered drawers, your flour is in an unlabelled bag stuffed behind other bags, and there’s nowhere clean to work, baking feels like a chore before you’ve even started. You put it off. You tell yourself you’ll do it “when things are more organised.”
But when your space is clean, organized, and even a little beautiful — when your tools are easy to find and your ingredients are displayed in pretty canisters and there’s room to actually work, baking feels like a pleasure. You look forward to it. You bake more. And that means you get better faster.
So yes, the aesthetic matters. But it also has to function. The best baking setups are beautiful and practical at the same time, every single element earns its place.
Check this out next: Baking Flat Lay Ideas For Instagram & Pinterest
Aesthetic Baking Setup Ideas For Beginners (Start With the Basics: A Clean, Organized Workspace)
Before you start thinking about canisters and colour schemes, sort out your organisation. A beautiful baking setup built on a disorganised base will never feel quite right — and it won’t be practical to work in.
1. Declutter Your Baking Tools First
Start by pulling out every baking-related item you own and sorting it honestly. What do you actually use? What have you used once in two years? What’s broken, warped, or past its best?
Be ruthless. A smaller collection of high-quality, frequently-used tools you love is far better — practically and visually — than a massive jumble of things you hold onto “just in case.” Donate what you don’t need. Throw away what’s broken.
Bookmark this: Essential Baking Tools Every Home Baker Needs (with budget options)
What should stay: the tools you use regularly, the tools you’ll use as you develop as a baker, and anything that holds genuine sentimental value. Everything else can go.
2. Group Your Tools by Function
Once you’ve decluttered, organise what remains by category:
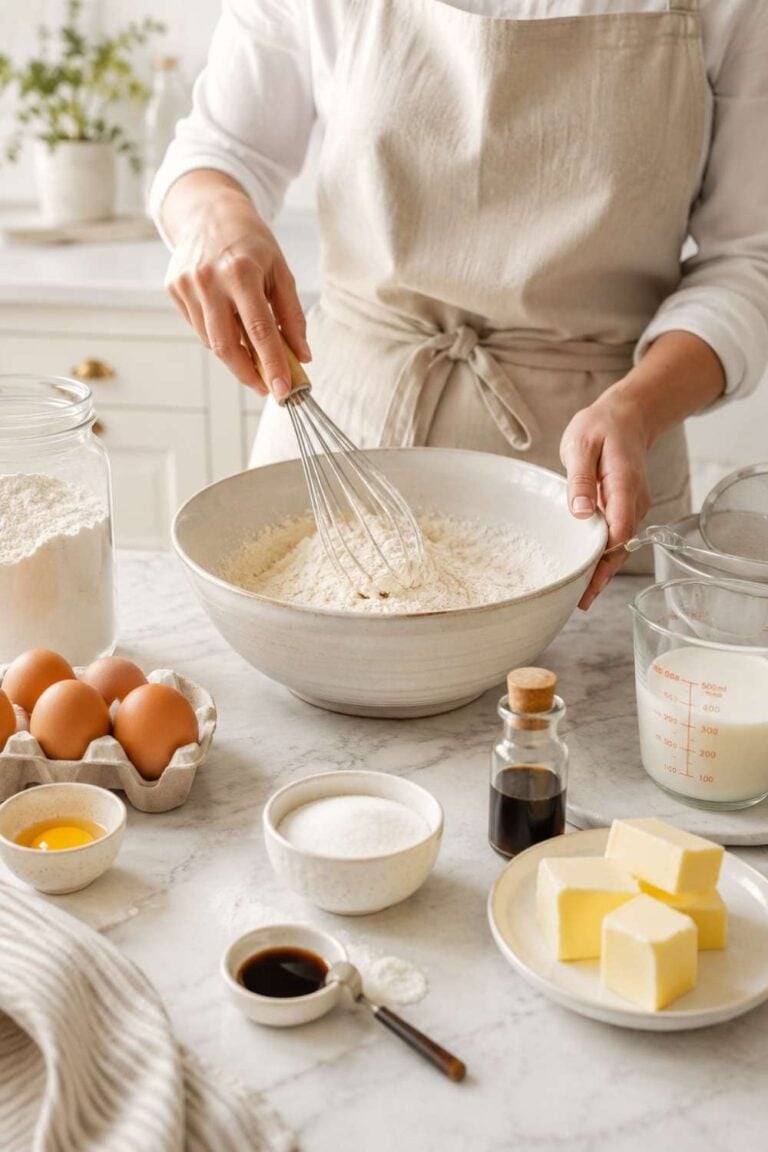
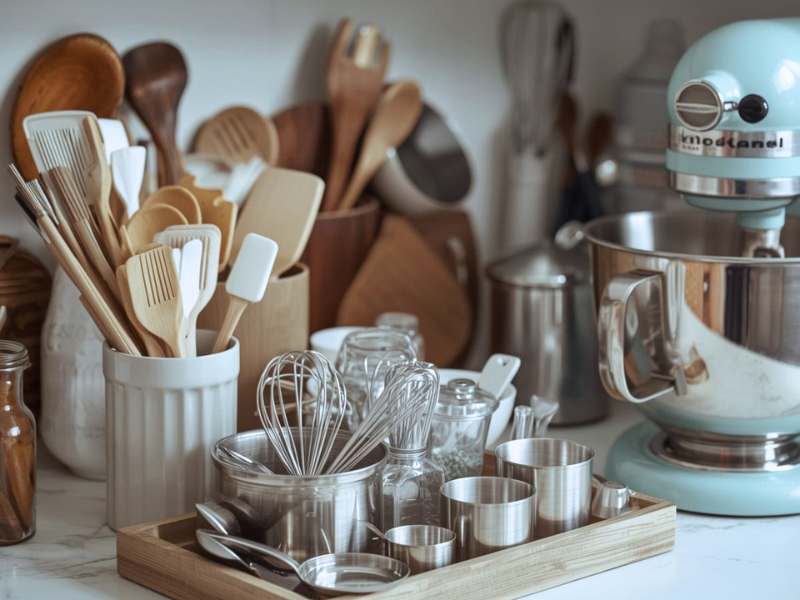
Measuring tools (cups, spoons, scale) should all live together in one place — ideally somewhere easily accessible since you’ll use them every single time you bake.
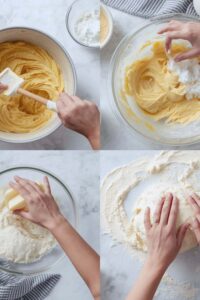
Mixing tools (bowls, whisks, spatulas, spoons) should be stored together, ideally near your main prep area.
Baking pans and tins should be stored vertically if possible (using a pan organiser or file holder inside a cupboard) so you can grab the one you need without unpacking the entire stack.
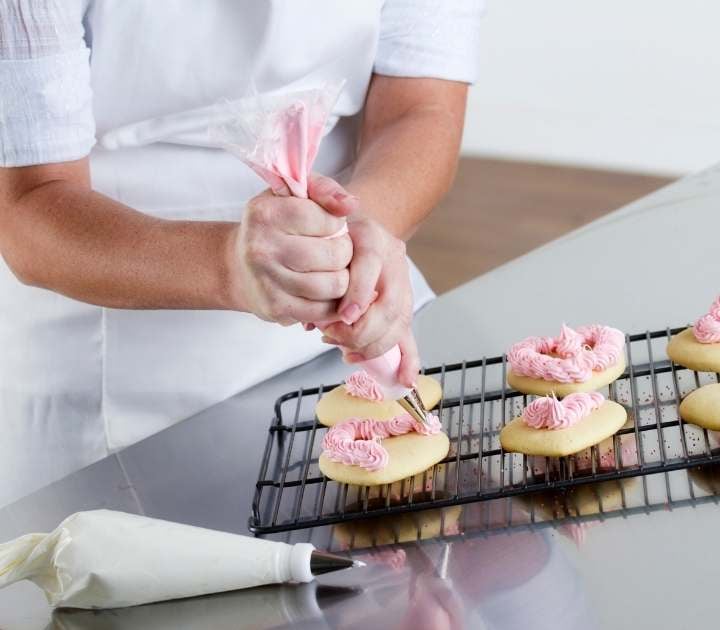
Decorating tools (piping bags, tips, cutters, turntable) should live in their own dedicated drawer or container so they’re easy to find and don’t get tangled with everything else.
Baking ingredients deserve their own section — which we’ll talk about in a moment.
The Baking Pantry: Making Ingredients Beautiful and Accessible
This is where aesthetic baking setups really come to life — and where small changes make a dramatic difference.
1. Invest in Glass Jars and Canisters
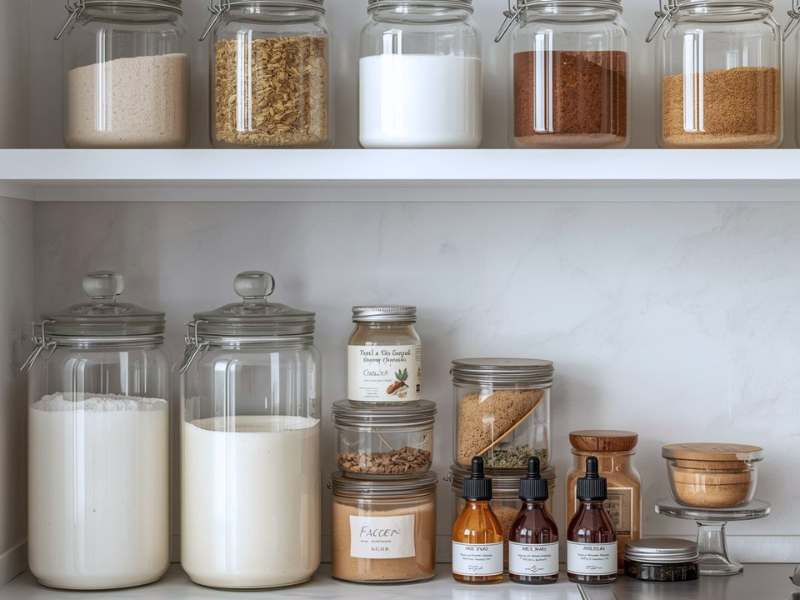
If there’s one single change that transforms a baking space from “functional kitchen corner” to “beautiful baking setup,” it’s transferring your dry ingredients from their original bags into matching glass jars or airtight canisters.
The visual impact is immediate. A row of matching glass jars filled with flour, sugar, brown sugar, oats, and cocoa powder looks genuinely beautiful — and it’s also far more practical. You can see how much of each ingredient you have at a glance, the jars keep ingredients fresh, and the lids create an airtight seal that keeps moisture and pests out.
What to store in jars:
- All-purpose flour
- Caster sugar / granulated sugar
- Brown sugar
- Icing / powdered sugar
- Cocoa powder
- Rolled oats
- Baking powder and bicarbonate of soda (smaller jars)
- Cornflour / cornstarch
- Vanilla sugar (if you make your own)
Jar styles that look great: Kilner jars with clip-top lids have a timeless, cottage-bakery feel. Wide-mouth mason jars are clean and simple. Matte ceramic canisters give a more modern, minimal look. Whatever style you choose — consistency matters. A mismatched collection of random containers looks chaotic. A matched set, even a basic one, looks intentional and lovely.
Label everything. Flour and icing sugar look nearly identical in a jar. Baking powder and bicarbonate of soda are very easy to mix up. Clear, readable labels — whether handwritten on kraft paper tags, printed, or using a label maker — are both practical and a lovely design touch.
2: Herbs, Spices, and Extracts
Your spice and extract collection — cinnamon, nutmeg, cardamom, vanilla extract, almond extract, and so on — can easily become visual clutter if they’re not organised. A small spice rack, a tiered shelf, or a shallow drawer organiser keeps these tidy and easy to find.
Group them alphabetically, or by how frequently you use them — either way works. The key is consistency so you always know where to find what you need in the middle of a bake.
Creating a Dedicated Baking Zone
How to Carve Out a Baking Space in Any Kitchen
You don’t need a big kitchen to have a proper baking setup. Even in a small apartment kitchen, you can designate a specific area as your baking zone — and making it visually distinct from the rest of your kitchen gives it a sense of intention and identity.
1. Choose Your Zone Thoughtfully
Your baking area needs: a clear stretch of counter surface to work on, easy access to your most-used tools, nearby storage for your baking ingredients, and access to your oven and fridge without excessive back-and-forth.
In most kitchens, the best baking zone is a stretch of counter near the oven, with storage immediately above or below. If you have a kitchen island, that often makes an ideal baking zone because it gives you wraparound access and plenty of surface space.
2. Surface Space Is Sacred
Protect your baking counter space. The single biggest enemy of a functional baking setup is counter clutter — appliances, mail, random items that migrate from other rooms and never leave.
Decide what lives on your baking counter and what doesn’t. In a beautiful baking setup, the counter holds only the things that are used regularly and earn visual space: your stand mixer if you have one, your canister set, perhaps a wooden cutting board or marble pastry board, and a few well-chosen decorative items. Everything else lives in a cupboard.
Discover more here: Dream Baking Kitchen Inspiration
3: Add a Pastry Board or Marble Slab
A large wooden cutting board or a marble pastry board placed on the counter immediately elevates the look of a baking space. Practically, it gives you a dedicated rolling surface that doesn’t scratch or wear. Aesthetically, it grounds the space and gives it a sense of purpose.
Marble is beautiful and practical — it stays naturally cool, which is wonderful for pastry and chocolate work. Wooden boards have a warmer, more rustic feel. Both look excellent in a baking setup and both last essentially forever with basic care.
Aesthetic Baking Setup Ideas For Beginners
One of the most enjoyable parts of setting up a baking space is deciding on a visual style. Here are some of the most popular aesthetics for baking setups, with practical ideas for achieving each one.
1. Cottagecore / Rustic Bakery
This is the warm, nostalgic baking aesthetic that feels like your grandmother’s kitchen, if your grandmother happened to have excellent taste and a very tidy pantry.

Key elements: Kilner jars with handwritten labels. A wooden bread bin. Linen or cotton tea towels in natural, earthy tones. A vintage-style stand mixer in cream or powder blue. Wicker baskets for storing bread and fruit. Ceramic mixing bowls in cream or soft earth tones. Dried herbs hanging from hooks. A well-worn wooden rolling pin displayed on the counter.
Colour palette: Warm whites, creams, taupes, soft browns, sage green, dusty rose.
Vibe: Slow mornings, sourdough, farmers’ market, homemade jam.
2. Clean and Minimal / Scandinavian
A clean, uncluttered baking setup that’s all about function and simplicity, with beautiful materials doing the visual work.
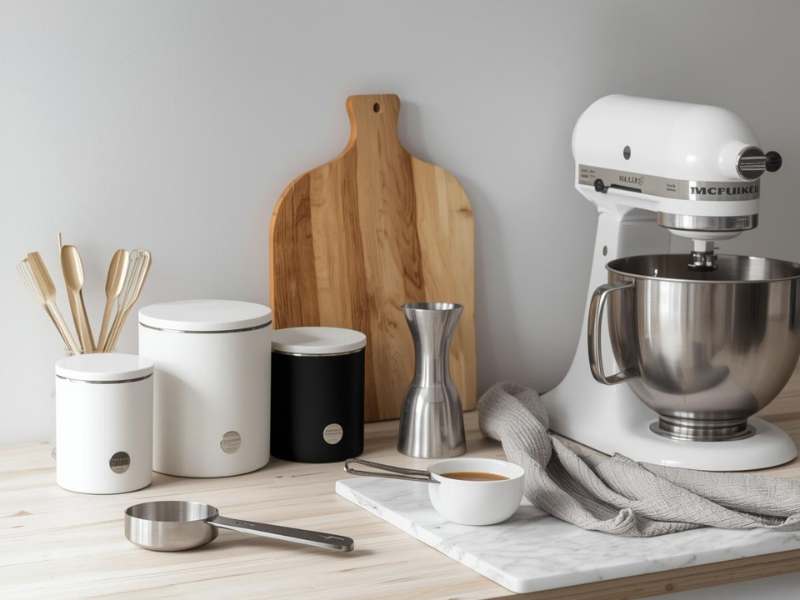
Key elements: Matte white or black ceramic canisters. A sleek digital kitchen scale. Simple, handle-free measuring cups in stainless steel. A white marble pastry board. Neutral linen tea towels. Tools stored out of sight in drawers. A stand mixer in a single, clean colour. No unnecessary decoration — every item on the counter has a purpose.
Colour palette: White, grey, black, natural wood tones, occasional muted terracotta or dusty blue as accent.
Vibe: Calm, purposeful, beautiful in its restraint.
3. Modern Dark / Moody Baking

A more dramatic baking aesthetic that’s grown significantly in popularity — dark, rich, and deeply atmospheric.
Key elements: Dark-painted or dark-tiled backsplash. Matte black tools and accessories. Dark ceramic mixing bowls. Black or dark forest green stand mixer. Brass or copper hardware and hooks. Dark wood surfaces. Dramatic lighting (pendant lights rather than harsh overhead fluorescents). Dark linen tea towels. A handsome, serious look — the kind of setup that makes everything you bake look slightly gothic and extraordinarily delicious.
Colour palette: Charcoal, deep forest green, navy, black, brass, dark walnut wood.
Vibe: Late-night baking, dark chocolate, dramatic pastry, moody photography.
4. Vintage / Retro Pastel
Cheerful, colorful, nostalgic — the baking aesthetic that makes your kitchen feel like a 1950s diner crossed with a French patisserie.

Key elements: Pastel-colored stand mixer (the KitchenAid Artisan in Pistachio, Majestic Yellow, or Hibiscus is iconic here). Matching pastel ceramic canisters. Retro-print tea towels. A gingham or floral apron hung on a hook. Pastel enamelware. Decorative cake stands displayed on the counter. A collection of vintage baking tins or cookbooks as display pieces.
Color palette: Mint green, pale pink, butter yellow, sky blue, lilac.
Vibe: Sunday baking, birthday cakes, pastel sprinkles, afternoon tea.
5. Natural / Earthy Organic
A warm, textural baking aesthetic rooted in natural materials and a connection to ingredients.
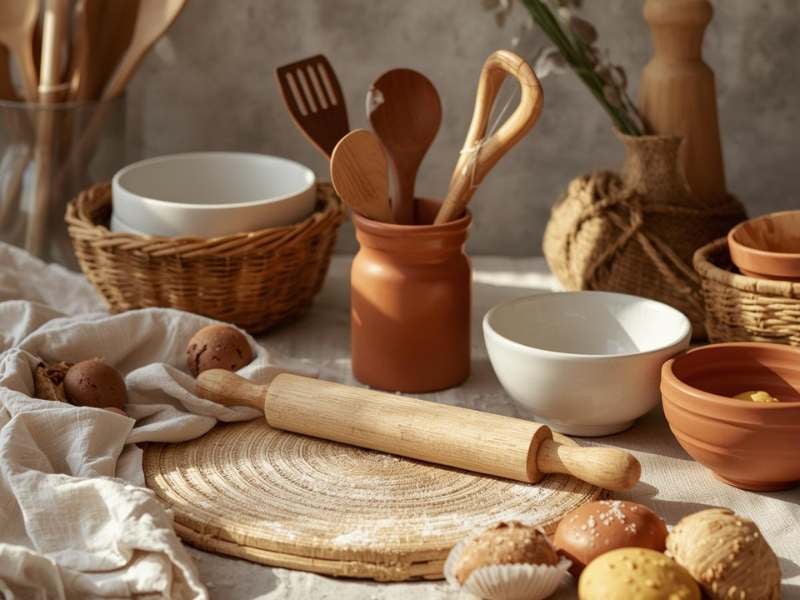
Key elements: Unglazed terracotta pots for storing utensils. Natural wood cutting boards and rolling pins. Beeswax wraps instead of plastic. Linen and jute tea towels. Woven baskets. Simple clay or stoneware mixing bowls. Dried flowers or a small herb plant on the windowsill. Ingredients displayed in natural tones — the warm gold of flour and oats, the dark brown of sugar, the deep red of rye.
Colour palette: Warm terracotta, sandy beige, olive green, deep browns, natural linen.
Vibe: Wholesome, earthy, nourishing, handmade.
The Finishing Touches That Elevate a Baking Setup
Once your space is organised and you’ve found your aesthetic direction, it’s the small details that transform a tidy kitchen corner into a genuinely beautiful, inspiring baking space.
1. Display Your Favourite Tools
Instead of hiding all your tools in drawers, consider putting the beautiful ones on display. A set of wooden-handled tools in a ceramic crock on the counter looks lovely. A row of nested mixing bowls stacked on an open shelf is visually satisfying. A well-loved rolling pin resting across two hooks on the wall is charming and practical.
The key is curation — choose a few things to display that are genuinely beautiful, and store the rest. Overcrowded displays look cluttered. Carefully chosen displays look intentional.
2. Invest in a Good Apron
An apron is one of those items that’s both functional and aesthetic in equal measure. A well-chosen apron signals that you take your baking seriously, protects your clothes, and — worn or displayed on a hook — becomes a genuine style element in your baking space.
Linen aprons in natural tones have a professional, artisan feel. Cross-back aprons are comfortable and look modern. Vintage-style bib aprons with pockets are practical and charming. Choose one that matches your aesthetic and that you actually enjoy putting on — because putting it on is part of the ritual of baking.
Don’t skip this guide: Common Baking Mistakes and How to Fix Them Fast
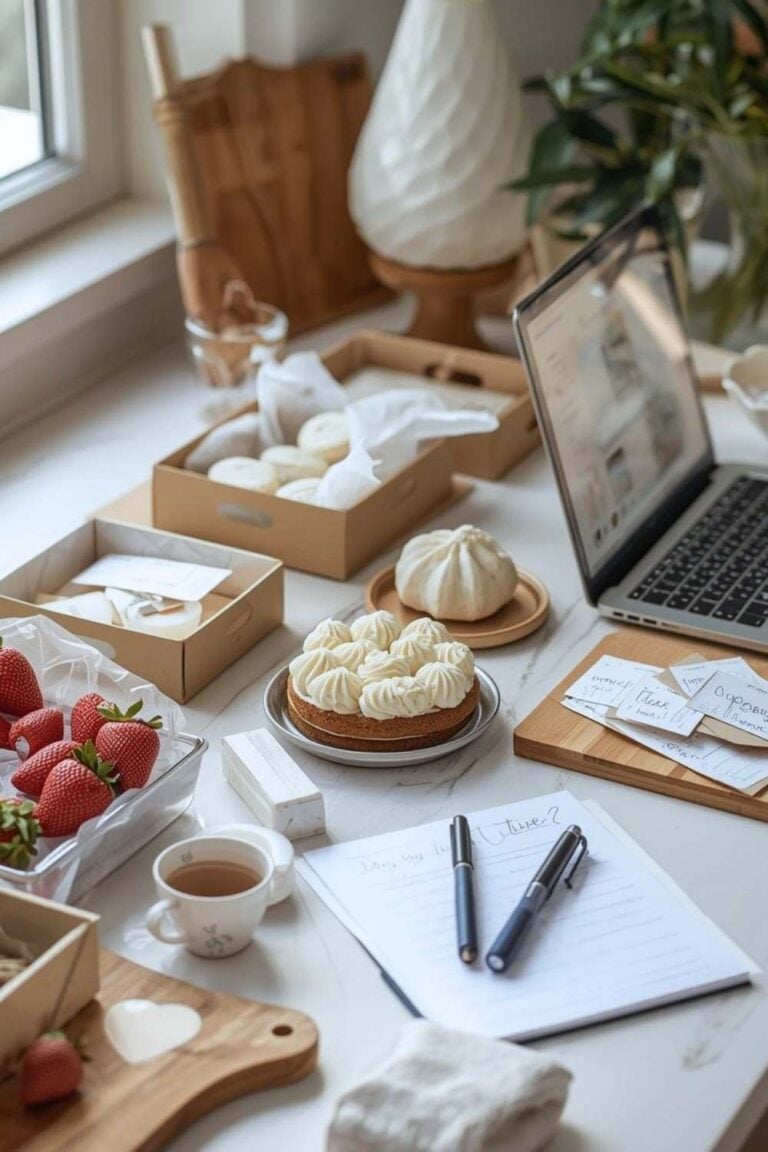
3. Add a Cookbook Stand or Recipe Display
A beautiful cookbook propped open on a stand, or a recipe card holder, is both functional and lovely. It keeps your recipe at eye level while you bake, protects your books from spills, and gives the space a sense of being actively used and loved.
A simple acrylic stand, a wooden book rest, or a vintage metal book holder all work beautifully. This is a small, inexpensive detail that makes the baking experience feel more considered.
4. Lighting Matters More Than You Think
Good lighting in a baking space is partly practical (you need to be able to see what you’re doing) and partly aesthetic. Harsh overhead fluorescent lighting makes everything look flat and uninviting. Warm, natural, or incandescent lighting makes a space feel welcoming and makes your bakes look genuinely beautiful.
If you have control over your kitchen lighting, opt for warm-toned bulbs. If you can position a small lamp or LED strip under upper cabinets to light your work surface, that makes both baking and photography dramatically better. Natural light from a window is the gold standard — if you can bake near a window, do.
5. A Plant or Two
A small potted herb (rosemary, thyme, or a bay leaf plant) or a trailing plant on a shelf brings warmth and life to a baking space in a way that feels both natural and styled. Fresh herbs are also genuinely useful for certain baking recipes. A plant on the windowsill above your sink, or tucked into a corner of the counter, softens what might otherwise feel like a purely functional workspace.
Baking Setup Ideas for Beginners (Small Spaces)
Not everyone has a large, open-plan kitchen with acres of counter space. If you’re working with a tiny kitchen, these ideas will help you maximise your space without sacrificing the aesthetic.
Use vertical space. Install a magnetic knife strip for metal tools, floating shelves for jars and cookbooks, and hooks on the inside of cabinet doors for measuring cups and small tools. Going vertical frees up counter space without losing storage.
A rolling cart or trolley can be your portable baking station. When you’re not baking, it rolls away. When you are, it gives you extra surface and storage right where you need it. Styled with matching jars and a few well-chosen tools, a trolley can look intentionally beautiful rather than improvised.
A foldable or pull-out pastry board installed under the counter is a space-saving dream for anyone who regularly rolls pastry or kneads dough.
Edit even more ruthlessly. Small spaces only look beautiful when they’re genuinely uncluttered. Every item has to earn its place. Be honest about what you use and store everything else out of sight.
Final Thoughts
Creating a beautiful baking setup is really about creating a space that reflects how you feel about baking — and one that makes you want to bake more. It doesn’t have to be expensive, it doesn’t have to be perfect, and it definitely doesn’t have to look like anyone else’s.
Start with what you have. Declutter honestly. Find an aesthetic direction that genuinely excites you. Invest in a few key pieces — a set of matching jars, a good apron, a marble board — and let the rest develop over time as you bake more and get to know what you actually need and love.
The best baking setups aren’t the ones with the fanciest equipment or the most Instagram-worthy angles. They’re the ones that are genuinely used, genuinely loved, and filled with the energy of someone who bakes with joy.
Make your space feel like that. The beautiful photos will follow.