Baking Flat Lay Ideas For Instagram & Pinterest
Imagine spending hours baking something beautiful. It looks good and the smell is great. And then you go to take a picture and the photography comes out flat. It looks lifeless, and somehow makes your baking less appealing.
Food photography can feel like a completely separate skill from baking, and honestly, it is. But it’s also learnable. And flat lay photography specifically, shooting from directly above, everything arranged on a surface is easy. It is one of the easiest formats once you understand a few basic rules.
Read this next: Aesthetic Baking Setup Ideas For Beginners
You don’t need a camera, a photography course, or a Pinterest-perfect kitchen to get there. You need good light, a clean surface, and an understanding of what actually makes a flat lay work. That’s what this post baking flat lay ideas for Instagram & Pinterest covers.
This post will teach you the fundamentals, the props, and a solid list of specific flat lay ideas you can use for your own baking content. Food photography is a skill, and flat lay photography specifically has its own set of rules that, once you understand them, make a massive difference to the quality of your shots.
What Is a Flat Lay?
A flat lay is a photograph taken from directly above the subject, the camera (or phone) is held overhead, parallel to the surface, pointing straight down. Everything is arranged on a flat surface and shot from a bird’s eye view.
Flat lays are popular for food photography because they give you complete control over the composition. You can see every element in the frame at once, arrange and rearrange until the layout feels right, and control negative space (the empty areas in the image) deliberately.
For baking content specifically, flat lays are ideal because they let you show off the full spread — the finished bake and all the ingredients, props, and context around it — in a way that tells a story and looks intentional rather than just “here’s a thing I made.”
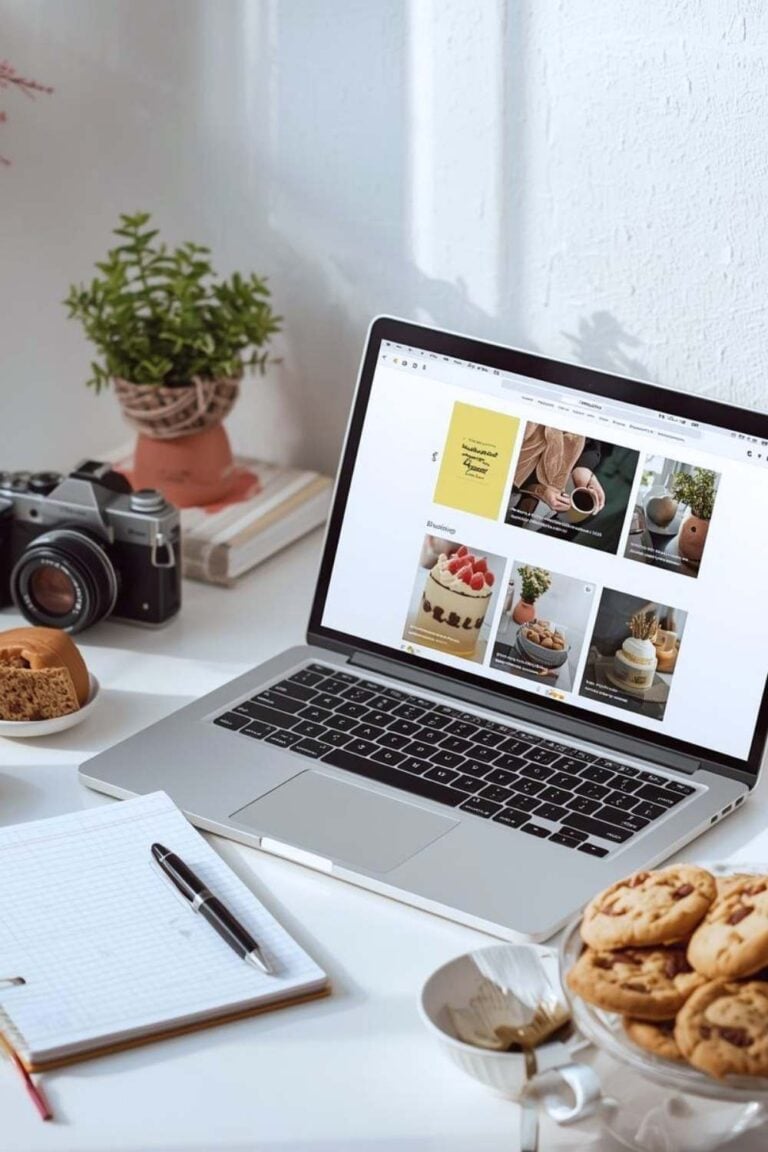
They’re also very Pinterest-friendly. Pinterest is a visual search engine, and flat lays tend to perform well because they read clearly as thumbnails, include a lot of visual information in one image, and lend themselves to the vertical format that Pinterest favours.
Bookmark this: Dream Baking Kitchen Inspiration (Pinterest – Worthy Setup)
The Foundations of a Good Baking Flat Lay
Before the ideas and the props and the styling, there are a few fundamentals that separate a flat lay that looks great from one that falls flat. These apply to every type of baking flat lay, regardless of style.
1. Light (Natural Is Always Best)
Light is the single most important element in any food photograph. In flat lay photography, light matters even more because there are no angles to work with — everything has to look good from above.
Natural light from a window is almost always the best option for baking flat lays. Set your flat lay surface next to a window that gets good light — ideally indirect light (a window that doesn’t get direct sun blasting through it, which creates harsh shadows) or gentle morning light. North-facing windows are ideal because they give consistent, diffused light throughout the day.
Avoid overhead artificial lighting for flat lays. Ceiling lights cast flat, uninteresting light and often create colour casts (that yellow or orange tint you sometimes see in food photos). If you’re shooting in the evening without natural light, a daylight-temperature LED photography light (they’re inexpensive) will make a significant difference.
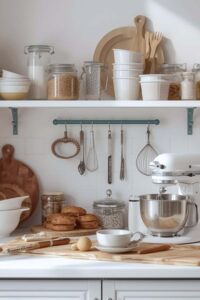
2. Your Background / Surface
Your shooting surface is the background of your flat lay, so it matters a lot. The most versatile and widely used surfaces for baking flat lays include:
White marble or marble-effect surface. The classic choice for baking flat lays. Clean, elegant, and makes baked goods pop beautifully. A marble pastry board, a marble tile, or a marble-effect vinyl photography backdrop all work.
Rustic wood. Warm, natural, and particularly beautiful for bread, pastry, and autumn/winter baking content. A wooden chopping board, a wooden table surface, or a wood-effect photography backdrop.
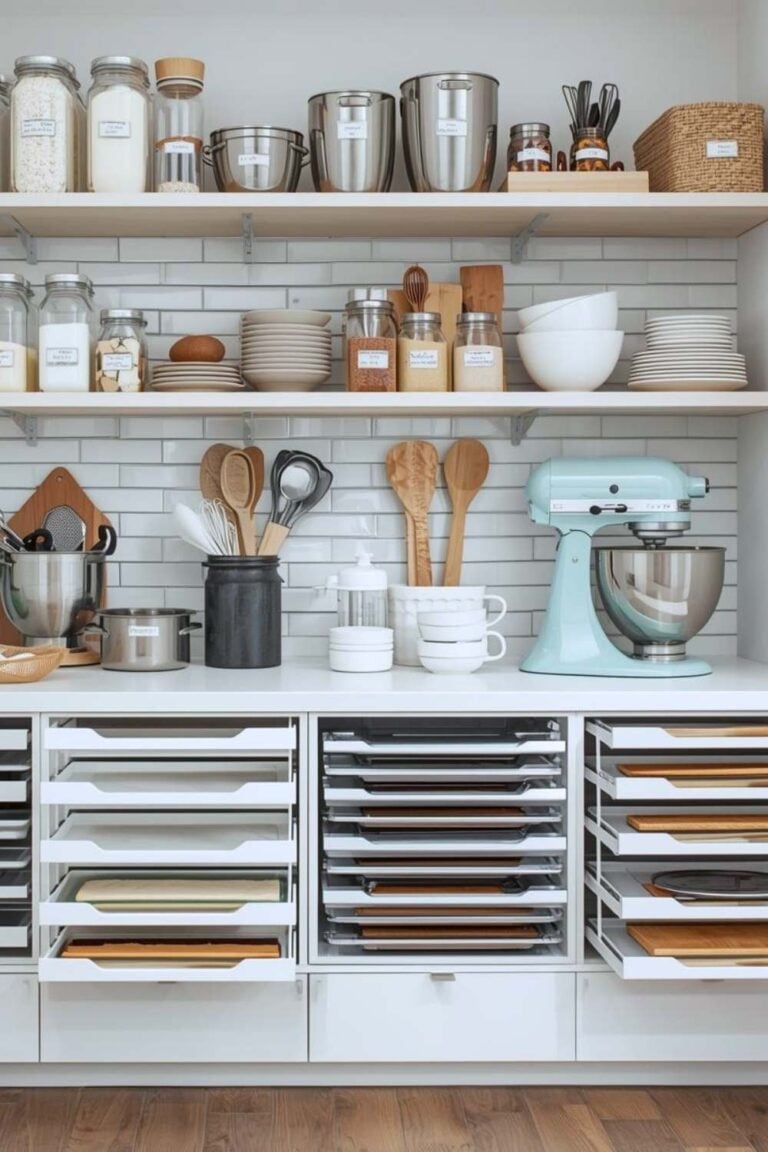
Read this before you go: Baking Station Organization Ideas That Will Transform Your Kitchen
Linen or fabric. A piece of linen, cotton, or linen-effect fabric laid flat as a backdrop gives a soft, textural quality. Works beautifully with neutral and earthy baking aesthetics.
Dark slate or dark surfaces. Particularly striking for dramatic baking content — dark chocolate desserts, dark pastry, moody winter baking. Creates a strong contrast.
Painted surfaces. A piece of plywood or board painted in a flat, matte colour makes an excellent photography backdrop. Dusty pink, sage green, warm white, and grey are all popular choices for baking content.
Photography vinyl backdrops (available for around $10–$20) are one of the most cost-effective solutions — they roll up for compact storage and give you multiple surface options without committing to an actual marble slab.
3. Composition (The Rule of Thirds)
You don’t need to study photography formally to take better flat lays, but understanding one basic composition principle helps enormously: the rule of thirds.
Divide your frame into a 3×3 grid (your phone camera probably has this grid overlay option in settings — turn it on). The most visually interesting placements for your hero subject (the main baked good) are at the intersection points of the grid lines, not dead centre. Dead centre can work, but off-centre placement usually creates more dynamic, interesting images.
Leave breathing room. Not every inch of the frame needs to be filled. Negative space — areas with nothing in them — gives the eye somewhere to rest and makes the image feel less cluttered.
4. Odd Numbers
Props and elements styled in odd numbers (3, 5, 7) tend to look more natural and visually pleasing than even numbers. Three cookies rather than four. Five scattered almonds rather than six. This is a small thing but it makes a noticeable difference to how styled a flat lay looks.
Props for Baking Flat Lays
Props tell the story of what you’ve baked and create context around your hero. The key is to use props that relate to the bake — ingredients used in the recipe, tools used to make it, textures and elements that complement it visually.
Raw ingredients as props: Flour dusted naturally on the surface, whole eggs, a cup of sugar, scattered chocolate chips, a handful of nuts or dried fruit. These feel natural and show the origin story of what you’ve baked.
Baking tools as props: Measuring spoons, a whisk, a rolling pin, a small bowl, a sifter with a dusting of flour or icing sugar beneath it. Tools ground the image in the baking process.
Textiles: A folded linen tea towel underneath or to the side of the bake, a piece of parchment paper (especially if it has bake marks or crinkles — that looks authentic), a square of gingham fabric.
Vessels and plates: A small ceramic plate or bowl for displaying a portion, a vintage plate for a more nostalgic feel, a slate board, a wire cooling rack.
Greenery and botanicals: Fresh herbs (rosemary, thyme, mint), edible flowers, a small sprig of something seasonal. These add life and colour to a flat lay without overwhelming it.
Drinks: A cup of coffee, tea in a nice cup, a small glass of milk alongside cookie or cake flat lays. The drink adds scale and a lifestyle element.
The cut piece: If you’re photographing a cake, loaf, or tart, always include a cut piece showing the interior. The inside of a bake is often as beautiful as the outside the layers, the crumb, the filling and it adds depth and information to the flat lay.
Baking Flat Lay Ideas For Instagram & Pinterest
Here are flat lay concepts you can use as inspiration and adapt to your own baking content.
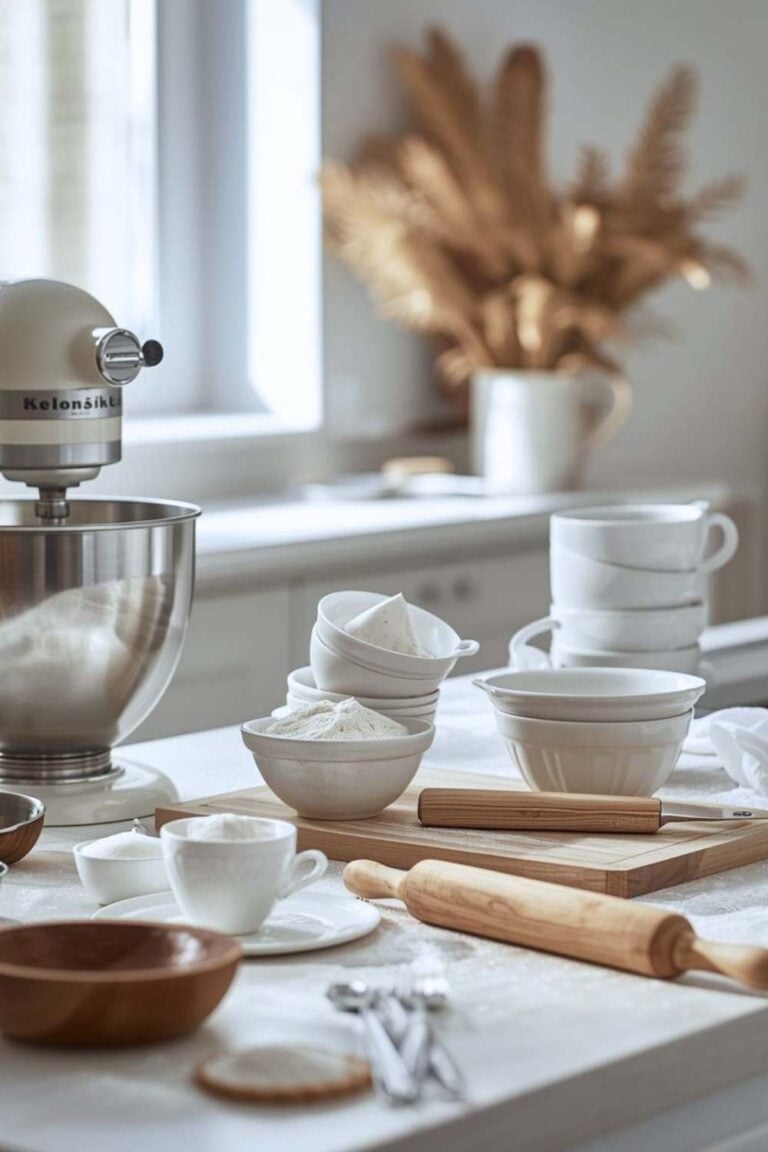
1. The Ingredients Flat Lay
Lay out all the ingredients for a recipe you’ve just made or are about to make. Flour in a small bowl, eggs on the side, butter, sugar, vanilla, a pinch of salt in a tiny dish. Arrange them naturally around the finished bake or around an empty mixing bowl and whisk.
This style works particularly well for Pinterest because it communicates the recipe clearly — viewers can see at a glance what went into the bake. It also photographs beautifully because the variety of textures (powdery flour, glossy eggs, crystalline sugar) creates visual interest.
Styling tip: Don’t make it look too perfect. A small spill of flour, a scattered handful of chocolate chips, a whisk left at an angle — these natural-looking imperfections make the shot feel real rather than staged.
2. The Process Flat Lay
Capture the baking process mid-action — a bowl of batter with a spatula resting in it, a dusted rolling surface with a half-rolled piece of dough, a tray of cookies fresh from the oven still on the baking sheet.
Process flat lays are engaging because they invite the viewer into the experience. They say “something is being made here” which is more interesting than just “here is the finished thing.”
Styling tip: A light dusting of flour on the surface always looks beautiful in process shots. A crumpled piece of parchment paper adds texture and authenticity.
3. The Overhead Spread
Lay out a full spread — the finished bake as the centrepiece, surrounded by complementary elements. For a cake, this might be the whole cake, a cut slice on a plate, a cup of coffee, some fresh flowers, and the cake server. For cookies, it might be a plate of whole cookies, a few broken ones showing the interior, a glass of milk, and some of the chocolate used in the recipe.
This is the “occasion” flat lay it feels abundant, celebratory, and styled. It performs well on both Instagram and Pinterest because it looks aspirational without being unrelatable.
Styling tip: Overlap elements slightly. When props and plates share edges in a frame, the composition looks more intentional and “styled” than when everything is spaced out with equal gaps.
4. The Minimalist Single Subject
Strip everything back. One beautifully baked item a single croissant, one perfect cupcake, a slice of tart — on a clean marble or linen surface, with perhaps one small prop (a dusting of powdered sugar, a single flower, one cup of coffee at the edge of the frame).
Discover more here: Common Baking Mistakes and How to Fix Them Fast
Minimalist flat lays are impactful because they put full focus on the bake itself. They work especially well when the bake is genuinely beautiful — intricate lamination on a croissant, a perfect lattice on a pie, beautiful swirled frosting on a cupcake.
Styling tip: The cleaner the surface and the fewer the props, the more important it is that your lighting is good. Minimalist shots have nowhere to hide — light and the quality of the bake itself do all the work.
5. The Seasonal or Themed Flat Lay
Build a flat lay around a season, holiday, or theme. Autumn baking flat lays might include warm spices, dried leaves, cinnamon sticks, and deeply coloured bakes in warm amber and brown tones. A Christmas flat lay might include festive cookie cutters, sprigs of holly or rosemary, a dusting of icing sugar “snow,” and red and green elements.
Seasonal flat lays perform exceptionally well on Pinterest, where people actively search for seasonal recipe content months in advance. A beautifully styled autumn baking flat lay posted in September will drive significant traffic.
Styling tip: Choose a tight, cohesive colour palette for seasonal flat lays. Two or three complementary colours always look more intentional than a wide range. For autumn: burnt orange, deep brown, cream, and gold. For Christmas: forest green, deep red, and white. For spring: pale pink, mint, and soft yellow.
6. The Before and After
Two images side by side or a split-frame flat lay raw ingredients or unbaked dough on one side, the finished bake on the other. This format is inherently interesting because it shows transformation.
For Pinterest, this works particularly well because it communicates the full baking journey in a single image.
7. The Texture Close-Up Flat Lay
Get close. Really close. Fill the frame with the surface texture of what you’ve baked — the crackled top of a brownie, the golden crust of a sourdough loaf, the sugar crystals on a shortbread, the swirled buttercream on a cupcake. Use a prop or two at the very edge of the frame to provide context, but let the texture be the star.
These highly detailed shots look stunning on Instagram where the square or portrait format lets you get very close. They also make for beautiful Pinterest pins when paired with a clear text overlay.
8. The Recipe Card Lay
Style your flat lay around a handwritten or printed recipe card placed in the frame. The recipe card becomes a prop as well as content — it tells the viewer exactly what they’re looking at and provides useful information that encourages saves on Pinterest.
Styling tip: A handwritten recipe card on a piece of kraft paper or card looks beautiful and feels personal. Place it at a slight angle in the frame rather than perfectly straight — it looks more natural that way.
You’ll love this too: The Ultimate Beginners Guide to Baking
Tips for Shooting With Your Phone
You absolutely do not need a camera to take excellent baking flat lays. Modern phone cameras are remarkable, and with a few simple techniques, your phone can take images that look professional.
Turn on the grid. Go into your phone camera settings and enable the grid overlay. Use the rule of thirds to guide your composition.
Shoot in portrait orientation. For Pinterest especially, portrait (vertical) images perform much better than landscape or square. Aim for a 2:3 ratio tall rather than wide.
Lock your exposure. When shooting a flat lay on a light surface, your phone’s automatic exposure can be confused and underexpose the image. Tap on your surface to set the focus point, then hold briefly to lock the exposure. Or adjust the exposure slider manually after tapping.
Use the 2x zoom slightly. Rather than holding your phone at a weird angle to get a wide shot, step back and use a small amount of zoom. This reduces distortion (wide-angle lenses can make flat lays look slightly warped) and gives you a cleaner, flatter perspective.
Edit lightly. A small lift in brightness, a slight increase in contrast, and a touch of warmth will make almost any baking flat lay look better. Apps like Lightroom Mobile or VSCO give you excellent control over these adjustments for free. Be careful not to over-edit — heavily filtered food photos tend to look dated.
The Most Important Thing About Baking Flat Lays
The most beautiful baking flat lays are the ones that feel real. Not perfect but real.
A deliberately scattered handful of flour. A tea towel that’s slightly rumpled. A cooling rack with a few cookie crumbs on it. The interior of a cake that shows the crumb honestly, not just the perfectly frosted exterior.
Viewers, particularly on Instagram and Pinterest respond to images that feel genuine and achievable. When a flat lay looks too perfect, too polished, too far from a real home kitchen, it creates distance. When it looks like something a real person made in a real kitchen, it creates connection.
Style your shots with care and intention. But don’t smooth out every imperfection. The slightly imperfect details are often what make a baking flat lay feel most alive