
Why Didn’t My Bread Rise? 17 Common Reasons Explained
Disclosure: Some of the links in this post are affiliate links. This means if you click on the link and purchase an item, I will receive an affiliate commission at no extra cost to you.
Why Didn’t My Bread Rise is one of the most frustrating questions for a beginner baker. You mix the dough, knead it carefully, give it time to rest, and expect a beautifully risen loaf. Instead, you return to the bowl and discover a dense ball that looks almost unchanged. That experience can feel discouraging, especially after spending time and ingredients on the recipe.
Bread needs the right combination of yeast, flour, liquid, temperature, time, and gluten development. A small mistake in any one area can prevent the dough from expanding properly. Sometimes the problem starts with inactive yeast. Other times, cold ingredients, excessive flour, poor kneading, or an unsuitable proofing environment causes the trouble.
Understanding Why Didn’t My Bread Rise helps you troubleshoot instead of guessing. You can also prevent many problems by learning the fundamentals before changing your recipe. A helpful starting point is this Beginner’s Guide to Baking Bread at Home, especially if bread baking still feels unfamiliar.
This guide breaks down 17 common reasons your bread may stay flat. Each section explains the problem, why it happens, and what you can do differently next time.s
Why Didn’t My Bread Rise? 17 Common Reasons Explained
Bread dough needs several conditions to work together.
Yeast needs suitable food, moisture, and warmth.
Gluten needs development so the dough can hold the gases produced during fermentation.
Time also matters.
Therefore, a disappointing loaf rarely comes from one mysterious problem.
Usually, you can trace the result to a specific step.
17 Common Reasons Your Bread Failed to Rise (Why Didn’t My Bread Rise? )
1. Your Yeast Was Inactive
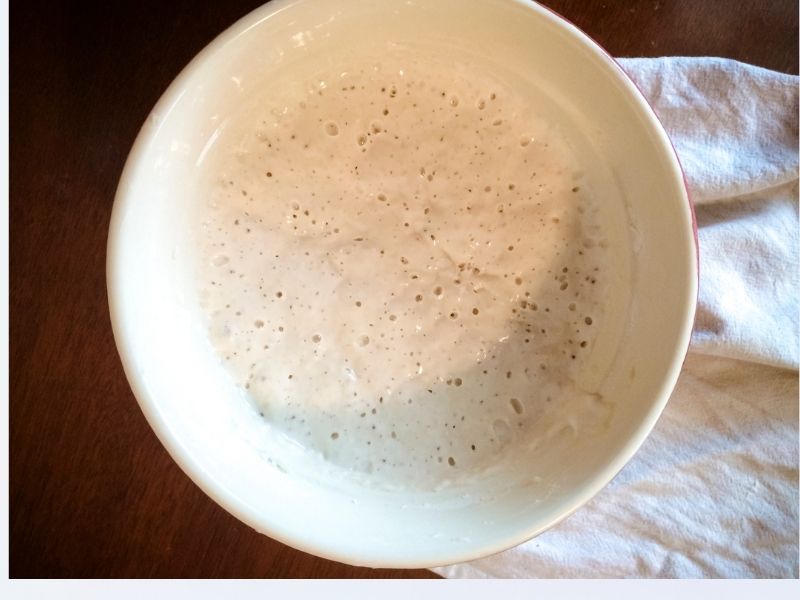
Inactive yeast ranks among the most common reasons for a flat loaf.
Yeast contains living microorganisms that produce carbon dioxide during fermentation.
That gas creates bubbles inside the dough.
Those bubbles expand during proofing and baking.
However, dead or inactive yeast cannot produce enough gas.
Check the expiration date before using your yeast.
Storage conditions matter too.
Heat, moisture, and prolonged exposure to air can reduce yeast activity.
If you use active dry yeast, test it according to the manufacturer’s instructions when necessary.
Fresh yeast should show signs of activity within the expected time.
If nothing happens, replace it.
You can also learn more about ingredient functions through Baking Ingredients Explained: What Every Ingredient Actually Does.
That knowledge makes bread troubleshooting much easier.
2. Your Water Was Too Hot
Temperature can make or break yeast activity.
Very hot water can damage or kill yeast.
Many beginners assume warmer always means faster.
That assumption can create serious problems.
Instead, follow the temperature guidance provided by your yeast and recipe.
Use a thermometer when you want greater accuracy.
If your water feels extremely hot against your skin, avoid adding it directly to yeast.
On the other hand, extremely cold water can slow fermentation significantly.
The goal involves creating conditions where yeast can work comfortably.
For broader temperature guidance, explore Understanding Baking Temperatures for Better Results.
3. Your Ingredients Were Too Cold
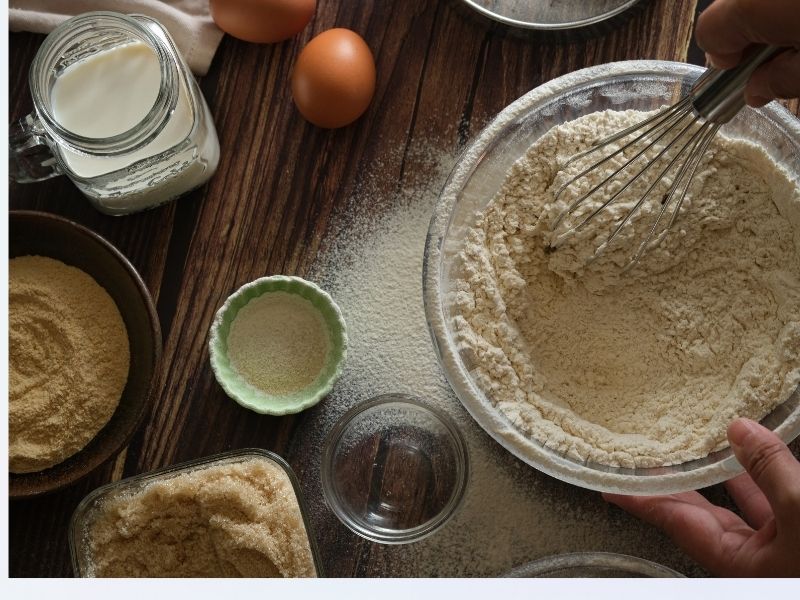
Cold ingredients can slow the fermentation process.
This issue becomes especially noticeable in cooler kitchens.
Cold water, milk, eggs, or butter can lower the overall dough temperature.
Consequently, yeast may take much longer to become active.
That does not always mean the dough has failed.
Sometimes it simply needs more time.
Give the dough enough opportunity to ferment before deciding something went wrong.
However, avoid placing dough beside intense heat to compensate.
A gentle, stable environment usually works better.
4. You Used Too Much Flour
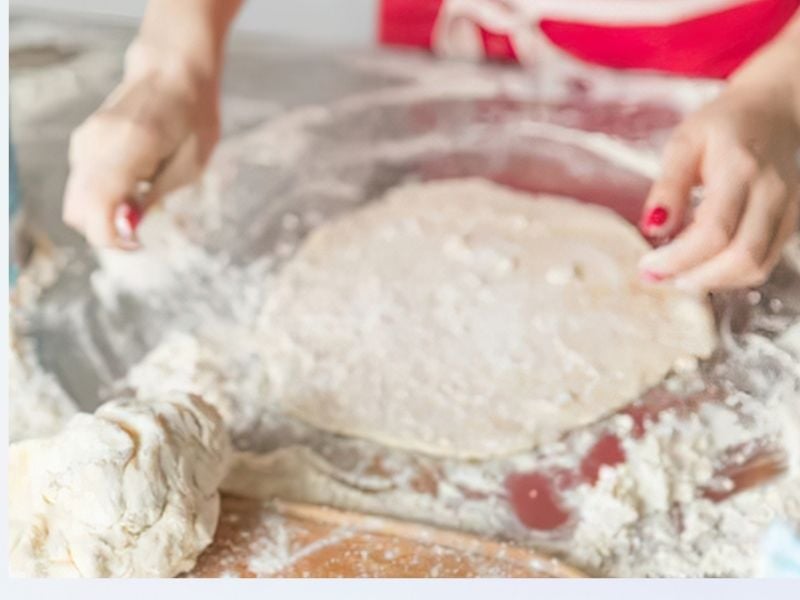
Excess flour can create dense dough.
Dense dough makes expansion more difficult.
Many beginners add flour whenever dough feels sticky.
That habit can quickly create problems.
Bread dough often feels slightly tacky during mixing.
Instead of immediately adding more flour, knead for several minutes.
The dough may become smoother as gluten develops.
Use a scale whenever possible.
Accurate measurements create more predictable results.
For helpful conversions, keep Baking Measurements Conversion Chart (Cups, Grams, Ounces Explained) nearby.
If your loaf consistently feels heavy, reconsider how much flour you add.
5. You Did Not Knead the Dough Enough
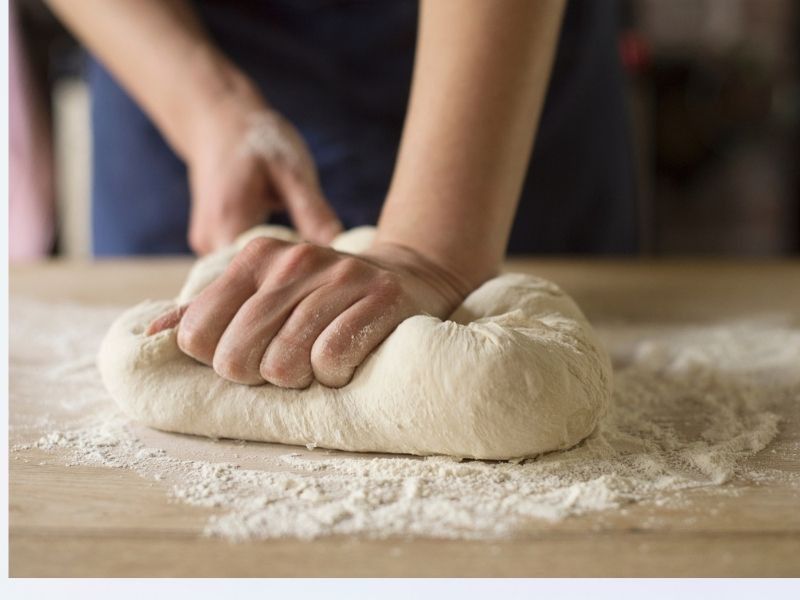
Kneading develops gluten.
Gluten creates the network that traps carbon dioxide.
Without enough gluten development, gases can escape instead of inflating the dough.
Your dough should gradually become smoother and more elastic.
The exact kneading time depends on the recipe and flour.
Do not rely only on the clock.
Pay attention to texture.
A properly kneaded dough usually stretches more easily than freshly mixed dough.
However, avoid assuming longer kneading always produces better bread.
Overworking certain doughs can also affect texture.
Learn the fundamentals through Easy Baking Skills Every Home Baker Should Master First.
6. You Added Too Much Salt
Salt contributes flavor and helps control yeast activity.
However, excessive salt can slow fermentation.
A large amount may interfere with the yeast enough to delay or reduce rising.
Measure salt carefully.
Avoid adding extra simply because you prefer salty bread.
Also, avoid placing concentrated yeast and salt directly together for extended periods.
Instead, distribute ingredients through the dough according to the recipe.
If you need a refresher on fundamental baking processes, The Science of Baking Made Simple for Beginners explains why ingredient ratios matter.
7. Your Kitchen Was Too Cold
Room temperature strongly influences fermentation.
A cold kitchen can make dough rise much more slowly.
During cooler weather, you may notice a dramatic difference.
Do not automatically assume the yeast failed.
Give the dough additional time.
You can also choose a comfortably warm location away from direct heat.
Avoid placing dough directly beside a hot stove or heating element.
Extreme heat can damage yeast.
Consistency matters more than speed.
A stable environment usually produces more predictable fermentation.
8. Your Dough Did Not Get Enough Time
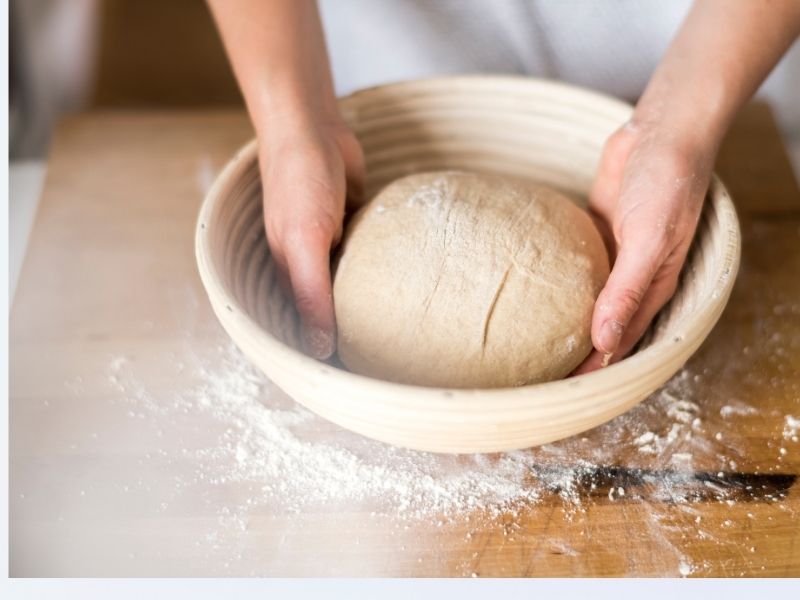
Bread cannot always follow the clock.
A recipe may suggest one hour for the first rise.
However, your kitchen temperature, flour, yeast, and dough composition can change that timing.
Look at the dough rather than relying entirely on the timer.
A properly proofed dough often shows noticeable expansion.
Some recipes call for doubling.
Others require a different visual cue.
Read the recipe carefully before beginning.
How to Read a Baking Recipe Correctly Before You Start can help you understand timing instructions and terminology.
Patience often solves problems that extra yeast cannot.
9. Your Dough Over-Proofed
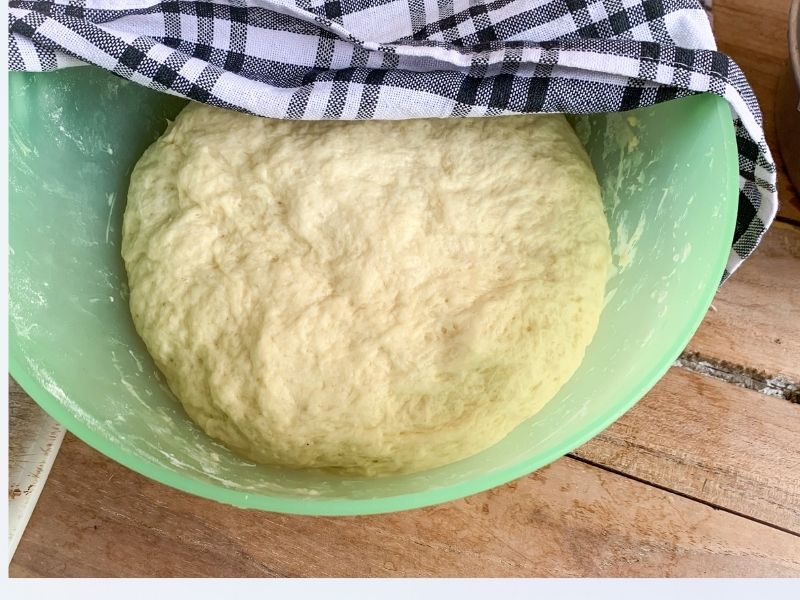
Not every flat loaf failed because it needed more time.
Sometimes the dough rose too far and then collapsed.
Over-proofed dough can lose structure.
The gluten network becomes unable to support the accumulated gas effectively.
The dough may look inflated initially.
Later, it can deflate dramatically.
You might also notice a weak texture or overly fermented aroma.
Use visual cues instead of extending proofing indefinitely.
If your dough rises quickly, move to the next stage sooner.
Different recipes require different fermentation schedules.
10. Your Flour Was Not Suitable
Flour affects bread structure.
Some flours contain more protein than others.
Higher-protein flour often supports stronger gluten development.
Lower-protein flour may produce softer textures.
That does not mean one flour always works better.
It depends on the bread you want to make.
For example, enriched breads and lean artisan loaves can require different flour characteristics.
Avoid making random flour substitutions.
Instead, understand what your recipe needs.
Types of Baking Flour and When to Use Them provides a useful foundation for comparing flour types.
11. Your Dough Was Too Dry
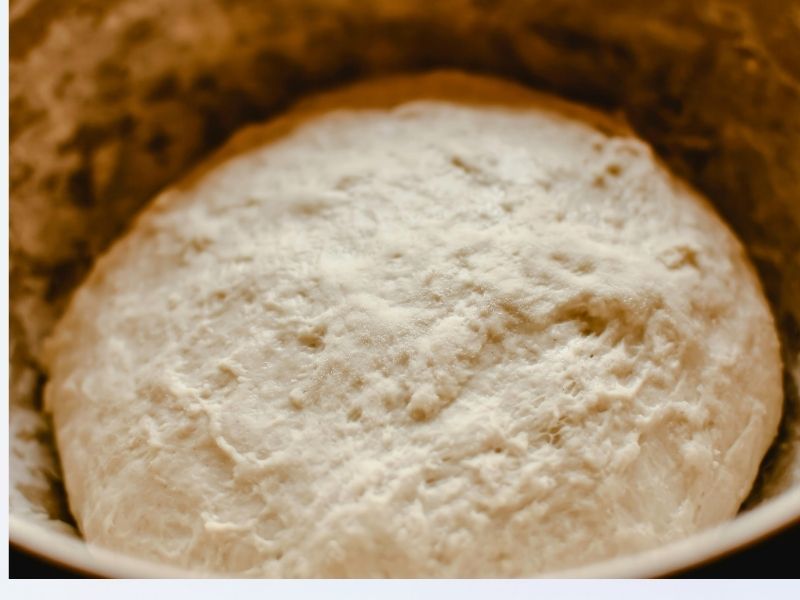
Dry dough can struggle to expand.
Water allows flour proteins to hydrate and form gluten.
Without sufficient hydration, the dough may remain stiff.
A stiff dough can restrict expansion.
However, adding excessive water can create a different problem.
Therefore, follow the recipe carefully.
Consider flour absorption as well.
Different flours can absorb different amounts of water.
Humidity can also influence dough consistency.
Focus on the dough’s texture rather than forcing it to match an exact appearance from another recipe.
12. You Did Not Develop Enough Gluten
Kneading alone does not guarantee strong gluten.
The flour needs adequate hydration and appropriate handling.
Gluten development allows the dough to stretch while retaining gas.
Weak gluten can produce a dense loaf even when yeast works properly.
You can check gluten development by gently stretching a small piece of dough.
A well-developed dough can often stretch thinly before tearing.
This test provides a useful clue.
However, remember that different doughs behave differently.
Enriched dough may feel softer.
Whole-grain dough can also behave differently from white bread dough.
13. Your Recipe Contained Too Much Sugar or Fat

Rich ingredients can affect fermentation.
Sugar competes for available water.
Large quantities can therefore slow yeast activity.
Fat can also affect gluten development.
That does not make enriched bread difficult.
It simply means the dough may require different timing and handling.
Sweet breads often need longer fermentation than lean doughs.
Do not judge their progress using the same schedule.
For more ingredient knowledge, The Different Types of Sugar Used in Baking Explained explains how sugar behaves in baked recipes.
14. Your Yeast Had Poor Storage
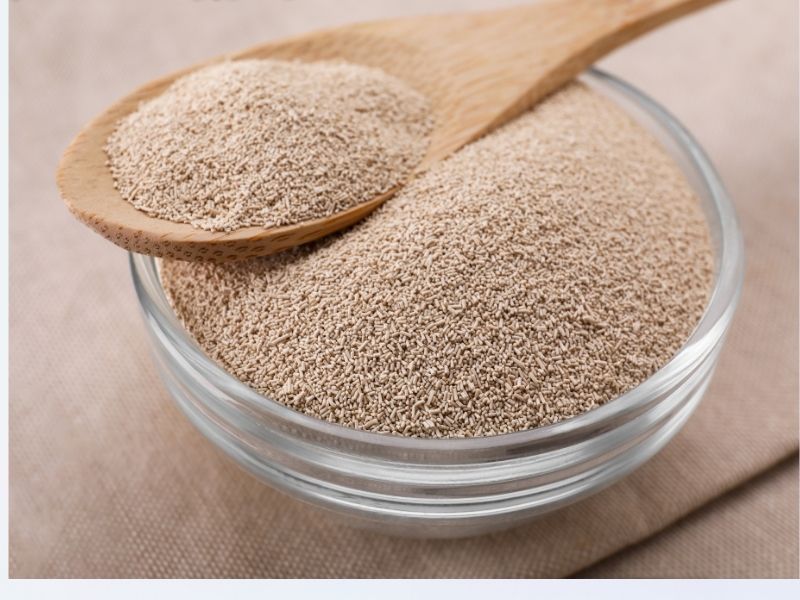
Even fresh yeast can lose strength after poor storage.
Check the package instructions.
Keep yeast in appropriate conditions.
Avoid unnecessary exposure to moisture.
Once opened, seal the package properly.
Repeated exposure to air can reduce quality over time.
Do not rely solely on the printed expiration date.
Storage conditions also matter.
If your yeast seems questionable, test it before committing to a full loaf.
That simple step can save flour, butter, and time.
15. You Changed Too Many Ingredients
Recipe substitutions can affect bread dramatically.
Changing flour, liquid, sugar, fat, and yeast at the same time makes troubleshooting almost impossible.
If the bread fails, you will not know which change caused the problem.
Make one adjustment at a time.
For example, if you lack whole wheat flour, use a tested substitution instead of guessing.
Baking Substitutions Guide (When You’re Missing Ingredients) can help you make more informed changes.
Keep the remaining ingredients consistent.
That approach makes experimentation much easier.
16. Your Proofing Container Was Too Large
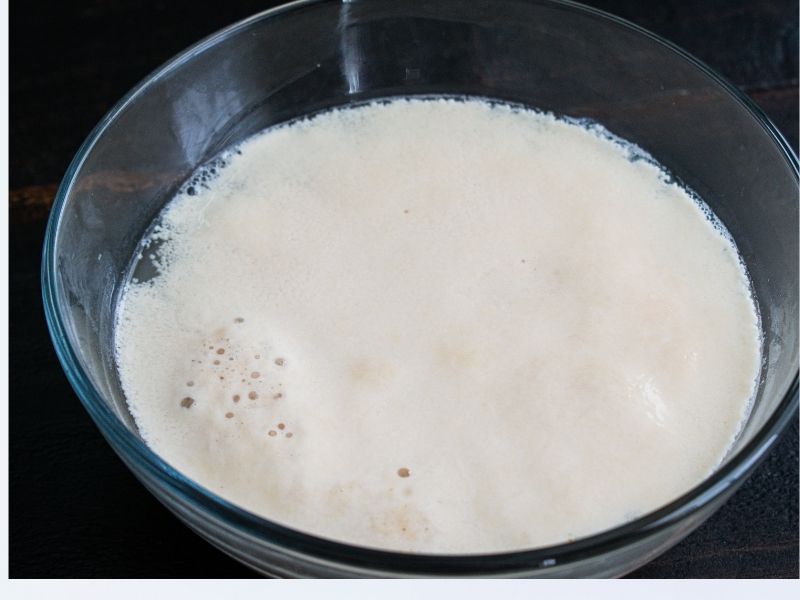
Container size can make dough growth difficult to judge.
A large bowl may make a rising dough look unchanged.
You might mistakenly assume the yeast has stopped working.
Choose a container that gives the dough room to expand while still making the growth obvious.
Marking the starting level can also help.
Place a small piece of tape on the outside of the bowl.
Then you can compare the dough’s progress visually.
This simple trick removes much of the guesswork.
17. You Opened the Oven Too Often

The final rise does not happen only during proofing.
Bread can experience oven spring during the early stage of baking.
Sudden temperature changes can interfere with that process.
Opening the oven repeatedly allows heat to escape.
That can reduce oven temperature.
Therefore, resist the urge to check your loaf constantly.
Use the oven light when available.
Set a timer.
Trust your preparation.
For general troubleshooting, Common Baking Mistakes and How to Fix Them Fast covers several problems that can affect baked results.
How to Troubleshoot a Loaf That Did Not Rise
When asking Why Didn’t My Bread Rise, avoid immediately throwing away the dough.
First, examine it carefully.
Ask yourself several questions.
Did the yeast activate?
Was the liquid excessively hot?
Did the dough expand at all?
Did your kitchen feel cold?
Did you add extra flour?
Did you follow the recipe accurately?
Did you change any ingredients?
These questions can help narrow down the cause.
If the dough barely changed after a reasonable proofing period, inspect the yeast first.
If the dough rose and later collapsed, consider over-proofing or weak gluten.
If the dough feels extremely dense, review your flour measurement and kneading.
If the dough rises slowly, temperature may play a major role.
What to Do When Your Bread Rises Slowly
Slow fermentation does not automatically indicate failure.
Yeast works at different speeds depending on temperature and ingredients.
Cold conditions slow fermentation.
Rich dough also takes longer.
Whole-grain dough can require additional time.
Instead of adding more yeast immediately, give the dough additional time.
Move it to a comfortably warm environment.
Then monitor its progress.
Avoid excessive heat.
You want gradual fermentation rather than forced acceleration.
How to Prevent Bread From Failing Next Time
Preventing the problem starts before mixing.
Read the complete recipe first.
Measure everything accurately.
Check your yeast.
Prepare the correct ingredients.
Use appropriate flour.
Monitor your dough temperature.
Knead until the dough develops suitable elasticity.
Allow enough fermentation time.
Watch visual cues.
Finally, bake according to the recipe.
Keeping your workspace organized can also reduce mistakes.
Baking Station Organisation Ideas That Will Transform Your Kitchen offers ideas for creating a more efficient baking area.
A tidy workspace makes measuring and preparation easier.
Bread Troubleshooting for Beginners
Beginners often expect bread baking to work like cake baking.
However, bread involves fermentation.
That introduces another layer of timing and temperature control.
You need to observe the dough throughout the process.
A recipe provides instructions.
Your dough provides feedback.
Learning to recognize that feedback is an important baking skill.
You may notice elasticity changing during kneading.
You may see bubbles developing during fermentation.
You may notice the dough becoming lighter and more expanded.
Those signs tell you more than a timer alone.
Baking Terms Explained (Fold, Cream, Knead & More For Beginners) can help you understand the terminology used in baking instructions.
How Bread Problems Compare With Other Baked Goods
Bread has unique challenges, but other baked products have their own troubleshooting issues.
Cookies can spread excessively.
Cakes can sink.
Pastries can lose their layers.
Pies can develop tough crusts.
Understanding these differences helps you become a more versatile baker.
For example, 19 Bread Baking Mistakes That Ruin Homemade Loaves focuses specifically on bread problems.
Meanwhile, pastry dough requires different handling.
Puff Pastry vs Phyllo Dough vs Shortcrust: What’s the Difference explains how different pastry structures behave.
These distinctions become especially useful when exploring the Different Types of Pastries and other baked goods.
How to Build Confidence After a Failed Loaf
A failed loaf does not mean you cannot bake bread.
Every baker encounters disappointing results.
Instead of focusing only on the finished loaf, examine the process.
Write down what you did.
Record your flour quantity.
Note your water temperature.
Write down the proofing time.
Record your kitchen temperature if possible.
Then compare the result with your next attempt.
Change one variable.
That method turns mistakes into useful information.
You will eventually recognize patterns.
For additional encouragement, Baking Confidence Tips for Complete Beginners offers practical ways to become more comfortable in the kitchen.
Bread Baking Checklist
Before starting your next loaf, run through this checklist:
- Check your yeast freshness.
- Measure ingredients accurately.
- Use suitable flour.
- Avoid excessively hot liquid.
- Avoid adding unnecessary flour.
- Knead until the dough develops structure.
- Give the dough enough fermentation time.
- Keep the dough comfortably warm.
- Watch the dough rather than the clock.
- Avoid over-proofing.
- Preheat the oven fully.
- Avoid opening the oven repeatedly.
- Let the finished loaf cool before slicing.
This simple routine can prevent many common mistakes.
Frequently Asked Questions
Why didn’t my bread rise but my yeast was fresh?
Fresh yeast can still struggle when temperature, hydration, flour, or proofing conditions are unsuitable.
Check the liquid temperature first.
Then review your flour quantity and fermentation environment.
Can I save bread dough that did not rise?
Sometimes.
If the yeast remains active, giving the dough more time in a suitable environment may help.
If the yeast has failed completely, however, the dough may not recover.
Does adding more yeast make bread rise faster?
Not necessarily.
Excess yeast can alter flavor and fermentation.
It also does not correct problems caused by excessive salt, poor gluten development, or unsuitable temperature.
Why did my bread rise and then collapse?
Over-proofing, weak gluten structure, excessive hydration, or handling issues can cause collapse.
Look at the dough before baking.
If it becomes excessively fragile and deflates easily, reconsider the proofing time.
How long should bread dough take to rise?
The answer depends on the recipe, yeast, temperature, flour, and dough composition.
Use the visual cues provided by the recipe rather than relying on one universal time.
Final Thoughts
If you keep asking Why Didn’t My Bread Rise, start by examining the process rather than blaming the recipe.
Inactive yeast can stop fermentation.
Excessive heat can damage yeast.
Cold conditions can slow it down.
Too much flour can create dense dough.
Poor kneading can weaken gluten development.
Too little time can leave the dough under-proofed.
Too much time can cause collapse.
Each problem has a potential solution.
The key involves observing your dough and making thoughtful adjustments.
Bread baking becomes much less intimidating once you understand what the dough needs.
As you develop your skills, you can explore other areas of baking too.
You might move from bread into cakes, cookies, pies, or the Different Types of Pastries that use completely different techniques.
You can also improve your overall baking knowledge through Baking Tips That Instantly Improve Your Results.
Most importantly, do not let one flat loaf discourage you.
Take notes.
Identify the likely cause.
Change one thing.
Try again.
With practice, you will learn to recognize healthy fermentation, strong dough development, and proper proofing before the loaf even enters the oven.
That experience will eventually make Why Didn’t My Bread Rise a much easier question to answer.