21 Dessert Presentation Ideas That Look Bakery Worthy
Disclosure: Some of the links in this post are affiliate links. This means if you click on the link and purchase an item, I will receive an affiliate commission at no extra cost to you.
Dessert Presentation Ideas can transform a simple homemade treat into something that looks polished, elegant, and bakery worthy. You do not need expensive serving dishes or professional decorating equipment to create beautiful desserts. Instead, focus on balance, color, texture, height, spacing, and thoughtful finishing touches. Even a basic slice of cake can look impressive when you present it with intention.
Before decorating, it also helps to understand the basics of successful baking. If you are still building your skills, The Ultimate Beginners Guide to Baking (Everything You Need To Know to Start) can give you a strong foundation.
From elegant plating to simple garnishes, presentation gives your desserts more personality. It can also make your food photographs more appealing for Pinterest, Instagram, or your baking business. Therefore, you can use these ideas for everyday treats, dinner parties, birthdays, holidays, celebrations, or product photography.
In this guide, you will find practical ideas that work for cakes, cookies, pastries, puddings, pies, cupcakes, and other sweet treats. Most importantly, these techniques remain beginner friendly while still creating a professional finish.
21 Dessert Presentation Ideas That Look Bakery Worthy
1. Use a Clean White Plate
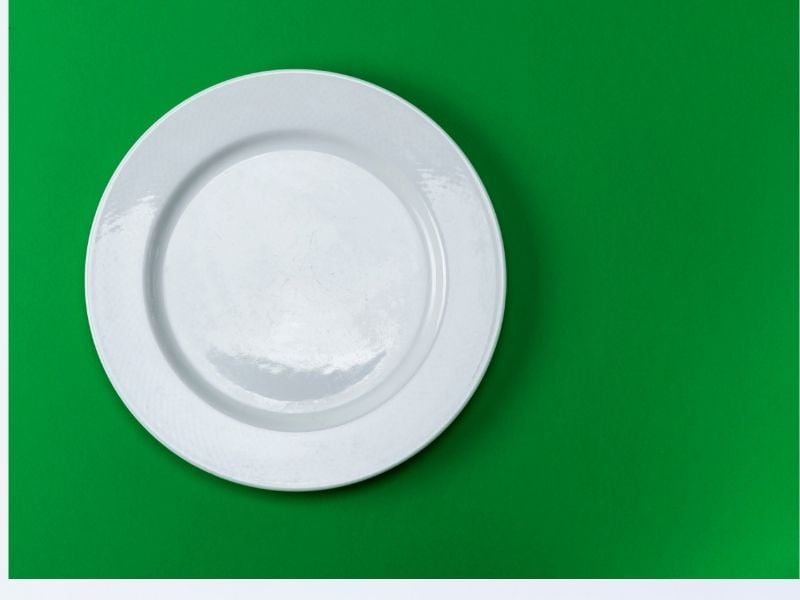
A white plate creates a simple background for colorful desserts.
It allows the dessert to become the main attraction.
Choose a plate with enough empty space around the food.
That empty area creates visual breathing room.
For example, place one slice of chocolate cake slightly off-center.
Then add a small spoonful of cream beside it.
Finally, finish with a few berries.
The result looks intentional without feeling complicated.
White plates also work especially well when photographing desserts.
They reflect available light and keep the composition clean.
However, avoid plates with excessive patterns.
Busy designs can compete with delicate decorations.
For more food photography inspiration, explore Baking Flat Lay Ideas For Instagram & Pinterest.
2. Create Height With Layers
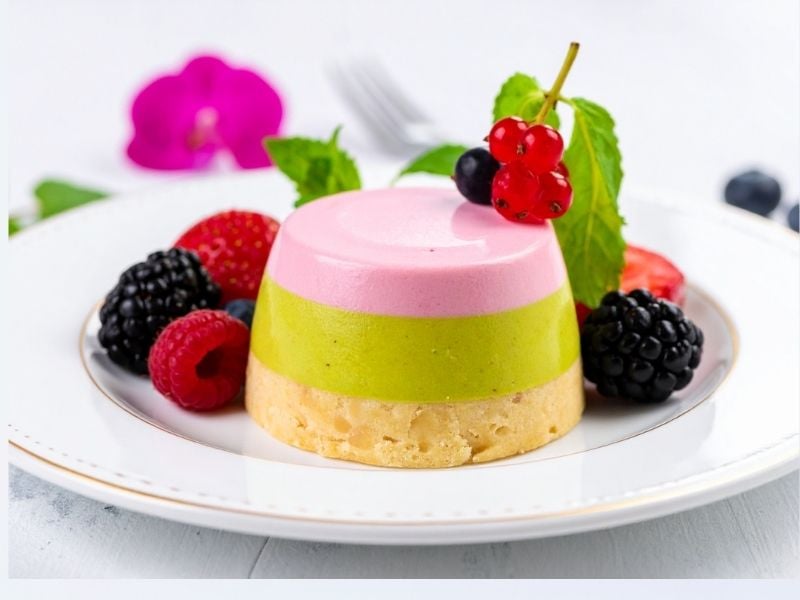
Height can make a dessert arrangement feel more luxurious.
Instead of placing everything flat, create different levels.
For example, stack small pancakes into a neat tower.
Add whipped cream between selected layers.
Then place berries around the base.
You can use this technique with cakes, brownies, cookies, and pastries.
Layered desserts also create attractive shadows.
Those shadows add depth to photographs.
However, keep the structure stable.
A dramatic tower should still remain easy to serve.
Use sturdy elements at the bottom.
Place lighter decorations toward the top.
3. Add a Simple Sauce Swirl
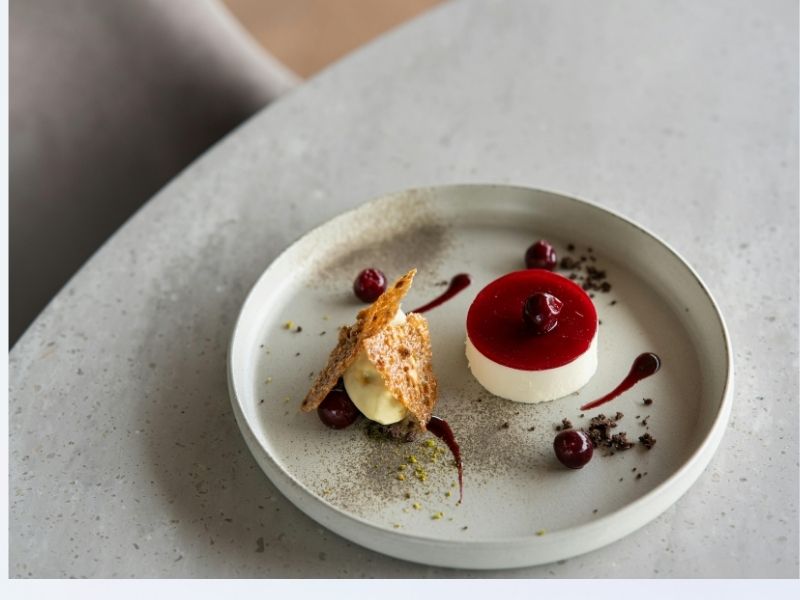
Sauces can make a plate look professionally finished.
Chocolate sauce works beautifully with vanilla desserts.
Caramel complements apples, cheesecake, and warm pastries.
Berry sauce adds brightness to creamy desserts.
Start with a small amount.
Then create a controlled line across the plate.
You can also make a curved swoosh using the back of a spoon.
Avoid covering the entire plate with sauce.
The dessert should remain visible.
For a more polished result, keep the sauce consistent in color and texture.
A thick sauce creates stronger lines.
A thinner sauce produces softer movement.
Choose based on the dessert.
4. Use Fresh Berries for Color
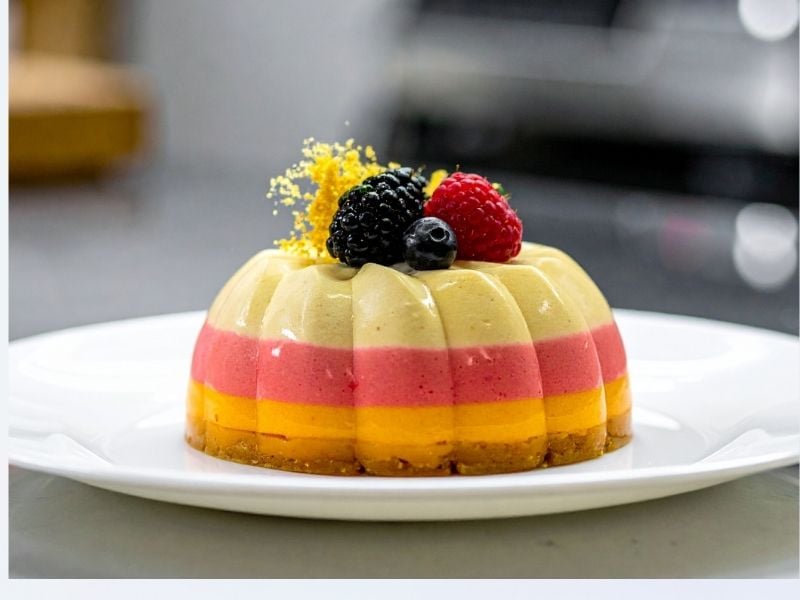
Fresh berries offer an easy way to introduce color.
Strawberries, blueberries, raspberries, and blackberries all work well.
Their natural shapes also create visual interest.
Place a few berries beside the dessert.
You can also arrange them around a cake.
For cupcakes, add one small berry on top of the frosting.
However, avoid overcrowding.
Three carefully positioned berries can look better than ten scattered randomly.
Fresh fruit also provides contrast against pale creams and dark chocolate.
Therefore, berries remain useful for both simple and elaborate presentations.
If you want more dessert inspiration, browse The Ultimate Guide to Different Types of Desserts.
5. Dust With Powdered Sugar
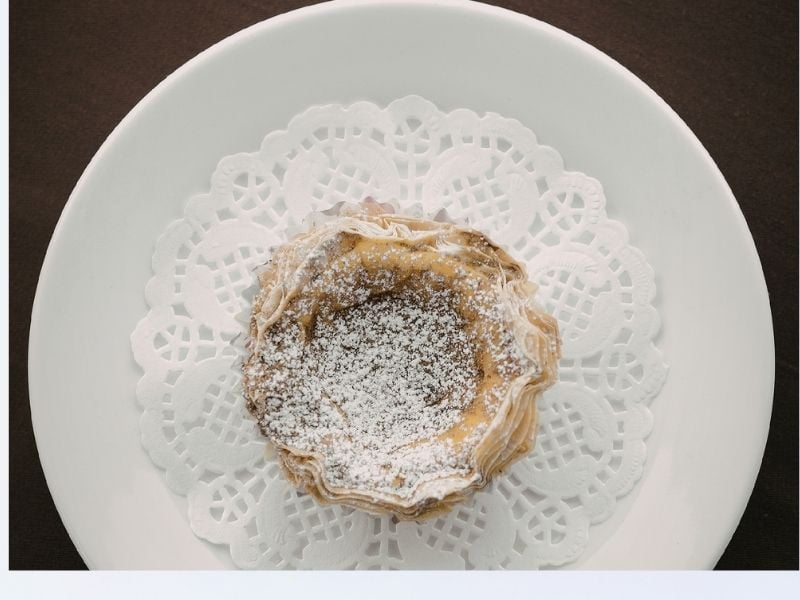
Powdered sugar creates an elegant finish with almost no effort.
Use a small sieve for even coverage.
Hold it several inches above the dessert.
Then tap gently.
A light dusting works better than a heavy layer.
You can use powdered sugar on brownies, cakes, waffles, pastries, and cookies.
For a special occasion, place a stencil over the dessert.
Dust carefully.
Then remove the stencil.
The exposed design creates a beautiful pattern.
This method requires very little equipment.
It also creates excellent contrast on darker desserts.
6. Add Edible Flowers
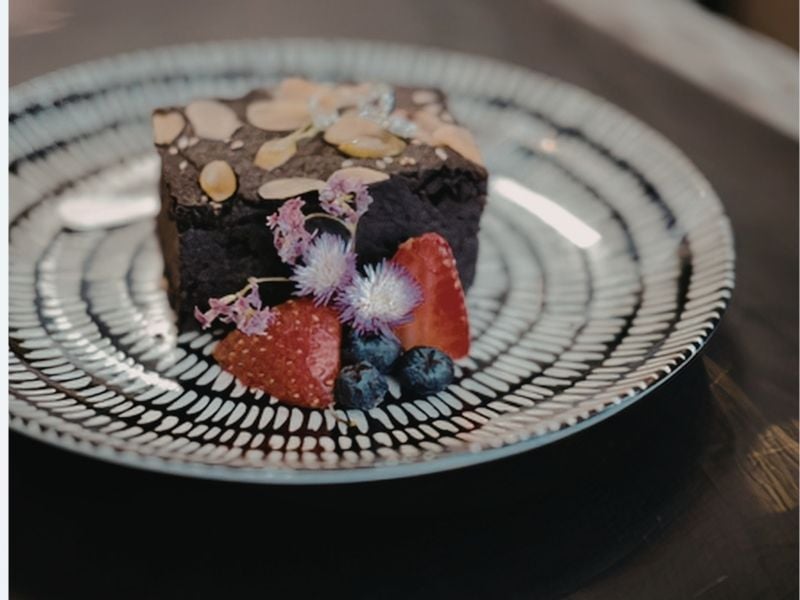
Edible flowers can create an elegant presentation for special occasions.
They work especially well with cakes, cupcakes, macarons, and plated desserts.
Choose flowers specifically sold as edible.
Do not use flowers from unknown sources.
Place one or two flowers strategically.
Avoid covering the dessert with them.
A few carefully positioned petals can provide enough detail.
Pastel flowers work beautifully with light-colored desserts.
Bright flowers create stronger contrast.
For a more refined appearance, match the flower colors with the dessert or table setting.
This creates visual harmony without making the plate feel overly coordinated.
7. Create a Chocolate Drip
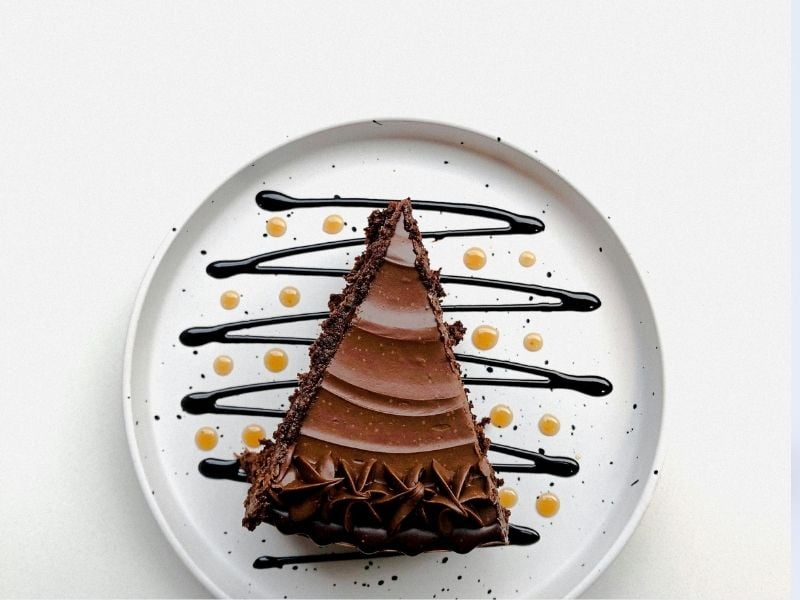
Chocolate drips instantly make cakes look indulgent.
Start with a properly cooled cake.
Prepare a chocolate ganache with a suitable consistency.
Then gently apply it around the cake’s edge.
Allow small drips to fall naturally.
Keep the spacing varied but controlled.
Afterward, decorate the top with berries, chocolate curls, or small pieces of candy.
A chocolate drip works particularly well for birthday cakes.
It can also make simple layer cakes look more elaborate.
For better cake results before decorating, see Why Your Cakes Keep Failing (and How to Fix Them).
8. Use Chocolate Curls
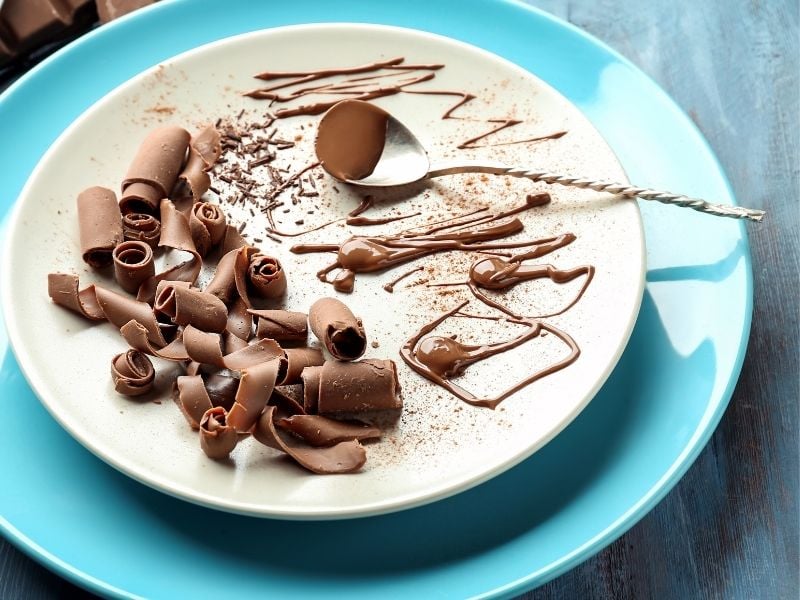
Chocolate curls add height and texture.
They also create a professional bakery appearance.
Use a vegetable peeler against a block of slightly softened chocolate.
Move the peeler steadily.
The chocolate should curl naturally.
Arrange several curls on top of your cake.
You can also place them around a plated dessert.
Dark chocolate creates strong contrast against white frosting.
White chocolate works beautifully with berries.
Milk chocolate provides a warmer appearance.
Use a few pieces rather than covering everything.
Simple arrangements usually look more sophisticated.
9. Add Crushed Cookies for Texture
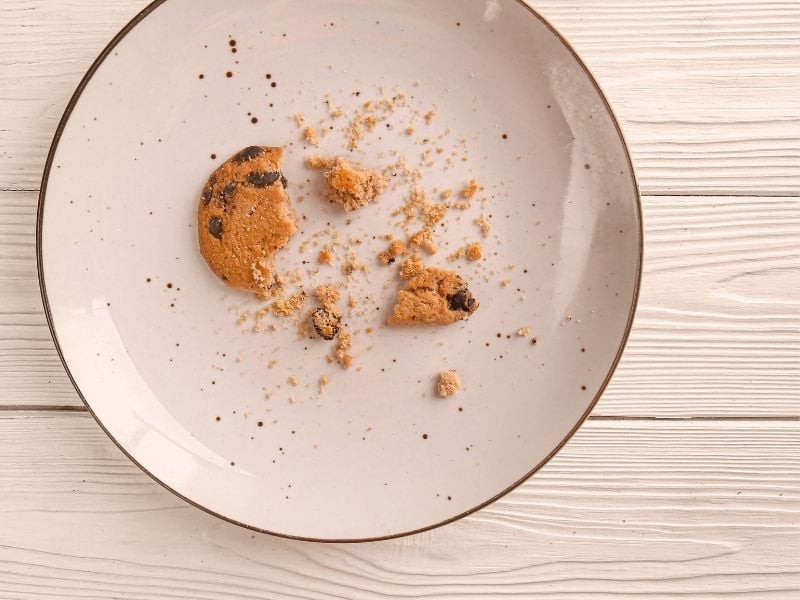
Crushed cookies create a beautiful textural contrast.
They work especially well with mousse, cheesecake, pudding, and ice cream.
Crush the cookies into uneven pieces.
Avoid turning everything into fine powder.
Larger pieces provide more visual texture.
Sprinkle a small amount around the dessert.
You can also create a cookie crumb base underneath a scoop of ice cream.
This technique makes soft desserts look more interesting.
It also adds another flavor element.
For inspiration when decorating baked treats, check 15 Best Cookie Decorating Ideas for Every Holiday.
10. Try a Minimalist Dessert Plate
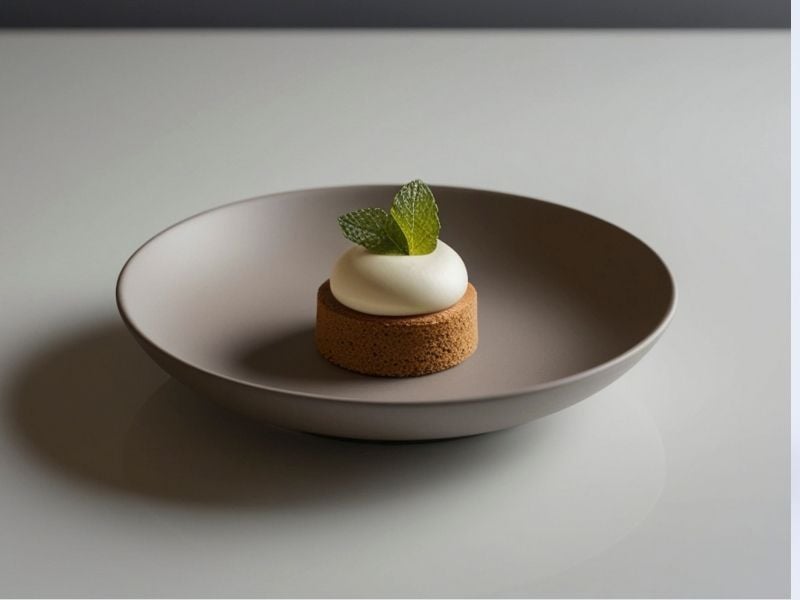
Minimalism can make desserts look extremely sophisticated.
Choose one main dessert.
Then add one garnish.
Finally, introduce one small sauce element.
For example, serve a cheesecake slice with three raspberries and a thin berry sauce line.
That simple arrangement creates plenty of negative space.
Avoid adding unnecessary decorations.
Every element should serve a purpose.
Minimalist plating works especially well for dinner parties.
It also photographs beautifully.
If your dessert already contains multiple colors and textures, minimalist styling can prevent visual overload.
11. Use a Cake Stand
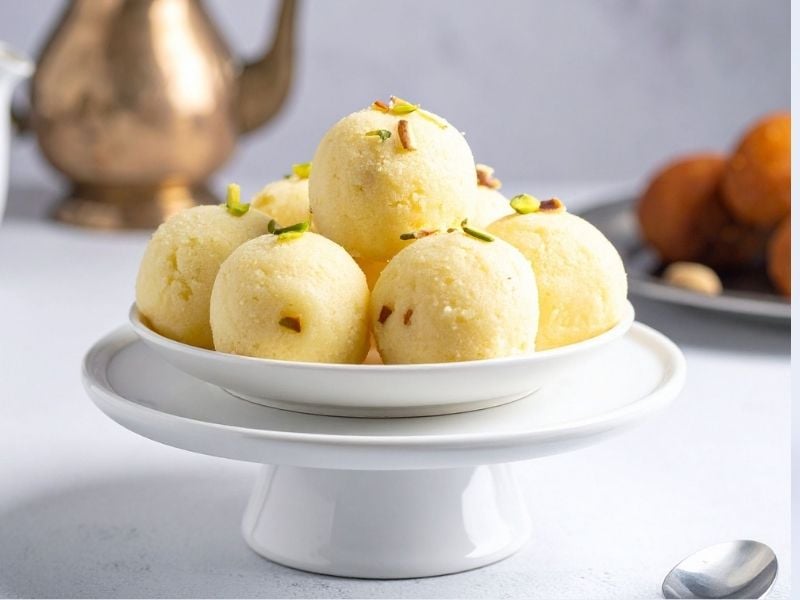
A cake stand immediately gives cakes more presence.
It elevates the dessert physically.
It also creates a clear focal point on your table.
Choose a stand that complements the cake.
Glass works well for elegant celebrations.
Ceramic options provide a cozy appearance.
Wood can create a rustic presentation.
Do not choose a stand that overwhelms the cake.
The dessert should remain the star.
For more inspiration, explore Dream Baking Kitchen Inspiration (Pinterest – Worthy Setup).
12. Arrange Small Desserts on a Platter
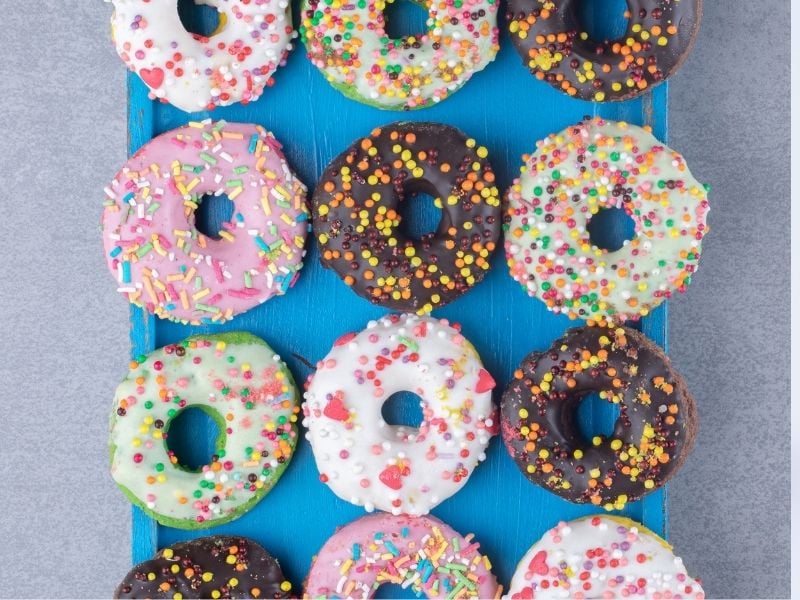
A large platter works beautifully for parties.
Arrange cookies, brownies, cupcakes, and mini pastries together.
However, create some structure.
Group similar desserts rather than scattering everything randomly.
For example, place chocolate brownies on one side.
Arrange fruit-filled pastries opposite them.
Then fill small gaps with berries or chocolate pieces.
Vary the heights slightly.
This creates a fuller arrangement without looking messy.
Use a platter with enough space.
Overcrowding can make even beautiful desserts look disorganized.
13. Decorate With Whipped Cream
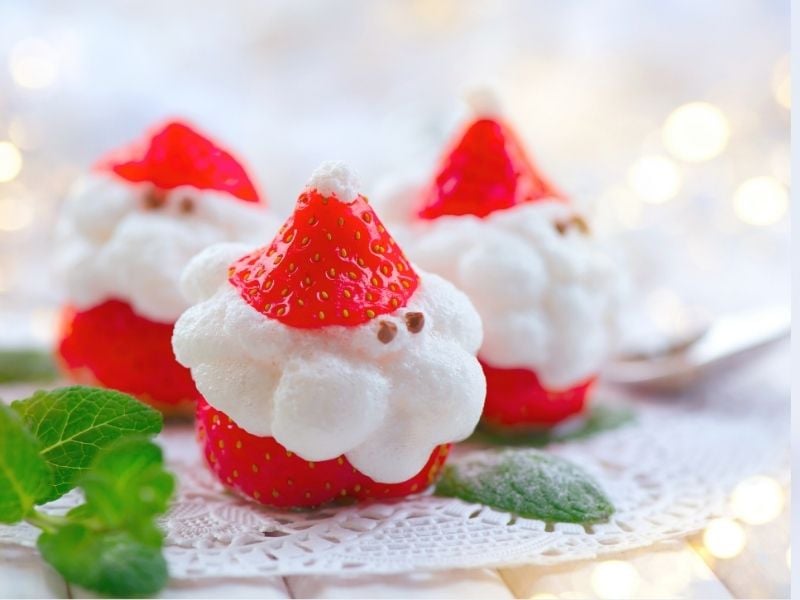
Whipped cream adds softness and volume.
Pipe small rosettes beside cakes or pies.
You can also place one swirl on top of individual desserts.
Add a berry or chocolate shaving afterward.
Keep the whipped cream cold until serving.
That helps it maintain its shape.
For extra flavor, lightly sweeten it with vanilla.
You can also add citrus zest.
However, match the flavor with the dessert.
Whipped cream works particularly well with chocolate, berries, citrus, and warm fruit desserts.
14. Add Fresh Citrus Zest
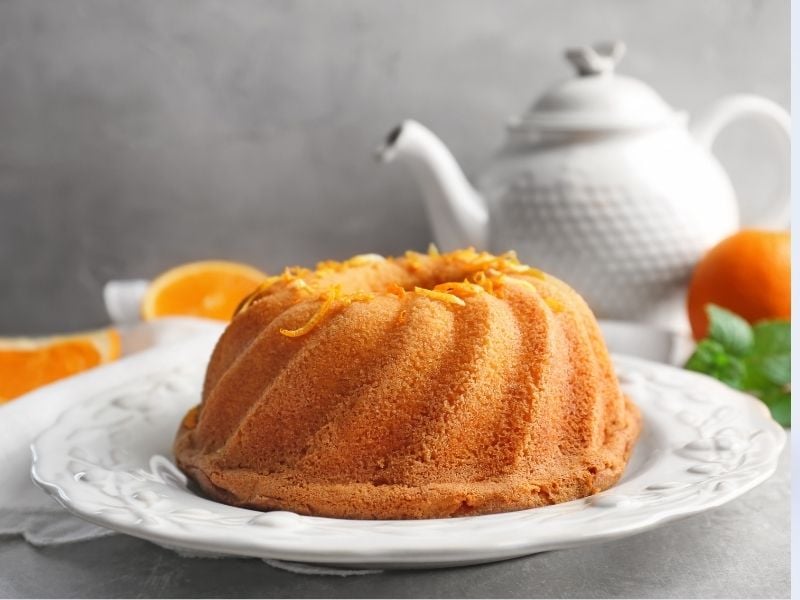
Citrus zest provides color and freshness.
Lemon zest works beautifully with cheesecake.
Orange zest complements chocolate.
Lime zest pairs well with coconut and tropical desserts.
Use a fine grater.
Only grate the colored outer layer.
Avoid the white pith because it can taste bitter.
Sprinkle a small amount over the finished dessert.
You can also curl thin strips for a more decorative appearance.
The bright color creates a beautiful finishing touch.
This idea also works when your dessert needs a small amount of contrast.
15. Create a Dessert Board
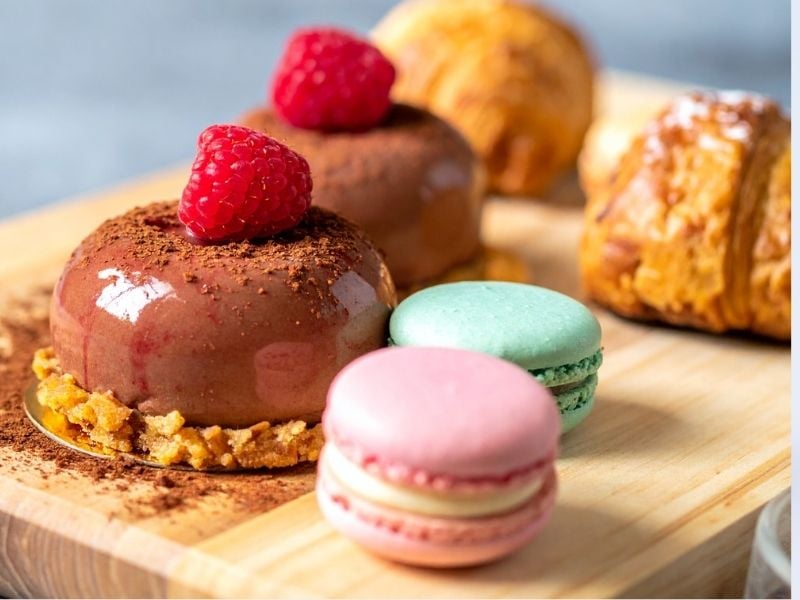
Dessert boards work well for gatherings.
Start with a large wooden board or serving tray.
Then add different dessert varieties.
Include cookies, brownies, fruit, chocolates, mini cakes, and pastries.
Create groups instead of placing everything randomly.
Add small bowls for sauces or dips.
Then fill open spaces with berries.
This creates an abundant but organized appearance.
Dessert boards also encourage guests to choose different treats.
For bakers who enjoy experimenting with new treats, Baking Hobby Ideas That Make Baking Even More Fun can provide additional inspiration.
16. Use Edible Gold or Silver Details
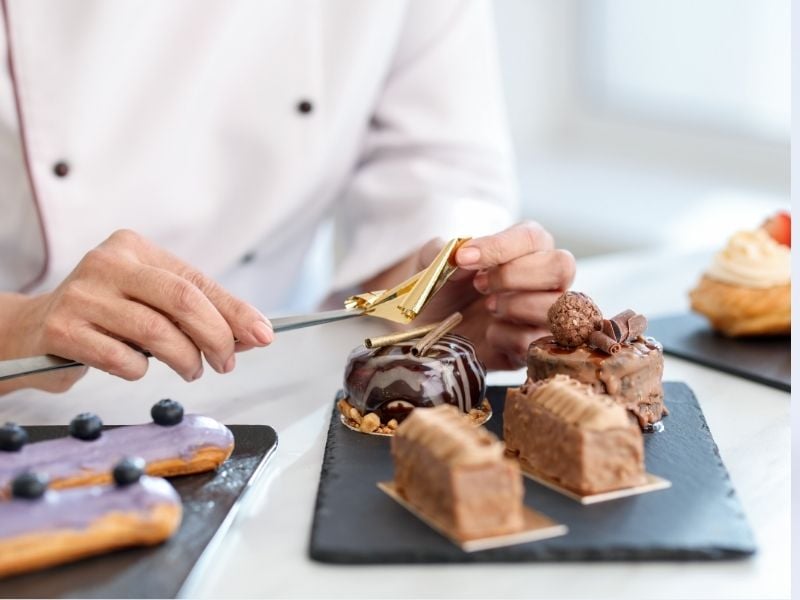
Metallic edible decorations can create a luxurious appearance.
Use edible gold leaf, metallic sprinkles, or food-safe decorative flakes.
Apply them sparingly.
A small amount can create more impact than excessive decoration.
Gold works beautifully with chocolate desserts.
Silver complements white cakes and pale-colored pastries.
Use metallic details for birthdays, weddings, anniversaries, and festive gatherings.
Always verify that decorative products qualify as edible.
Do not use ordinary craft glitter.
Only choose products specifically intended for food.
17. Add Texture With Nuts
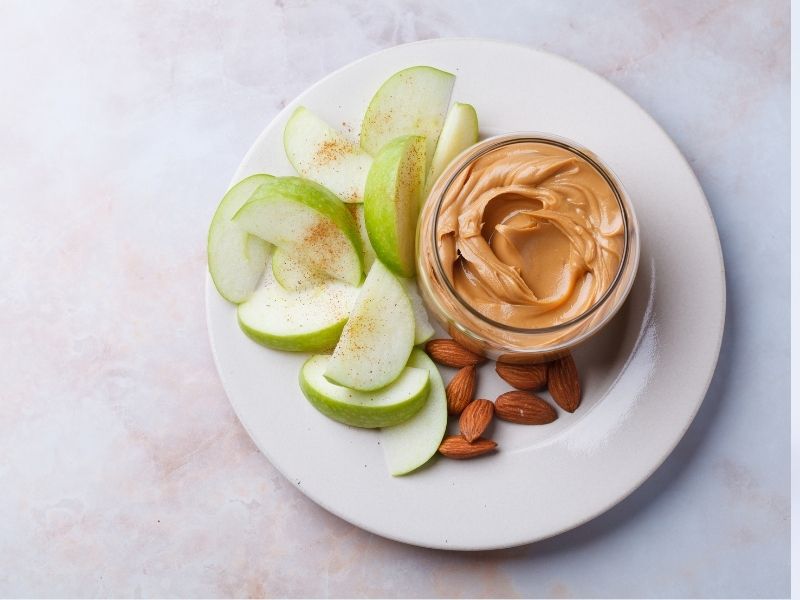
Nuts can create contrast against smooth desserts.
Chopped pistachios provide vibrant color.
Toasted almonds add crunch.
Pecans complement caramel and chocolate.
Hazelnuts pair beautifully with coffee and chocolate.
Sprinkle chopped nuts around the plate.
You can also press them into frosting.
Keep pieces relatively consistent for a cleaner appearance.
Toasting enhances flavor and aroma.
Allow nuts to cool before decorating.
For additional ingredient knowledge, read Baking Ingredients Explained: What Every Ingredient Actually Does.
18. Use a Monochromatic Color Scheme
A monochromatic arrangement uses variations of one main color.
For example, create a chocolate dessert plate using brown, cream, and beige tones.
Alternatively, build a berry-themed arrangement with pink, red, and purple elements.
This approach creates visual harmony.
Choose decorations that share similar tones.
Avoid introducing too many unrelated colors.
A monochromatic design often looks sophisticated without requiring complicated techniques.
It also works beautifully for photographs.
Therefore, consider your dessert’s natural colors before choosing decorations.
19. Create a Seasonal Presentation
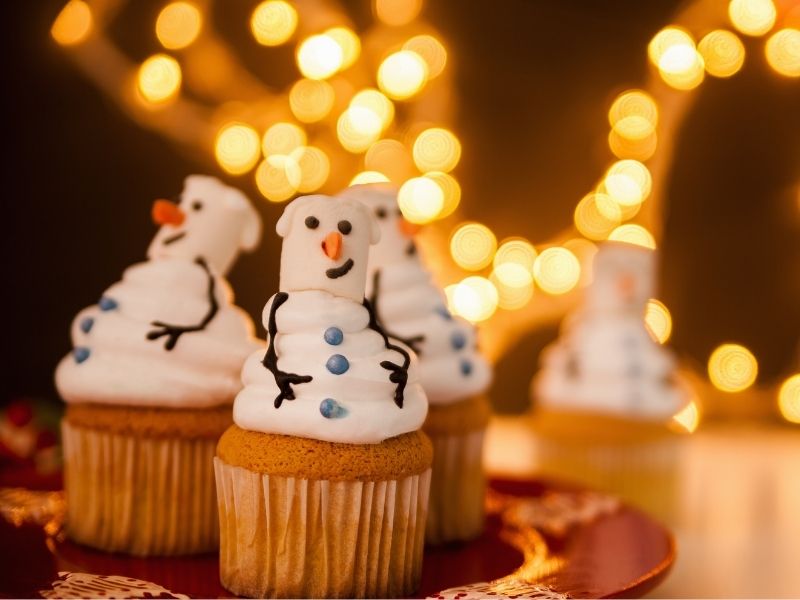
Seasonal details can make familiar desserts feel special.
Use strawberries during summer.
Add cinnamon and apples during autumn.
Choose peppermint-inspired details during winter.
Use pastel colors for spring celebrations.
Seasonal presentation does not require expensive decorations.
Fresh fruit, herbs, spices, and simple shapes can create the effect.
For example, dust powdered sugar over a winter cake.
Add rosemary around the serving plate.
For autumn, arrange apple slices beside a tart.
The key involves restraint.
Let the dessert remain recognizable.
20. Style Desserts for Photography
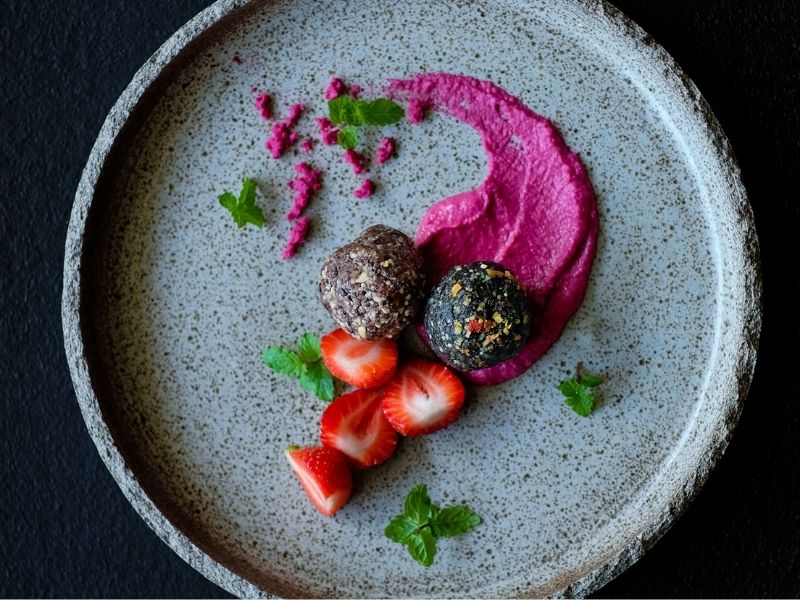
Good presentation deserves good photography.
Start near a window.
Natural light usually creates attractive softness.
Avoid harsh overhead lighting.
Use a simple background.
Then arrange your dessert slightly away from the center.
Add one or two supporting props.
A spoon, napkin, cutting board, or small bowl can provide context.
However, avoid filling the frame with unnecessary objects.
Your dessert should remain the main focus.
For more photography inspiration, explore Baking Flat Lay Ideas For Instagram & Pinterest.
You can also experiment with overhead and close-up angles.
21. Match the Presentation to the Dessert
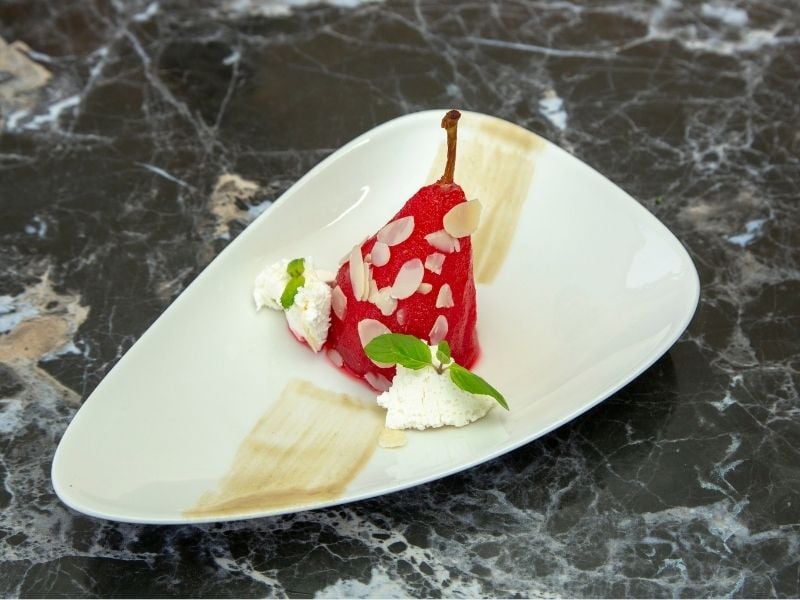
The best Dessert Presentation Ideas always consider the dessert itself.
A rustic fruit pie may suit a wooden board.
Delicate mousse may look better on a white plate.
A birthday cake may need colorful decorations.
Chocolate tart might suit a minimalist presentation.
Think about flavor, texture, occasion, and color.
Then select decorations that support those qualities.
Do not decorate simply because you have extra ingredients.
Every addition should improve the overall appearance.
For pastry-specific inspiration, see Puff Pastry vs Phyllo Dough vs Shortcrust What’s the Difference.
How to Make Homemade Desserts Look More Professional
Professional-looking desserts usually depend on several small details.
First, keep your serving plates clean.
Wipe away accidental smears before serving.
Second, maintain consistent portions.
Uneven slices can make a dessert table look less polished.
Third, choose decorations carefully.
Avoid adding every garnish available.
Instead, select elements that complement the main dessert.
Fourth, pay attention to color.
Too many competing shades can create visual confusion.
Finally, leave enough empty space.
That space allows the eye to focus.
These simple habits can dramatically improve your presentation.
For more practical baking guidance, read Baking Tips That Instantly Improve Your Results.
Common Dessert Presentation Mistakes
Too Many Decorations
Adding more decorations does not always create a better result.
Too many toppings can hide the dessert itself.
Choose a maximum of three major decorative elements.
For example, use berries, whipped cream, and powdered sugar.
That combination creates enough interest without becoming chaotic.
Ignoring Portion Size
Large decorations can overwhelm small desserts.
Likewise, tiny garnishes can disappear beside large cakes.
Match the scale of your decorations to the dessert.
This creates balance.
Using Too Many Colors
Color can make a dessert exciting.
However, too many colors may make the arrangement look random.
Choose a simple palette.
Two or three main colors often work well.
Then allow the dessert’s natural colors to provide additional variation.
Leaving Messy Plate Edges
A clean plate immediately makes food look more professional.
Check the rim before serving.
Remove sauce splashes.
Wipe away frosting marks.
Clean presentation takes only a few seconds.
That small step makes a major difference.
Overcrowding the Serving Area
Give each dessert room.
This becomes especially important during parties.
Instead of squeezing every treat onto one plate, use several smaller serving dishes.
That creates separation.
It also makes the table easier to navigate.
For bakers who need better kitchen organization, explore Baking Station Organisation Ideas That Will Transform Your Kitchen.
Simple Tools That Improve Dessert Presentation
You do not need a professional pastry kitchen.
A few affordable tools can make a difference.
Small offset spatula helps spread frosting.
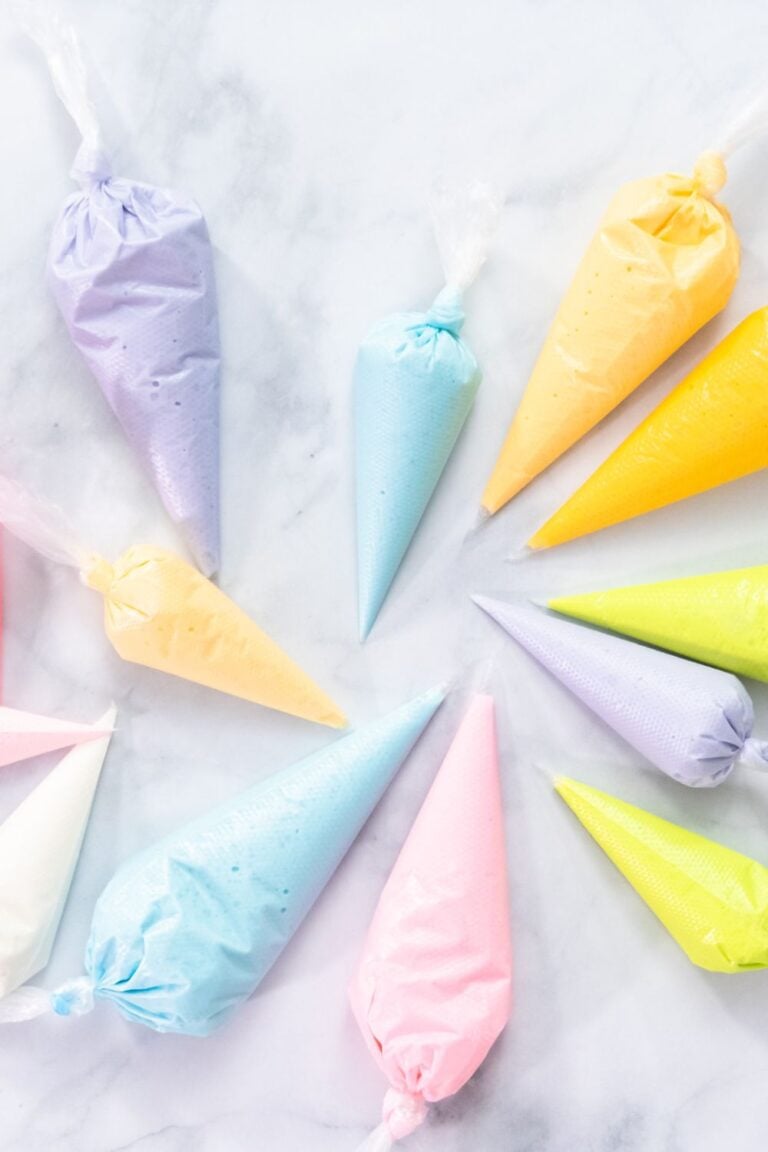
A piping bag creates controlled decorations.
Fine sieve helps distribute powdered sugar.
A zester creates delicate citrus garnish.
Bench scraper helps create smooth cake sides.
A sharp knife produces cleaner slices.
Cake turntable can simplify frosting.
For a broader equipment guide, explore Essential Baking Tools Every Home Baker Needs (with budget options).
Keep your equipment organized.
That allows you to focus on creativity instead of searching through drawers.
How to Choose the Right Garnish
The garnish should support the dessert.
Chocolate desserts pair well with chocolate curls, berries, nuts, and cream.
Citrus desserts work beautifully with zest and fresh fruit.
Apple desserts pair naturally with cinnamon, caramel, and toasted nuts.
Vanilla desserts offer a neutral foundation.
You can therefore combine them with almost any complementary color.
Think about flavor first.
Then consider appearance.
A garnish that looks beautiful but clashes with the flavor can reduce the overall experience.
For better ingredient selection, explore Best Budget Baking Ingredients That Still Give Great Results.
How to Create Bakery-Worthy Dessert Tables
A dessert table needs more than attractive individual treats.
Consider the entire arrangement.
Place the tallest cake toward the back.
Then add medium-height desserts in front.
Finally, position small cookies and candies toward the front.
This creates layers.
Use trays and cake stands to create different heights.
Keep colors consistent.
Add simple flowers or greenery if appropriate.
Avoid blocking access to individual desserts.
Guests should easily reach everything.
For an elegant setup, choose one visual theme.
Then repeat its colors throughout the table.
Use Labels for a Polished Finish
Small labels can make a dessert table look professional.
Write the name of each dessert clearly.
You can also mention important flavors.
For example:
- Chocolate ganache tart
- Lemon cheesecake
- Strawberry vanilla cupcakes
- Cinnamon apple bars
Choose labels that match your theme.
Simple cardstock works perfectly.
If you create content regularly, Baking Content Ideas for Instagram, Pinterest, and TikTok can provide additional content inspiration.
How to Keep Decorations Fresh
Presentation starts before serving.
Fresh fruit should remain chilled when appropriate.
Whipped cream needs careful temperature control.
Chocolate decorations can soften in warm conditions.
Therefore, prepare delicate elements as close to serving time as possible.
Store finished desserts appropriately.
Keep moisture-sensitive decorations away from humid environments.
If you need guidance on maintaining baked goods, explore How to Store Baked Goods to Keep Them Fresh Longer.
Good storage protects both texture and appearance.
Dessert Presentation Ideas for Different Occasions
Birthday Parties
Use colorful toppings.
Add sprinkles.
Create small chocolate decorations.
Choose a cheerful cake stand.
Keep the arrangement playful.
Weddings and Engagements
Choose elegant colors.
Use delicate flowers.
Add metallic edible details.
Keep the presentation refined.
White, cream, blush, and gold combinations work beautifully.
Dinner Parties
Use minimalist plating.
Serve individual portions.
Add a small sauce design.
Finish with one garnish.
This creates a restaurant-inspired appearance.
Holidays
Match your colors to the celebration.
Use seasonal fruit.
Add themed sprinkles.
Create recognizable shapes.
Keep the presentation festive without becoming crowded.
Final Thoughts
Beautiful desserts do not require complicated decorating techniques.
They require thoughtful choices.
Focus on balance.
Pay attention to color.
Create height.
Use texture.
Leave enough empty space.
Most importantly, choose decorations that complement the dessert.
The best Dessert Presentation Ideas make food look inviting without making the process stressful.
Start with one technique.
Try a powdered sugar finish.
Then experiment with berries.
Afterward, practice sauce swirls.
Eventually, combine several techniques to create your own signature style.
Remember that presentation improves with practice.
You will learn which colors work together.
You will discover which garnishes suit specific desserts.
You will also become more confident with plating and photography.
Whether you bake for your family, entertain guests, create Pinterest content, or run a home bakery, attractive presentation can elevate your work.
With these Dessert Presentation Ideas, even a simple homemade dessert can feel special, intentional, and bakery worthy.