9 Best Sourdough Tools for Beginners
Disclosure: Some of the links in this post are affiliate links. This means if you click on the link and purchase an item, I will receive an affiliate commission at no extra cost to you.
Starting your sourdough journey can feel exciting until you realize how many tools bakers recommend. You’ll find proofing baskets, dough scrapers, scoring blades, starter jars, and plenty of other accessories. It can become difficult to know what you actually need. The good news is that you don’t need a professional bakery setup to make delicious homemade sourdough. A few reliable tools can help you prepare, handle, and bake your dough with greater confidence.
The right sourdough tools make each stage of baking easier to manage. A suitable jar helps you maintain your starter, while a digital scale keeps ingredient measurements accurate. A dough scraper makes sticky dough easier to handle. Meanwhile, a proofing basket can support your dough as it rests before baking. Choosing practical equipment also helps you avoid spending money on accessories you may rarely use. If you’re completely new to sourdough, start with this guide to everything you need to start baking sourdough.
In this guide, we’ll explore nine useful sourdough tools worth considering as a beginner. We’ll explain what each tool does and why it can make your baking routine easier. You’ll also discover which items deserve priority when building your first sourdough collection. Whether you’re preparing your first starter or getting ready to bake your first loaf, these tools can help you feel more prepared.
9 Best Sourdough Tools for Beginners
1. Digital Kitchen Scale
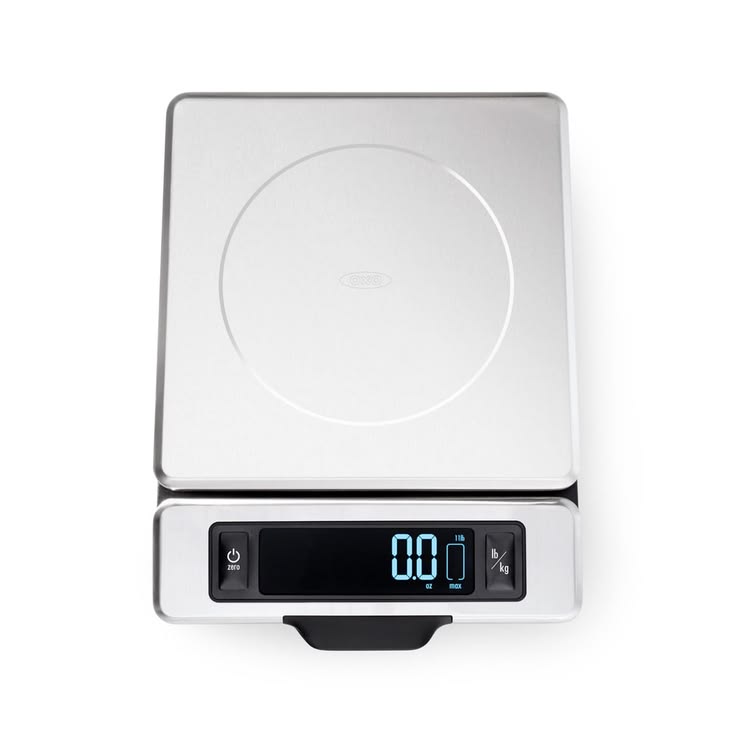
A digital kitchen scale is one of the most important sourdough tools for beginners. Sourdough recipes usually measure ingredients by weight rather than cups. This helps you maintain consistent flour, water, and starter ratios. As a result, your dough becomes easier to manage.
When making sourdough, small measurement differences can affect hydration and fermentation. Too much water may leave your dough sticky and difficult to shape. On the other hand, too much flour can make your bread dense. A reliable scale helps you avoid these problems.
Look for a model with a clear digital display and a tare function. The tare function lets you reset the measurement without removing your mixing bowl. Also, choose one with enough capacity for your usual baking quantities. A compact design makes storage easier.
You can also use your scale when feeding your sourdough starter. This helps you maintain consistent feeding ratios as your starter grows. For more guidance, explore this best kitchen scales for bread baking guide.
2. Sourdough Starter Jar
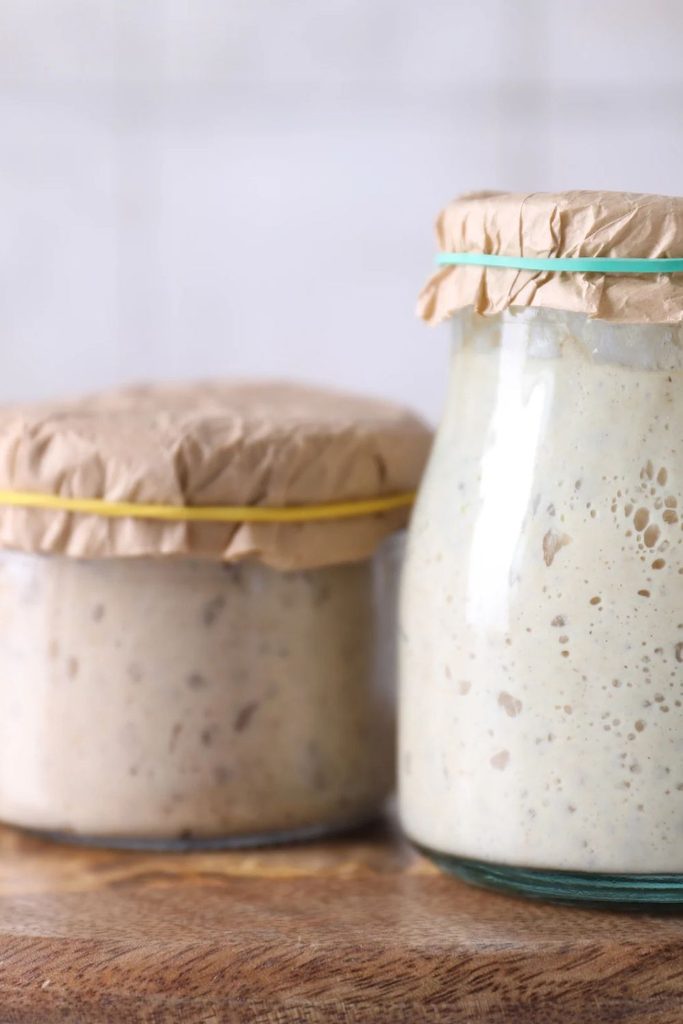
A sourdough starter jar gives your starter a clean place to grow and develop. Your starter contains wild yeast and beneficial bacteria that help bread rise. Therefore, keeping it in a suitable container makes regular feeding easier.
Choose a clear glass jar with a wide opening. This allows you to see bubbles, growth, and changes in your starter. Additionally, a wide opening makes stirring and removing starter less messy. A straight-sided jar also helps you monitor how much your starter rises.
Avoid sealing the jar tightly during active fermentation. Your starter produces gas as it ferments, so it needs room to release pressure. Instead, use a loose-fitting lid or another suitable breathable covering.
You don’t need an expensive container to get started. A simple food-safe glass jar can work perfectly well. Just keep it clean and avoid exposing it to extreme temperature changes.
If you’re still learning how starter works, read this beginner’s guide to baking bread at home. It can help you understand the basic steps before making your first loaf.
3. Large Mixing Bowl
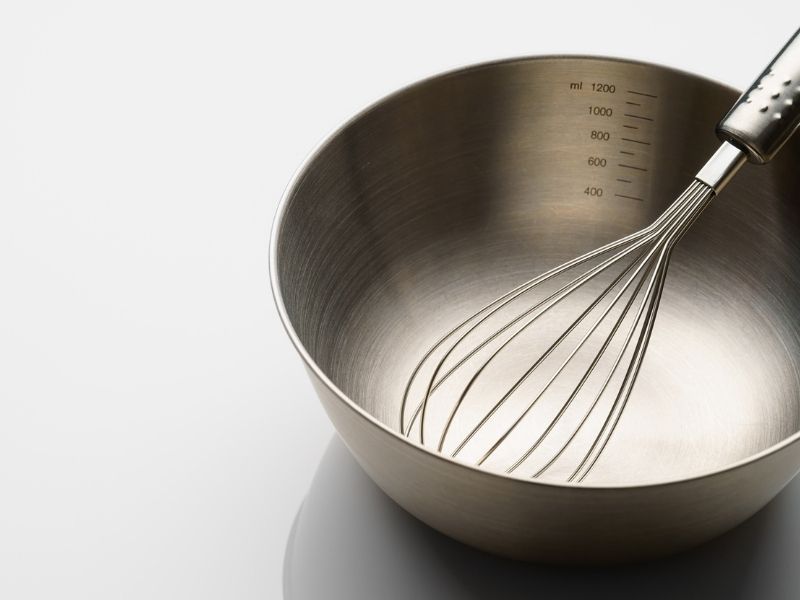
A large mixing bowl gives you enough room to combine your sourdough ingredients comfortably. You’ll need space for flour, water, starter, and salt. Furthermore, the dough needs room to expand during mixing and folding.
Stainless steel and glass bowls are both practical options. Stainless steel feels lightweight and handles regular kitchen use well. Glass bowls allow you to observe the dough during fermentation. Choose a size that comfortably holds your usual recipe.
A bowl with a wide opening makes mixing and stretching easier. You can also use it to cover your dough during bulk fermentation. However, make sure your covering prevents the dough from drying out.
If you enjoy baking larger loaves, consider buying a bowl with extra capacity. This gives you more room when the dough expands. You can also explore these best stand mixers every home baker should have if you eventually want help with mixing other doughs.
4. Bench Scraper
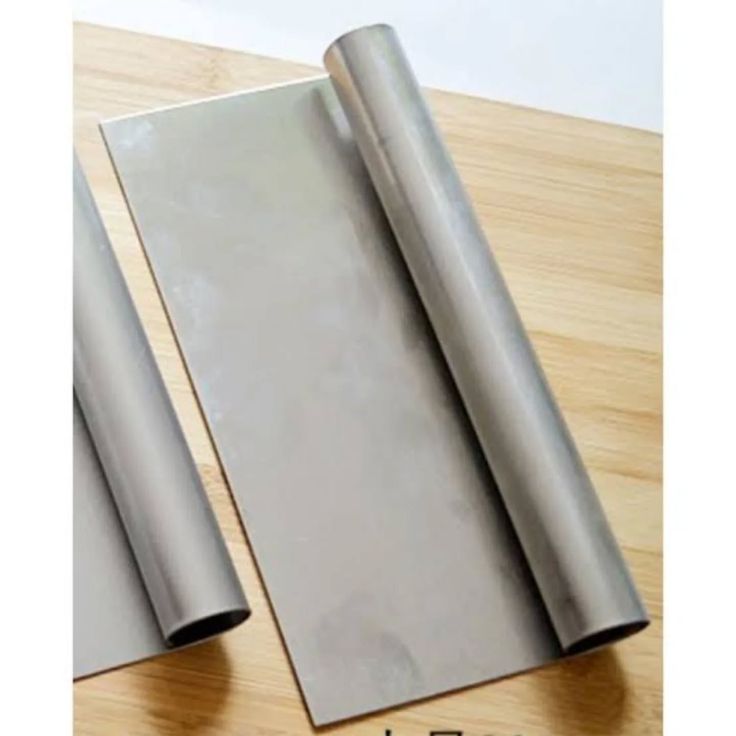
A bench scraper is one of those sourdough tools for beginners that quickly becomes indispensable. It helps you handle sticky dough without constantly adding more flour. You can also use it to divide dough into equal portions.
During shaping, sourdough dough can stick to your work surface. A bench scraper helps lift and move it without tearing it unnecessarily. Additionally, its straight edge makes cleaning flour and dough from your counter easier.
Choose a scraper with a comfortable handle and sturdy blade. Stainless steel models are popular because they are durable and easy to clean. Some also include measurement markings that help with dividing dough.
You may eventually want a flexible plastic scraper too. It works particularly well for removing sticky dough from mixing bowls. Both options make handling sourdough much less frustrating.
For more useful equipment, check out these best dough scrapers for bread bakers. You can also explore essential baking tools every home baker needs when building your kitchen collection.
5. Banneton Proofing Basket
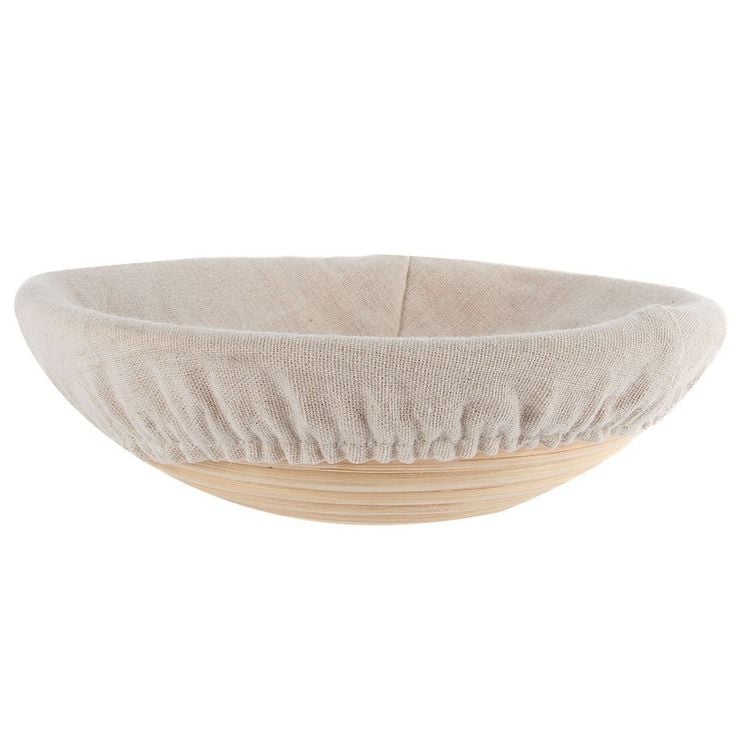
A banneton proofing basket helps your sourdough dough hold its shape during the final proof. It supports the dough while it rests and develops its structure. Additionally, the basket creates attractive flour patterns on the finished loaf.
Most bannetons come in round or oval shapes. Round baskets work well for boules, while oval baskets suit batard-style loaves. Choose a size that matches the amount of dough you usually prepare.
You can find bannetons made from natural rattan or other materials. Rattan baskets allow some airflow around the dough during proofing. However, you can also use a suitable bowl lined with a clean, floured kitchen towel.
Dust your basket with rice flour to reduce sticking. Pay attention to the corners and grooves because dough can cling to these areas. After using it, remove excess flour and allow the basket to dry completely.
If you’re building your sourdough collection, explore these essential bread baking supplies for beginners.
6. Lame or Bread Scoring Tool
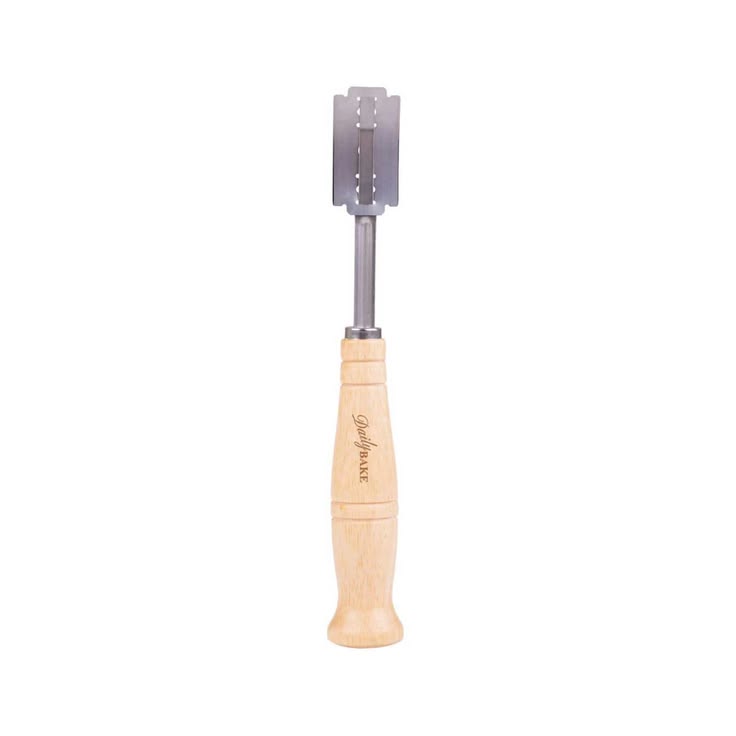
A bread lame helps you score sourdough before placing it in the oven. Scoring means making shallow cuts across the dough’s surface. These cuts guide how the loaf expands during baking.
Without scoring, sourdough may split unpredictably as it rises in the oven. A lame gives you better control over the expansion. It also helps you create attractive patterns on your finished bread.
Choose a comfortable lame with a replaceable razor blade. Some designs have curved blades, while others use straight blades. Both can work well, depending on your preferred scoring style.
Start with simple cuts instead of complicated designs. A single long slash across the dough is a useful beginner technique. As your confidence improves, experiment with decorative patterns.
7. Dutch Oven
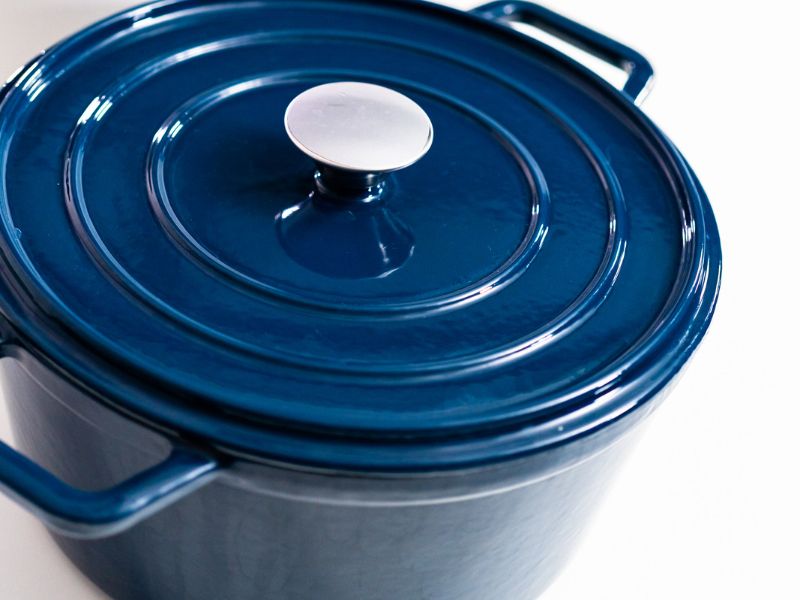
A Dutch oven is one of the most valuable sourdough tools for beginners who want bakery-style bread at home. It creates a hot, enclosed baking environment that traps steam around the dough. This helps the loaf develop a beautiful crust while expanding during the early baking stage.
Cast iron Dutch ovens are particularly popular among sourdough bakers. They retain heat well and distribute it throughout the baking vessel. Additionally, the heavy lid helps trap moisture released by the dough.
Choose a Dutch oven that comfortably accommodates your preferred loaf size. Round models work well for boules, while oval versions suit longer loaves. Check the manufacturer’s maximum temperature recommendations before purchasing.
Preheat your Dutch oven according to your recipe. Then, carefully transfer your scored dough into the hot vessel. Always use suitable heat-resistant gloves because the pot and lid become extremely hot.
You can also explore best kitchen appliances for home bakers when planning your baking equipment collection. For more bread-making inspiration, check out everything you need to start baking sourdough.
8. Oven Thermometer
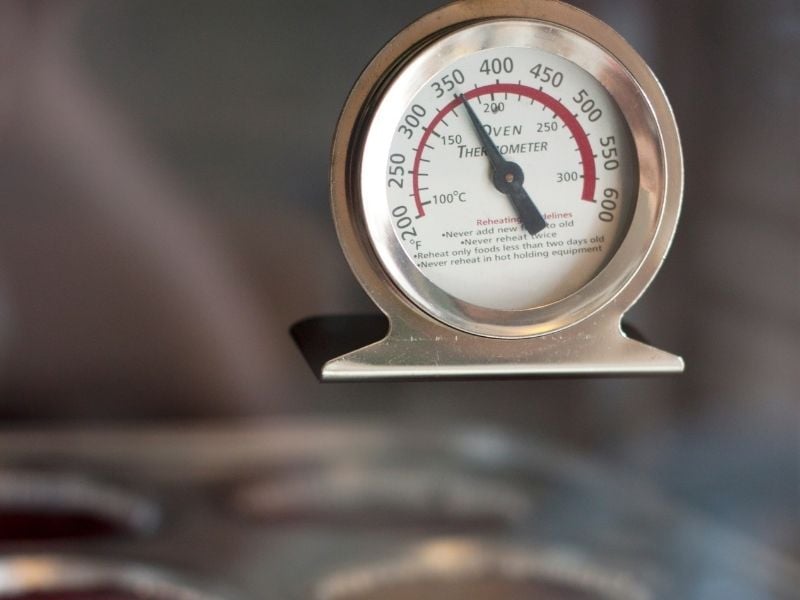
An oven thermometer helps you know the actual temperature inside your oven. This matters because sourdough requires sufficient heat to develop its crust and rise properly. Unfortunately, some ovens don’t maintain the temperature displayed on their control panels.
An oven that runs too cool may produce pale bread with a dense texture. Meanwhile, excessive heat can burn the crust before the centre finishes baking. Therefore, checking your oven temperature can help prevent disappointing results.
Choose a thermometer with clear markings and a temperature range suitable for bread baking. An oven-safe stainless steel model is a practical option. Place it where you can read it without repeatedly opening the oven.
Allow your oven to preheat fully before baking. Also, check the thermometer occasionally to understand how accurately your oven maintains its temperature. This simple habit can improve your baking consistency.
For more guidance, read understanding baking temperatures. You can also explore common baking mistakes and how to fix them to understand how temperature affects your results.
9. Dough Whisk
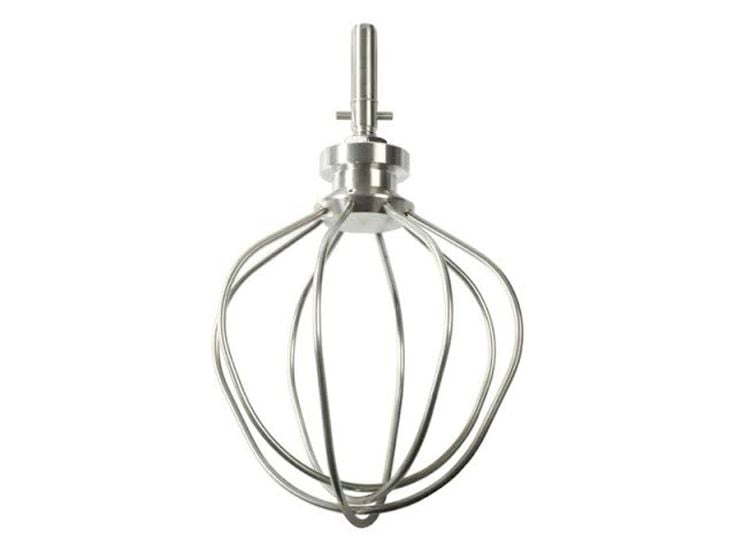
A dough whisk makes mixing sourdough ingredients easier without relying on a regular balloon whisk. Its sturdy metal loops move through thick dough while helping combine flour, water, and starter. Consequently, you can mix ingredients without struggling with a sticky mixture.
Traditional dough whisks often feature a wooden handle and stainless steel wire loops. Their open design allows thick dough to pass through more easily. This also makes removing sticky dough simpler than cleaning some conventional whisks.
Choose a whisk with a comfortable handle and sturdy construction. A well-made model should feel balanced when mixing thicker ingredients. Additionally, check that its metal loops attach securely to the handle.
You don’t necessarily need this tool if you already have a suitable mixing spoon. However, frequent sourdough bakers may appreciate the convenience. It is particularly helpful when preparing dough that feels too thick for ordinary kitchen utensils.
If you’re comparing different mixing equipment, explore these best hand mixers for cookie dough. You can also consider best stand mixer attachments for bakers if you prefer using an electric mixer for other baking projects.
Other Helpful Sourdough Accessories Worth Considering
The nine sourdough tools for beginners above cover the main stages of bread preparation. Still, a few inexpensive accessories can make your baking routine more comfortable. You can add these gradually as your experience grows.
- Rice flour: Helps prevent dough from sticking to proofing baskets.
- Parchment paper: Makes transferring dough into a hot Dutch oven easier.
- Silicone spatula: Helps remove starter and dough from mixing bowls.
- Kitchen thermometer: Checks the internal temperature of your finished loaf.
- Cooling rack: Allows freshly baked bread to cool without trapping moisture underneath.
- Linen bread bag: Helps store your finished loaf after it cools completely.
You can also keep a baking measurements conversion chart nearby when following recipes with different measurement systems. For additional kitchen essentials, explore essential baking tools every home baker needs.
How to Choose the Right Sourdough Tools for Beginners
Buying sourdough equipment can become expensive when you don’t know what you actually need. Fortunately, you can start with a small collection and expand it later. Focus on tools that make the most important baking stages easier.
Here are some things to consider before purchasing:
- Your baking experience: Choose simple equipment that won’t make learning sourdough unnecessarily complicated.
- Material quality: Look for durable materials that can handle regular use.
- Ease of cleaning: Choose tools with removable parts or surfaces that clean easily.
- Storage space: Consider how much room each appliance or accessory will occupy.
- Versatility: Prioritize tools that support several baking tasks.
- Your budget: Purchase essential equipment first and add specialty tools later.
Also, avoid buying several tools that perform nearly identical functions. For example, you don’t need multiple dough scrapers when one good-quality scraper handles your needs. Explore these small kitchen baking ideas for limited spaces if your kitchen has limited storage.
You can also learn useful techniques through baking tips that instantly improve your results. Understanding common baking terms will help too, so check out baking terms explained.
Which Sourdough Tools Should Beginners Buy First?
You don’t need all nine sourdough tools for beginners immediately. Instead, start with the equipment that supports the entire bread-making process.
I’d recommend purchasing these five essentials first:
- Digital kitchen scale: For measuring ingredients accurately.
- Sourdough starter jar: For growing and maintaining your starter.
- Large mixing bowl: For combining ingredients and fermenting dough.
- Bench scraper: For handling, dividing, and shaping dough.
- Dutch oven: For baking bread with a beautiful crust.
Once you’re comfortable with these tools, consider purchasing a banneton and bread lame. An oven thermometer and dough whisk can also make your baking routine easier.
If you’re unsure about your first purchases, explore essential baking tools every home baker needs. You may also find the most common beginner baking questions answered helpful when learning new techniques.
How to Maintain and Store Your Sourdough Tools
Taking care of your equipment helps it last longer. It also keeps your baking environment clean and organized. Therefore, develop simple cleaning habits from your first baking session.
Wash mixing bowls, scrapers, and reusable utensils after each use. Remove dried dough before it becomes difficult to clean. Additionally, dry metal equipment properly to prevent rust.
Banneton baskets need special attention because trapped moisture can encourage mould growth. Remove excess flour after use and allow the basket to dry completely. Avoid putting natural rattan baskets away while damp.
Keep your digital scale and other electrical appliances away from water. Also, store sharp scoring blades safely when you’re not using them.
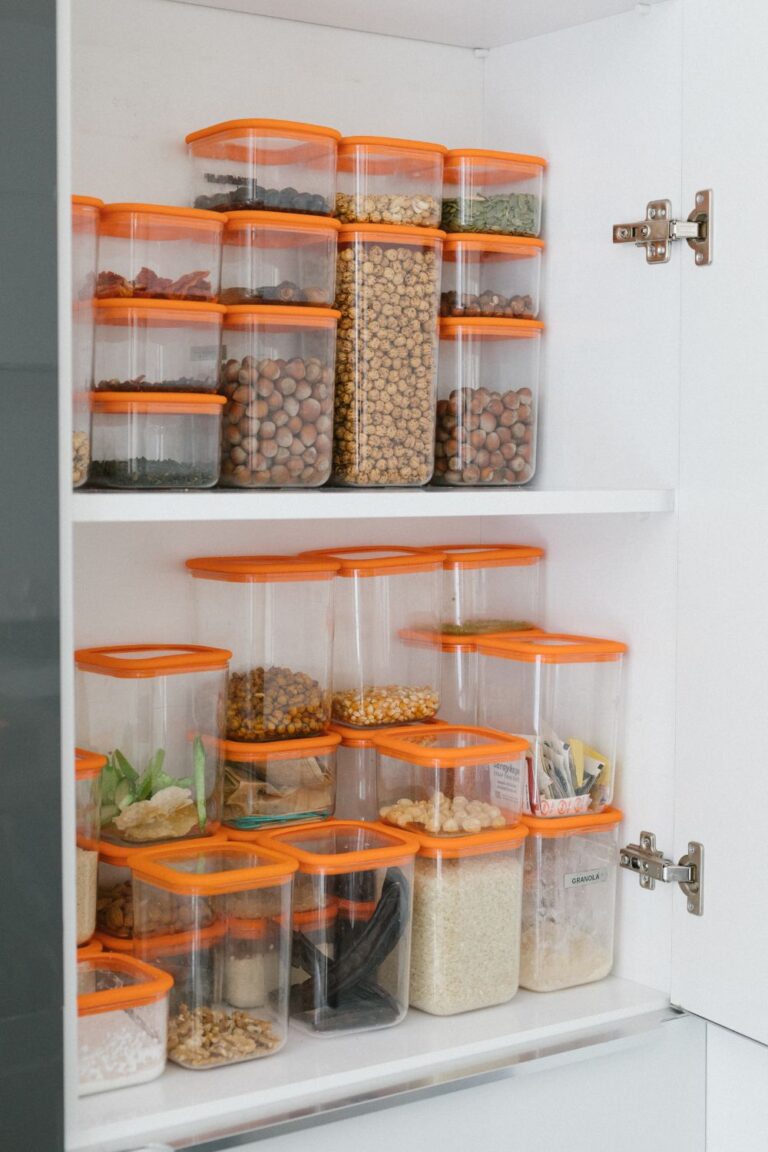
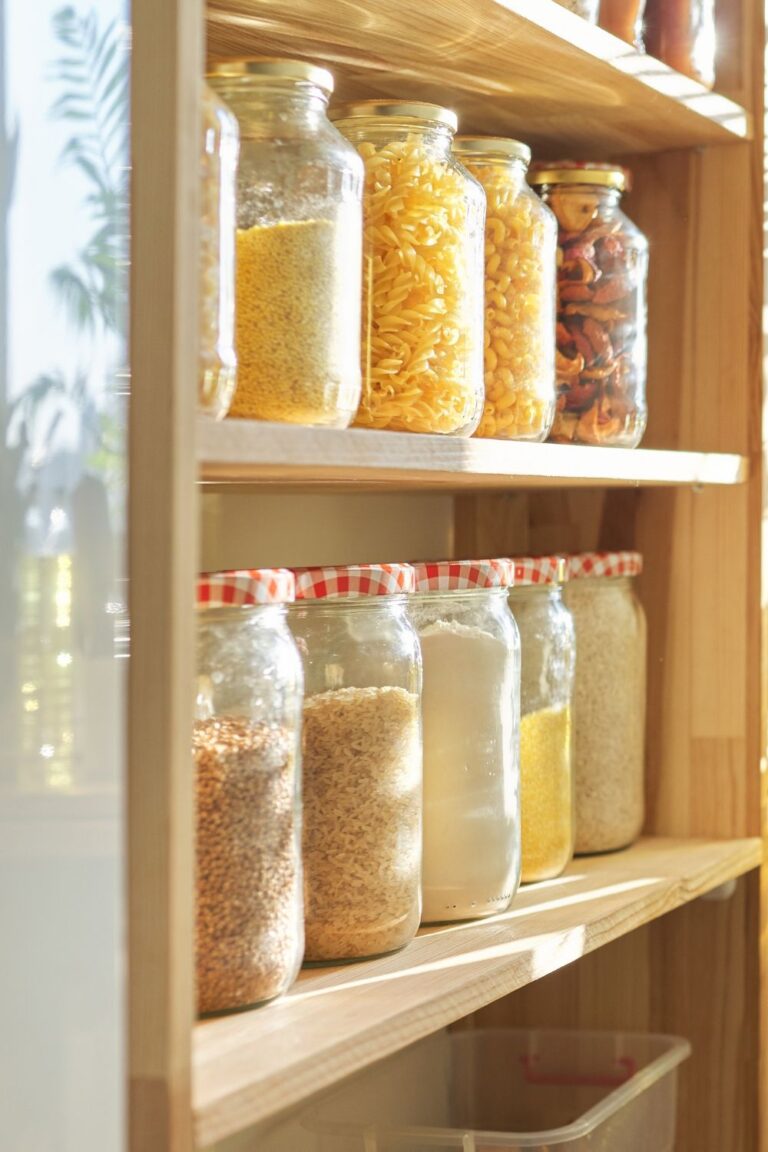
For more organization inspiration, explore these kitchen storage hacks every baker needs. You can also discover baking cart organization ideas and how to create a dedicated baking corner at home.
Final Thoughts
Starting sourdough baking becomes easier when you have the right equipment. These nine sourdough tools for beginners cover everything from maintaining your starter to baking your finished loaf.
However, you don’t need to purchase everything immediately. Start with a digital scale, mixing bowl, starter jar, and a few basic accessories. Then, invest in additional equipment as your skills and baking interests develop.
Most importantly, give yourself time to learn the process. Your first loaf might not look perfect, but every baking session teaches you something new. With patience and reliable sourdough tools for beginners, you’ll become more confident making homemade bread.