19 Easy Ways to Make Bakery-Style Cookies at Home
Disclosure: Some of the links in this post are affiliate links. This means if you click on the link and purchase an item, I will receive an affiliate commission at no extra cost to you.
Ways to Make Bakery-Style Cookies can completely change the results you get from your home oven. Bakery cookies often look thicker, softer, richer, and more polished than ordinary homemade cookies. Fortunately, you do not need expensive equipment or professional training to recreate many of those qualities in your own kitchen. Small changes in ingredient preparation, dough handling, portioning, chilling, baking, and finishing can make a noticeable difference.
The first time I tried to make bakery-style cookies, I expected the recipe alone to produce thick, picture-perfect cookies. Instead, they spread too much and came out thinner than expected. The flavor still tasted good, but the appearance lacked that bakery-counter finish. That experience taught me that technique matters just as much as the ingredient list.
Before experimenting, it helps to understand the basics covered in The Ultimate Beginners Guide to Baking (Everything You Need To Know to Start).
This guide shares 19 practical Ways to Make Bakery-Style Cookies without making the process unnecessarily complicated. You will learn how to improve texture, flavor, thickness, color, presentation, and consistency while avoiding common mistakes. These techniques also help you understand how cookies differ from other baked treats, including the Different Types of Pastries you may encounter while expanding your baking skills.
19 Easy Ways to Make Bakery-Style Cookies at Home
1. Start With High-Quality Ingredients
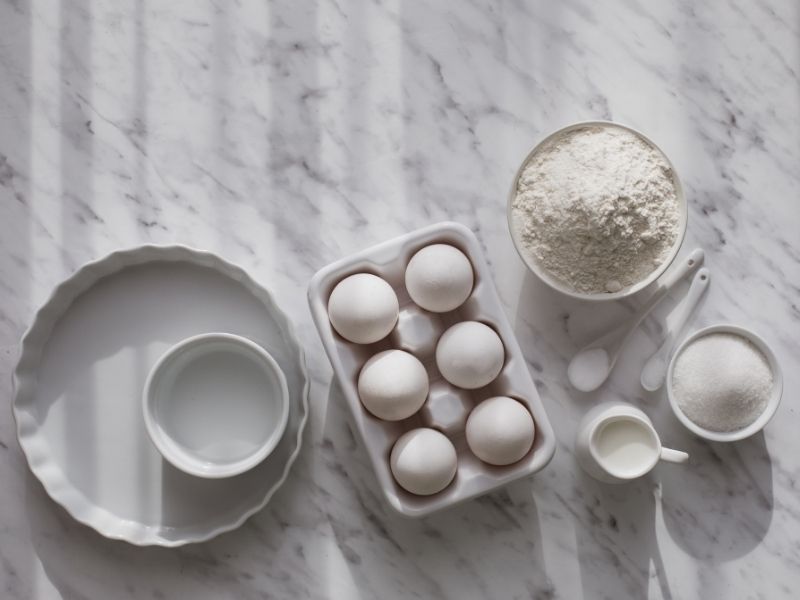
Ingredient quality has a direct effect on cookie flavor.
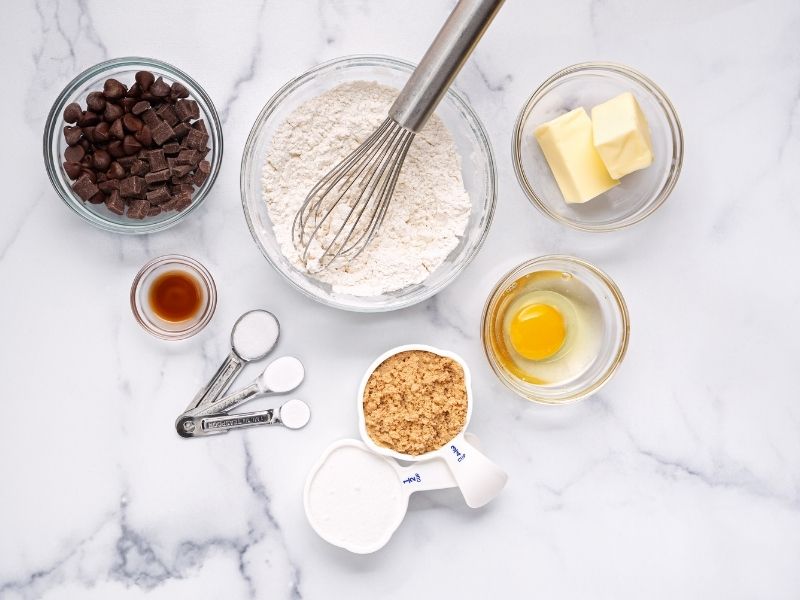
Butter contributes richness.
Brown sugar adds moisture and caramel notes.
Vanilla enhances the overall flavor.
Chocolate provides one of the strongest flavors in many bakery-style cookies.
Using fresh ingredients gives you a stronger starting point.
Check your flour, baking soda, baking powder, and other dry ingredients before mixing.
Old leavening agents can weaken your cookies.
Stale nuts can also introduce unpleasant flavors.
For a useful overview of ingredient functions, explore Baking Ingredients Explained: What Every Ingredient Actually Does.
That knowledge makes recipe adjustments much easier.
2. Measure Your Ingredients Accurately
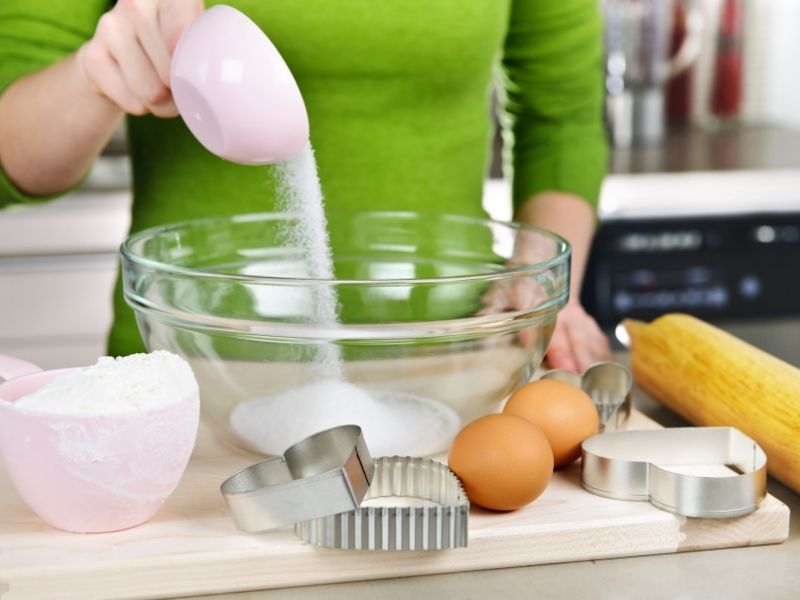
Accurate measurement can make the difference between thick cookies and flat cookies.
Too much flour can create dense, dry results.
Too little flour can produce excessive spreading.
Sugar also affects texture and color.
Therefore, avoid casually scooping ingredients from bags.
Use a kitchen scale whenever possible.
Weight provides greater consistency than volume measurements.
For recipes that use cups, understanding equivalent weights still helps.
Baking Measurements Conversion Chart (Cups, Grams, Ounces Explained) can make ingredient conversions easier.
Once your measurements become consistent, troubleshooting becomes much simpler.
3. Use Room-Temperature Ingredients When Required
Ingredient temperature affects how your dough comes together.
Softened butter creams differently from cold butter.
Room-temperature eggs also blend more easily into many cookie mixtures.
However, avoid assuming every ingredient should sit on the counter.
Some recipes specifically require cold butter.
Others use melted butter for a particular texture.
Follow the recipe’s intended method.
When softened butter forms part of the recipe, allow it to soften naturally.
Do not melt it unless the instructions call for melted butter.
That distinction can dramatically change the dough.
4. Cream Butter and Sugar Properly
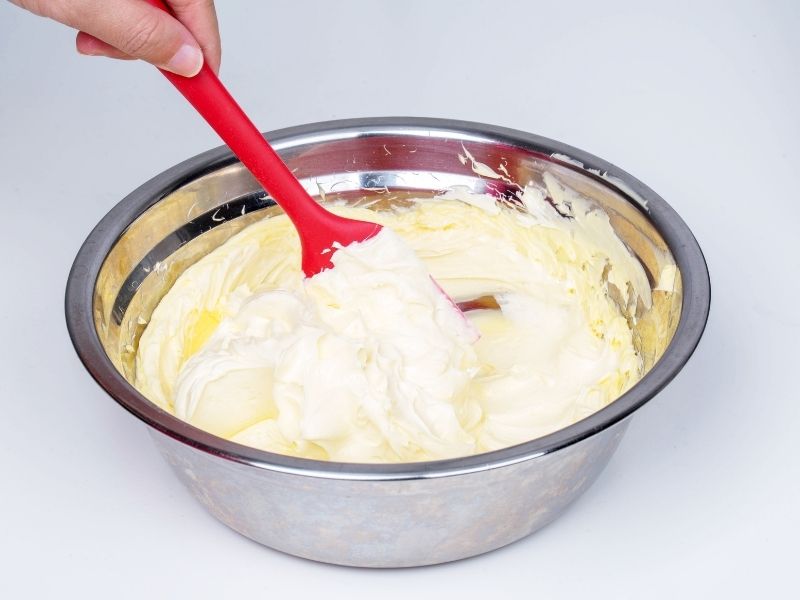
Creaming butter and sugar introduces air into the mixture.
That air can influence the final cookie texture.
However, excessive mixing can also create problems.
Start with softened butter.
Add the sugar according to your recipe.
Beat until the mixture becomes lighter and creamy.
Scrape the bowl occasionally.
This ensures the butter and sugar combine evenly.
Proper mixing also helps distribute ingredients throughout the dough.
If you want to strengthen your understanding of foundational techniques, Easy Baking Skills Every Home Baker Should Master First offers useful guidance.
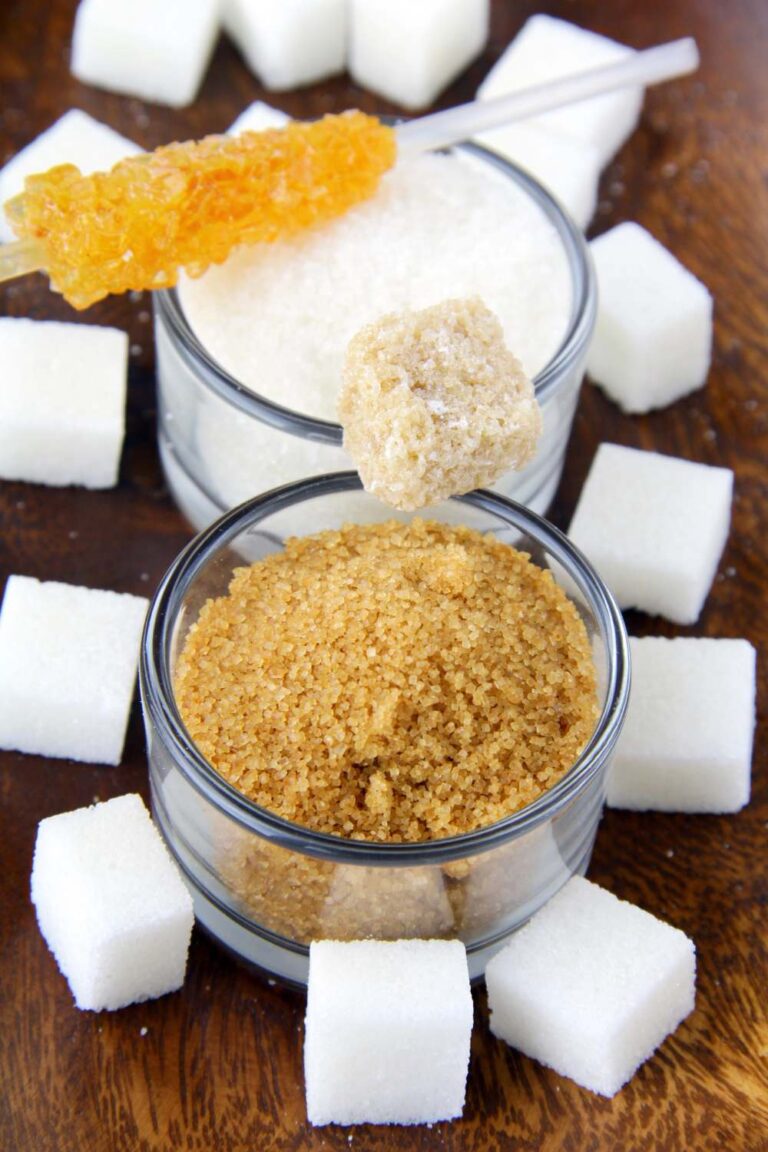
5. Choose the Right Sugar Combination
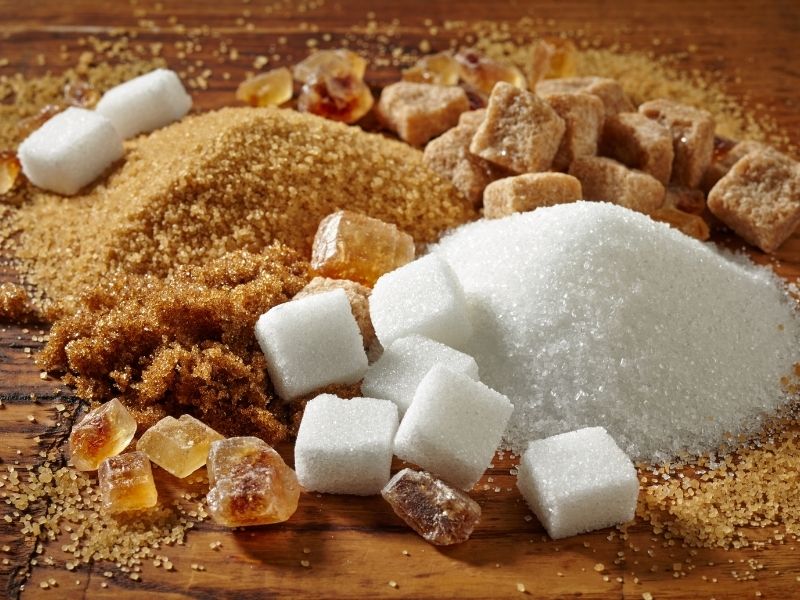
Sugar does much more than sweeten cookies.
Brown sugar contributes moisture and chewiness.
White granulated sugar encourages spreading and crisp edges.
Powdered sugar can create a different texture altogether.
Many bakery-style cookie recipes combine brown and white sugar.
That combination can provide a useful balance.
The exact ratio depends on the desired result.
A cookie intended to remain thick and chewy may require more brown sugar.
A crispier cookie may rely more heavily on granulated sugar.
You can learn more about sugar choices in The Different Types of Sugar Used in Baking Explained.
6. Add Enough Vanilla
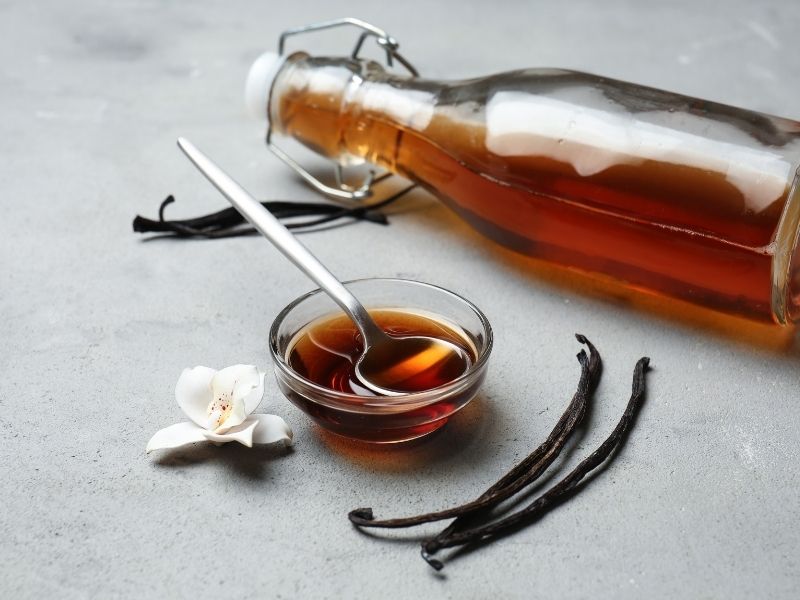
Vanilla can make chocolate, butter, and brown sugar flavors taste more complete.
A small amount may seem insignificant.
Yet, it can noticeably improve the finished cookie.
Use good-quality vanilla extract when possible.
Follow the recipe’s recommended quantity.
Adding excessive vanilla will not automatically produce a better cookie.
Instead, focus on balance.
For more complex cookies, you can also experiment with almond extract, citrus zest, espresso powder, or spices.
Introduce new flavors gradually.
7. Use Chopped Chocolate Instead of Only Chocolate Chips
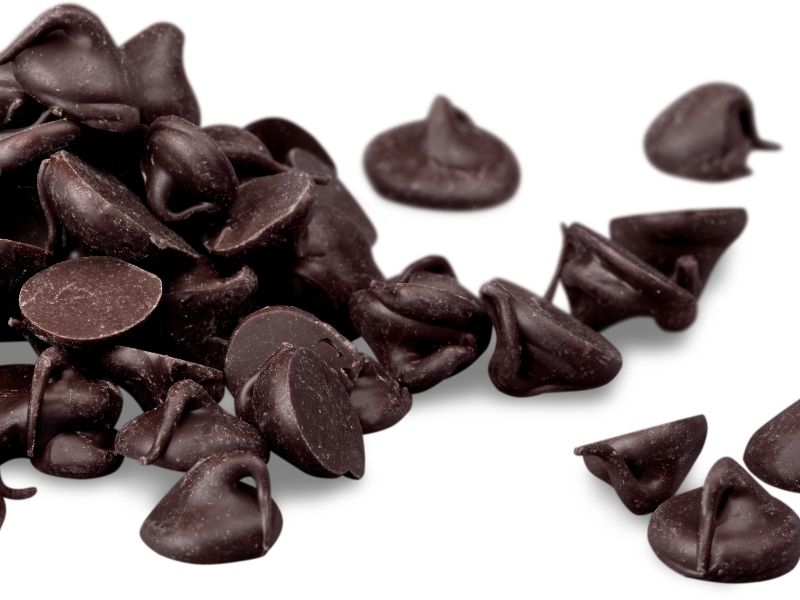
Chocolate chips create reliable pockets of chocolate.
However, chopped chocolate can give your cookies a more bakery-style appearance.
A chocolate bar creates pieces of different sizes.
Some pieces melt into the dough.
Others form larger pools.
The irregular shapes also make each cookie look more handcrafted.
Use a quality chocolate bar with a flavor you enjoy.
Combine chunks with chips if you want both visual variety and consistent chocolate distribution.
Place a few additional chocolate pieces on top immediately after baking.
That simple finishing step can make homemade cookies look much more polished.
8. Chill the Dough
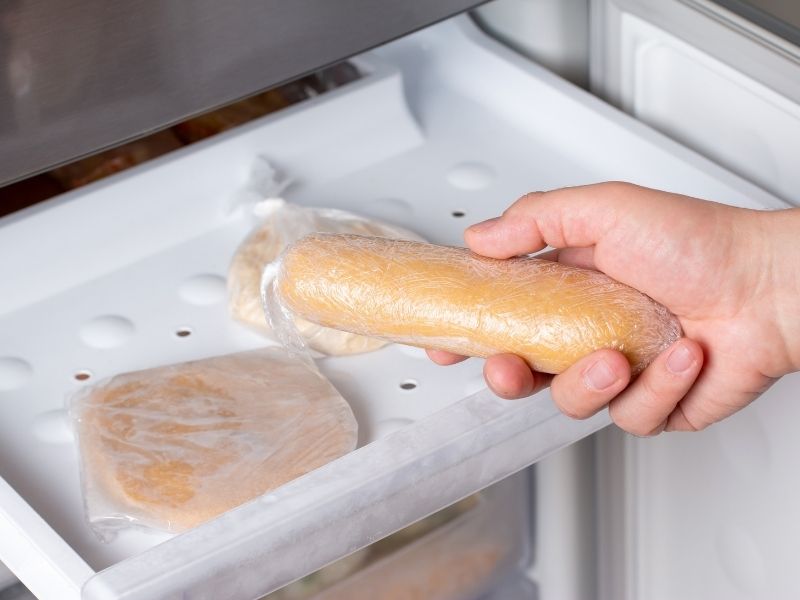
Chilling cookie dough can reduce excessive spreading.
Cold dough takes longer to melt inside the oven.
That gives the cookie structure more time to develop.
Chilling can also deepen flavor.
Many bakers prepare the dough several hours ahead.
Overnight chilling can work well for suitable recipes.
However, very firm dough may require a short rest before scooping.
Do not assume every recipe needs the same chilling time.
Test the method with your specific dough.
If your cookies repeatedly spread too much, Why Did My Cookies Turn Out Flat? 21 Possible Reasons. can help you identify additional causes.
9. Make the Cookie Portions Large
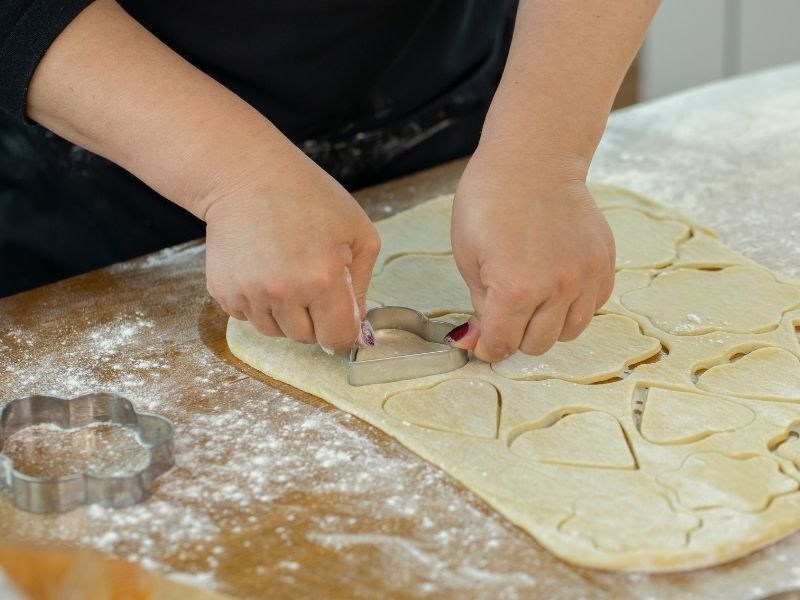
Bakery-style cookies usually have substantial portions.
Small scoops naturally bake into smaller cookies.
Larger portions create thicker centers.
Use a cookie scoop or kitchen scale to keep the portions consistent.
Consistency matters when baking several cookies together.
Uneven sizes create uneven baking times.
One cookie may become dark while another remains underbaked.
Choose a portion size that suits your recipe.
For oversized cookies, leave plenty of space between dough portions.
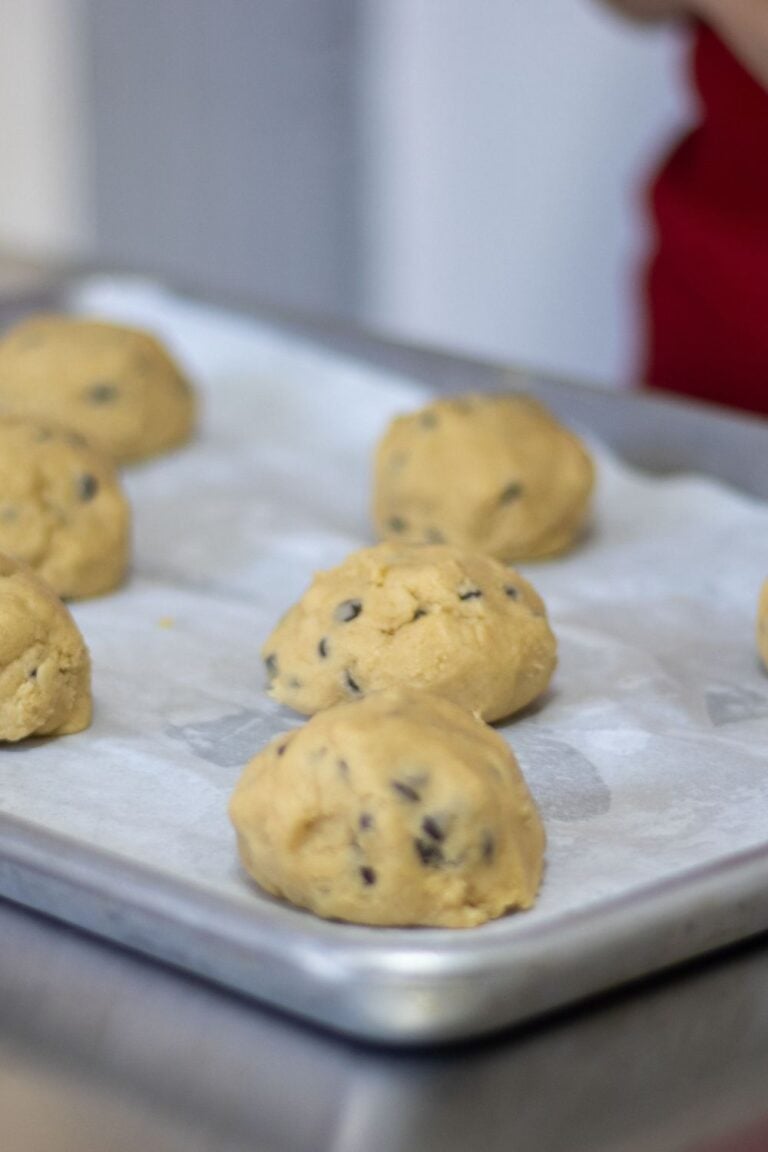
10. Shape the Dough Taller
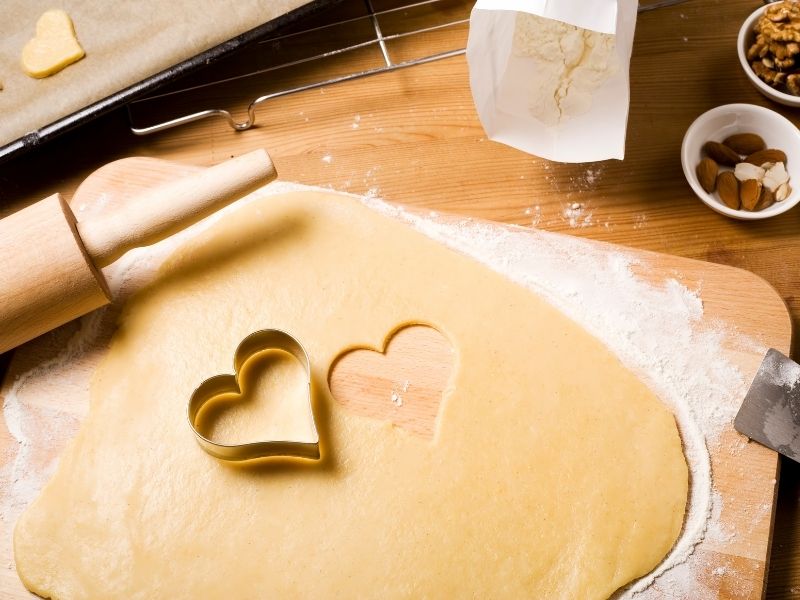
The shape of the dough before baking affects the final appearance.
Instead of creating perfectly round, flat balls, shape the dough slightly taller.
A taller portion gives the cookie more height to work with.
As the butter melts, the dough spreads outward.
Starting with a thicker shape can help maintain a substantial center.
This technique works particularly well for chunky chocolate chip cookies.
Do not compress the dough excessively.
Keep it loosely shaped.
11. Add Toppings Before Baking
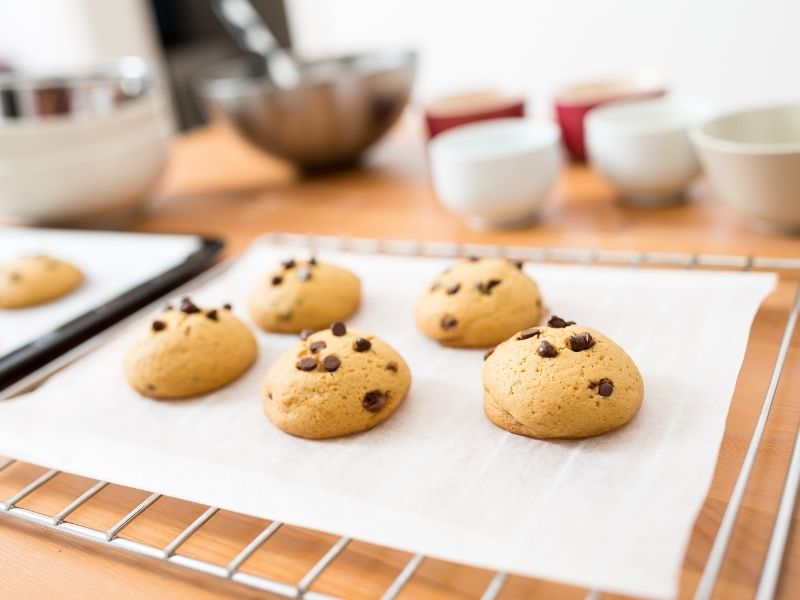
Professional-looking cookies often feature visible toppings.
Add chocolate chunks, nuts, caramel pieces, or other suitable toppings before baking.
Press larger pieces gently into the surface.
Avoid adding too many toppings.
Excessive toppings can interfere with spreading.
Choose ingredients that complement the cookie base.
For seasonal cookies, consider peppermint pieces, dried cranberries, white chocolate, or toasted nuts.
The topping should enhance the cookie rather than overpower it.
12. Reserve Some Toppings for After Baking
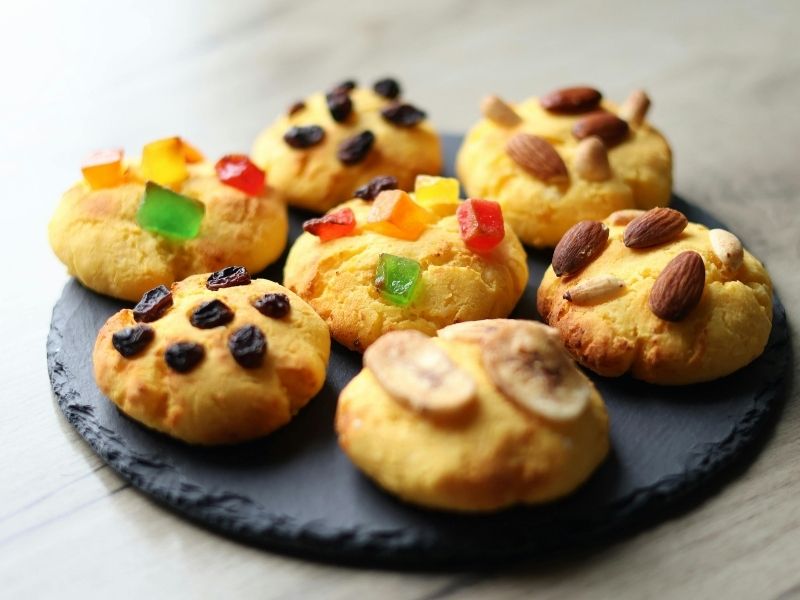
Another effective technique involves adding toppings immediately after the cookies leave the oven.
Freshly baked cookies remain soft.
Press a few chocolate chunks or decorative pieces into the warm surface.
They will settle slightly without disappearing completely.
This creates a fuller appearance.
It also makes the main ingredients easier to see.
That technique works especially well for cookies photographed for Pinterest or Instagram.
If you enjoy styling your baked creations, Baking Flat Lay Ideas For Instagram & Pinterest offers ideas for presenting baked goods attractively.
13. Avoid Overmixing After Adding Flour
Flour contains gluten-forming proteins.
Once liquid meets flour, mixing begins developing structure.
Too much mixing can create tougher cookies.
Mix until the flour disappears.
Stop shortly afterward.
Do not continue beating the dough simply because you want it to look smoother.
Cookie dough does not need the same handling as bread dough.
If your cookies consistently turn out tough, review your mixing process.
Also consider your flour measurement.
Over-measuring flour can produce similar results.
14. Use the Correct Flour
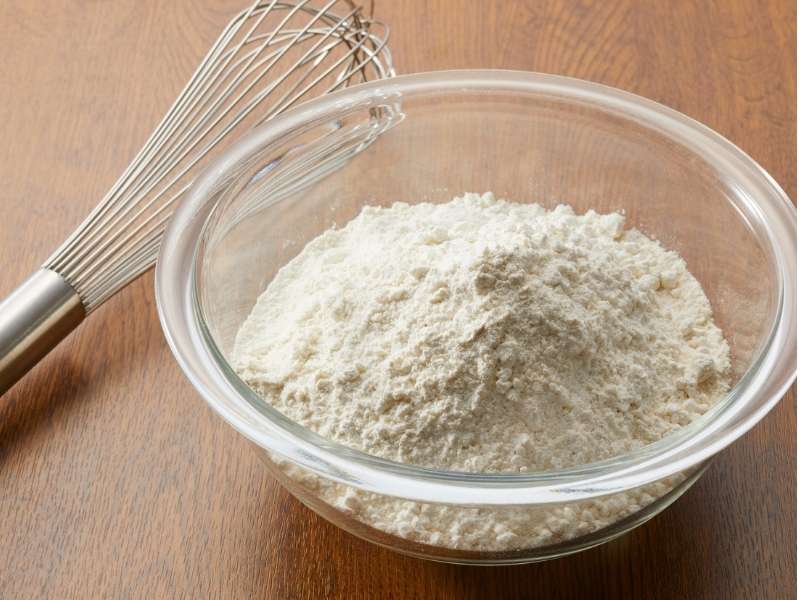
Different flours produce different textures.
All-purpose flour works well for many cookie recipes.
Bread flour can create a chewier texture because of its higher protein content.
Cake flour can produce a softer result.
The choice depends on your desired cookie texture.
Avoid substituting flour casually.
A substitution changes the dough’s structure.
For a deeper explanation of flour characteristics, read Types of Baking Flour and When to Use Them.
Understanding flour can also help you appreciate how different baked products behave.
Pastry dough, cookies, cakes, and bread each require different structural considerations.
15. Bake on a Properly Prepared Tray
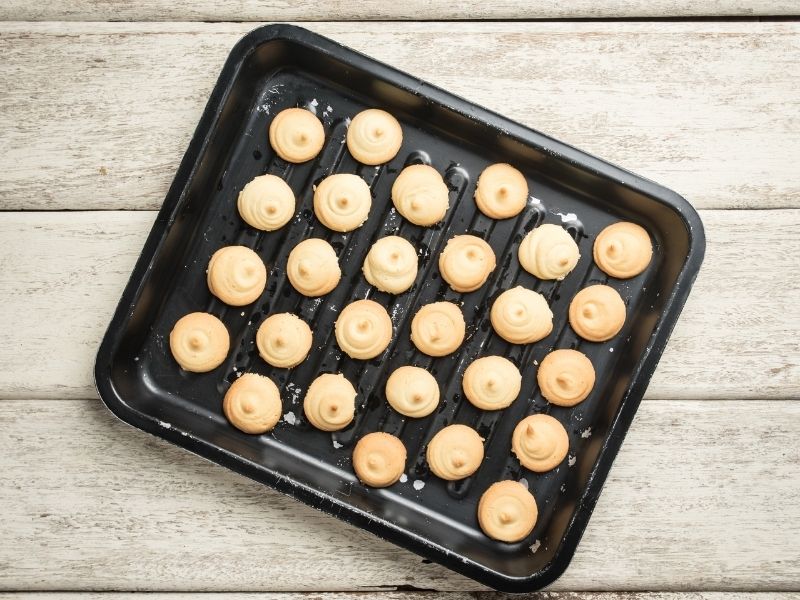
Your baking tray affects how heat reaches the dough.
A heavy, light-colored baking sheet can provide more predictable results than a very dark tray.
Dark surfaces may encourage faster browning.
Line the tray according to the recipe.
Parchment paper can help prevent sticking.
Avoid overcrowding.
Cookies need room to spread.
If you place too many dough portions on one tray, airflow and heat distribution can change.
Bake in batches when necessary.
16. Watch the Baking Time Carefully
Bakery-style cookies often look slightly underdone when they leave the oven.
The centers continue cooking as the cookies cool.
If you wait until the middle looks completely firm, the final texture may become too dry.
Look at the edges.
They should show signs of setting.
The center can remain soft.
Your cookies should not look raw or wet.
Instead, aim for a soft center with structured edges.
Oven performance can vary considerably.
Understanding Baking Temperatures for Better Results explains why accurate temperature control matters.
17. Let the Cookies Cool on the Tray
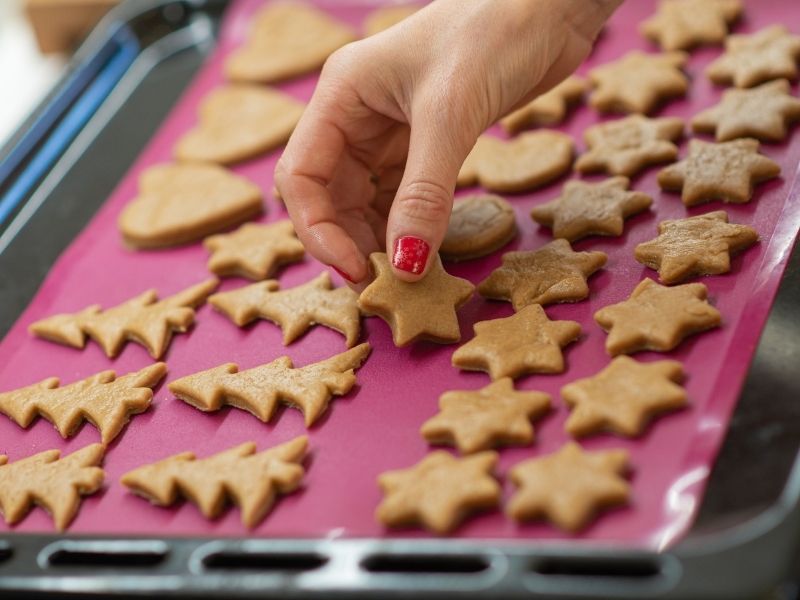
Fresh cookies need time to set.
Moving them immediately can cause breakage.
Leave them on the baking tray for several minutes.
The residual heat allows the structure to firm.
Then transfer them to a cooling rack.
Avoid stacking warm cookies.
Steam can become trapped between them.
That moisture can soften the exterior.
Proper cooling helps maintain the intended texture.
For additional storage guidance, How to Store Baked Goods to Keep Them Fresh Longer explains how storage conditions influence freshness.
18. Finish With a Touch of Flaky Salt
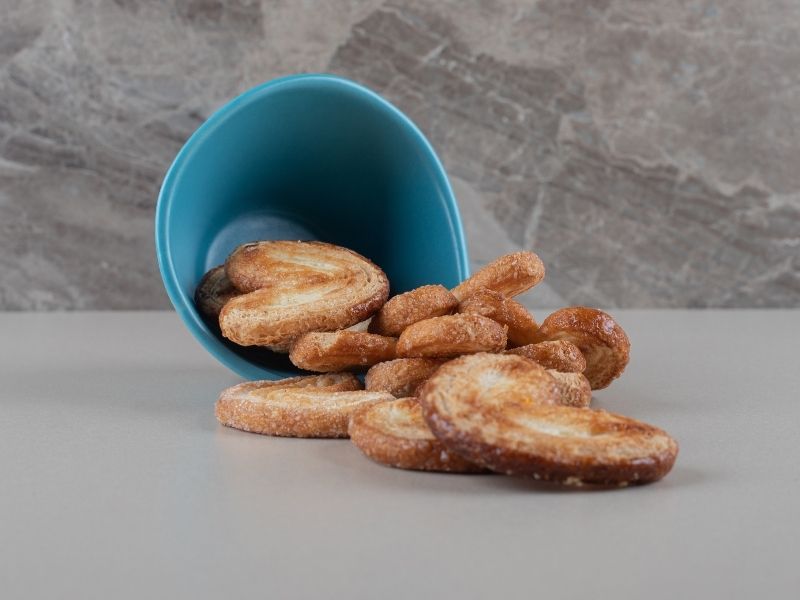
A small amount of flaky salt can transform a sweet cookie.
Salt balances sweetness.
It can also make chocolate taste richer.
Sprinkle a few flakes over the cookies while they remain warm.
Use restraint.
The goal is contrast rather than a salty cookie.
This technique works especially well with chocolate chip cookies, caramel cookies, brown butter cookies, and dark chocolate varieties.
The visual contrast also creates a sophisticated finish.
19. Store the Cookies Properly
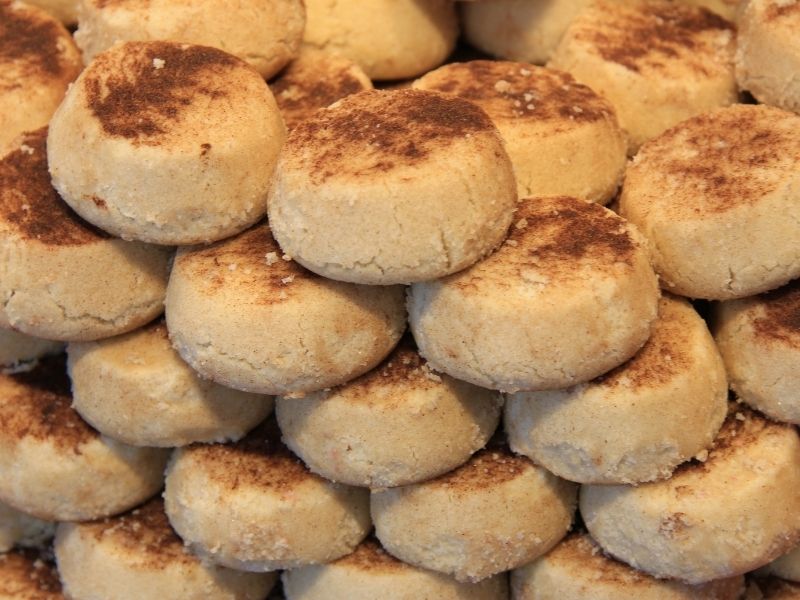
Even a perfect cookie can lose its bakery-style texture through poor storage.
Allow the cookies to cool completely first.
Place them in an airtight container.
Avoid leaving them uncovered for extended periods.
Moisture migration can change texture.
Some cookies become soft.
Others become stale and dry.
Separate strongly flavored varieties when necessary.
For example, peppermint cookies can transfer flavor to delicate vanilla cookies.
Use suitable storage containers with secure lids.
If you bake frequently, Best Food Storage Containers for Bakers can help you choose containers suited to different baked goods.
How to Make Bakery-Style Cookies Look More Professional
Appearance plays a major role in the bakery experience.
A delicious cookie can look ordinary when the shape lacks definition.
Fortunately, a few simple finishing techniques can improve presentation.
Use a round cutter immediately after baking if your cookies spread unevenly.
Place the cutter around the warm cookie.
Gently swirl it to encourage a more uniform shape.
Do not press down.
You only want to guide the edges.
Adding visible chocolate pieces also creates a more generous appearance.
A sprinkle of flaky salt can provide another visual detail.
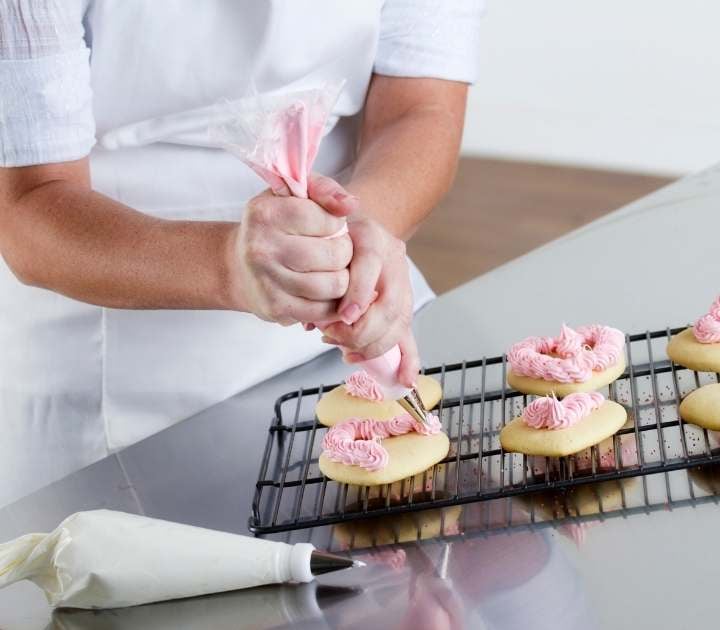
For decorated varieties, controlled icing lines can create a polished finish.
15 Best Cookie Decorating Ideas for Every Holiday provides inspiration for cookies designed around different celebrations.
How Different Types of Pastries Can Inspire Cookie Presentation
Although cookies are not technically the same as every pastry category, studying Different Types of Pastries can inspire better presentation.
Laminated pastries often emphasize visible layers.
Fruit pastries highlight color and texture.
Choux pastries showcase shape and filling.
Tarts often rely on neat edges and carefully arranged toppings.
You can borrow those presentation principles for cookies.
Layered chocolate pieces can create visual depth.
Contrasting toppings can provide color.
Carefully shaped dough can improve consistency.
Thoughtful finishing can make a simple cookie look intentional.
If you enjoy exploring pastry techniques, 23 Beautiful Pastry Decorating Ideas offers additional decorating inspiration.
Common Mistakes That Prevent Bakery-Style Results
Several mistakes can work against the techniques above.
Using warm butter when the recipe requires softened butter can change the dough.
Adding too much flour can make cookies dense.
Skipping chilling can increase spreading.
Overbaking can destroy a soft center.
Opening the oven repeatedly can affect baking conditions.
Crowding the baking sheet can create uneven results.
Ignoring ingredient freshness can also affect flavor.
If you want to identify problems systematically, 17 Common Cookie Baking Mistakes and How to Fix Them covers several cookie-specific problems.
Learning from failed batches is part of becoming a stronger baker.
How to Create a Bakery-Style Cookie Routine
A reliable routine makes excellent cookies easier to repeat.
Begin by reading the entire recipe.
Measure the ingredients before mixing.
Prepare your baking tray.
Bring ingredients to the correct temperatures.
Mix the dough carefully.
Chill when necessary.
Portion the dough evenly.
Preheat the oven completely.
Bake one tray at a time when possible.
Cool the cookies properly.
Finally, store them in airtight containers.
This process reduces last-minute decisions.
It also makes it easier to identify what changed when a batch behaves differently.
Keeping notes can help too.
Record your oven temperature.
Write down the dough chilling time.
Note the portion size.
Record how long you baked the cookies.
After several batches, patterns become easier to recognize.
How to Adapt These Techniques for Different Cookie Styles
Not every cookie should look identical.
A thin chocolate chip cookie requires different handling from a thick bakery cookie.
Sugar cookies often need controlled spreading.
Oatmeal cookies can benefit from carefully measured add-ins.
Double chocolate cookies may require adjustments because cocoa powder changes the dry ingredient balance.
Peanut butter cookies can behave differently because nut butter affects fat and moisture.
Therefore, use these techniques as principles rather than rigid rules.
Consider the texture you want.
Then adjust your method carefully.
That approach gives you greater control.
Final Thoughts
Learning the best Ways to Make Bakery-Style Cookies does not require a professional kitchen.
You can create impressive cookies with careful measurements, quality ingredients, controlled mixing, proper chilling, generous portions, and thoughtful finishing.
Start with one or two techniques.
For example, chill your dough and increase your cookie portions.
Then compare the results.
Next time, try adding chopped chocolate or shaping the dough taller.
Small adjustments can reveal which methods work best with your recipe and oven.
The same attention to ingredients and technique can help you explore other baked treats.
As you learn about Different Types of Pastries, you will begin to recognize how fat, flour, sugar, moisture, temperature, and handling influence texture.
Most importantly, do not expect every batch to look perfect immediately.
Great home baking develops through repetition.
Pay attention to what changes.
Record successful adjustments.
Correct the problems that keep appearing.
With time, your cookies can become thicker, softer, more flavorful, and more polished.
That is the real secret behind mastering Ways to Make Bakery-Style Cookies at home.