Beginner’s Guide to Baking Bread at Home
Disclosure: Some of the links in this post are affiliate links. This means if you click on the link and purchase an item, I will receive an affiliate commission at no extra cost to you.
The smell of fresh bread filling the kitchen is one of my favorite parts of baking. My two kids always seem to appear the moment they catch that warm, homemade aroma drifting through the house. The first loaf I ever baked was far from perfect, though. It came out heavier than I expected, and I wondered what I had done wrong. That experience reminded me that every baker starts somewhere.
Learning baking bread at home feels much less intimidating once you understand the basics. Bread may seem complicated at first, but simple steps like measuring ingredients correctly, kneading the dough properly, and giving it enough time to rise make a huge difference. If you are completely new to baking, The Ultimate Beginners Guide to Baking (Everything You Need To Know to Start) will help you build a strong foundation before moving on to homemade bread.
One thing I love about baking bread at home is that every loaf teaches you something new. Even if your first attempt is not bakery-perfect, you will gain confidence with every batch. Before long, you will start recognizing how the dough should feel, when it has risen enough, and how to spot a loaf that is ready for the oven.
Homemade bread does not have to feel complicated or overwhelming. With a little patience and a few helpful tips, you can bake soft, flavorful loaves that your family will look forward to slicing and sharing around the table.
You may also enjoy Baking Ingredients Explained: What Every Ingredient Actually Does, since understanding flour, yeast, salt, and water makes the entire process much easier.
Why Baking Bread at Home Is Worth It
Baking bread at home offers so much more than a fresh loaf on your kitchen counter. It gives you the chance to slow down, learn a valuable skill, and create something delicious with your own hands. Even if your first loaf is not perfect, each one teaches you something new that makes the next bake even better.
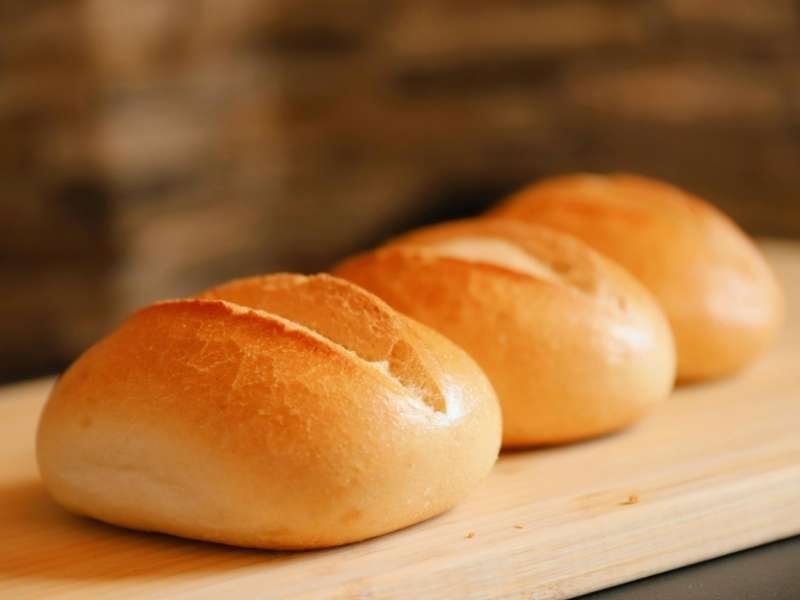
One of the biggest benefits is knowing exactly what goes into your bread. You choose the flour, salt, yeast, and any extra ingredients you want to add. That gives you more control over the flavor and texture while helping you avoid unnecessary additives that sometimes appear in store-bought bread.
Another reason people enjoy baking bread at home is the incredible aroma that fills the house. Few things smell better than fresh bread baking in the oven. My two kids always wander into the kitchen the moment they catch that warm, comforting smell, eager to ask when they can have the first slice.
Home baking also allows you to experiment with different recipes and techniques. You can make sandwich bread one week, dinner rolls the next, and artisan loaves after that. Each bake helps you build confidence and improve your skills.
Perhaps the best part is sharing your homemade bread with family and friends. A warm loaf fresh from the oven brings people together around the table. With a little patience and practice, baking bread at home becomes more than just another recipe.
Beginner’s Guide to Baking Bread at Home
1. Understand What Bread Really Needs
Many beginners think baking bread at home requires special skills or expensive equipment. The truth is much simpler. Bread only needs a few basic ingredients and a little patience.
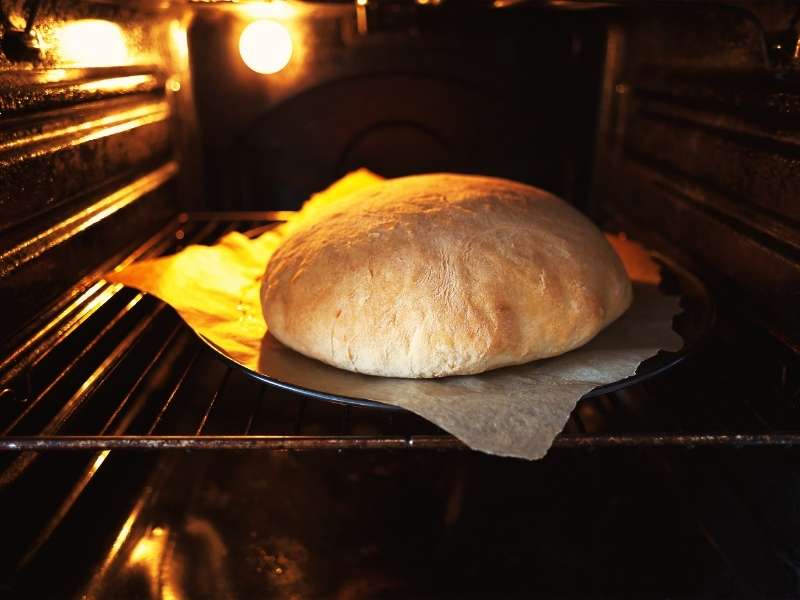
Every loaf depends on four main ingredients. Flour provides structure. Water hydrates the dough. Yeast creates air pockets. Salt adds flavor and strengthens the dough.
Once you understand how these ingredients work together, baking bread at home becomes much less intimidating.
Read this next: The Science of Baking Made Simple for Beginners
2. Choose the Right Flour
Flour forms the backbone of every loaf. Picking the right one makes baking bread at home much easier.
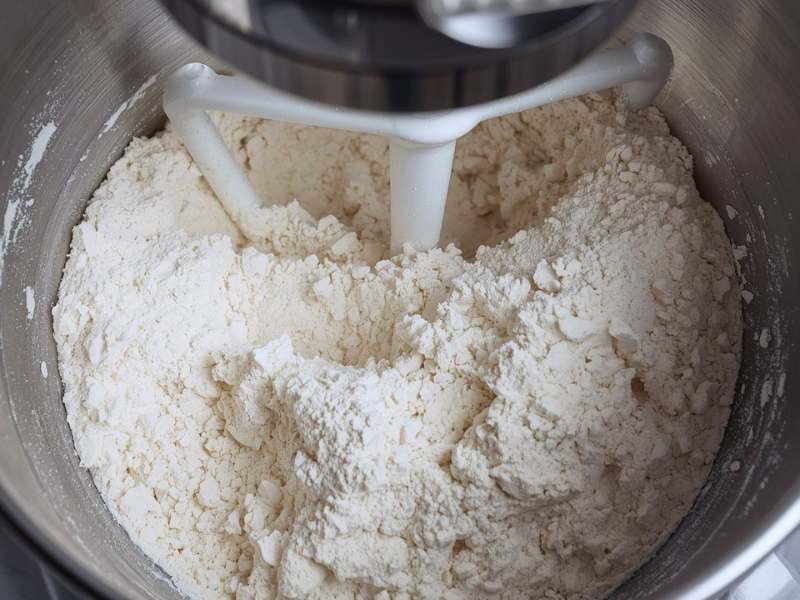
Bread flour contains more protein than all-purpose flour. That extra protein creates stronger gluten, giving bread a chewy texture and better rise.
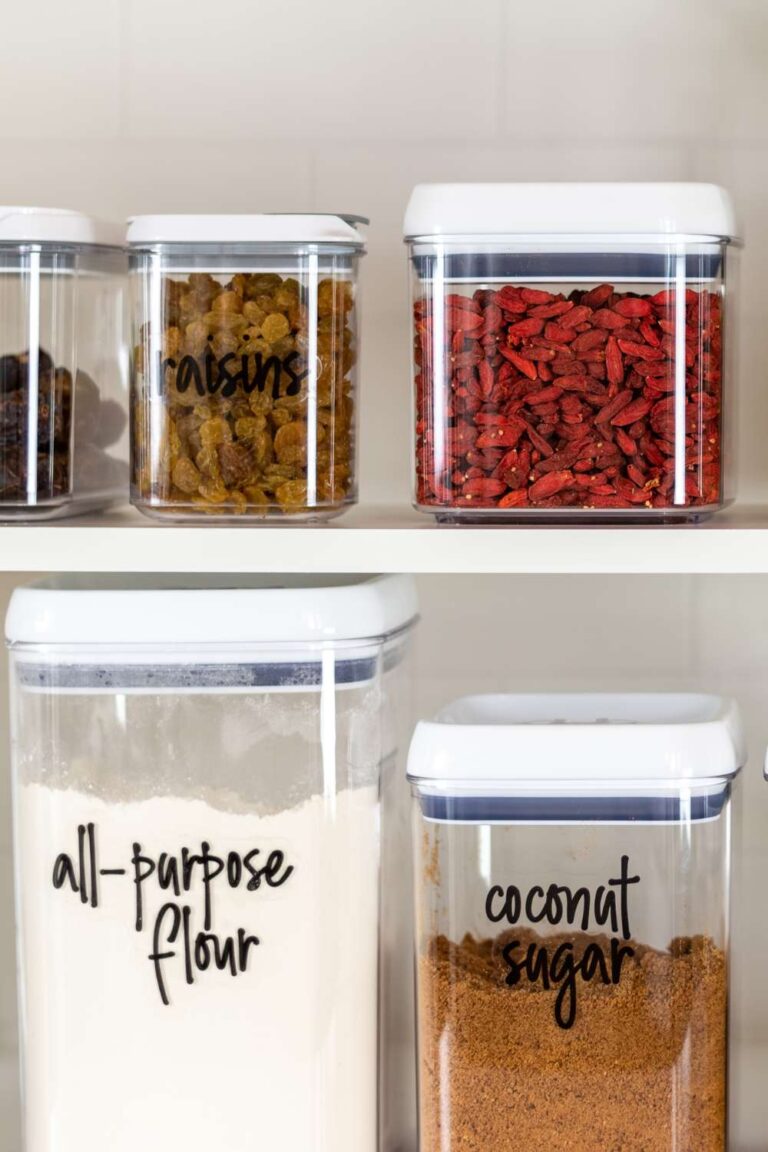
All-purpose flour still works for many beginner recipes. The loaf simply turns out slightly softer.
Whole wheat flour adds flavor and nutrition. However, it creates denser bread if you use it alone. Baking bread at home may look easy but when you miss using the right flour, your hard work will just go down the drain.
Tips for choosing flour
- Start with bread flour for your first loaf.
- Read the recipe before making substitutions.
- Store flour in an airtight container.
- Replace old flour if it smells stale.
To learn more about different flour options, visit Types of Baking Flour and When to Use Them.
3. Learn How Yeast Works
Yeast often scares beginners, but it becomes easy once you understand its job.
During baking bread at home, yeast feeds on sugars inside the dough. It releases carbon dioxide, which creates tiny air bubbles.
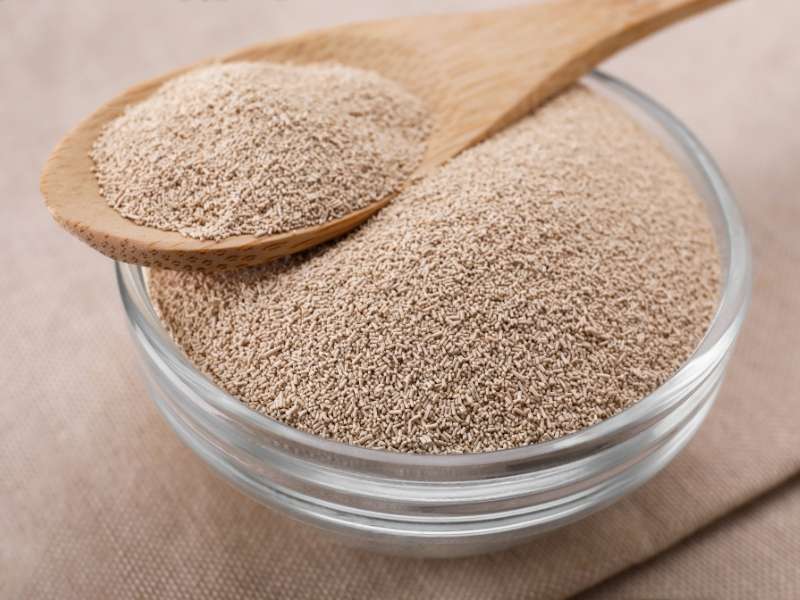
Those bubbles help the dough rise.
Fresh yeast creates stronger results than expired yeast.
Warm water also matters.
Water that feels too hot can kill the yeast.
Cold water slows fermentation dramatically.
How to activate yeast
Check the recipe first.
Most active dry yeast works best with warm water.
Instant yeast usually mixes directly into the flour.
Always check the expiration date before baking.
Understanding every ingredient becomes much easier after reading Baking Ingredients Explained: What Every Ingredient Actually Does.
4. Measure Every Ingredient Carefully
Bread depends on accuracy.
Even small measuring mistakes affect the dough.
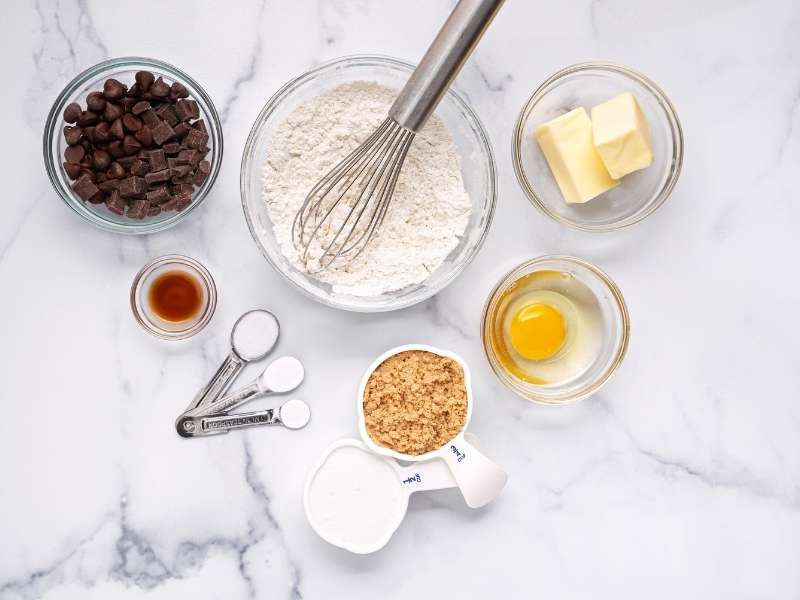
Too much flour creates dry bread.
Extra water creates sticky dough.
Incorrect salt measurements also change the final loaf.
Many beginners struggle with baking bread at home because they estimate instead of measuring.
How to measure correctly
Use measuring cups properly.
Level dry ingredients with a straight edge.
Measure liquids using a liquid measuring cup.
A digital kitchen scale provides the most consistent results.
If measuring still feels confusing, read Baking Measurements Conversion Chart (Cups, Grams, Ounces Explained).
5. Knead the Dough Properly
Kneading builds gluten.
Gluten gives bread its structure.
Without enough kneading, the dough struggles to trap air.
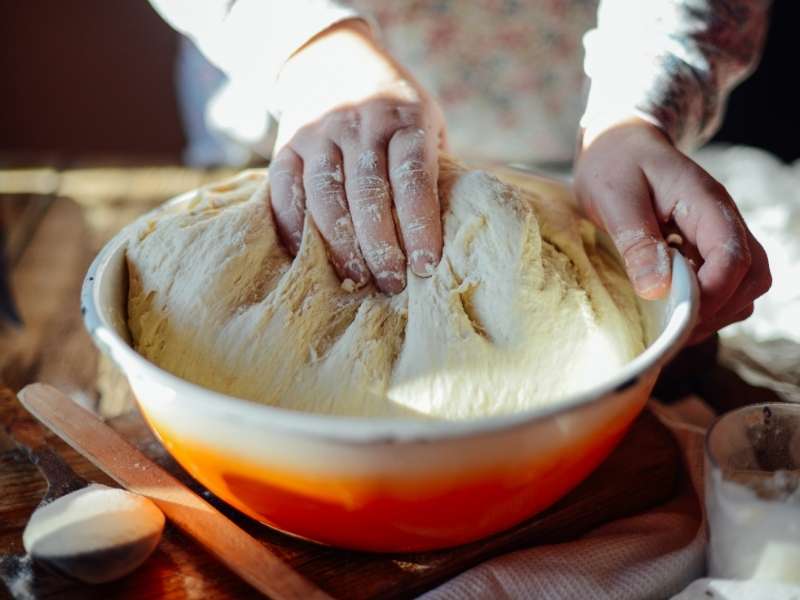
Too much kneading can also create problems.
Fortunately, most beginners stop before reaching that point.
Signs your dough is ready
The dough feels smooth.
It stretches without tearing easily.
It springs back gently when pressed.
You do not need perfect technique to succeed with baking bread at home.
Practice improves your confidence every time.
If baking terms sometimes confuse you, Baking Terms Explained (Fold, Cream, Knead & More For Beginners) explains each one in simple language.
6. Give the Dough Enough Time to Rise
Patience plays a huge role in bread baking.
Many beginners rush this step because they feel excited.
Unfortunately, that decision leads to dense loaves.
Yeast needs time to produce gas.
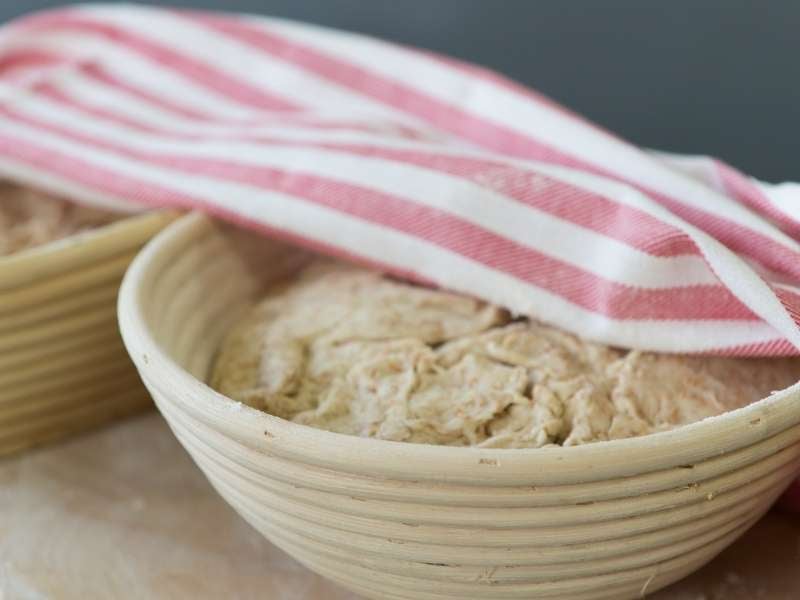
The dough also develops better flavor during the rising process.
Warm kitchens help dough rise faster.
Cool rooms require more time.
How to know when the dough is ready
Press the dough gently with one finger.
The indentation should slowly spring back.
If it bounces back immediately, give it more time.
If it stays completely flat, the dough may have risen too long.
Understanding timing becomes one of the biggest breakthroughs in baking bread at home.
7. Do Not Add Too Much Flour
Sticky dough surprises almost every beginner.
The first instinct usually involves adding more flour.
Unfortunately, too much flour creates dry, heavy bread.
Soft dough often produces the best loaves.
How to handle sticky dough
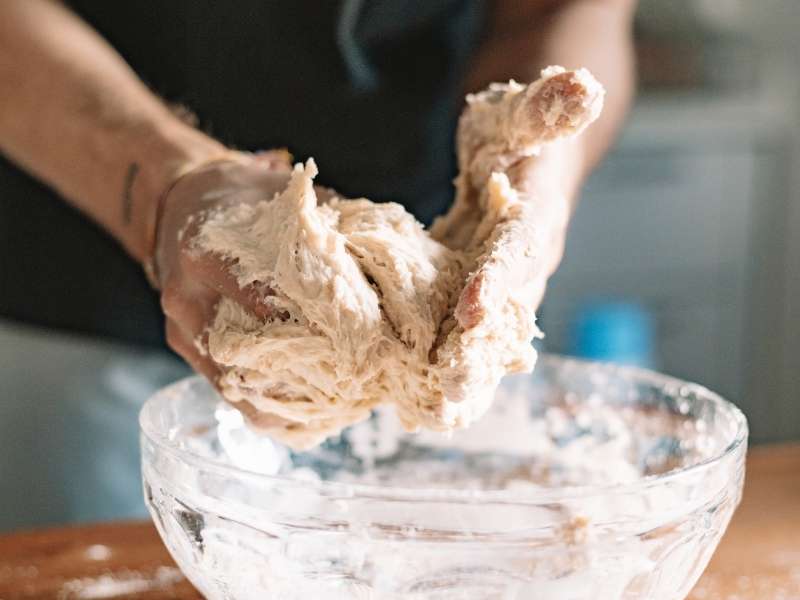
Dust your work surface lightly.
Flour your hands instead of pouring flour into the dough repeatedly.
Work slowly.
Allow the gluten to develop naturally.
If your dough still feels difficult to manage, review Baking Tips That Instantly Improve Your Results for more beginner-friendly techniques.
8. Shape the Dough Gently
Shaping the dough may seem like a small step, but it affects the final loaf more than many beginners realize. Taking your time during baking bread at home helps create bread with an even shape and better texture.
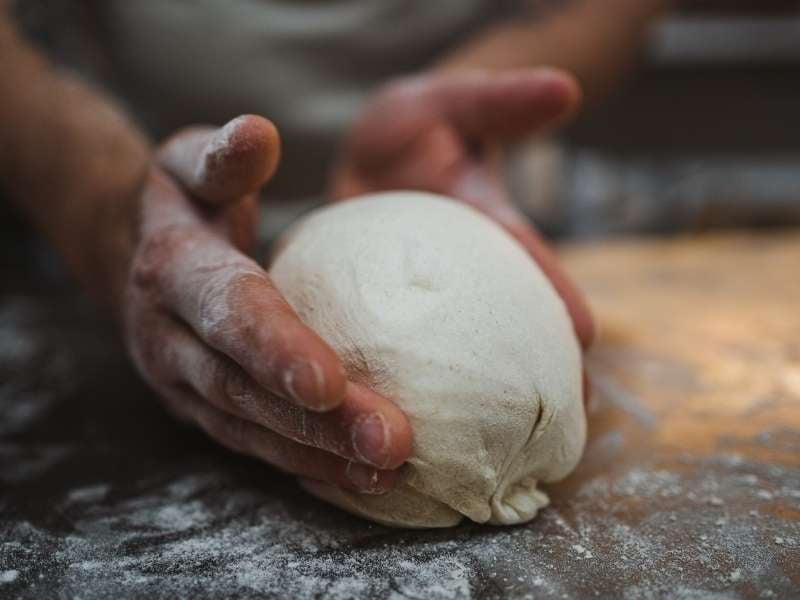
Rough handling pushes too much air out of the dough.
That often leads to a dense loaf.
Gentle shaping keeps many of those air pockets inside.
How to Shape Bread
Turn the dough onto a lightly floured surface.
Press it gently instead of flattening it.
Fold the edges toward the center.
Shape it into a loaf or a round ball without squeezing too hard.
A little practice makes this step much easier.
9. Don’t Skip the Second Rise
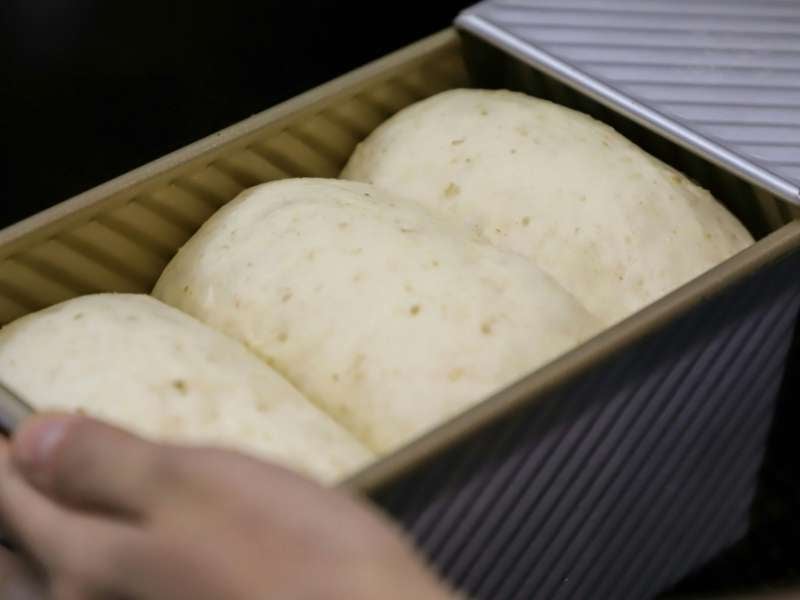
Many beginners think one rise is enough.
Most yeast bread recipes need a second rise after shaping.
This step helps the dough become lighter and softer.
Skipping it often leads to disappointing results during baking bread at home.
The second rise gives yeast another chance to create air pockets.
Those tiny pockets make the bread fluffy instead of heavy.
How to Know It’s Ready
Place the shaped dough in the pan or on the baking tray.
Cover it with a clean towel.
Let it rise until it almost doubles in size.
Avoid waiting too long because overproofed dough may collapse in the oven.
10. Preheat the Oven Completely
A hot oven creates the best environment for bread.
Many people place the dough inside too early.
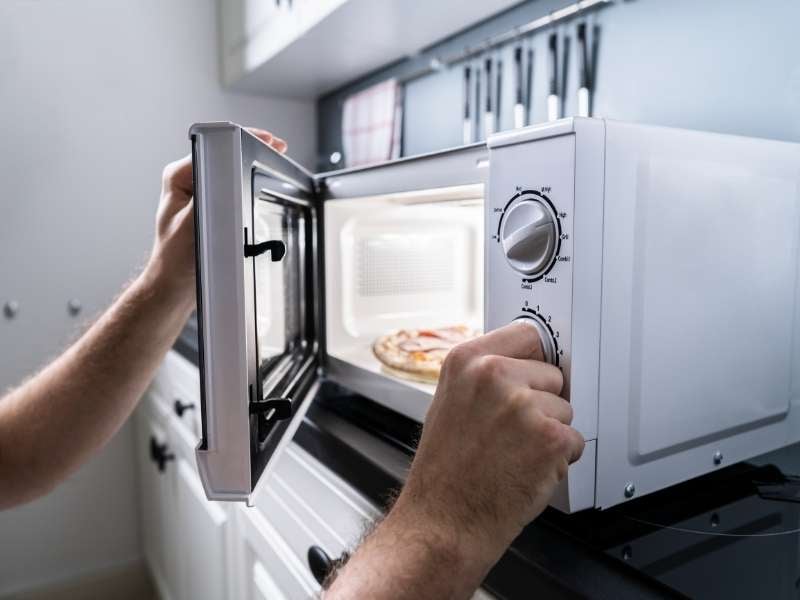
That simple mistake affects the rise and crust.
Proper heat plays a huge role in baking bread at home.
Cold ovens allow the dough to spread before it begins baking.
Fully heated ovens help the loaf rise quickly.
How to Get Better Results
Turn on the oven before the second rise finishes.
Allow enough time for the oven to reach the correct temperature.
Use an oven thermometer if you suspect your oven runs hot or cold.
If temperatures still confuse you, read Understanding Baking Temperatures for Better Results.
11. Score the Dough Before Baking
Many artisan breads have beautiful cuts across the top.
Those cuts do more than improve appearance.
Scoring controls how the bread expands during baking.
Without scoring, the loaf may crack in unexpected places.
Learning this simple skill improves baking bread at home almost immediately.
How to Score Bread
Use a very sharp knife or a bread lame.
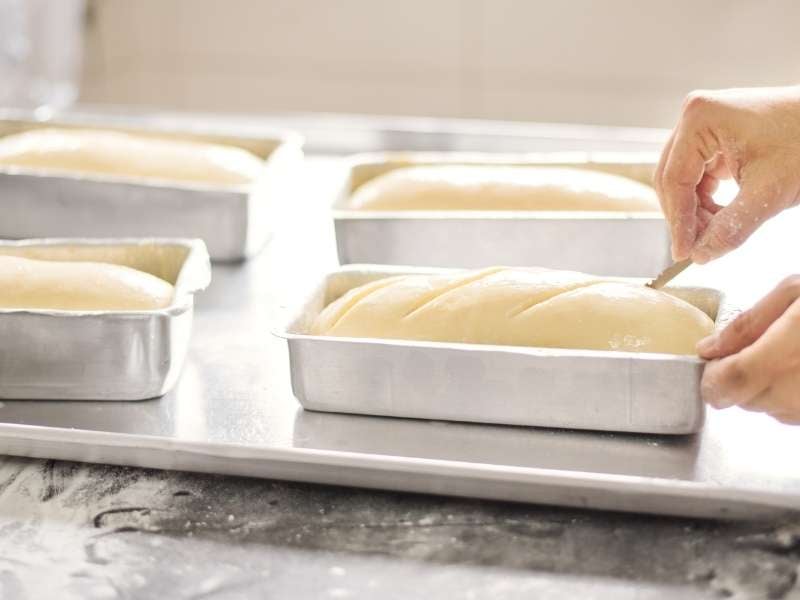
Make one or two shallow cuts across the top.
Work quickly before placing the dough into the oven.
Do not press too deeply.
12. Create Steam for a Better Crust
Steam helps bread develop a beautiful crust.
Professional bakeries use steam ovens for this reason.
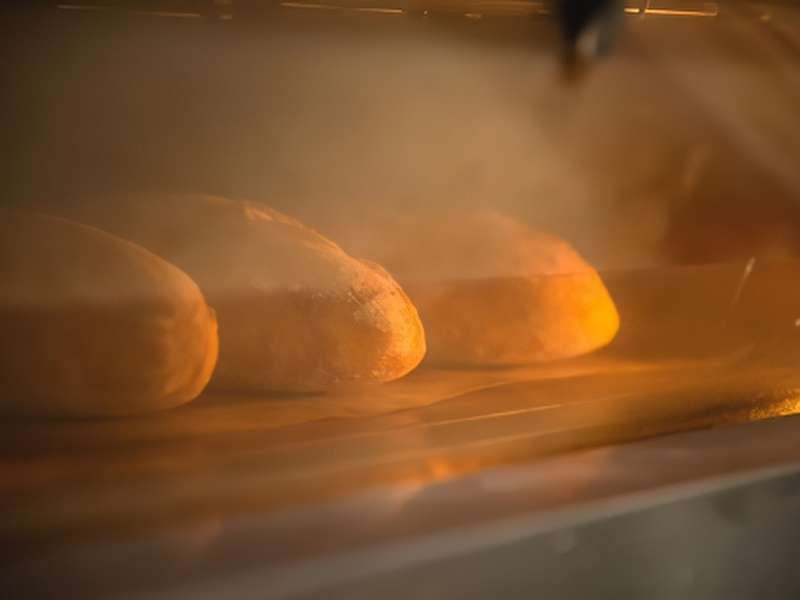
Home bakers can create similar results with simple methods.
Steam keeps the outer surface soft during the first part of baking.
That allows the loaf to rise fully before the crust hardens.
Easy Ways to Add Steam
Place a metal pan on the lower oven rack.
Pour hot water into the pan after placing the bread inside.
You can also lightly mist the oven walls if your oven manufacturer approves this method.
Small changes like this often improve baking bread at home more than people expect.
13. Check Bread Without Guessing
Many beginners remove bread too early.
Others leave it inside the oven too long.
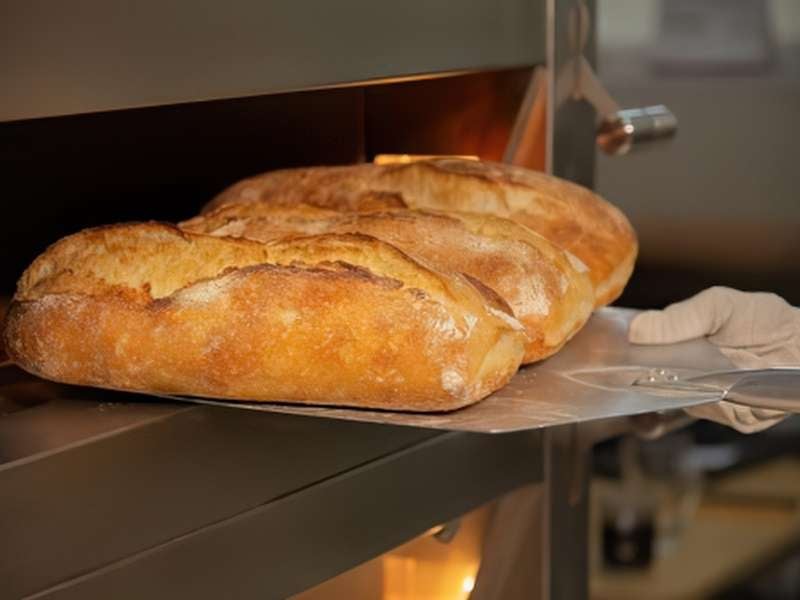
Both mistakes affect texture.
Learning how to check doneness builds confidence during baking bread at home.
A properly baked loaf should look golden brown.
The crust should feel firm.
The bread should also sound hollow when you tap the bottom.
Another Helpful Tip
Use a food thermometer if you want extra accuracy.
Many breads finish baking when the center reaches the recommended internal temperature in the recipe.
If you enjoy learning baking techniques, How to Know When Your Cake Is Properly Baked also teaches valuable methods that apply to many baked goods.
14. Let the Bread Cool Before Slicing
Fresh bread smells incredible.
Still, cutting it immediately creates gummy slices.
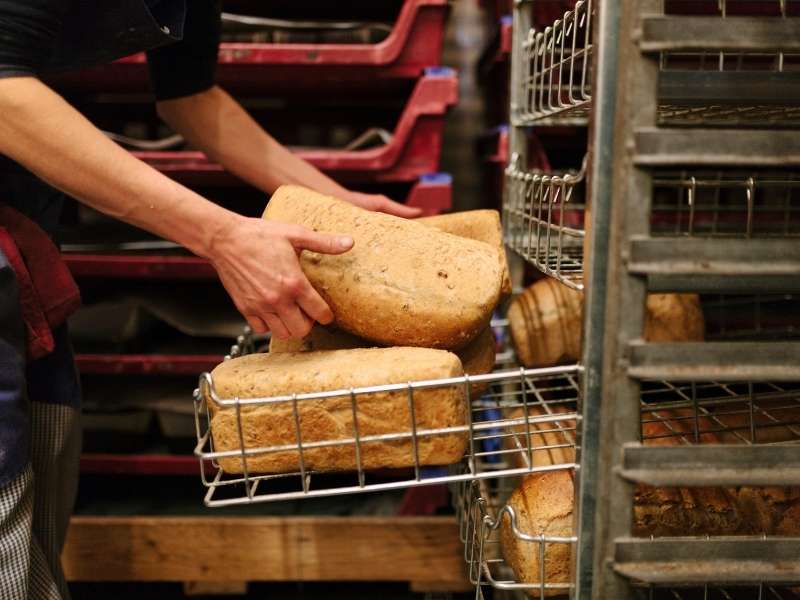
The inside continues setting after leaving the oven.
Cooling allows moisture to spread evenly throughout the loaf.
Patience rewards you with better texture every time you practice baking bread at home.
How Long Should You Wait?
Place the loaf on a wire cooling rack.
Allow at least one hour for most breads.
Larger loaves may need even longer.
The wait feels difficult, but the results make it worthwhile.
If you bake extra bread, How to Store Baked Goods to Keep Them Fresh Longer will help you keep every loaf tasting fresh.
15. Practice With Simple Bread Recipes First
Many beginners want to bake artisan sourdough right away.
That excitement is understandable.
Still, simple recipes build confidence much faster.
Easy white bread teaches the basic skills you need for baking bread at home.
Each loaf helps you understand mixing, kneading, rising, and baking.
Those lessons prepare you for more advanced recipes later.
Start With These Ideas
Choose recipes with a short ingredient list.
Bake the same loaf several times.
Notice how small changes affect the dough.
Confidence grows one loaf at a time.
16. Avoid Common Beginner Mistakes
Every baker makes mistakes.
I certainly made plenty while learning.
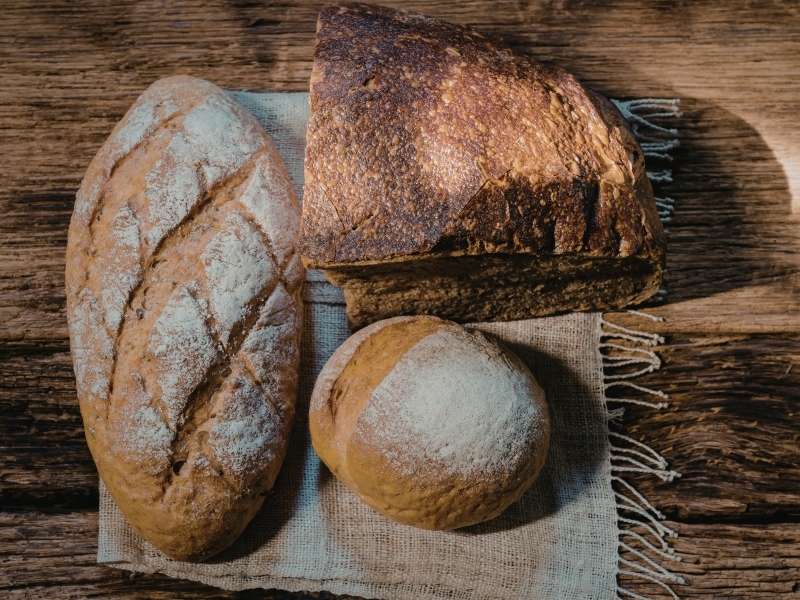
Some loaves came out dense.
Others browned too quickly.
Each mistake taught me something new about baking bread at home.
The good news is that most problems have simple solutions.
Common Mistakes to Watch For
- Adding too much flour.
- Using expired yeast.
- Rushing the rising time.
- Skipping oven preheating.
- Cutting the loaf while it is still hot.
If you want to avoid even more baking problems, read Common Baking Mistakes and How to Fix Them Fast.
17. Keep Notes After Every Bake
Every loaf tells a story.
Some rise beautifully.
Others need small adjustments.
Writing notes helps you improve every time you practice baking bread at home.
Record the flour you used.
Write down the room temperature.
Note how long the dough needed to rise.
Those details make future baking much easier.
What to Record
- Rising time.
- Baking temperature.
- Dough texture.
- Final results.
- Changes to try next time.
Over time, your notebook becomes one of your best baking tools.
18. Store Homemade Bread Correctly
Fresh bread tastes best during the first few days.
Proper storage keeps it soft longer.
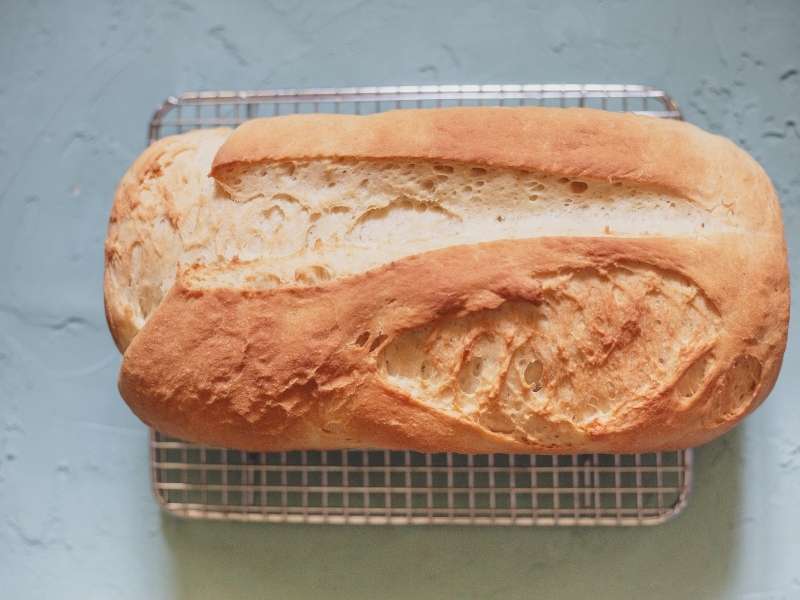
Many beginners leave bread uncovered.
That habit causes the loaf to dry out quickly.
Good storage completes the process of baking bread at home.
Best Storage Tips
Allow the bread to cool completely.
Store it in a bread box or airtight bag.
Keep it at room temperature for short-term storage.
Freeze extra loaves if you will not eat them within a few days.
Avoid refrigerating most homemade bread because it dries out faster.
19. Enjoy the Learning Process
Not every loaf will look perfect.
That is completely normal.
Each baking session teaches something valuable.
The more often you practice baking bread at home, the easier every step becomes.
Some days the dough rises faster.
Other days your kitchen feels cooler.
Learning how those changes affect your bread builds real confidence.
Remember This
Progress matters more than perfection.
Celebrate every improvement.
Keep trying new techniques.
Share your homemade bread with family and friends.
Nothing compares to watching someone enjoy a loaf you baked yourself.
20. Continue Building Your Baking Skills
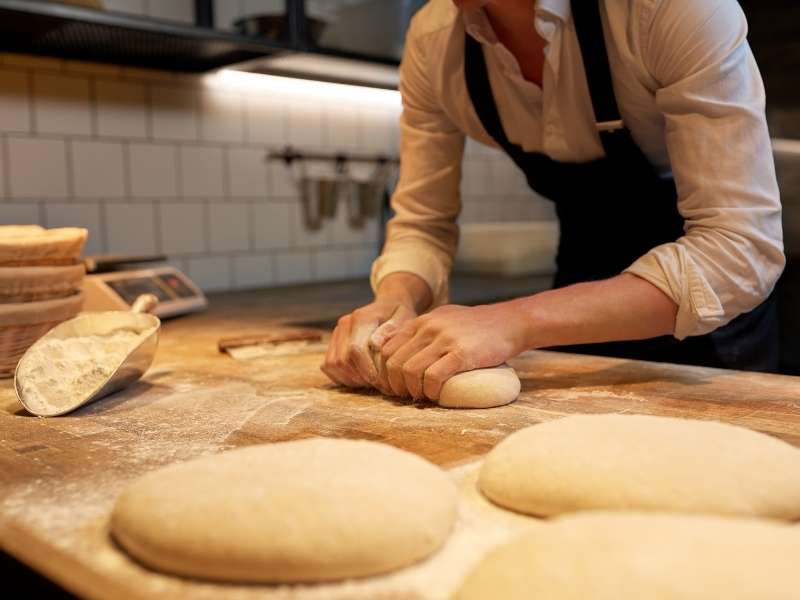
Bread baking opens the door to many other baking adventures.
The more you learn, the more comfortable you become in the kitchen.
Every new skill strengthens your confidence with baking bread at home and beyond.
Continue exploring different ingredients, techniques, and recipes.
Soon, baking will feel like second nature.
You might even discover a new hobby that your whole family enjoys together.
Final Thoughts
Learning baking bread at home does not happen overnight, and that is perfectly okay. Every loaf teaches you something new, even if it does not turn out exactly as planned. I still remember the excitement of slicing into my first homemade loaf while my two kids waited for a warm piece with butter. It was not perfect, but it tasted wonderful because we made it together.
The best way to improve baking bread at home is to keep practicing. Measure carefully, give the dough enough time to rise, and avoid rushing the process. Small improvements add up quickly, and before long, you will notice softer bread, better texture, and more consistent results.
Most importantly, enjoy every step of the journey. Homemade bread brings comfort, fills your kitchen with an incredible aroma, and creates memories around the table. With patience, practice, and the tips you’ve learned here, you’ll feel confident baking fresh, delicious bread whenever the craving strikes.