Baking Tips That Instantly Improve Your Results
Disclosure: Some of the links in this post are affiliate links. This means if you click on the link and purchase an item, I will receive an affiliate commission at no extra cost to you.
I used to think that better baking results came from finding better recipes. So I would search for hours, try a new one, and still end up with the same flat cookies or the same dense cake. The recipe was not the problem. I was the problem — or more specifically, the small things I was doing without realising they mattered.
Once I started paying attention to those small things, everything changed. Not dramatically overnight, but in a steady, satisfying way. Cakes started coming out more evenly. Cookies held their shape. Bread had actual structure. And the most surprising part? The changes that made the biggest difference were not complicated at all.
That is the truth about baking tips that actually work. They are not secret tricks or professional techniques beyond the reach of a home baker. They are simple, practical habits that change how you measure, how you mix, how you read a recipe, and how you use your oven. Once you build them in, they become second nature. If you are still finding your footing in the kitchen and want a solid starting point, The Ultimate Beginners Guide to Baking lays everything out in a way that makes every tip in this post land even harder.
The best baking tips are the ones you can apply immediately with what you already have. No new equipment, no special ingredients, no complicated techniques. Just a shift in how you approach things. And if you have already run into a few frustrating bakes that went sideways without explanation, Common Baking Mistakes and How to Fix Them Fast is the perfect companion to this post because understanding what goes wrong helps you understand exactly why these tips matter so much.
Measure Ingredients the Right Way Every Single Time
The single most impactful baking tip most beginners receive too late is this one. Accurate measurement is the foundation of consistent baking. Every other variable matters less if your measurements are off.
Flour is the ingredient that causes the most problems. Scooping flour directly from the bag with a measuring cup packs it down. That packing adds as much as 30 percent more flour than the recipe actually calls for. More flour means drier, denser, tougher results across almost every category of bake. The fix is simple. Spoon flour lightly into the measuring cup using a separate spoon, then level it off with a straight edge. That one adjustment immediately improves cakes, cookies, quick breads, and muffins.
A kitchen scale eliminates the problem entirely. Weighing ingredients in grams is the most accurate measuring method available to home bakers. It is faster than measuring by volume, it requires fewer dishes, and it produces the same result every single time regardless of how the flour has settled in the bag or how tightly it was stored. Investing in a basic digital scale is one of the most practical baking tips you can act on today. Understanding how different ingredients respond to measurement also matters beyond flour. The Different Types of Sugar Used in Baking Explained is a useful companion read because sugar measurement and type both affect baking results in ways most beginners do not expect.
Liquid measurements need a liquid measuring cup, not a dry measuring cup. Dry cups are designed to be filled and levelled. They do not give accurate liquid readings. Use a jug-style liquid measuring cup and read it at eye level to get an accurate measure every time. Baking Measurements Conversion Chart is a genuinely useful resource to keep bookmarked so you can convert between cups, grams, and ounces accurately whenever a recipe uses different units than you expect.
Use Room Temperature Ingredients
This baking tip gets skipped constantly because it requires planning ahead, and most people start baking on impulse. But cold ingredients genuinely affect how a batter comes together, and the difference shows up clearly in the finished bake.
Cold butter cannot cream properly with sugar. It is too firm to allow air to incorporate efficiently. The result is less lift, a denser crumb, and a batter that never quite comes together as smoothly as it should. Room temperature butter, which holds a fingerprint but feels neither hard nor greasy, creams beautifully. It traps air efficiently and produces a noticeably lighter result.
Cold eggs dropped into creamed butter can cause the mixture to curdle. The cold egg hits the warm fat and the emulsion breaks. The batter looks lumpy and separated. While this does not always ruin the finished bake, it does affect the texture of the crumb. Room temperature eggs emulsify into the batter smoothly and produce a more even, more tender result. Understanding exactly what eggs do inside a recipe makes this baking tip land even more clearly. Eggs in Baking: Why They Matter and How They Affect Results breaks down every role eggs play and explains why their temperature at the point of mixing matters so much to the finished bake.
The fix is simple. Take butter and eggs out of the fridge 30 to 60 minutes before you start baking. If you forget, place eggs in a bowl of warm water for ten minutes. Cut butter into small pieces and leave it on the counter. Both warm up significantly faster in smaller pieces or when surrounded by warm water. This small act of preparation is one of those baking tips that costs nothing and pays back immediately every time.
Read the Recipe Completely Before You Start
This baking tip sounds so obvious that most people skip it. Reading a recipe completely before doing anything else is one of the most important habits you can build, and it changes the entire experience of baking from reactive to intentional.
A recipe read through once before starting reveals everything you need to know in advance. It tells you whether butter needs to be softened, whether dough needs to chill overnight, whether a component needs to cool before assembly, or whether the recipe divides into stages. None of that information helps you if you discover it mid-bake. Finding out at the mixing stage that the dough needs four hours in the fridge is frustrating in a way that is entirely avoidable.
Reading ahead also lets you check that you have every ingredient before you begin. Running out of baking powder halfway through a batter is a problem. Knowing you are out before you start means you can plan around it, substitute appropriately, or simply choose a different recipe for today. How to Read a Baking Recipe Correctly Before You Start covers this habit in full detail and explains exactly what to look for at each stage of a recipe so nothing catches you off guard.
Prep Everything Before You Start Mixing
Mise en place is a French term used in professional kitchens that translates to everything in its place. It describes the practice of measuring, preparing, and organising every ingredient before the actual cooking or baking begins. It is one of the most universally recommended baking tips from professionals, and it works exactly as well in a home kitchen as it does in a commercial one.
When everything is measured and ready before you begin mixing, the process flows smoothly. You add each ingredient at the right moment without pausing to measure, without scrambling to find something, and without accidentally leaving something out because you were distracted. Batters that use baking soda need to go into the oven quickly after mixing because the leavening reaction starts immediately. Stopping to measure flour mid-mix wastes that reaction and can affect rise.
This habit also makes baking more enjoyable. Working through a recipe from a state of calm preparation feels completely different from rushing through it reactively. The results also reflect that difference consistently. Having a well-organised baking space makes this whole approach so much easier to sustain. Baking Station Organisation Ideas That Will Transform Your Kitchen shows you how to set up a kitchen workspace that supports this kind of prepared, intentional baking from the very start.
Understand Your Oven and Work With It
Your oven is almost certainly not perfectly calibrated. Most home ovens run between 25 and 50 degrees hotter or cooler than the dial indicates. That temperature difference is enough to overbrown cookies, sink cakes, and produce bread with a pale, underdeveloped crust even when you follow a recipe exactly.
An oven thermometer is one of the most practical baking tips in this list. Place it in the centre of the oven, set your oven to a standard temperature, and let it preheat fully. Then read what the thermometer actually says. If it reads 25 degrees hotter than your setting, adjust your dial downward by that amount for every recipe going forward. This single adjustment explains and solves a huge number of mysterious baking failures.
Hot spots are another oven reality worth knowing about. Most ovens have areas that run hotter than others, typically toward the back or on one side. These hot spots cause uneven browning, one side of a cookie tray that finishes faster than the other, or a cake that colours deeper on one side. Rotating your pans 180 degrees at the halfway point of baking compensates for hot spots and produces significantly more even results.
Preheating fully is also non-negotiable. The oven signal that tells you it has reached temperature refers to the air inside the cavity. The walls, floor, and racks take longer to absorb heat. Give your oven at least 15 to 20 minutes after it signals readiness before putting anything in. Understanding Baking Temperatures for Better Results explains everything happening inside your oven during baking so these baking tips make complete sense in context.
Do Not Overmix After Adding Flour
This is one of those baking tips that feels counterintuitive at first. Surely more mixing means a more uniform batter? Actually, it means a tougher one. Once flour meets liquid in a batter, gluten begins to develop. The more you mix, the more gluten develops. More gluten means more structure, which is excellent for bread and a serious problem for cakes, muffins, and quick breads.
Overmixed cake batter produces a dense, rubbery crumb that feels more like a cooked egg than a tender sponge. Overmixed muffin batter produces domed, tough muffins with tunnels running through the crumb. Overmixed cookie dough can produce cookies that are tough rather than chewy or tender.
The instruction you see in most cake and muffin recipes to mix until just combined is there for a reason. Stop when you no longer see dry streaks of flour. A few small lumps are completely fine. Those lumps will incorporate during baking. What you want to avoid is continuing to mix after the flour disappears. Put the spatula or mixer down the moment the batter comes together. The type of flour you use also determines how quickly gluten develops, which connects directly to how carefully you need to follow this baking tip. Types of Baking Flour and When to Use Them explains how protein content affects gluten development so you always understand what the flour in your recipe is doing.
This is also why the muffin method, which combines dry and wet ingredients in separate bowls before folding them together once, produces such reliable results. It physically limits the amount of mixing that can happen after the flour is introduced. Baking Terms Explained covers folding and all the other technique words you encounter in recipes so you always know exactly what a method is asking you to do and why.
Always Use the Right Pan Size
Pan size is one of the most overlooked variables in home baking, and it produces some of the most dramatic failures when it gets ignored. A recipe written for a 9-inch round cake tin produces a different result in an 8-inch tin or a 10-inch tin. The volume of batter per square inch of pan surface changes, and so does the baking time and the finished texture.
A smaller pan than specified means the batter sits deeper. It takes longer to bake through, and the edges often overbake before the centre finishes. A larger pan means the batter spreads thinner. It bakes faster, often too fast, and can produce a dry, overbaked result before the colour on top even looks fully developed.
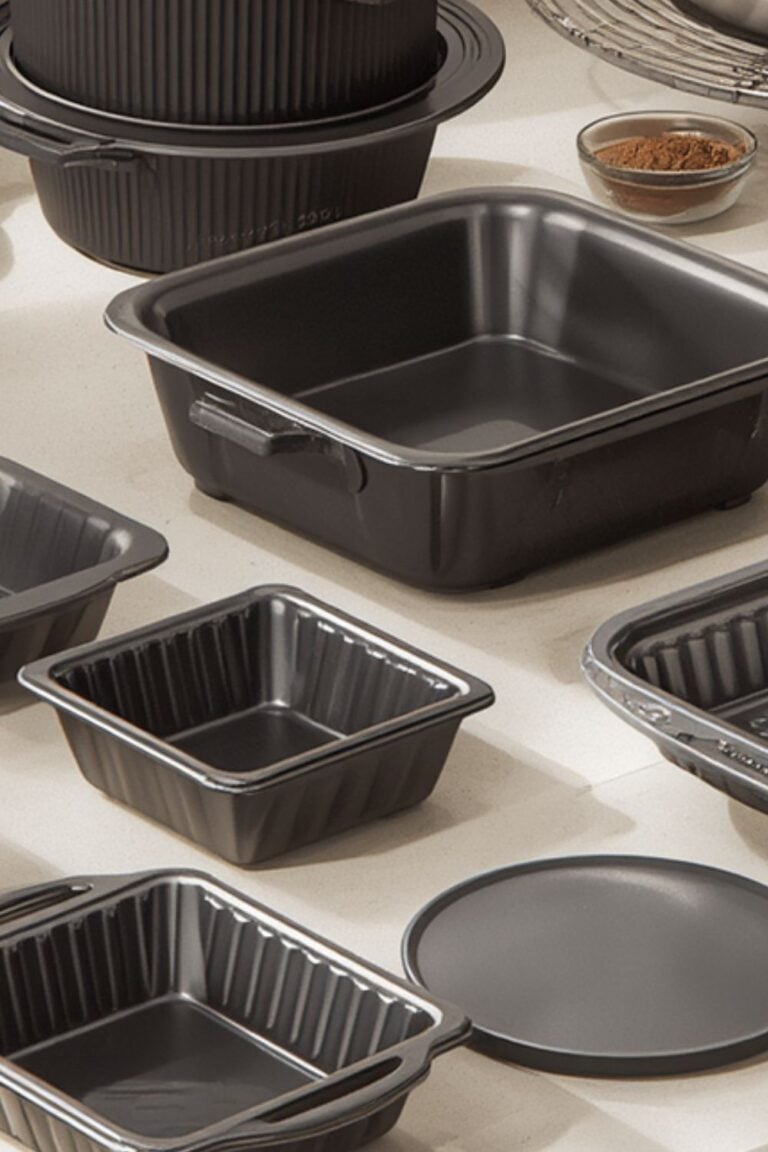
When you do not have the exact pan a recipe specifies, adjust the baking time rather than the temperature. Check the bake earlier than the recipe suggests if using a larger or shallower pan. Give it extra time and check more frequently if using a smaller or deeper pan. Using a thermometer to check internal temperature removes the guesswork entirely and tells you exactly when the bake is done regardless of pan variation. Essential Baking Tools Every Home Baker Needs covers pan types, materials, and the effect of each on baking results in a way that makes choosing the right equipment much easier.
Chill Cookie Dough Before Baking
Chilling cookie dough is one of those baking tips that produces a noticeably different result the very first time you try it. Refrigerating cookie dough for at least 30 minutes before baking, and ideally overnight, changes the texture, flavour, and spread of the finished cookie significantly.
Cold dough spreads more slowly in the oven. The fat stays solid longer before it melts, which gives the cookie more time to set before it spreads out flat. The result is a thicker, more structured cookie with better defined edges. Warm dough spreads fast, often too fast, producing the thin, flat, greasy discs that frustrate so many bakers who followed the recipe perfectly otherwise.
Chilling also concentrates flavour. The extra time in the fridge allows the flour to absorb moisture more evenly throughout the dough. The result is a cookie with a more developed, more complex taste that simply does not happen when dough goes from the bowl to the oven immediately. Brown butter cookie dough especially benefits from an overnight rest because the flavour compounds in the browned butter need time to distribute fully through the dough.
Make cookie dough ahead and keep it in the fridge or freezer. Pre-rolled balls of dough freeze beautifully and bake straight from frozen with just a few extra minutes of baking time added. Having ready-to-bake cookie dough on hand is one of those practical baking tips that makes home baking feel effortless rather than effortful. The type of fat you use in your cookie dough also affects how well chilling works. Butter vs Margarine in Baking explains how different fats behave at different temperatures and why butter-based cookie dough responds to chilling so differently from margarine-based dough.
Learn to Test for Doneness Properly
Baking times in recipes are estimates. They account for a standard oven in standard conditions. Your oven, your pan, your ingredient temperatures, and your kitchen environment all affect how quickly a bake actually finishes. Relying on the timer alone produces inconsistent results. Learning to test for doneness gives you accuracy that no timer can match.
For cakes, the toothpick test is the standard starting point. Insert a clean toothpick into the deepest part of the centre. A few moist crumbs clinging to it means the cake is done at its best. Wet batter means more time is needed. A completely clean toothpick is fine for lighter cakes but can indicate slight overbaking in denser, moister varieties like chocolate cake or carrot cake.
The press test adds another layer of information. Press the centre of the cake gently with a fingertip. A done cake springs back immediately. An underdone cake leaves an indentation that stays. Combining these two tests gives you a reliable read on doneness that works across almost every cake recipe you will ever make.
For bread, an internal temperature thermometer is the most accurate tool available. Most white breads finish at 190 to 200 degrees Fahrenheit. Enriched breads finish slightly lower at 185 to 190 degrees. Pulling bread at the right internal temperature eliminates the guesswork that leads to raw centres or dried-out loaves. Why Your Cakes Keep Failing and How to Fix Them connects these doneness tests directly to the most common cake failures and shows you how to diagnose what went wrong so you can fix it the next time.
Cool Baked Goods Properly Before Moving or Cutting
Cooling is one of the most consistently ignored baking tips, and ignoring it genuinely affects results in ways that are not always obvious until the damage is done. Baked goods continue to cook from residual internal heat after leaving the oven. Cutting into them too soon disrupts a process that is still in progress.
Cakes need to rest in the tin for 10 to 15 minutes after coming out of the oven before turning out onto a wire rack. This resting time lets the structure firm up enough to hold its shape without the support of the tin. Turning a cake out immediately after baking can cause it to crack or collapse because the internal structure has not fully set.
Bread sliced too soon produces a gummy, doughy interior. The steam inside the loaf redistributes during cooling and contributes to the final texture of the crumb. Cutting into a loaf within the first 20 to 30 minutes releases that steam and leaves the crumb dense and sticky. Give bread at least 30 minutes to cool and ideally an hour before slicing. If an ingredient runs short mid-bake and you need to make a quick swap, knowing what to reach for saves the whole effort. Baking Substitutions Guide covers every major ingredient swap and explains clearly why each alternative works the way it does.
Brownies and bars need to cool completely in the pan before cutting. Warm brownies fall apart at the cut line. Fully cooled brownies cut cleanly, hold their shape, and have a fudgier, more satisfying texture. Patience here is genuinely a baking tip with a payoff. How to Store Baked Goods to Keep Them Fresh Longer follows on naturally from this topic and covers exactly how to cool and store each type of bake so the quality holds up well beyond the day you made it.
Invest in a Few Key Tools That Make Everything Easier
Baking tips about technique matter enormously. But having the right tools to support that technique also makes a real difference. You do not need a full professional kitchen. A small selection of genuinely useful tools covers most of what home baking requires.
A digital kitchen scale removes measurement guesswork. An oven thermometer tells you what your oven is actually doing. A rubber spatula scrapes every last bit of batter from the bowl. A bench scraper handles dough efficiently and makes cleanup easier. A wire cooling rack gives baked goods the air circulation they need to cool properly and evenly. A set of accurate measuring spoons handles the small quantities of leavening, salt, and spice that make a significant difference to flavour and rise.
These are not glamorous additions to a kitchen. They are workhorses that show up in every bake and make the process more accurate, more consistent, and more enjoyable. Knowing what each tool is designed to do also deepens your understanding of how ingredients work. Baking Ingredients Explained pairs naturally with this baking tip because understanding your ingredients and having the right tools to handle them go hand in hand for consistently better results.
Keep Notes and Learn From Every Bake
One of the most underused baking tips is also one of the simplest. Keep a baking journal. After every bake, write down what you made, what you changed, what went well, and what you would do differently next time. This practice builds baking knowledge faster than any other single habit.
Memory is unreliable, especially when baking is part of a busy life. A note that says your oven runs hot and needed 25 degrees knocked off saves you from re-learning that lesson every time a new recipe goes into the oven. A note that your chocolate chip cookies needed an extra two minutes in your oven means the next batch comes out exactly right from the start.
Over time, your notes become a personalised baking reference that reflects your specific oven, your specific ingredients, your specific kitchen. No published guide can be that tailored to your exact situation. The journal you build yourself over months of baking contains knowledge that is genuinely yours, and it makes every baking tip you have ever learned more applicable to your real baking life.
These baking tips do not require anything dramatic. They require consistency, attention, and a willingness to treat each bake as an opportunity to learn something. Applied together over time, they transform baking from something that sometimes works into something that works reliably and beautifully. If you love the aesthetic side of baking as much as the results, Aesthetic Baking Setup Ideas For Beginners is a beautiful companion read for creating a baking space that feels as good to work in as the bakes you pull from it taste.
If you are also starting to think about what your baking skills could build beyond the kitchen, How to Start a Baking Business From Scratch is an encouraging and practical read for anyone whose baking has reached a level where others consistently notice and want what you make.