Baking Shelf Organization Ideas for Home Bakers
Disclosure: Some of the links in this post are affiliate links. This means if you click on the link and purchase an item, I will receive an affiliate commission at no extra cost to you.
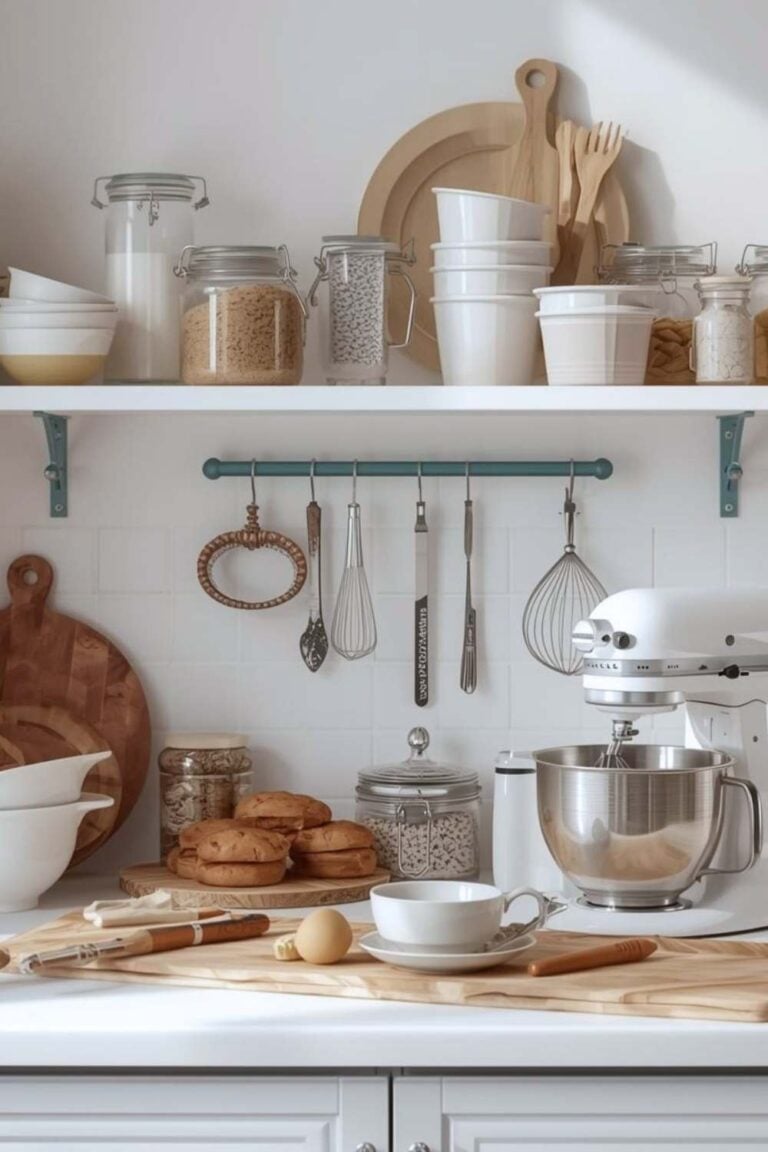
A baking shelf can quickly become crowded with flour, sugar, mixing bowls, cake pans, decorating tools, and ingredients. Without a clear system, useful supplies disappear behind items used only occasionally. Smart shelf organization keeps every baking essential visible, accessible, and easy to return after each recipe.
The best setup starts with grouping supplies according to purpose. Everyday ingredients deserve convenient positions, while specialty tools can move toward higher or lower shelves. Clear containers, labeled bins, stackable pans, and small baskets can transform unused vertical space into practical storage.
Shelf organization also matters for smaller kitchens. Limited cabinets do not mean baking supplies must take over the countertop. A thoughtful arrangement can create dedicated zones for ingredients, equipment, decorating supplies, and packaging without making the kitchen feel crowded.
For bakers building a more efficient workspace, Baking Station Organization Ideas That Will Transform Your Kitchen offers another practical approach to keeping baking essentials organized and easy to reach.
These baking shelf organization ideas focus on simple layouts, accessible storage, and realistic solutions for home bakers. From narrow shelves to larger pantry spaces, each idea can help create a cleaner baking area that supports faster preparation and less daily clutter.
Baking Shelf Organization Ideas for Home Bakers
A well-organized baking shelf can make recipe preparation faster, cleaner, and far less stressful. Instead of digging through crowded cabinets, every ingredient and tool gets a practical home.
The right arrangement also helps protect delicate equipment and prevents ingredients from getting forgotten. With a few thoughtful storage changes, even a small shelf can handle a surprising amount of baking equipment.
1. Create a Dedicated Baking Shelf
Start by giving baking supplies their own shelf or shelving unit. Keeping baking items together makes preparation more efficient.
Place the ingredients and tools used most often at eye level. Reserve higher shelves for specialty equipment and occasional supplies.
A dedicated area also makes inventory checks easier. You can quickly spot ingredients that need replacing before starting your next recipe.
If your collection has grown beyond one shelf, consider expanding into a complete baking station organization system.
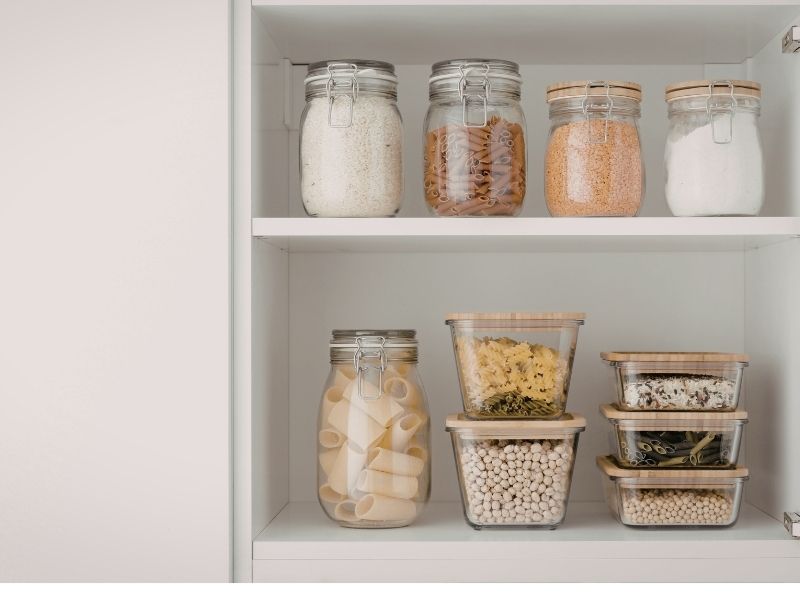
2. Use Clear Containers for Dry Ingredients
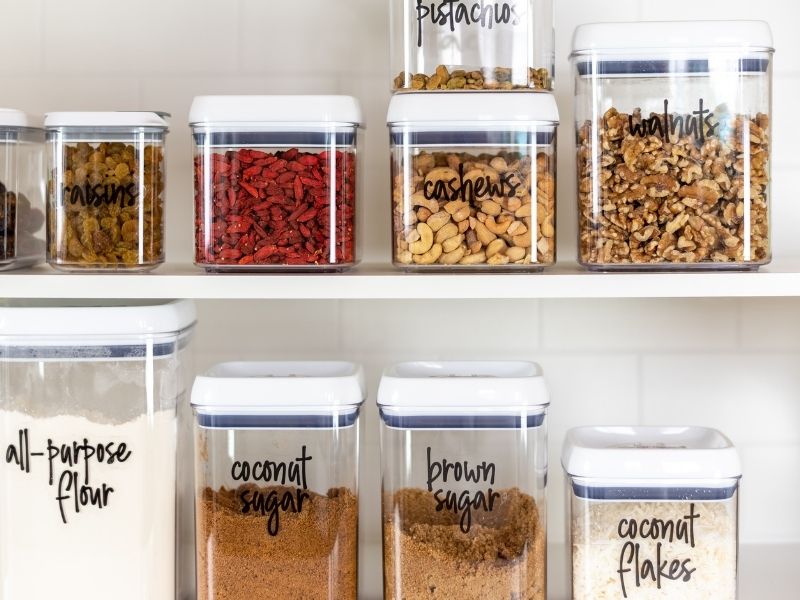
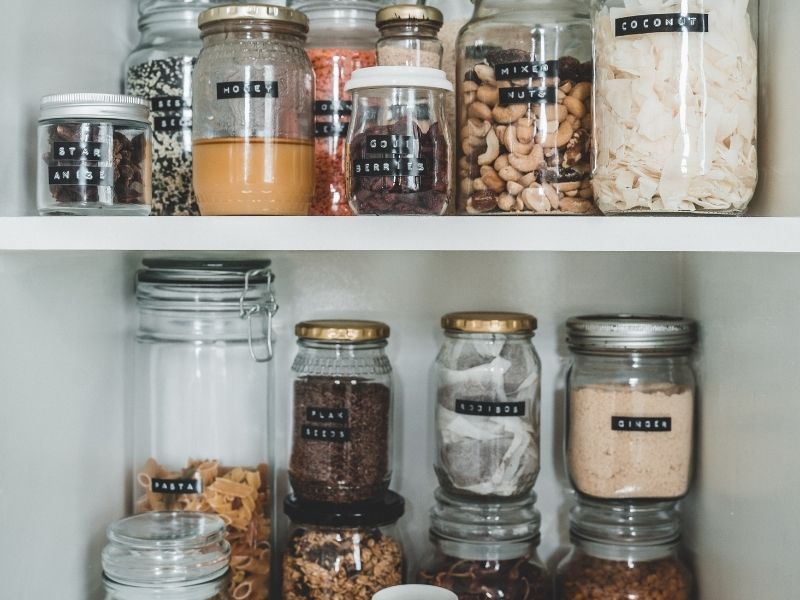
Clear containers work especially well for flour, sugar, cocoa powder, oats, and other frequently used ingredients.
They let you see the remaining quantity without opening every container. This simple change can reduce unnecessary restocking and keep shelves looking tidy.
Choose containers with secure lids to protect ingredients from moisture and kitchen pests. Uniform containers also create a cleaner visual appearance.
Label each container clearly with the ingredient name. Add dates when useful, especially for ingredients with shorter storage periods.
3. Arrange Ingredients by Frequency
Keep frequently used ingredients within easy reach. Flour, sugar, baking powder, cocoa, and common spices usually deserve prime shelf positions.
Move specialty ingredients toward less accessible areas. This approach prevents regular baking sessions from becoming a constant search.
A useful arrangement can follow your normal baking routine. Place ingredients you reach for together instead of organizing everything alphabetically.
Your baking pantry essentials can help determine which products deserve the easiest access.
4. Add Small Storage Bins
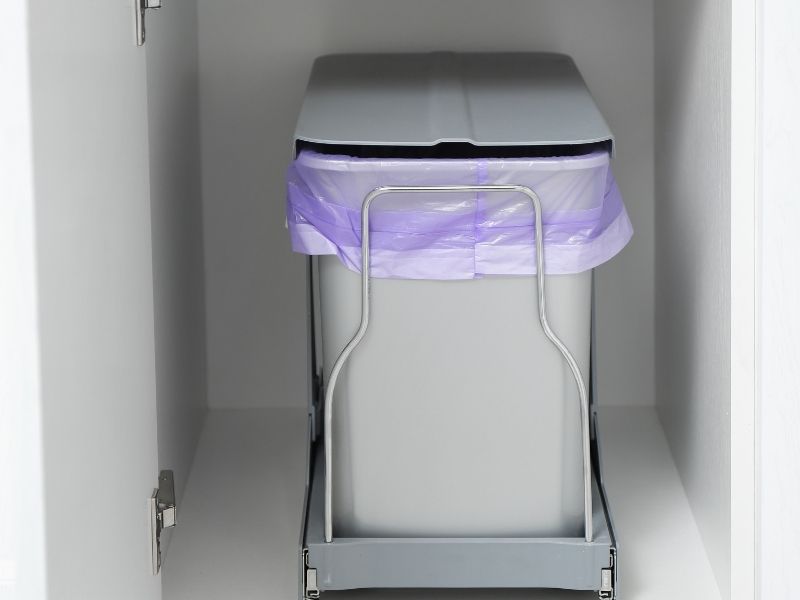
Small bins can prevent individual baking supplies from spreading across an entire shelf.
Use one bin for piping tips, another for food coloring, and another for measuring tools. Small categories become much easier to manage when they stay together.
Choose bins that fit your shelf depth. Oversized containers can waste valuable space and make items harder to reach.
Clear or open-front bins work particularly well because they provide quick visibility.
5. Store Baking Pans Vertically
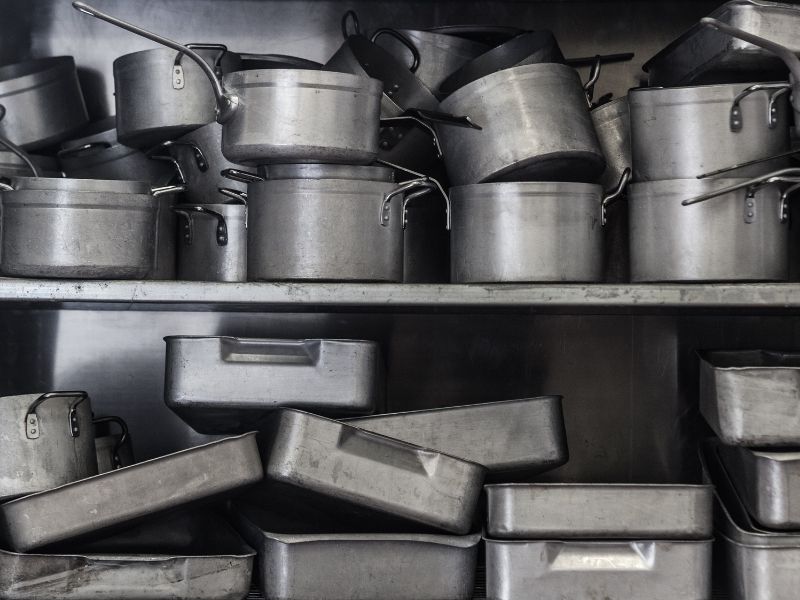
Stacking baking pans can create a frustrating pile. The pan needed at the bottom usually requires removing everything above it.
Vertical storage solves this problem. Use dividers or narrow organizers to keep cake pans, loaf pans, and baking sheets upright.
Separate pans by type and size. This arrangement makes selecting the correct pan much quicker.
Vertical organization also uses shelf height efficiently. It works particularly well inside narrow cabinets.
6. Keep Measuring Tools Together
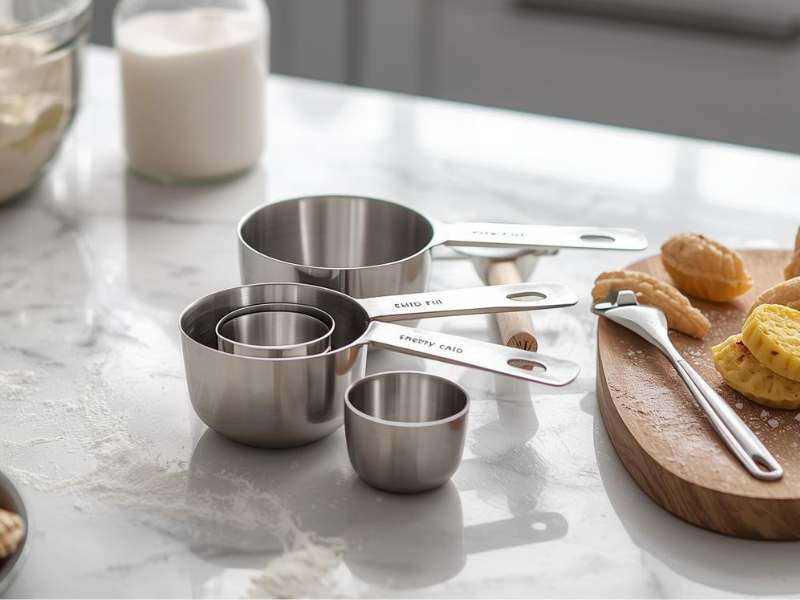
Measuring cups and spoons often become scattered when they lack a dedicated location.
Place them inside a small container or hang them from hooks beneath a shelf. Keep the complete set together to prevent missing pieces.
You can also create a dedicated measuring zone beside your dry ingredients. This arrangement supports faster preparation.
Accurate measurements matter greatly in baking. A useful baking measurements conversion chart can also stay nearby for quick reference.
7. Dedicate a Shelf to Decorating Supplies
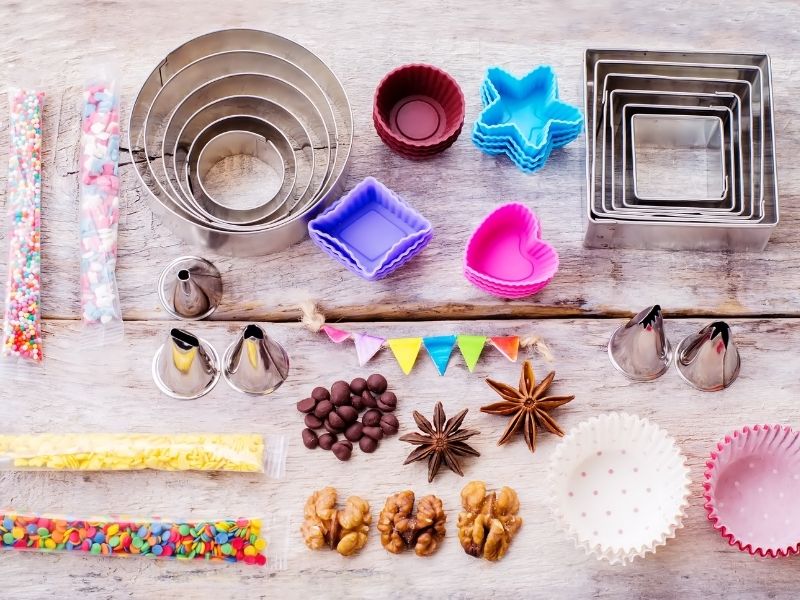
Cake decorating supplies deserve their own category. Piping bags, tips, food colors, sprinkles, fondant tools, and decorating brushes can easily become cluttered.
Use shallow containers to separate small items. Label each container according to its contents.
Keep frequently used decorating tools near the front. Store specialty cutters and seasonal decorations farther back.
This setup prevents decorating supplies from taking over the entire baking shelf.
8. Use Shelf Risers
Shelf risers create another level inside a tall cabinet. They make better use of unused vertical space.
Place shorter containers underneath and taller products on top. This arrangement keeps both levels visible.
Risers work especially well for jars, spice containers, and small baking ingredients. They also prevent items from disappearing behind taller containers.
Choose sturdy risers that can support the weight of your storage containers.
9. Create a Chocolate and Candy Zone
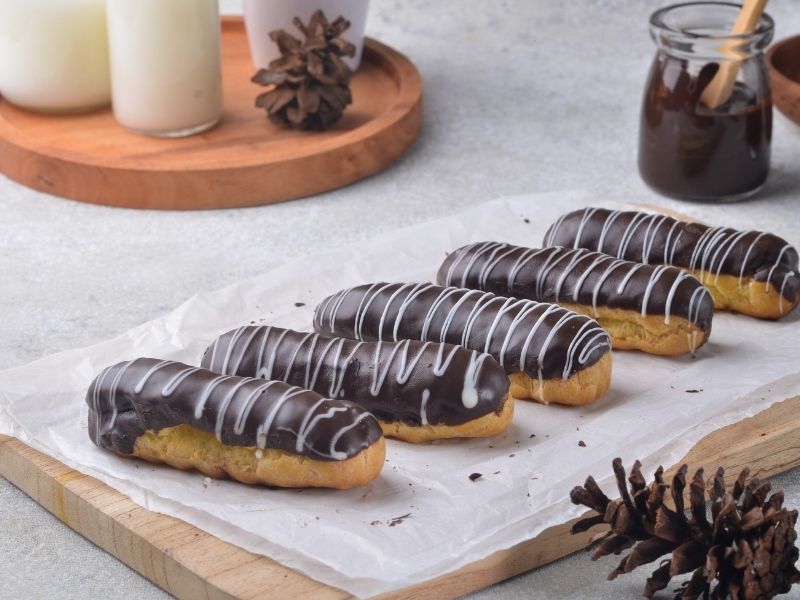
Chocolate chips, candy melts, baking chocolate, and decorative candies can share one dedicated section.
Grouping these ingredients keeps them separate from everyday dry goods. It also makes dessert preparation faster.
Use airtight containers for opened chocolate products. Keep the containers away from excessive heat and direct sunlight.
Separate baking chocolate from finished decorating candies. This distinction makes ingredient selection easier during recipes.
10. Organize Specialty Flours Together
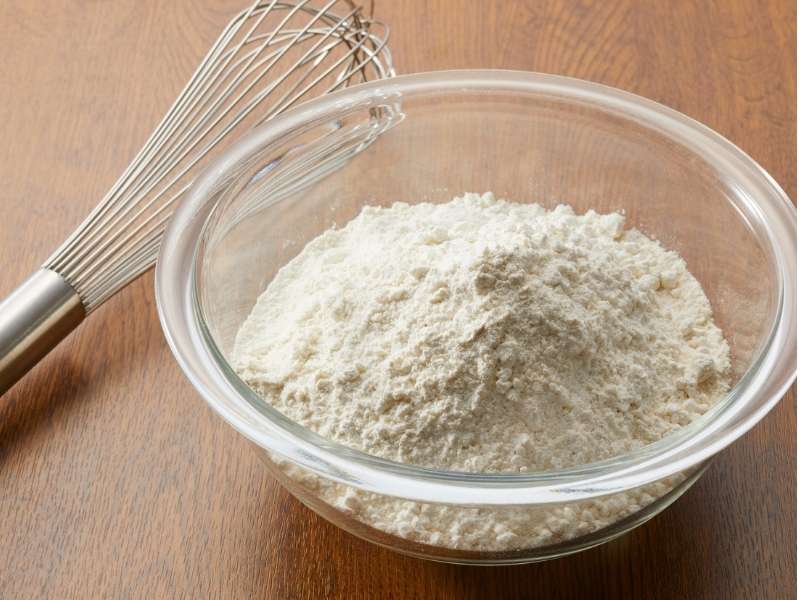
Different flours can quickly create confusion on a crowded shelf.
Keep almond flour, coconut flour, whole wheat flour, bread flour, and specialty blends in clearly labeled containers.
Arrange them beside your primary flour if you use them regularly. Less frequently used varieties can occupy another shelf.
For more guidance, explore Types of Baking Flour and When to Use Them before reorganizing your flour collection.
11. Store Spices in a Compact Rack
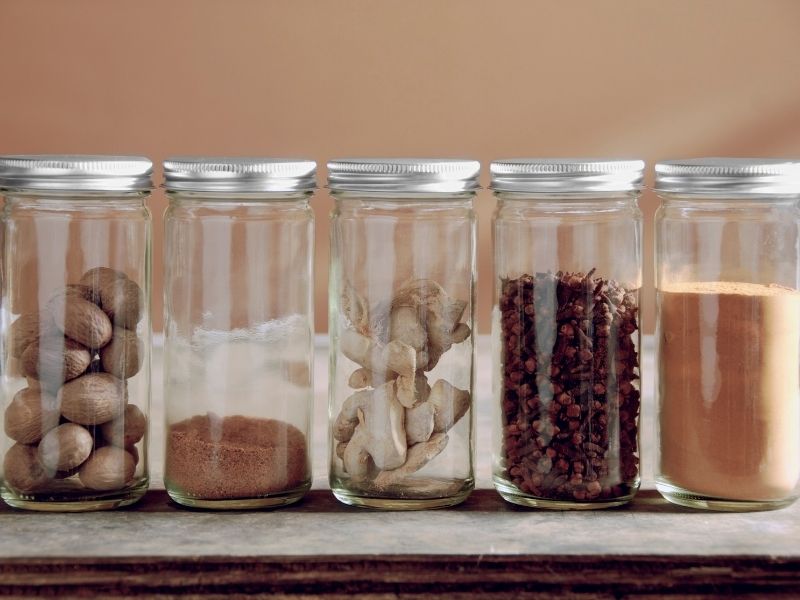
Baking spices take up little space individually but can create significant clutter as a group.
A compact spice rack keeps cinnamon, nutmeg, ginger, cloves, cardamom, and other seasonings visible.
Arrange them alphabetically or according to frequency. Either method works as long as you maintain the same system.
Place the rack toward the front of the shelf. This position makes small containers easier to identify.
12. Use Lazy Susans for Small Ingredients
A lazy Susan can make deep shelves much easier to use.
Place extracts, syrups, food colors, sprinkles, or small spice jars on the rotating surface. Turn the tray instead of reaching behind several containers.
Choose a size that leaves enough clearance around the edges. Overloading the tray can make it difficult to rotate.
This solution works particularly well in deep pantry cabinets.
13. Create a Cake Pan Collection Zone
Cake pans come in many shapes and sizes, so they need a deliberate storage strategy.
Group round pans together, then separate square, rectangular, loaf, and specialty pans.
Place smaller pans inside larger ones when their shapes allow safe nesting. Add protective layers when surfaces could scratch.
Keep your most frequently used sizes near the front.
14. Store Cookie Cutters in Containers
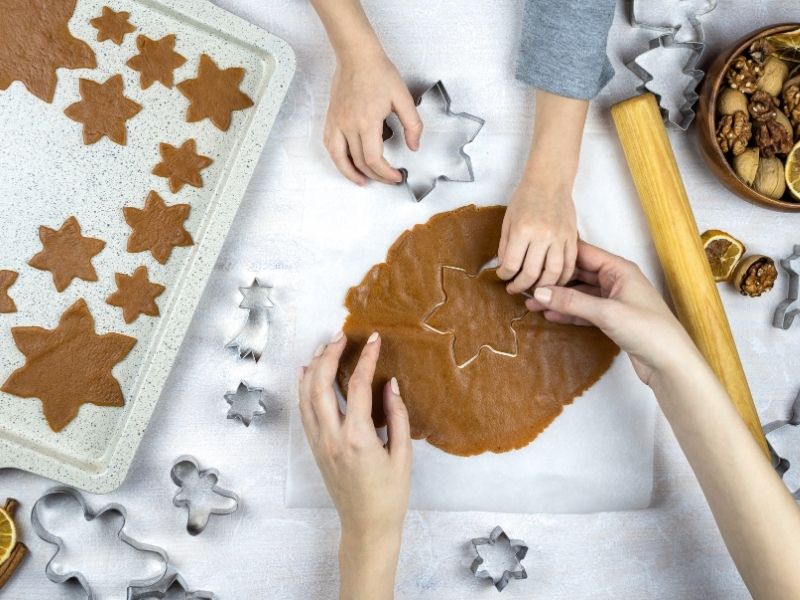
Cookie cutters can become one of the messiest baking collections.
A deep container keeps them together while preventing individual cutters from spreading across the shelf.
Separate everyday shapes from holiday cutters. You can use smaller bags or containers inside the main box.
Label seasonal groups clearly. This approach makes holiday baking preparation much easier.
15. Keep Food Coloring Upright
Food coloring bottles can leak or tip over when stored loosely.
Place them inside a narrow tray or divided container. Keep darker colors separated from lighter supplies to prevent accidental staining.
Arrange bottles by color family if you have a large collection. This makes selecting a shade much faster.
Check bottle caps regularly to ensure they remain tightly closed.
16. Use Baskets for Baking Liners
Cupcake liners, parchment sheets, muffin papers, and decorative wrappers can occupy a dedicated basket.
Choose a shallow basket that allows you to see the contents. Deep containers can hide smaller packages.
Separate everyday liners from seasonal designs. This simple distinction keeps the collection easier to navigate.
Store unopened packages together so you can quickly see your remaining supply.
17. Add Labels to Every Storage Zone
Labels turn an attractive shelf into a functional organization system.
Label containers, baskets, bins, and major categories clearly. Use simple names that make sense during a busy baking session.
Avoid creating overly complicated categories. A system works best when you can maintain it without extra effort.
For ingredient containers, include the ingredient name and useful storage information.
18. Reserve a Section for Baking Tools
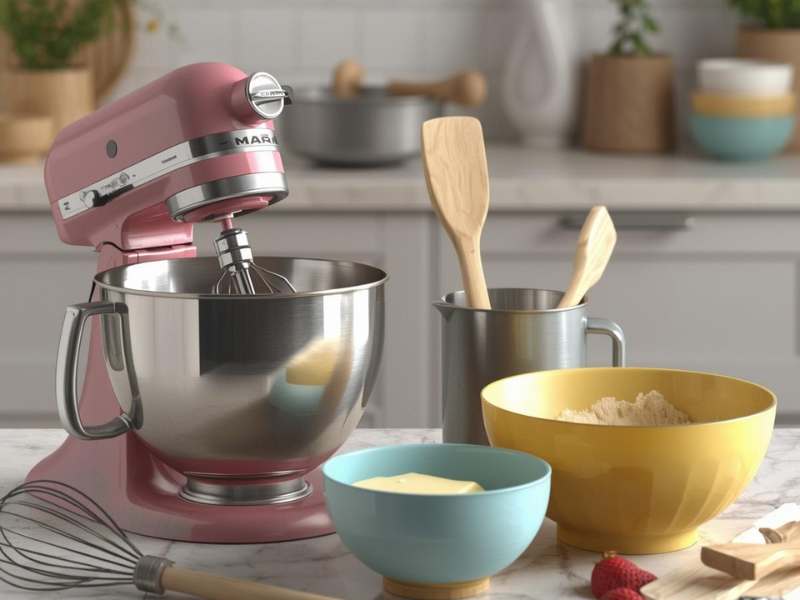
Small tools deserve a dedicated section instead of floating between ingredient containers.
Keep whisks, spatulas, scrapers, pastry brushes, rolling pins, and bench scrapers together.
Tall containers can hold long utensils vertically. Smaller bins can handle measuring tools and specialty equipment.
For a broader equipment checklist, review Essential Baking Tools Every Home Baker Needs.
19. Use Door-Mounted Storage
Cabinet doors provide valuable storage space that often goes unused.
Install suitable racks or organizers for lightweight baking supplies. Measuring spoons, small spice jars, and decorating tools can fit particularly well.
Avoid placing heavy containers on doors unless the storage system supports their weight.
Door storage works best for items you need frequently.
20. Keep Baking Ingredients Away From Heat
Storage location affects ingredient quality.
Avoid placing chocolate, butter substitutes, certain oils, and temperature-sensitive ingredients beside ovens or other heat sources.
Choose a cool, dry area with minimal temperature fluctuation. Keep containers away from direct sunlight.
Your Baking Ingredients Explained guide can help you understand why different ingredients need different storage conditions.
21. Create a Frequently Used Baking Zone
A frequently used zone keeps everyday ingredients and equipment within arm’s reach.
Place flour, sugar, measuring cups, mixing tools, and favorite spices in this area.
The arrangement should match your actual baking habits. Avoid copying a storage system that looks attractive but slows down your routine.
Observe which items you reach for most often. Give those supplies the easiest positions.
22. Store Seasonal Decorations Separately
Holiday sprinkles, themed cupcake liners, colored sugars, and specialty cutters do not need everyday shelf space.
Group seasonal supplies inside labeled containers. Store those containers higher on the shelf or in a separate cabinet.
Create categories such as Christmas, Halloween, birthdays, and general celebrations.
This approach frees prime shelf space for supplies used throughout the year.
23. Use Stackable Containers
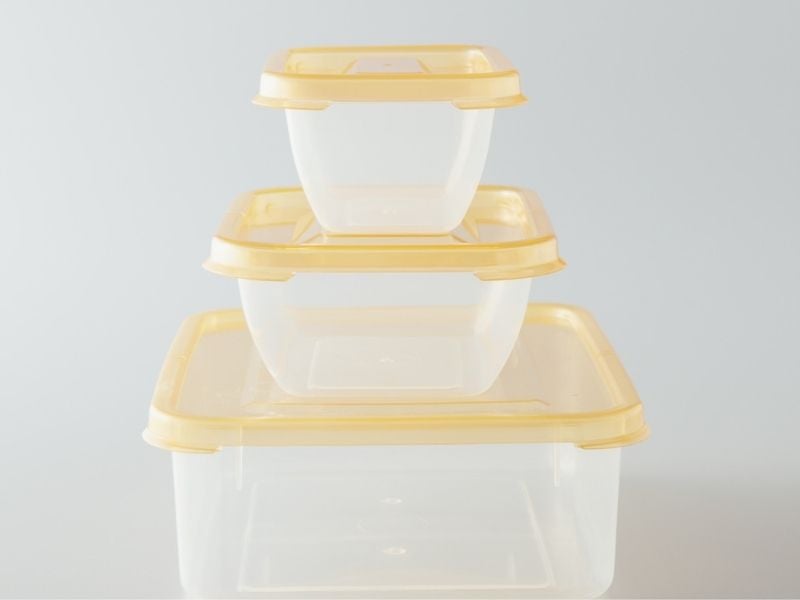
Stackable containers can dramatically increase usable shelf capacity.
Choose containers with flat, stable lids that allow secure stacking. Keep heavier containers toward the bottom.
Avoid stacking products so high that removing one container becomes difficult.
Uniform shapes also make shelf planning much easier.
24. Keep Packaging Supplies Together
Bakers who sell treats need a dedicated packaging area.
Cake boxes, cupcake boxes, parchment sheets, labels, ribbons, bags, and stickers can share one organized section.
Separate flat packaging from small accessories. This arrangement prevents boxes from crushing delicate decorating supplies.
For home bakers building a business, What You Need to Start Selling Cakes From Home provides useful preparation guidance.
25. Make a Small Ingredient Refill Area
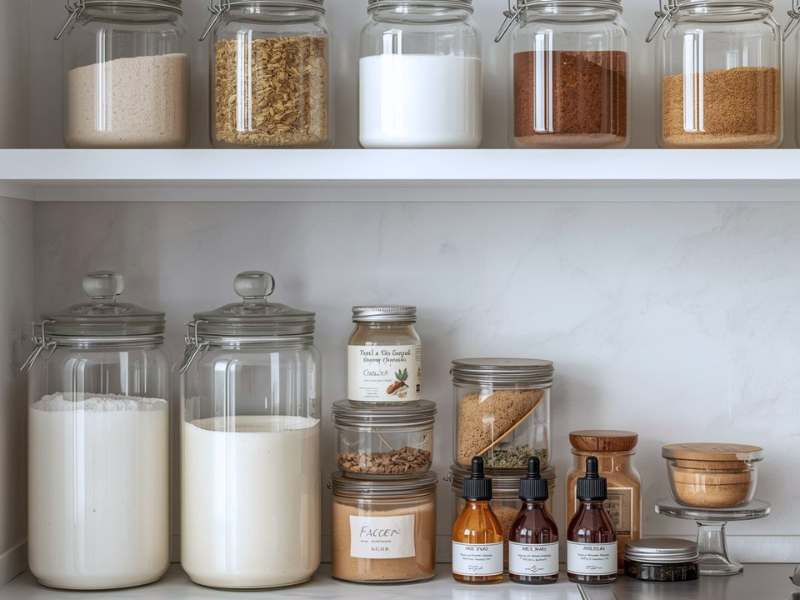
Keep unopened backup ingredients in a separate location from active containers.
This prevents you from opening multiple packages of the same ingredient unnecessarily.
When a container becomes empty, refill it from the backup supply. Then add the empty item to your shopping list.
This system keeps your primary shelf uncluttered.
26. Use Narrow Containers for Tight Shelves
Narrow shelves require storage containers with suitable dimensions.
Slim jars and bins can fit spaces that standard containers cannot.
Measure the shelf before buying organizers. Pay attention to height, width, and depth.
A few centimeters can determine whether a storage solution works efficiently.
27. Create a Baking Ingredient Inventory
A simple inventory list can prevent duplicate purchases.
Record staple ingredients and check quantities during your regular kitchen reset.
You can organize the list by category, such as flours, sugars, spices, chocolate, and decorating supplies.
For better pantry planning, explore How to Organize Your Baking Ingredients Like a Pro.
28. Keep Heavy Equipment on Lower Shelves
Heavy mixing bowls, stand mixer attachments, cast-iron pans, and bulky equipment belong on sturdy lower shelves.
Lower storage reduces the risk of dropping heavy items.
Keep lightweight supplies higher up. This creates a safer and more practical storage arrangement.
Use sturdy shelving designed to support the total weight.
29. Use the Back of Deep Shelves Carefully
Deep shelves can become storage traps when smaller items disappear behind larger containers.
Place less frequently used supplies toward the back. Keep everyday products at the front.
Pull-out bins can make deep shelves much easier to manage.
Avoid filling every inch of space. A little breathing room improves accessibility.
30. Create a Dedicated Recipe Area
Printed recipes, recipe cards, notebooks, and baking planners can have their own small section.
Use a magazine holder or slim file organizer to keep papers upright.
Separate frequently used recipes from archived ones.
Digital recipes can also remain accessible on a nearby tablet stand, provided the area stays protected from flour and spills.
31. Make Cleaning Supplies Easy to Reach
Baking creates flour dust, sugar spills, and occasional sticky messes.
Keep suitable cleaning cloths or kitchen towels close to the baking area. Quick cleanup prevents residue from building around storage containers.
Avoid storing cleaning chemicals directly beside food ingredients.
A separate nearby location provides convenient access without creating contamination concerns.
32. Rotate Ingredients Regularly
Older ingredients should move toward the front while newer purchases go behind them.
This first-in, first-out approach helps you use older supplies before opening newer packages.
Check dates during your regular shelf reset. Discard ingredients that show spoilage, unusual odors, pest activity, or other signs of deterioration.
Proper rotation keeps the baking shelf both organized and practical.
33. Keep Similar Tools Together
Organize tools according to their function rather than their appearance.
Keep rolling tools together, decorating tools together, measuring tools together, and mixing tools together.
This structure reduces search time during preparation.
It also makes returning items easier after baking.
34. Give Your Baking Shelf a Visual System
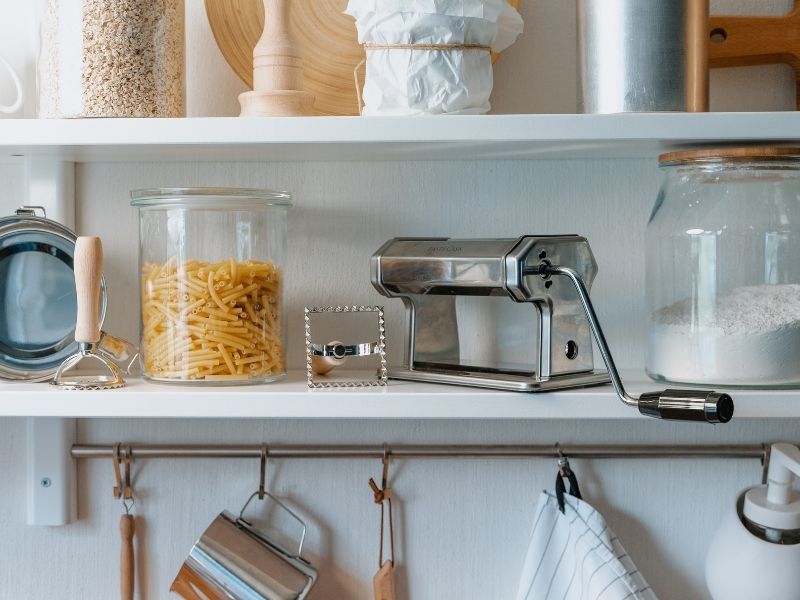
An organized shelf does not need to look sterile.
Choose matching containers, simple labels, coordinated baskets, or natural materials that complement your kitchen.
Avoid filling every visible space with decorative objects. Baking storage should remain functional first.
For inspiration, Aesthetic Baking Setup Ideas for Beginners can help you create a practical setup with a polished appearance.
35. Leave Some Empty Space
An overcrowded shelf becomes difficult to maintain.
Leave small gaps between categories so you can remove containers without disturbing everything around them.
Empty space also gives you room for new ingredients and tools.
A shelf should support your baking habits rather than force you to work around storage problems.
36. Use a Baking Shelf Reset Routine
Organization becomes easier when you maintain the system regularly.
After baking, return every tool to its assigned zone. Wipe spills before they harden and check open ingredient packages.
Once a month, review expired products and supplies you no longer use.
For larger kitchens, pair the shelf reset with a complete baking station organization routine.
Final Thoughts
Baking shelf organization works best when the system reflects the way you actually bake. Frequently used ingredients should stay accessible, while specialty supplies can occupy less convenient spaces.
Clear containers, labeled bins, vertical pan storage, shelf risers, and dedicated categories can transform a crowded shelf into an efficient baking hub.
Start with the area causing the most frustration. Organize that section first, then expand the system gradually.
A well-planned shelf saves preparation time, protects ingredients, and makes baking feel more enjoyable. Small storage improvements can create a noticeable difference in even the busiest home baking space.