How to Read a Baking Recipe Correctly Before You Start
Disclosure: Some of the links in this post are affiliate links. This means if you click on the link and purchase an item, I will receive an affiliate commission at no extra cost to you.
Let me be honest with you, I used to skip straight to the ingredients list the moment I found a recipe I liked. No reading ahead, no checking if I had everything, just vibes and a prayer that it would work out.
Have you ever pulled a cake out of the oven only to realise it was supposed to chill for two hours before serving, or got halfway through a recipe and discovered you needed room-temperature butter that you absolutely did not prepare, this post is for you.
Reading a baking recipe correctly before you start is honestly one of the most underrated baking skills there is. It’s not glamorous. Nobody’s posting it on Pinterest. But it is the difference between a bake that works and one that sends you back to the drawing board.
If you’re just finding your footing in the kitchen, it helps to start with a solid foundation The Ultimate Beginner’s Guide to Baking is a great place to begin.
A recipe isn’t just a list of ingredients and steps. It’s a roadmap. And like any roadmap, it only works if you actually read it before you start driving. Missing one small detail like an ingredient that needs to be divided can quietly derail the whole thing.
The good news? Once you know what to look for, reading a recipe properly takes less than five minutes. And those five minutes will save you from the most frustrating (and most common) baking mistakes beginners make. Speaking of which, if you’ve already had a few baking disasters, you’ll want to check out Common Baking Mistakes and How to Fix Them Fast.
In this post, we’re going to walk through exactly how to read a baking recipe correctly, from scanning the ingredient list to understanding the method, checking your tools, and knowing what questions to ask before you even touch a bowl.
Why Reading a Recipe the Right Way Actually Matters
Most baking problems don’t start in the oven. They start at the recipe. Specifically, they start when a baker skips the part where they actually read the recipe before diving in.
Reading a baking recipe correctly is a skill. It sounds simple, but there’s a real difference between glancing at a recipe and truly understanding it before you begin. A baking recipe is not like a cooking recipe, where you can taste and adjust as you go. In baking, the decisions are made before you even preheat your oven.
Every step in a recipe is there for a reason. Every instruction is written in a specific order because that order matters. When you understand how to read a recipe correctly, you stop guessing and start baking with intention. That shift alone will change your results dramatically.
How to Read a Baking Recipe Correctly Before You Start
Start by Reading the Recipe From Top to Bottom (Twice)
The First Read: Get the Full Picture
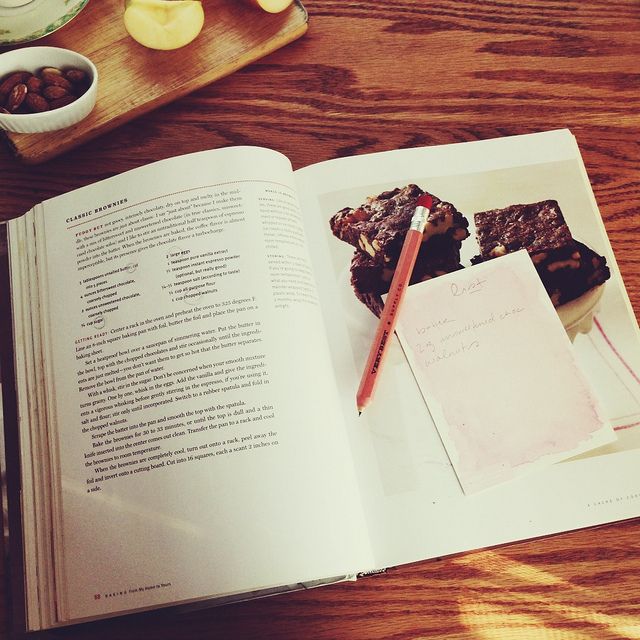
Before you measure a single ingredient, read the entire recipe. Not just the ingredients. Not just the first few steps. The whole thing, from title to the very last line.
This first read is about getting the big picture. You want to understand what you’re making, how long it takes, and whether anything needs advance preparation. Some recipes include chilling times, cooling windows, or components that need to be made separately first. You won’t know any of that unless you read ahead.
This step takes about two to three minutes. Those minutes are some of the most valuable time you’ll spend before baking.
The Second Read: Focus on the Details
The second read is where you get specific. This time, read slowly and look for anything that requires preparation before you begin mixing. Ask yourself a few questions as you go through it.
Does any ingredient need to be at room temperature? Does the butter need to be softened ahead of time? Does anything need to be melted, toasted, or prepped separately? Are there any timing notes buried in the method that aren’t obvious at first glance?
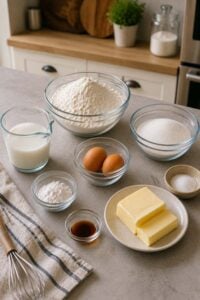
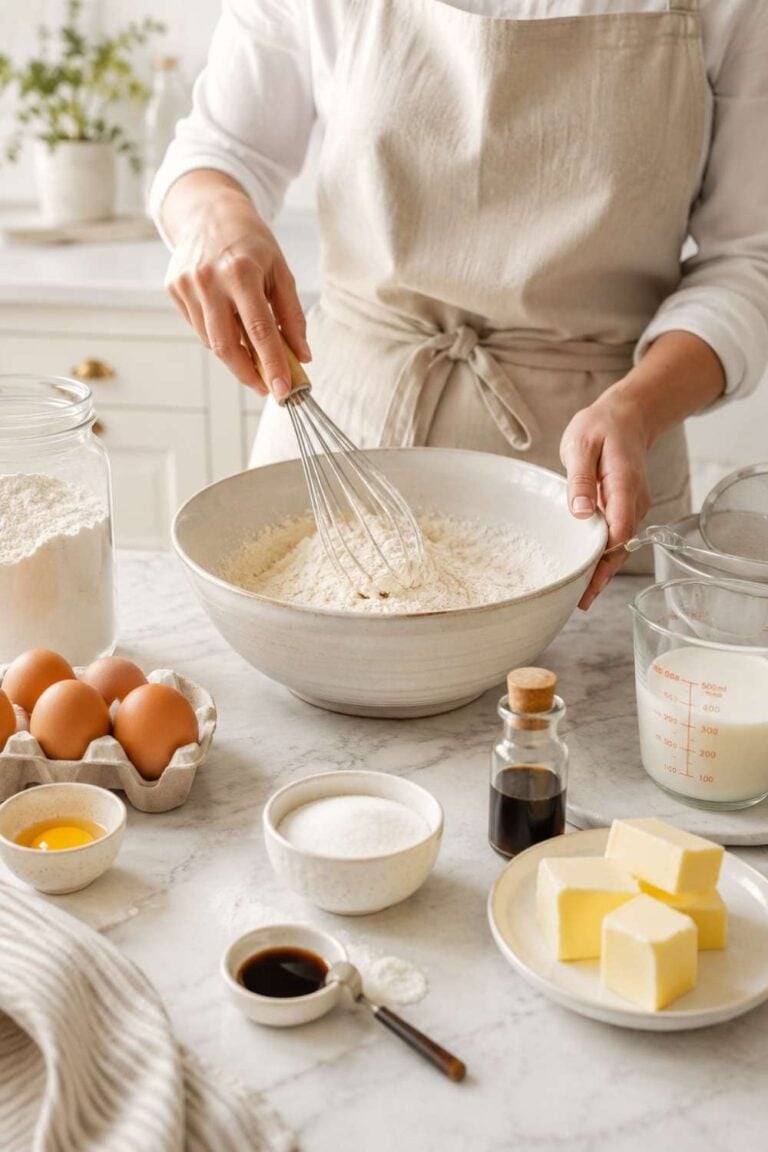
This is also when you check that you have everything. Not just the main ingredients, check the small ones too. Baking powder, vanilla extract, specific types of flour. These are the things that don’t get added to shopping lists because they seem like they’re always around, until suddenly they’re not.
Understanding the Ingredient List Before You Touch Anything
The ingredient list in a baking recipe tells you far more than what to buy. It tells you what state each ingredient should be in, how it should be measured, and sometimes even hints at the technique involved.
Look at how each ingredient is written. “2 eggs, room temperature” is not the same as just “2 eggs.” “1 cup flour, sifted” is not the same as “1 cup sifted flour.” The first means you measure first, then sift. The second means you sift first, then measure. That’s a difference that actually changes the amount of flour you use.
Pay attention to phrases like “softened,” “melted,” “divided,” or “packed.” These words carry instructions. Divided means that ingredient will be used in more than one step so don’t add it all at once. Packed means you press the ingredient firmly into the measuring cup, which is common with brown sugar. Softened means room temperature butter, not melted. These details are not decoration. They are part of the recipe.
How to Measure Ingredients the Right Way
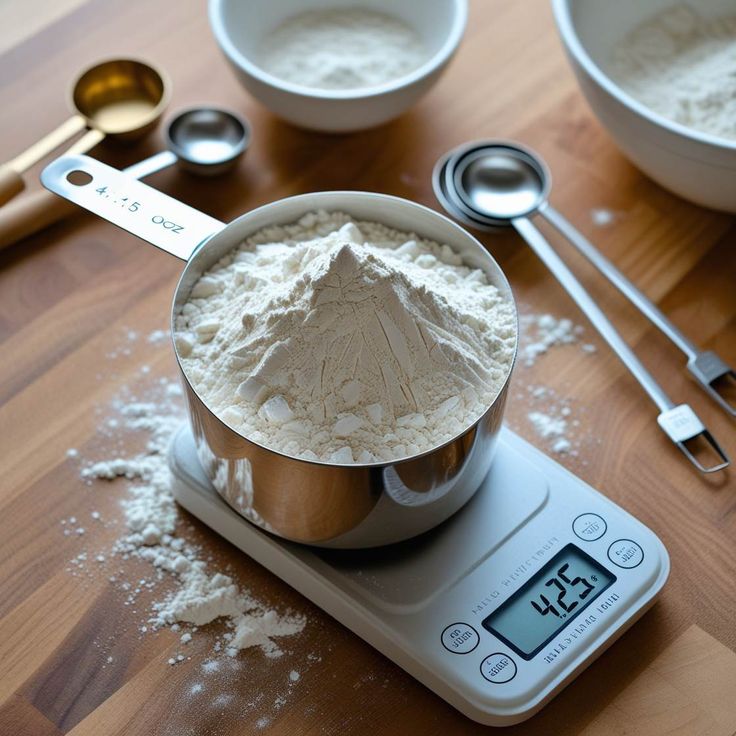
Understanding how to read a baking recipe correctly includes understanding how measurements work. Baking measurements are precise. A small difference in the amount of flour or leavening can completely change the result. Using a kitchen scale is the most accurate method, especially for flour, which can vary significantly when scooped by volume. You might find it useful to bookmark a Baking Measurements Conversion Chart so you always have a reference when switching between cups, grams, and ounces.
Never scoop flour directly from the bag with your measuring cup. That packs it in and gives you more flour than the recipe intends. Instead, spoon flour into the cup and level it off with a straight edge. For liquids, use a liquid measuring cup and read the measurement at eye level.
Read the Steps Like a Story, Not a Checklist
The method section of a recipe is where most beginners make mistakes. It’s easy to skim over it and treat each step like an item on a checklist. But each step is connected to the one before it and the one after it.
Reading the method carefully tells you the reason behind each action. When a recipe says to cream butter and sugar for three to five minutes, it’s not being dramatic. That time is needed to incorporate air into the fat, which makes your cake light. Cutting it short changes the texture. Reading the step carefully helps you understand what you’re actually trying to achieve.
Watch for Words That Tell You How, Not Just What
Many beginner bakers miss the action words in a recipe. Words like fold, cream, knead, whisk, and cut in describe specific techniques, not just vague mixing instructions. These words tell you how to handle the batter or dough, and they matter because different mixing methods produce different textures and structures.
Folding, for example, is a gentle motion designed to keep air in the batter. Stirring vigorously instead of folding can deflate a beautiful batter and leave you with a dense result. If you’re not sure what a specific technique means, don’t guess look it up before you start. Baking Terms Explained breaks down the most common ones in plain language that’s easy to follow.
Pay Attention to Visual Cues in the Instructions
A good recipe doesn’t just say “mix until combined.” It often includes visual or textural cues to help you know when you’ve done enough. Phrases like “until pale and fluffy,” “until the mixture pulls away from the sides,” or “until a toothpick comes out clean” are telling you what to look for, not just what to do.
These cues are more reliable than timers in many cases. Ovens vary. Ingredient temperatures vary. Relying on visual cues rather than just the clock makes you a more confident, more observant baker.
Check Your Equipment Before You Begin
Your Tools Are Part of the Recipe
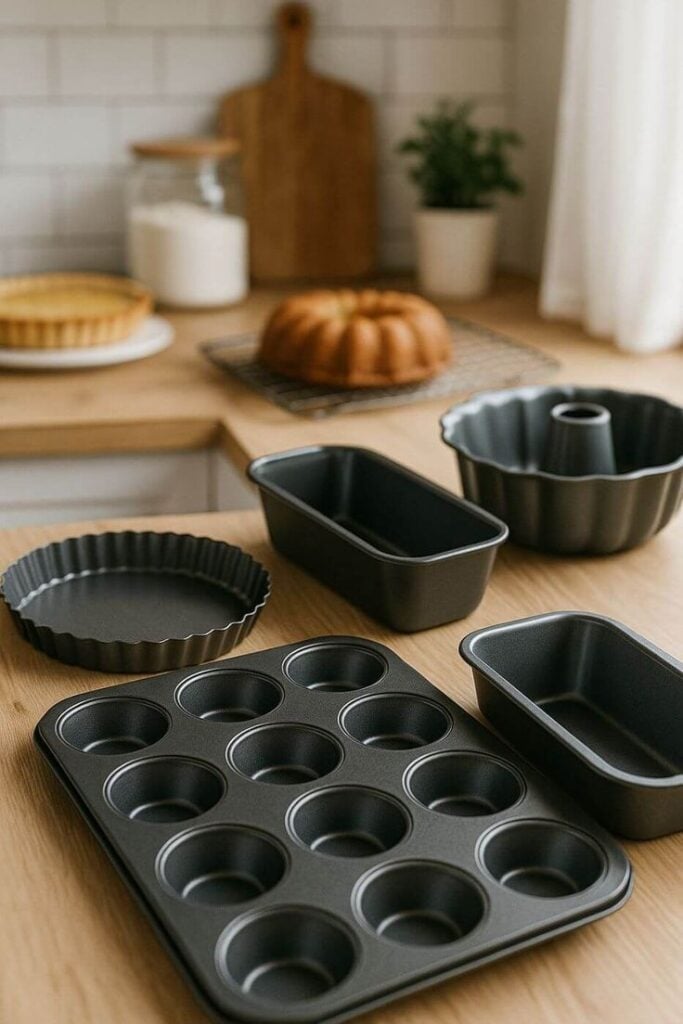
Reading a baking recipe correctly means reading the equipment requirements too. Many recipes assume you have specific pan sizes, mixer types, or tools on hand. Using the wrong pan size changes baking times and textures significantly. A cake baked in a larger pan will be thinner and bake faster. A cake in a smaller pan will be thicker and take longer — and may not bake through evenly.
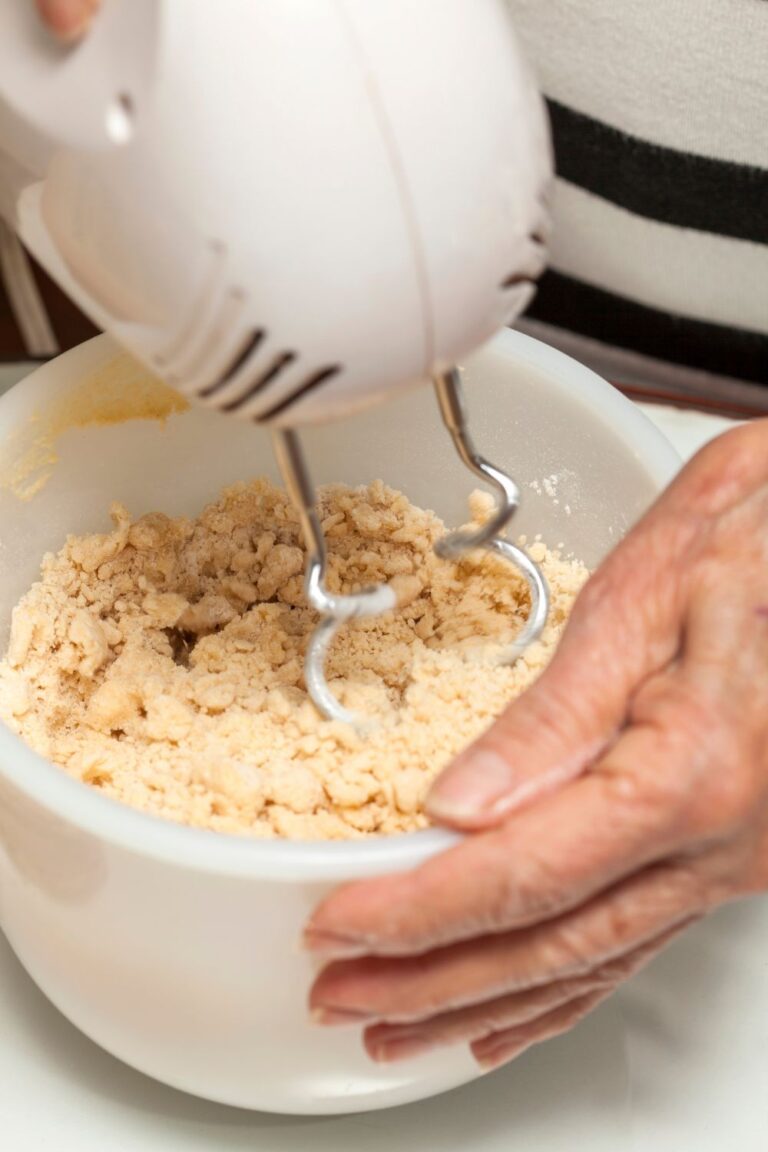
Always check what pan size and type is required. Check whether the recipe calls for a stand mixer or hand mixer, or whether it can be done by hand. Note if parchment paper is needed, or if the bowl needs to be chilled first. These are not afterthoughts. They are instructions. If you’re still building your collection, it helps to know which tools actually make a difference Essential Baking Tools Every Home Baker Needs is a practical guide that includes options at different price points.
Prepare Your Pans Before You Start Mixing
One specific equipment step that often catches beginners off guard is pan preparation. Most recipes mention it somewhere in the method, but not always at the top. Read ahead and prepare your pan before you begin mixing.
Why does this matter? Because once your batter is ready, it needs to go into the oven relatively quickly especially if the recipe uses baking soda, which starts reacting the moment it hits moisture. Having a pan that isn’t greased or lined when the batter is ready creates a problem you didn’t need to have.
Understanding Oven Instructions in a Recipe
Preheat Means Preheat — Not Warm Up While You Mix
One of the most consistently misread parts of a baking recipe is the oven instruction. “Preheat oven to 350°F” is often treated as a background suggestion rather than a real step. But it matters.
An oven needs at least 15 to 20 minutes to fully reach the target temperature. The air might heat up faster, but the walls and racks take longer to absorb that heat. Baking in an oven that hasn’t fully preheated changes how your baked good rises, how it browns, and how evenly it bakes.
Make preheating your very first step after reading the recipe. Set the oven before you start measuring anything.
Know the Difference Between Rack Positions
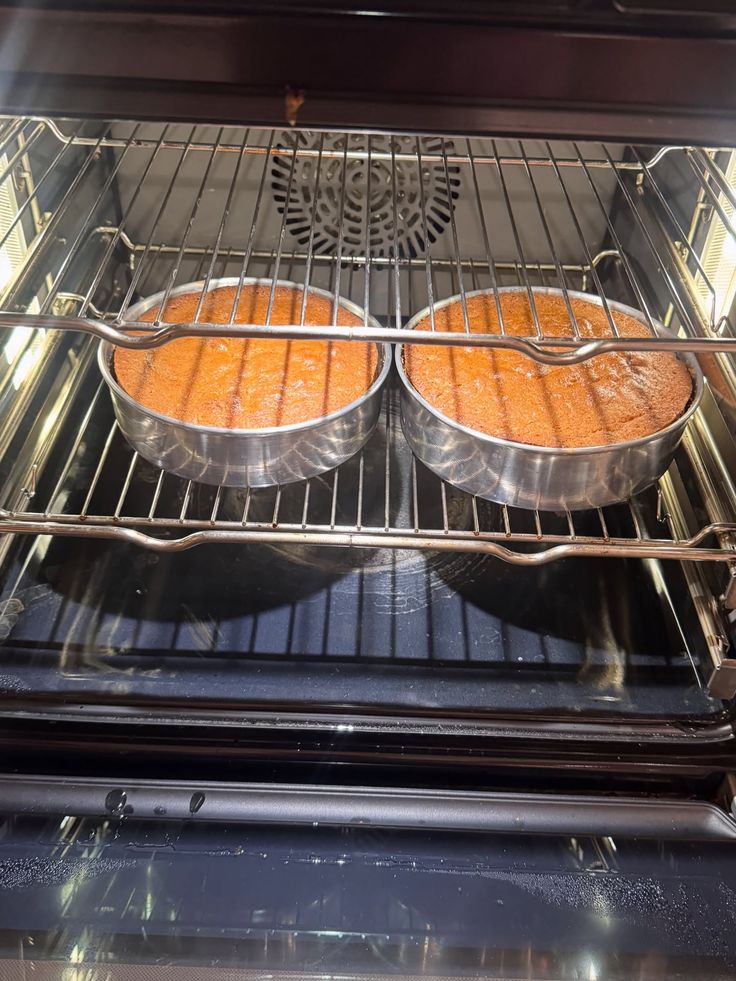
Many recipes specify where in the oven the pan should be placed middle rack, lower rack, or upper rack. These positions aren’t arbitrary. The middle rack gives the most even heat distribution, which is why most cakes and cookies bake there. The lower rack gives more bottom heat, which is useful for crispy-bottomed pies and pastries. The upper rack browns the top faster, which is sometimes used for finishing.
If your recipe mentions a rack position, follow it. If it doesn’t, the middle rack is the safe default for most bakes.
Check For The Timing — What It Means and When to Use It
Recipe Times Are Guides, Not Guarantees
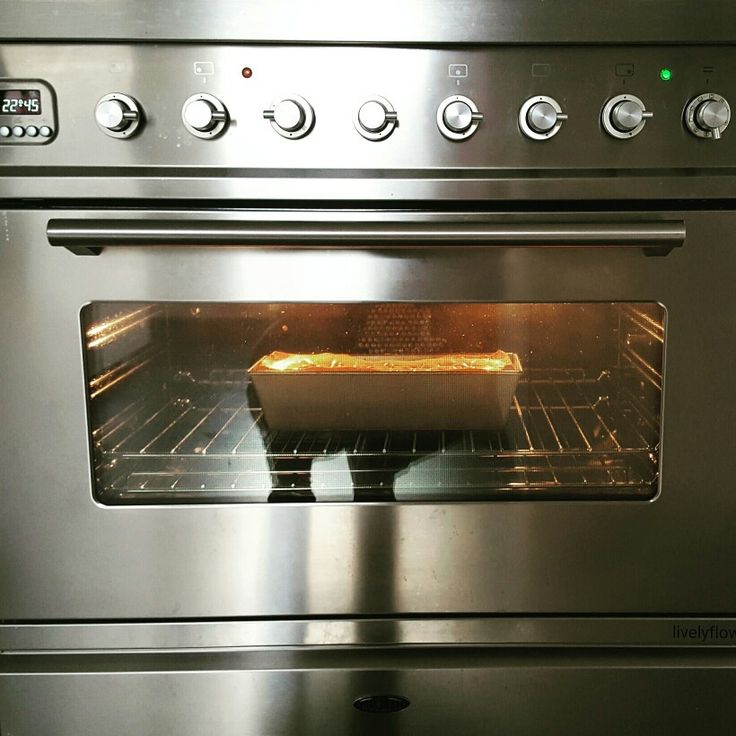
Baking times in recipes are estimates. They’re written for a specific oven in specific conditions. Your oven might run hotter or cooler than the recipe writer’s oven. Your pan might be a different material. Your kitchen might be warmer or cooler.
This is not a flaw in the recipe. It’s just the reality of home baking. Understanding this from the start helps you avoid two very common errors: pulling things out too early because the time is “up,” or leaving things in too long because they don’t look done yet.
Start checking a few minutes before the recipe’s suggested time. Use the visual and textural cues the recipe gives you. A toothpick test, a press test, or a color check will always tell you more than the clock. Knowing how to troubleshoot when timing doesn’t go as expected is part of developing real baking skill Why Your Cakes Keep Failing and How to Fix Them goes deep into oven-related problems that trip up home bakers.
Resting and Cooling Times Are Part of the Recipe Too
This is a point many beginners genuinely overlook. The recipe doesn’t end when the timer goes off. Resting, cooling, and sometimes chilling instructions are part of the process and skipping them changes the outcome.
A cake cut too soon will be gummy in the center because the structure hasn’t fully set. Cookies moved off the tray while still warm will break, because they’re still soft and fragile. Bread sliced straight out of the oven will have a dense, doughy texture because the steam inside hasn’t redistributed yet.
Read those final steps carefully. Respect the rest time. Your patience will show up directly in the finished result.
How to Handle Recipe Substitutions and Variations
Some recipes include substitution suggestions an alternative to buttermilk, a dairy-free option, or a way to swap one type of sugar for another. These substitutions are usually tested and reliable. When the recipe offers them, use them confidently.
But when a recipe doesn’t offer a substitution and you’re thinking of making one anyway, be careful. Baking is chemistry. Changing one ingredient changes the reactions happening inside your batter or dough. As a beginner, it’s worth following the recipe as written the first time, and only experimenting once you understand how the original is supposed to work.
If you’re new to thinking about ingredients this way understanding what each one actually does it connects closely to Types of Baking Flour and When to Use Them, because flour substitutions in particular are one of the most commonly mishandled swaps in home baking.
Notes and Headnotes Matter More Than You Think
Many recipes include a headnote a short paragraph before the recipe itself that explains the inspiration, important tips, or key things to know. These are easy to skip, especially when you’re excited to start. Don’t skip them.
Recipe notes, whether placed before, within, or after the recipe, often contain the most useful information for getting a good result. Tips like “don’t skip the chilling step” or “the batter will look curdled that’s normal” are the kind of reassurances and warnings that make the difference between panicking mid-bake and baking calmly with full confidence.
Building the Habit of Reading a Recipe Correctly Every Time
Make It a Non-Negotiable Part of Your Process
Reading a baking recipe correctly is not something you do once and forget. It becomes a habit a ritual, really. Every time you approach a new recipe, you read it twice, check your ingredients, prep your tools, and preheat the oven. Over time, this sequence becomes second nature.
Experienced bakers don’t skip this step. They’ve just internalized it so deeply that it happens automatically. As a beginner, you’re building that habit consciously. It might feel slow at first, but it pays off quickly.
Create a Simple Pre-Bake Checklist
One of the most practical things you can do as a beginner is write yourself a short checklist to run through before every bake. It doesn’t need to be elaborate. Just a few questions to ask yourself before you turn on the mixer. Have I read the full recipe? Do I have every ingredient? Are the temperature-sensitive ones already out? Is my pan prepared? Is the oven preheating?
A well-organized baking space also makes this habit easier to maintain. When your setup is intentional and your tools are accessible, Baking Station Organisation Ideas That Will Transform Your Kitchen gives you a starting point for creating a space that actually supports the way you bake.
Your Recipe Reading Will Only Get Better With Time
The more you bake, the faster this all becomes. The first few times you sit down with a new recipe, it takes effort to read carefully and catch every detail. But eventually, you start to recognize patterns. You know what to look for. You can see where a recipe might be tricky before you even start. That is a skill, and you build it one recipe at a time.
Every bake you do teaches you something. Every mistake you make and you will make them makes you a more attentive reader the next time. Stay curious, stay patient, and trust the process. Common Baking Mistakes and How to Fix Them Fast is a genuinely helpful read once you’ve had a few bakes under your belt, because it helps you connect what went wrong to exactly where in the recipe the issue started.
Final Thoughts
Before you preheat, before you measure, before you do anything read. Here’s a simple breakdown of what that looks like in practice:
Step 1 — Read the full recipe twice. Once for the big picture, once for the details.
Step 2 — Check the ingredient list carefully. Note temperatures, states, and any “divided” instructions.
Step 3 — Understand the method. Look for technique words, visual cues, and timing notes.
Step 4 — Check your equipment. Confirm you have the right pans, tools, and paper.
Step 5 — Prep your space and ingredients. Take out butter and eggs to come to room temperature. Grease your pans. Get your tools out.
Step 6 — Preheat your oven first. Don’t wait until the batter is ready.
Step 7 — Start baking with confidence. You’ve done the reading. Now trust it.
Reading a baking recipe correctly before you start is one of the simplest habits you can build and one of the most powerful ones. It won’t make baking perfect every time, but it will make you better every single time. And that’s exactly what this journey is about.