How to Create a Dedicated Baking Corner at Home
Disclosure: Some of the links in this post are affiliate links. This means if you click on the link and purchase an item, I will receive an affiliate commission at no extra cost to you.
A dedicated baking corner can make your kitchen feel more organized, inviting, and enjoyable to use. You do not need a huge kitchen or an expensive renovation to create one. A small section of your counter, an unused shelf, or even a compact rolling cart can become a practical baking zone.
The trick lies in giving your baking supplies a clear home. When your mixing bowls, measuring tools, ingredients, and decorating supplies stay within reach, starting a recipe becomes much easier. You also spend less time searching through crowded cabinets before every baking session.
Think about how you actually bake before choosing what belongs in your corner. Someone who makes cakes regularly may need more decorating space, while a bread lover may prioritize room for kneading and proofing. Your setup should support the recipes you enjoy instead of copying someone else’s kitchen.
Good organization can also make a small area feel surprisingly spacious. Start by choosing your most-used tools and keeping them close, then store occasional supplies elsewhere. If you need inspiration before arranging everything, these aesthetic baking setup ideas for beginners can help you create a corner that looks beautiful while remaining practical.
Most importantly, make the space feel like yours. Add a few useful touches that make you excited to bake, keep the area easy to clean, and leave enough room to actually work. A dedicated baking corner should simplify your routine, not create another space you constantly need to manage.
How to Create a Dedicated Baking Corner at Home
1. Choose the Right Spot
The best baking corner does not always require an entire counter. Look around your kitchen for a space that you rarely use.
An empty section of countertop can work beautifully. A narrow table, rolling cart, kitchen island, or sturdy shelf can also become a useful baking zone.
Think about where you naturally prepare ingredients. Your baking corner should sit close enough to your oven and sink to make your routine easier.
Avoid choosing a spot simply because it looks pretty. You need enough working room to measure ingredients, mix batter, roll dough, and place hot trays safely.
If your kitchen feels cramped, explore these small kitchen baking ideas for limited spaces before choosing your location.
2. Decide What You Actually Need
A dedicated baking corner can quickly become overcrowded if you try to store everything there. Start with the tools and ingredients you use most often.
Think about your favorite recipes. Someone who makes cakes may need piping bags and decorating tools, while someone who loves bread may need more room for dough preparation.
Write down your essential items before buying additional storage. This simple step can prevent you from filling the space with things you rarely touch.
Your goal should involve convenience rather than having the biggest collection of baking equipment.
For a practical starting point, look through these essential baking tools every home baker needs and separate genuine essentials from extras.
3. Create a Dedicated Work Surface
Your baking corner needs enough space for actual preparation. A pretty shelf cannot replace a comfortable work surface.
You should have room for a mixing bowl, ingredients, measuring tools, and the baking pan you plan to use.
If your existing counter offers limited space, consider adding a compact table or movable kitchen cart.
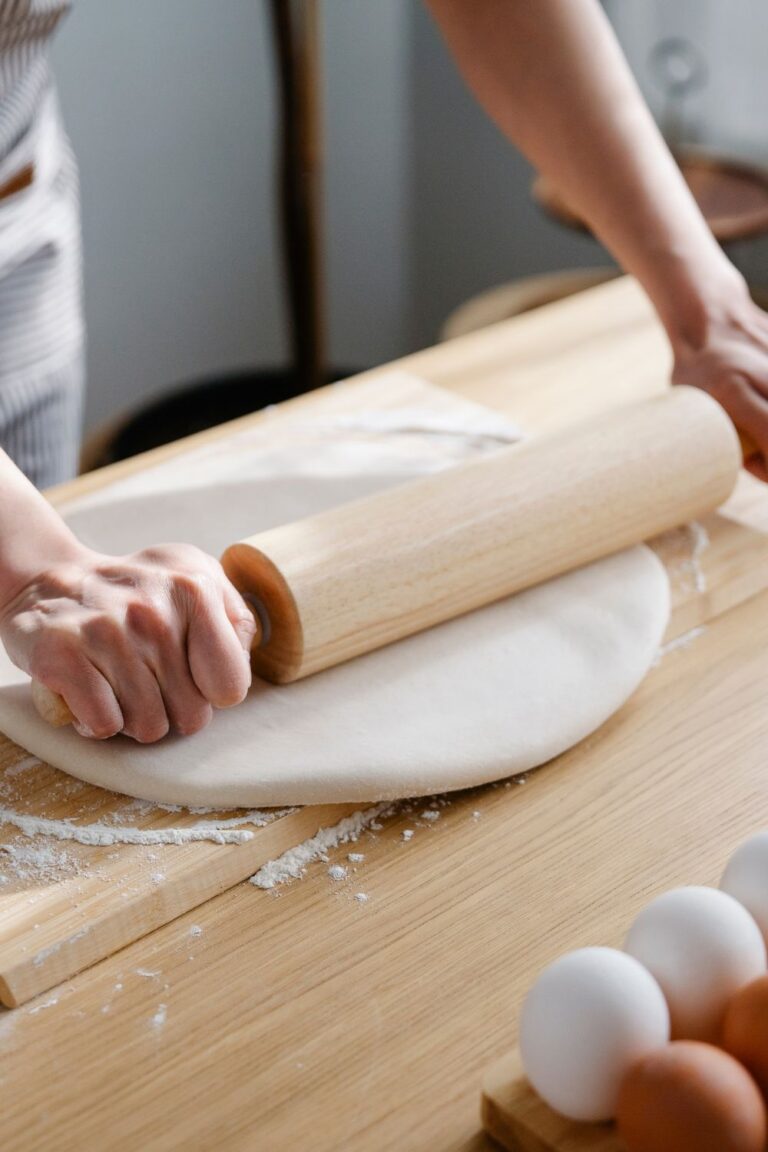
A wooden worktop can provide a sturdy surface for kneading dough. A smooth countertop works well for mixing and decorating.
Keep the surface as clear as possible when you are not baking. An uncluttered area makes every baking session easier to start.
4. Keep Your Most-Used Tools Within Reach
Think about the tools you grab during almost every recipe. Measuring cups, spatulas, whisks, mixing bowls, scrapers, and oven mitts probably belong close to your work area.
You can use a container for frequently used utensils. A wall rail can hold tools vertically when counter space feels limited.
Drawer organizers also work well for smaller equipment. Group similar items together so you can find them quickly.
Do not place everything within arm’s reach. Keep only your regular essentials nearby and store specialty equipment elsewhere.
5. Organize Ingredients by Frequency
Your baking corner should make ingredients easier to find. Group similar items together instead of placing everything wherever space remains.
Keep frequently used ingredients such as flour, sugar, baking powder, and vanilla in an accessible location.
Store ingredients that you use occasionally on higher shelves or in another cupboard.
Clear containers can help you see what remains without opening every package. Labels can make the system even easier to maintain.
You can also organize ingredients according to the recipes you make most often.
If your pantry needs a complete reset, these baking pantry essentials can help you decide what deserves a permanent place.
6. Use Vertical Storage
When floor and counter space feel limited, look upward. Vertical storage can give your baking corner much more capacity.
Install shelves above your work area if your kitchen allows it. Use them for mixing bowls, jars, baking books, or decorative supplies.
A pegboard can hold measuring tools, whisks, scissors, and other lightweight equipment.
You can also stack trays vertically instead of placing them in a large pile.
The goal involves using every available section without making the corner feel crowded.
7. Add a Baking Cart
A rolling cart can become one of the most useful additions to a dedicated baking corner. You can move it around when you need extra workspace.
Use one shelf for ingredients, another for tools, and the bottom section for larger equipment.
A cart also works well if you rent your home or cannot make permanent changes to the kitchen.
Choose a sturdy model with wheels that lock securely. You do not want your baking supplies rolling away while you prepare dough.
These baking cart organization ideas can help you decide how to divide each level.
8. Store Baking Pans Efficiently
Baking pans can take up surprisingly large amounts of space. Their awkward shapes make them difficult to stack neatly.
Store pans vertically whenever possible. A simple divider can prevent them from sliding into one another.
Keep your most-used cake tins, muffin pans, and baking sheets close to your workspace.
Specialty pans can move to a less accessible cabinet if you only use them occasionally.
Avoid stacking heavy pans above delicate equipment. A stable storage system keeps your supplies easier to access and protects them from unnecessary damage.
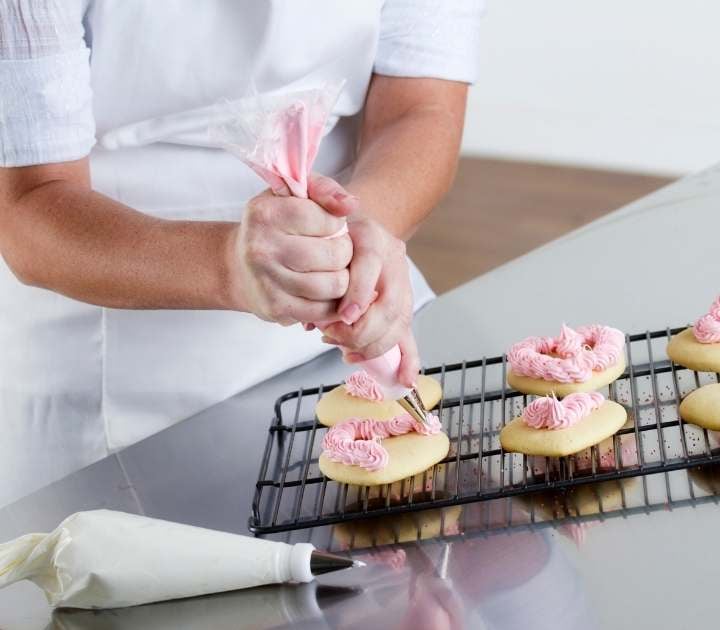
9. Create a Small Decorating Zone
If you love cakes and cupcakes, dedicate part of your baking corner to decoration.
Keep piping bags, tips, spatulas, turntables, food coloring, sprinkles, and decorating tools together.
Small drawers or divided containers can prevent tiny decorating supplies from disappearing.
A narrow shelf can also hold cake boards, boxes, and other packaging materials.
You do not need a huge decorating station. A small, well-organized section can make cake projects much more enjoyable.
For inspiration, explore these cute baking supplies you didn’t know you needed for practical and attractive additions.
10. Keep Measuring Tools Together
Accurate measurement plays a major role in baking. Losing one measuring spoon can become surprisingly frustrating when you are already halfway through a recipe.
Create one dedicated spot for measuring cups, spoons, and your kitchen scale.
A small container can keep measuring spoons together. You can hang them from hooks if drawer space feels limited.
Place your scale somewhere accessible instead of hiding it behind heavy appliances.
When measuring becomes convenient, you are more likely to use accurate methods consistently.
A baking measurements conversion chart can also stay nearby for recipes that use unfamiliar measurement systems.
11. Make Cleaning Easy
Your baking corner should not create more work than it saves. Choose surfaces that you can wipe down quickly after every session.
Keep a clean cloth or kitchen towel nearby. Wipe flour and spills before they harden.
Store cleaning supplies somewhere accessible but separate from ingredients.
You can also place a small bin near the work area for wrappers and disposable baking materials.
A clean workspace makes the next baking session feel much more inviting.
12. Add Good Lighting
Lighting matters when you measure ingredients, decorate cakes, and check dough consistency.
Natural light works beautifully during the day. Position your baking corner near a window if the space allows it.
For darker kitchens, add a bright overhead fixture or under-shelf lighting.
Avoid placing your main light directly behind you. Your body can cast shadows across the work surface.
Good lighting also makes it easier to photograph your finished creations.
13. Create a Recipe Station
Recipes can quickly become messy when flour-covered hands touch your phone or cookbook.
Give your recipes a dedicated spot within the baking corner. A cookbook stand can hold printed instructions at a comfortable angle.
You can also use a tablet stand if you prefer digital recipes.
Keep a small notebook nearby for recording adjustments. Write down changes to baking time, ingredients, temperatures, or decorating techniques.
Over time, those notes can become a useful personal baking reference.
14. Keep Your Oven Area Practical
Your baking corner should connect naturally with your oven. You do not want to carry heavy trays across the kitchen.
Store oven mitts and cooling racks within easy reach. Keep a clear surface nearby where you can place hot trays safely.
Never crowd the area immediately around an active oven.
Your setup should make movement easier rather than forcing you to work around unnecessary decorations.
Understanding baking temperatures for better results can also help you prepare your oven properly before you begin.
15. Choose Storage Containers Carefully
Storage containers can transform a messy baking corner into an organized one. Choose containers based on what you actually need to store.
Tall containers work well for flour and sugar. Smaller jars suit sprinkles, chocolate chips, nuts, and spices.
Use airtight containers for ingredients that benefit from protection against moisture and air.
Transparent containers make it easier to check your supply levels quickly.
If you need help choosing storage options, explore these best food storage containers for bakers before purchasing a set.
16. Label Your Ingredients
Labels make an organized baking corner much easier to maintain.
Write the ingredient name clearly and include important information such as the opening date when useful.
You can use simple handwritten labels instead of purchasing expensive custom designs.
Consistent labels also make your storage system look more intentional.
Check your labels regularly and replace them when containers change contents.
17. Separate Everyday and Specialty Supplies
Your everyday tools deserve the easiest access. Specialty equipment can stay farther away.
For example, keep your whisk, spatulas, measuring tools, and favorite mixing bowls nearby.
Store items such as specialty molds, unusual decorating tips, or rarely used cutters elsewhere.
This system prevents your baking corner from becoming a storage dump.
It also reduces the amount of equipment you need to move whenever you prepare a simple recipe.
18. Make Room for Cooling
Cooling racks need somewhere to sit after your bake leaves the oven. Plan for this before filling every available surface.
A folding cooling rack can save space when your kitchen feels small.
You can also store cooling racks vertically against a cabinet or inside a narrow divider.
Never place hot pans directly on delicate countertops without checking whether the surface can handle the heat.
19. Create a Flour and Sugar Station
If you bake frequently, flour and sugar deserve special attention.
Keep them in sturdy, airtight containers that allow easy scooping. Choose containers that fit comfortably beneath your shelves.
Label each one clearly so you never confuse similar ingredients.
Store them away from heat, moisture, and strong odors.
You can also keep your scoop inside each container if you have enough space.
Understanding what different baking flours do can help you decide which varieties deserve space in your baking corner.
20. Keep Frequently Used Spices Nearby
Cinnamon, nutmeg, ginger, cocoa powder, and vanilla often appear in many baking recipes.
Store your regular favorites together in a small spice organizer.
Arrange them alphabetically or according to frequency of use.
Avoid keeping too many spices in the baking corner if you rarely use them.
A smaller collection keeps the area easier to maintain and gives you more room for essentials.
21. Make the Corner Visually Appealing
Function comes first, but appearance still matters. A space that looks inviting can make you more excited to use it.
Choose a simple color palette that works with your existing kitchen.
Use matching containers if you enjoy a coordinated look. Add a small framed print, wooden board, or decorative jar if you have room.
Do not cover every shelf with decorations. Leave enough open space to keep the area practical.
These dream baking kitchen inspiration ideas can give you ideas for creating a polished look without copying an entire kitchen.
22. Make Use of Cabinet Doors
The inside of cabinet doors offers hidden storage opportunities.
You can attach suitable organizers for measuring spoons, recipe cards, or lightweight decorating tools.
This approach keeps small items out of sight while maintaining easy access.
Check the door clearance before installing anything. Your new organizer should not interfere with shelves or closing mechanisms.
23. Use Drawer Dividers
Drawers can become chaotic when baking tools mix together.
Use dividers to separate measuring spoons, piping tips, spatulas, scrapers, and small accessories.
Assign each section a specific purpose. This makes putting things away much easier after baking.
Avoid filling every compartment simply because space exists.
A little empty space gives you room to add useful tools later without reorganizing everything.
24. Keep a Baking Inventory
A simple inventory can prevent duplicate purchases. Write down your major ingredients and equipment so you know what you already own.
Check the list before shopping for baking supplies.
You can also note expiration dates for ingredients that you do not use frequently.
This habit saves money and keeps your baking corner under control.
For ingredients that sit around for longer periods, check this guide to the shelf life of common baking ingredients.
25. Create a Grab-and-Bake Zone
Your baking corner should make spontaneous baking easier.
Keep a small group of essentials together so you can start a simple recipe without opening every cabinet.
Your grab-and-bake zone might include flour, sugar, measuring tools, mixing bowls, spatulas, and your favorite baking pans.
This setup works particularly well for people who bake several times each week.
The fewer obstacles you face at the beginning, the more likely you are to bake when inspiration strikes.
26. Organize According to Your Baking Style
There is no universal baking corner that works for everyone.
A cookie baker needs different storage from someone who focuses on bread. A cake decorator may need more specialized equipment than someone who mainly makes muffins.
Think about your most common recipes and arrange your supplies around those habits.
If you rarely make bread, you do not need your bread equipment occupying the easiest-to-reach shelf.
Your baking corner should reflect your actual routine.
27. Make Small Spaces Work Harder
A tiny kitchen does not prevent you from creating a useful baking area.
Use stackable containers, wall storage, rolling carts, and narrow shelves to maximize available space.
Choose tools that perform several functions when possible.
Foldable equipment can also help when you need to reclaim your counter after baking.
You can find more practical inspiration in these baking station organization ideas.
28. Keep Ingredients Easy to Restock
Your storage system should make it obvious when something runs low.
Transparent containers help you notice low supplies quickly. A simple shopping list can also stay near your baking corner.
Add ingredients to the list as soon as you notice they are nearly finished.
This prevents the frustrating moment when you begin a recipe and discover that you have only a few spoonfuls of sugar left.
A beginner-friendly baking ingredients shopping list can also help you build a reliable restocking routine.
29. Leave Space for Creativity
Do not fill every inch of your baking corner with storage.
Leave some open workspace for decorating, shaping dough, photographing finished desserts, or trying a new recipe.
An empty section can become surprisingly valuable during larger baking projects.
You can move decorative items temporarily when you need more room.
A flexible corner will serve you better than a perfectly packed one.
30. Maintain the Space Regularly
Creating your baking corner represents only the beginning. Regular maintenance keeps it useful.
Spend a few minutes after each baking session returning tools to their places.
Check ingredient containers occasionally and wipe shelves when dust or flour accumulates.
Remove equipment that you no longer use. Donate or relocate items that constantly get in your way.
You can also reorganize the corner whenever your baking habits change.
A well-maintained baking space should make you want to bake rather than remind you of another chore.
Final Thoughts
A dedicated baking corner can completely change the way you experience baking at home. You do not need a massive kitchen, expensive furniture, or a perfectly styled setup.
Start with the space you already have. Choose the tools you genuinely use, organize ingredients thoughtfully, and create enough room for comfortable preparation.
Your first version does not need to feel perfect. You can adjust the layout as you discover what works and what constantly gets in your way.
The most useful baking corner will always reflect the baker using it. Make it practical enough for busy days and inviting enough for slow weekend projects.
Once everything has a place, baking can feel less like setting up a complicated project and more like stepping into a space designed for something you love.