How to Photograph Your Baked Goods Like a Pro
Disclosure: Some of the links in this post are affiliate links. This means if you click on the link and purchase an item, I will receive an affiliate commission at no extra cost to you.
Beautiful baking deserves photographs that capture more than the finished shape. A golden pie should look crisp, a layered pastry should reveal its delicate texture, and a frosted cake should show every detail without appearing overly edited. You do not need an expensive camera or professional studio to create appealing food photography. A phone, natural light, thoughtful styling, and a clean background can produce impressive results when you understand how to use them.
Photography becomes even more interesting when you work with different baked textures. Cakes, cookies, breads, pies, pastries each require slightly different angles and styling choices. A flaky croissant needs a different approach from a glossy tart or decorated cupcake.
The key is to photograph what makes your bake special. Texture, height, color, layers, fillings, toppings, and crumbs can all tell part of the story. With simple techniques, you can create photographs suitable for Pinterest, Instagram, your baking blog, recipe cards, or a home bakery business.
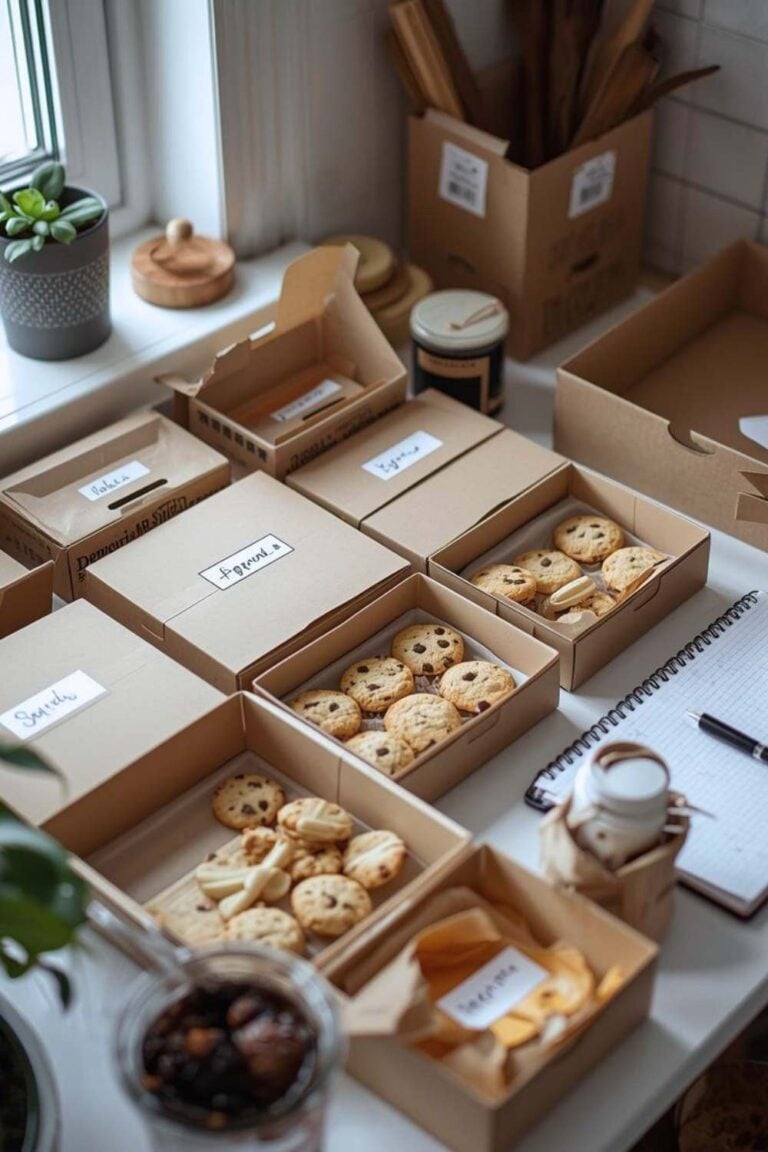
Before photographing your creations, it also helps to understand your kitchen setup. These Baking Flat Lay Ideas For Instagram & Pinterest can help you create attractive overhead compositions.
How to Photograph Baked Goods, , Instagram Baking Photos, Different Types of Pastries, Home Bakery Photography
How to Photograph Your Baked Goods Like a Pro
1. Start With a Clean Finished Bake
Photography begins before you pick up your phone.
Inspect the baked item carefully.
Remove loose pieces that distract from the main subject.
Clean frosting smudges from the plate.
Brush away excess flour from the surface.
Straighten decorations that shifted during baking.
You do not need to make everything perfectly uniform.
Small crumbs can add realism.
However, accidental fingerprints, frosting streaks, and messy edges can pull attention away from the food.
If you photograph products for a baking business, presentation becomes especially important.
Your images should communicate consistency and care.
A polished photograph can support the professional appearance of your brand.
For more preparation ideas, explore Baking Tips That Instantly Improve Your Results.
2. Use Natural Window Light

Natural window light remains one of the easiest options for home food photography.
Place your baked goods near a large window.
Avoid direct sunlight when possible.
Strong sunlight can create harsh shadows and blown-out highlights.
Soft daylight creates gentler shadows and more natural colors.
A north-facing window can provide consistent light in some locations.
However, any suitable window can work.
Move the food closer or farther from the window until the lighting looks balanced.
Turn the plate slightly to see how the light changes the texture.
This simple adjustment can make a significant difference.
Open this: Essential Baking Tools Every Home Baker Needs (with budget options)
3. Avoid Using the Ceiling Light
Kitchen ceiling lights often create unflattering food photographs.
They can produce strong shadows directly behind or beneath your baked goods.
They may also create yellow or mixed lighting.
Natural window light usually gives you greater control.
Turn off nearby artificial lights when photographing during daylight.
Use one primary light source whenever possible.
Consistency makes the photograph easier to edit later.
If natural light is unavailable, use a soft artificial light positioned from the side.
Avoid placing a bright lamp directly above the food.
Don’t lose this guide: Common Baking Mistakes and How to Fix Them Fast
4. Photograph During the Best Part of the Day
Light changes throughout the day.
Morning and late afternoon can provide softer illumination.
Midday sunlight may be stronger and more difficult to control.
You do not need to photograph at a specific hour.
Watch how light enters your kitchen.
Choose the time when the window produces soft, even illumination.
Once you discover your best lighting period, use it consistently.
This can make your Pinterest and blog images look more cohesive.
Come back to this: Cute Baking Supplies You Didn’t Know You Needed
5. Choose the Right Background
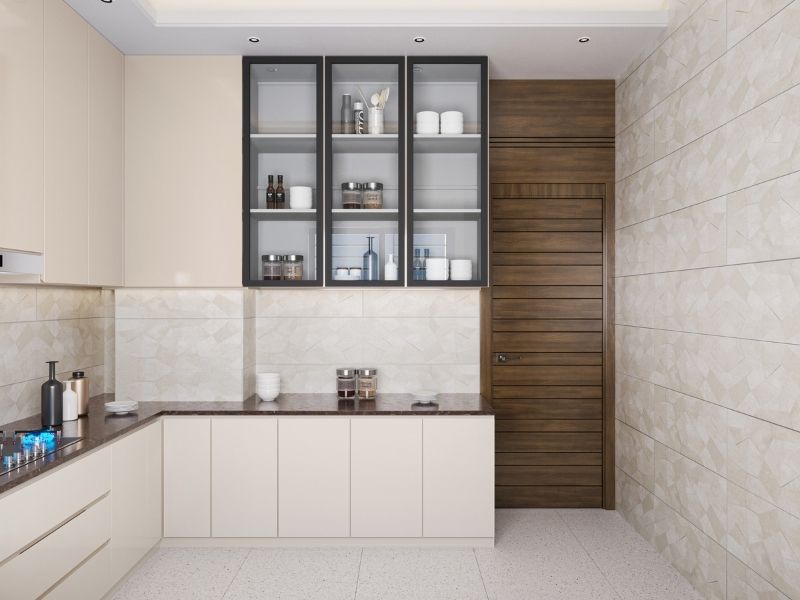
Your background should support the baked item.
It should not compete with it.
White, cream, beige, pale wood, stone, and neutral fabric can work beautifully.
Dark backgrounds can also create dramatic photographs for chocolate desserts.
Avoid backgrounds with distracting patterns unless they fit the visual concept.
The background should help establish the mood.
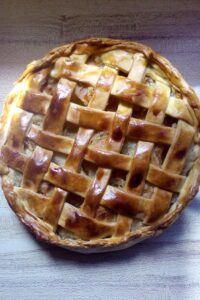
A rustic pie might work well on a wooden surface.
A delicate pastry might suit marble or a light linen cloth.
A colorful birthday cake may benefit from a simple neutral background.
You might like this: How to Bake Without an Oven (Realistic Methods That Work)
6. Use Different Angles for Different Bakes
One camera angle does not suit every dessert.
The right angle depends on the shape and defining features of your bake.
Tall cakes often look impressive from a slightly lower angle.
Flat cookies can look beautiful from above.
Layered pastries benefit from a side view.
Pies can work from a three-quarter angle.
Experiment before choosing your final photograph.
Take several versions.
Compare them on your phone.
The strongest image is often different from the first photograph you take.
Come back to this: Baking Business Ideas You Can Start With Little Money
7. Try the 45-Degree Angle
A 45-degree angle is one of the most versatile food photography positions.
Hold your phone slightly above the food.
Tilt it toward the plate.
This angle captures both the top and side.
It works particularly well for cakes, cupcakes, pies, cinnamon rolls, and layered desserts.
You can show frosting on top while still revealing height.
This angle also creates a natural dining-table perspective.
It feels inviting without looking overly staged.
Save this guide: How to Store Baked Goods to Keep Them Fresh Longer
8. Use Overhead Photography

Overhead photography works beautifully for flat compositions.
Arrange cookies, pastries, utensils, ingredients, and plates across the surface.
Keep the arrangement intentional.
Do not fill every empty space.
Negative space helps the main subject stand out.
Overhead photographs are particularly useful for Pinterest because they can communicate the entire baking scene quickly.
They also work well for recipe process images.
For additional composition inspiration, see Baking Flat Lay Ideas For Instagram & Pinterest.
9. Photograph the Side of Layered Desserts
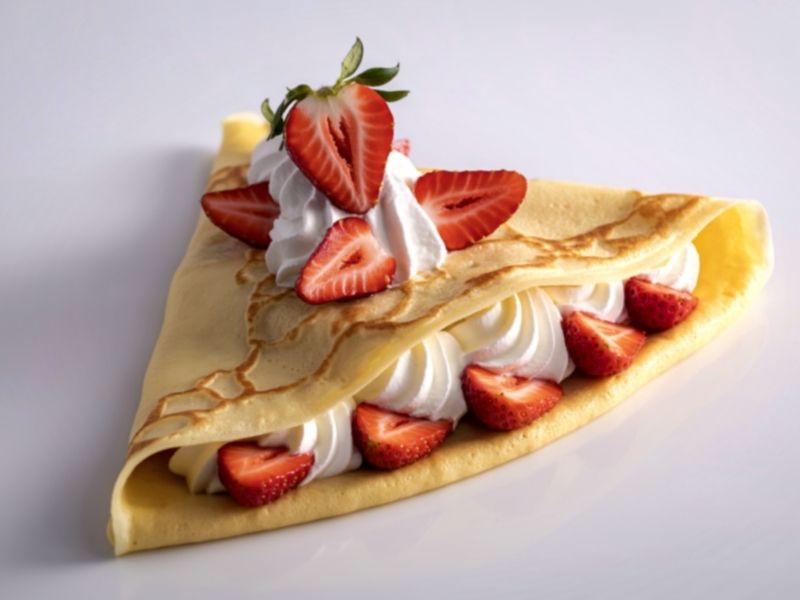
Side photographs reveal details that overhead photographs hide.
Cut cakes to expose their layers.
Slice pies to show the filling.
Break croissants to reveal the interior.
Cut brownies into squares and photograph the soft center.
This technique creates visual interest because viewers can see the texture inside.
The cut should look clean.
Use a sharp knife.
Wipe the blade between cuts.
For cream-filled desserts, chill the bake before slicing when appropriate.
A clean cross-section can become one of the strongest photographs in your collection.
10. Show Texture Close Up
Texture makes food photography feel more realistic.
Move your camera closer to the subject.
Focus on flaky layers, crisp edges, glossy chocolate, powdered sugar, fruit filling, or creamy frosting.
Do not zoom digitally too much.
Move the phone physically closer instead.
Tap the screen where you want focus.
Keep the most important detail sharp.
A close-up photograph can work as a secondary image within a blog post.
It can also become a Pinterest graphic when combined with suitable text outside the photograph.
11. Photograph Different Types of Pastries Differently
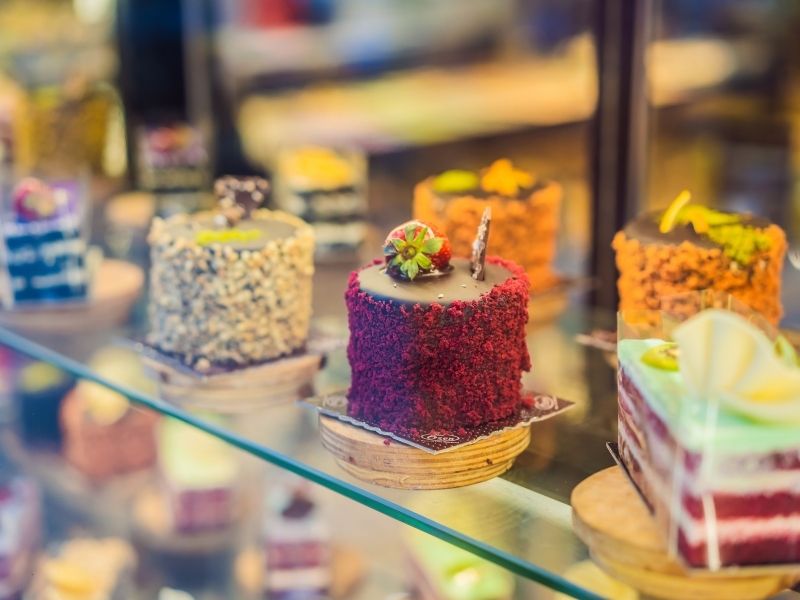
Different Types of Pastries offer many opportunities for creative photography.
Puff pastry looks best when its layers are visible.
Croissants benefit from side angles and broken-open interiors.
Danish pastries look attractive from three-quarter angles.
Tarts benefit from overhead arrangements that reveal their toppings.
Shortcrust pies can be photographed whole before showing a cut slice.
Phyllo pastries often need close-up images because their delicate layers create the visual appeal.
The photography should emphasize what makes the pastry distinctive.
Do not force every bake into the same composition.
Let the food determine the photograph.
12. Keep Props Relevant
Props can add context.
A rolling pin can suggest preparation.
A whisk can communicate baking.
A cooling rack can create a realistic kitchen scene.
A linen napkin can soften a composition.
A small bowl of berries can support a fruit dessert.
Choose props that relate to the recipe.
Avoid adding objects simply because the surface looks empty.
Every prop should have a visual purpose.
A crowded scene can make the food difficult to notice.
For ideas on creating a visually pleasing baking environment, see Aesthetic Baking Setup Ideas For Beginners.
13. Use the Rule of Thirds
The rule of thirds helps create balanced compositions.
Imagine your camera screen divided into nine equal sections.
Place the main subject near one of the intersecting points.
This prevents every photograph from looking centered.
Centered compositions can work well, especially for symmetrical cakes.
However, placing the subject slightly off-center can create more visual movement.
Leave some space in the direction the food or composition appears to lead.
This makes the photograph feel less cramped.
14. Use Negative Space
Negative space means leaving intentional empty areas around the subject.
It can make a photograph feel cleaner.
It also provides room for Pinterest text overlays.
For example, place a cake on one side of the frame.
Leave the opposite side relatively empty.
That space can later hold a headline.
Do not confuse negative space with an unfinished composition.
The empty area should feel intentional.
15. Keep Your Camera Lens Clean
A dirty phone lens can make photographs look hazy.
Fingerprints reduce clarity.
Grease can create strange highlights around bright areas.
Before photographing, wipe the lens gently with a clean microfiber cloth.
This takes seconds.
It can noticeably improve image sharpness.
Make cleaning your lens part of your photography routine.
16. Tap to Focus
Phone cameras often choose their own focus point.
That can be problematic when photographing detailed desserts.
Tap the most important area on your screen.
For a cake, focus on the frosting or front edge.
For a pastry, focus on the flaky layers.
For a cookie, focus on the texture near the center.
Make sure your main subject is sharp before taking several photographs.
See this: How to Start a Baking Business From Scratch (Step by Step Guide)
17. Adjust Exposure Carefully
Phone cameras may make bright food look too dark or dark backgrounds look too bright.
Tap the subject.
Then adjust exposure slightly.
Avoid making the photograph extremely bright.
Overexposure can remove detail from white frosting and pale pastry.
Underexposure can make colorful desserts look dull.
Aim for an image that preserves texture.
Take several versions if necessary.
Small exposure changes can dramatically alter the final appearance.
18. Style the Plate Before Photographing
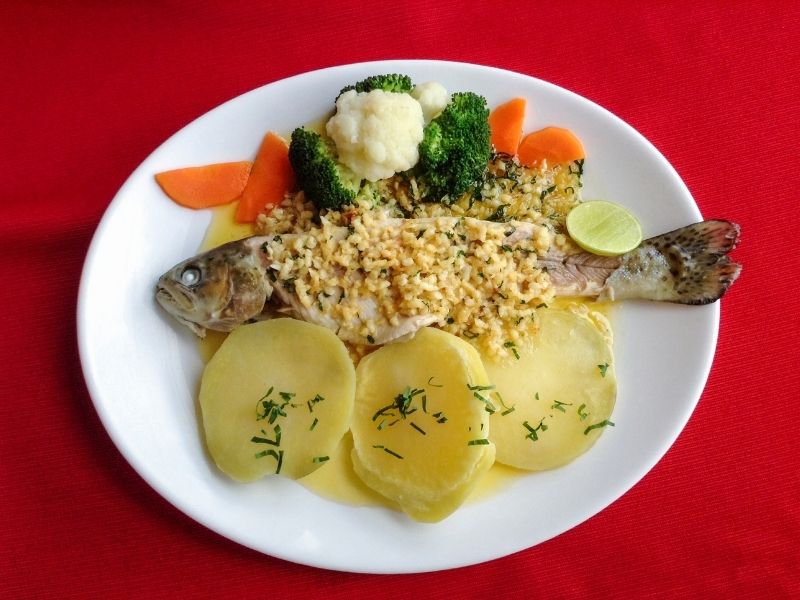
Plate presentation matters.
Use a plate that complements the dessert.
Leave enough space around the food.
Avoid plates with patterns that compete with decorations.
For cookies, consider arranging several pieces rather than photographing one alone.
For cake, a single slice can look more inviting when accompanied by a few crumbs.
For pastries, slight variation in placement can make the arrangement feel natural.
Do not make everything perfectly symmetrical unless symmetry is part of your concept.
Check this out: How to Read a Baking Recipe Correctly Before You Start
19. Use Fresh Garnishes Carefully
Fresh ingredients can make photographs more vibrant.
Add berries to fruit desserts.
Use mint with suitable desserts.
Dust pastries with powdered sugar when appropriate.
Add chocolate curls to chocolate cakes.
Place nuts beside desserts that contain them.
Garnishes should match the recipe.
Do not add unrelated ingredients merely for color.
The photograph should accurately represent the baked item.
Bookmark this: Small Kitchen Baking Ideas for Limited Spaces
20. Create Movement in Your Composition
Static arrangements can sometimes feel lifeless.
Create gentle movement through diagonal placement.
Arrange utensils at angles.
Place pastries along a curved line.
Scatter a few intentional crumbs.
Use a napkin with a natural fold.
These details can guide the viewer’s eye around the photograph.
Movement does not mean clutter.
Keep the main baked item dominant.
21. Photograph Before Cutting
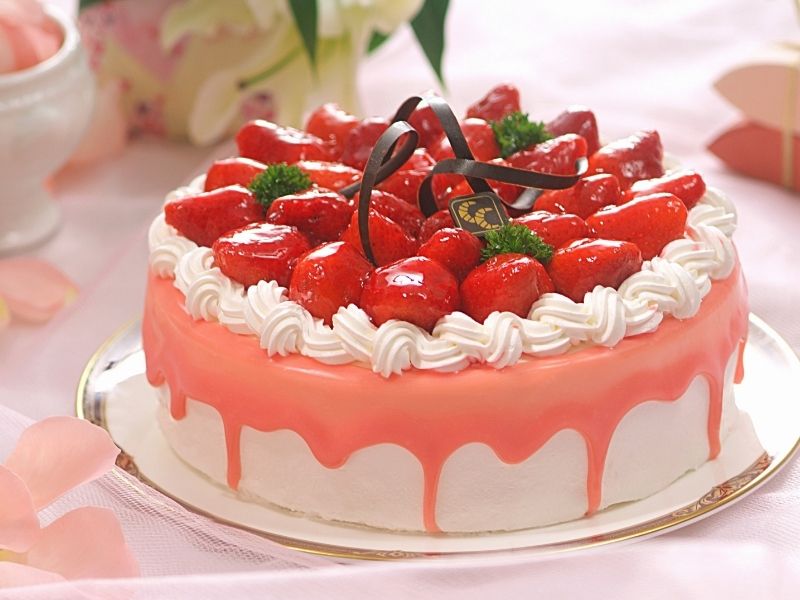
Take photographs of the whole bake before slicing.
This gives you a clean hero image.
Whole cakes show their decorations.
Whole pies display their crust design.
A complete loaf communicates shape and browning.
Cookies can be arranged in a neat group.
Take these photographs while the dessert still looks fresh.
Then move to detail photographs.
22. Photograph After Cutting
The second stage should reveal the interior.
Cut one piece carefully.
Place it beside the whole dessert.
Show the filling or crumb.
For a cake, reveal the layers.
For a pie, show the fruit or custard.
For bread, expose the crumb.
For pastries, reveal laminated layers.
These photographs often create stronger emotional appeal because they show what viewers can expect when they eat the dessert.
23. Use a Clean Styling Surface
Your surface becomes part of the photograph.
Wipe it before shooting.
Remove flour spills that look accidental.
Keep unrelated kitchen equipment outside the frame.
A clean surface immediately makes the image look more intentional.
You can still create a rustic style.
The difference is between controlled imperfection and accidental mess.
A few crumbs can add realism.
A pile of unrelated utensils usually adds distraction.
24. Photograph Small Bakes With Tighter Framing
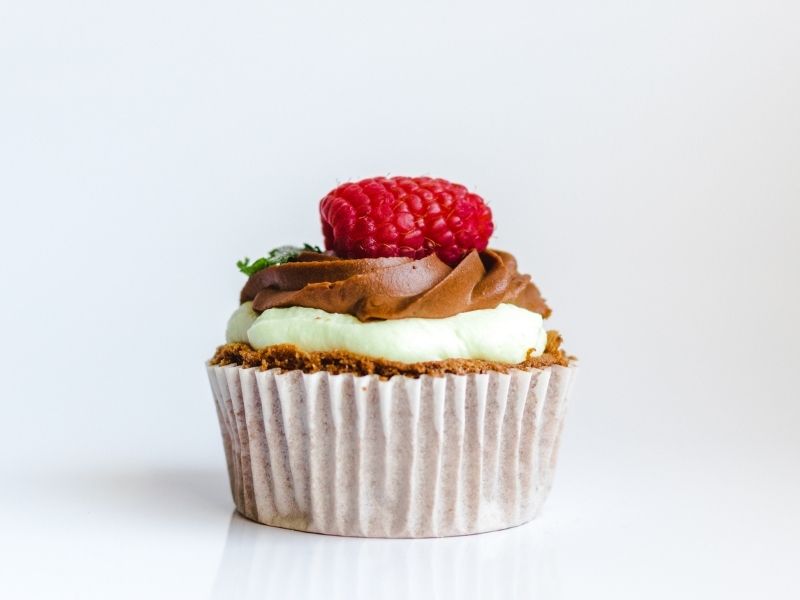
Small cookies and mini pastries can disappear inside a large frame.
Move closer.
Fill more of the frame with the baked item.
Group several pieces together.
Use different sizes and orientations.
For example, place one cookie in front and several behind it.
This creates depth.
The same approach works for macarons, truffles, mini cupcakes, and small tartlets.
25. Photograph Large Cakes From a Lower Position
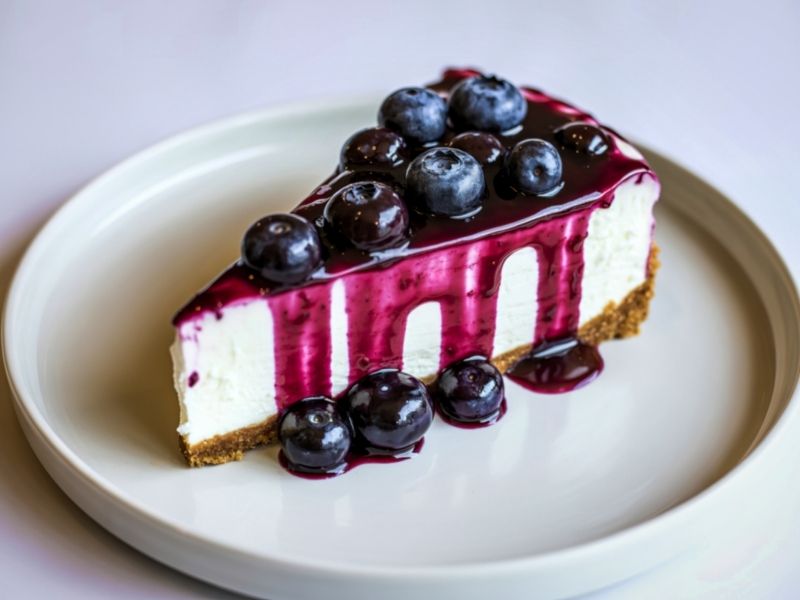
Large cakes often benefit from a slightly lower camera angle.
This emphasizes height.
It can make a decorated cake feel more impressive.
Keep the camera around cake level.
Avoid pointing sharply upward.
You want the viewer to see the cake rather than the ceiling.
A three-quarter angle often works particularly well.
If the cake has multiple layers, keep the entire structure visible.
26. Use a Tripod When Possible
A small phone tripod can improve consistency.
It keeps the camera steady.
It also makes repeated shots easier.
Tripods are particularly useful for overhead photography.
They can also help when photographing baking processes.
If you plan to create regular content, a tripod becomes a practical investment.
However, you can create excellent photographs without one.
Stable hand positioning still works for many compositions.
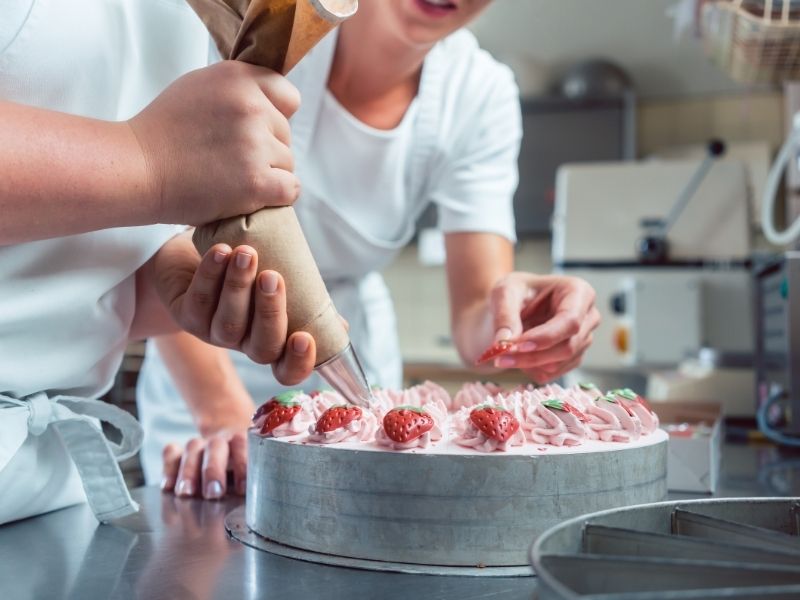
27. Photograph Baking Processes
Do not photograph only the finished dessert.
Capture meaningful stages.
Show dough being rolled.
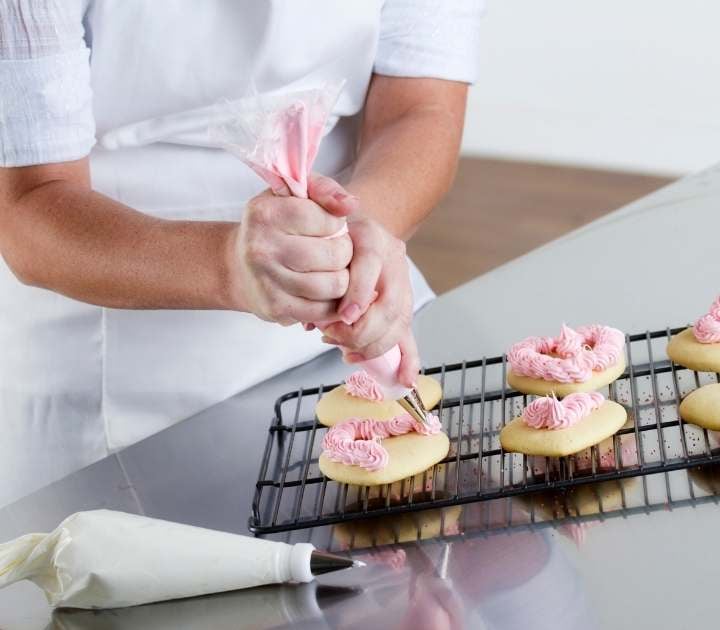
Show cookies being decorated.
Show pastry being shaped.
Show frosting being piped.
Show a pie before baking.
These images tell a story.
Process photographs can make blog posts more engaging.
They also provide additional content for Pinterest and social media.
For broader content planning, Baking Content Ideas for Instagram, Pinterest, and TikTok can help you turn one baking session into several pieces of content.
28. Avoid Excessive Editing
Editing should improve the photograph without making the food look artificial.
Adjust brightness when necessary.
Correct the white balance.
Increase contrast slightly.
Improve sharpness carefully.
Avoid extreme saturation.
Overedited food can lose its natural appearance.
The goal is to show the bake as accurately as possible.
Save your original photographs before editing.
This allows you to create new versions later.
29. Keep Colors Consistent
Color consistency matters when building a baking blog.
If one image looks warm and another looks blue, your content may feel disconnected.
Use similar lighting conditions.
Keep your editing approach consistent.
Choose a recognizable visual style.
Your photographs do not need identical backgrounds.
They should simply feel like they belong to the same brand.
This becomes especially important when photographs appear together on Pinterest.
30. Create a Signature Photography Style
A recognizable style can help people identify your content.
Maybe you prefer neutral backgrounds.
Perhaps you use wooden surfaces and linen napkins.
You may prefer bright white photography.
Another option is moody, dramatic lighting.
Choose a style that fits your baking niche.
Consistency can make your website feel more professional.
It can also strengthen your visual identity.
31. Photograph for Pinterest
Pinterest favors strong vertical imagery.
Compose photographs with enough vertical space.
A tall image can show the entire dessert while leaving room for text.
Avoid placing important details near the edges.
Leave breathing room for cropping.
Your photograph should remain attractive even when viewed as a small thumbnail.
Clear subjects and strong contrast help the image stand out.
For more inspiration, explore Baking Flat Lay Ideas For Instagram & Pinterest.
32. Photograph for Blog Posts
Blog photography should answer visual questions.
Show what the finished dessert looks like.
Show important textures.
Show preparation stages when they clarify the recipe.
Show serving suggestions.
Avoid adding photographs that provide no useful information.
A strong recipe post may use several images strategically.
Your hero image introduces the recipe.
Process images explain techniques.
Detail images highlight texture.
Final serving photographs create appetite appeal.
33. Photograph Food for a Baking Business
Commercial baking photographs need consistency.
Use the same background style.
Maintain similar lighting.
Photograph products from repeatable angles.
Keep decorations clean.
Show product size accurately.
Avoid excessive props that distract from what customers are buying.
If you sell cakes or pastries, strong photographs can influence purchasing decisions.
Your photographs should communicate quality before customers read the product description.
If you are preparing to sell from home, What You Need to Start Selling Cakes From Home covers other practical considerations.
34. Use the Same Bake in Multiple Photos
One baking session can produce several photographs.
Photograph the whole dessert.
Photograph a slice.
Capture a close-up.
Take an overhead image.
Create a serving scene.
Photograph the preparation process.
This gives you multiple assets without baking several versions.
You can use different photographs across your blog, Pinterest, and social platforms.
35. Show Scale
Viewers sometimes struggle to understand the size of a baked item.
Add a familiar object when appropriate.
A coffee cup can provide scale for cookies.
A fork can show the size of a dessert slice.
A cake stand can help communicate cake dimensions.
Use these objects naturally.
Avoid making the photograph look like a product measurement chart.
36. Photograph Glossy and Matte Textures Differently
Glossy toppings reflect light.
Chocolate glaze, caramel, icing, and fruit syrup can create strong highlights.
Move the light slightly to control reflections.
Matte textures such as powdered sugar and cocoa behave differently.
Side lighting can emphasize their texture.
Learning how light interacts with surfaces can improve your photographs considerably.
37. Use Steam Carefully
Freshly baked food can sometimes look appealing with visible warmth.
Bread, cinnamon rolls, and pies can benefit from photographs taken shortly after baking.
However, excessive steam can fog your camera lens.
Keep the phone at a safe distance.
Allow very hot food to cool slightly before bringing your camera close.
Safety should always come before the photograph.
38. Capture the Moment of Serving
Serving photographs can create stronger storytelling.
Show a slice being lifted.
Capture frosting being cut.
Photograph syrup flowing over pancakes.
Show a pastry being broken open.
These moments communicate texture and enjoyment.
They can make a static recipe photograph feel more alive.
Use a tripod or ask someone to help if your hands need to be visible.
39. Build a Simple Home Food Photography Station
You do not need a dedicated studio.
Choose one area near a reliable window.
Keep a few backgrounds nearby.
Store neutral plates in one location.
Keep your tripod or phone stand accessible.
Have a microfiber cloth available.
Store a few useful props together.
A simple setup reduces preparation time.
Your baking station can become your photography station when the space is organized efficiently.
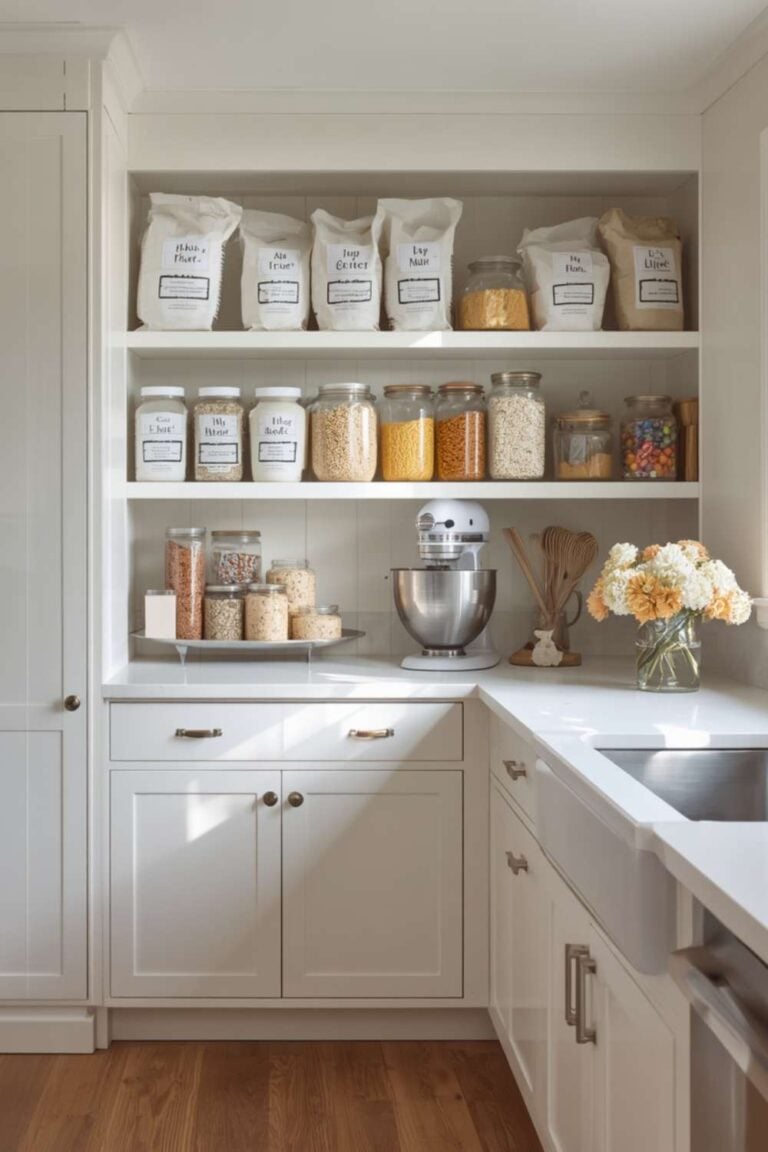
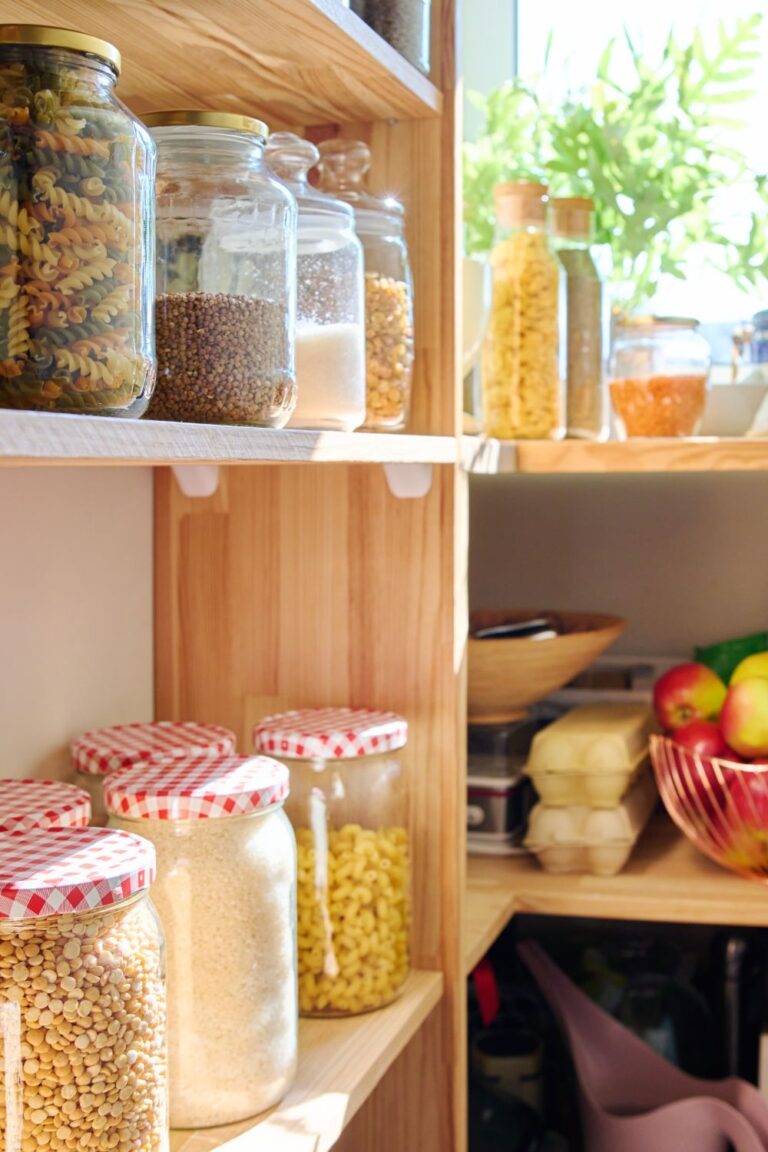
For additional kitchen organization ideas, see Baking Station Organisation Ideas That Will Transform Your Kitchen.
40. Photograph Before the Food Loses Its Freshness
Timing affects appearance.
Frosting can soften.
Whipped cream can collapse.
Fruit can release moisture.
Pastry can lose crispness.
Cookies can become less glossy.
Photograph important details soon after the bake reaches its best appearance.
Prepare your camera setup before the dessert is ready.
This prevents rushed styling.
41. Make Your Photographs Tell a Story
Strong food photography often communicates a sequence.
Start with ingredients.
Move to preparation.
Show the bake before the oven.
Reveal the finished result.
Show a close-up.
End with a serving photograph.
This approach works especially well for blog content.
It gives readers visual context without overwhelming them.
42. Photograph Ingredients With the Finished Bake
Ingredient photographs can connect the recipe to the finished product.
Arrange flour, butter, sugar, eggs, spices, or fruit beside the baked item.
Keep the arrangement simple.
Avoid displaying every ingredient if it creates clutter.
Select ingredients that visually reinforce the recipe.
For pastry photography, flour, butter, fruit, and rolling tools can create a natural scene.
43. Use Props That Match the Baking Style
Rustic bread works with wooden boards.
Elegant pastries may suit ceramic plates.
Holiday cookies can use seasonal details.
French-style pastries may work with delicate tableware.
The props should support the food.
Do not let the styling become more noticeable than the dessert.
Your baked item remains the main subject.
44. Experiment With Cropping
Do not assume the entire plate needs to appear.
A close crop can create a more editorial appearance.
Crop around the most attractive section.
For a layered cake, focus on the slice.
For a croissant, highlight the layers.
For cookies, crop into a group.
Experiment with both wide and tight compositions.
Different crops can serve different platforms.
Final Thoughts
Learning how to photograph your baked goods like a pro does not require a complicated studio.
A phone, good daylight, clean styling, thoughtful composition, and consistent practice can produce excellent results.
The most important step is learning to photograph the qualities that make each bake special.
Show the height of a cake.
Reveal the filling inside a pie.
Capture the crisp edge of a cookie.
Highlight the layers of laminated pastry.
Photograph the crumb of freshly baked bread.
Different Types of Pastries provide different textures, shapes, and details to explore.
Use those characteristics as the foundation of your composition.
Do not force every dessert into the same setup.
Let the food guide your angle, lighting, background, and styling choices.
Most importantly, photograph with intention.
A clean image with beautiful natural light can be more effective than an expensive setup filled with unnecessary equipment.
With consistent practice, you will begin noticing better angles automatically.
Your baking photographs will become clearer, more attractive, and more recognizable.
That skill can strengthen your blog, Pinterest presence, social media content, and baking business while making every recipe you create look as good as it tastes.