Baking Cart Organization Ideas You’ll Want to Copy
Disclosure: Some of the links in this post are affiliate links. This means if you click on the link and purchase an item, I will receive an affiliate commission at no extra cost to you.
A baking cart can turn a crowded kitchen into a more practical and organized workspace. Instead of keeping frequently used tools scattered across cabinets, drawers, and countertops, a rolling cart gives each baking essential a dedicated home. The best part comes from its flexibility. You can move the cart beside your work surface while mixing, roll it toward the pantry during ingredient prep, then tuck it away after baking.
A well-organized cart can hold measuring cups, mixing bowls, spatulas, piping supplies, baking pans, sprinkles, parchment paper, cooling racks, and other frequently used items. However, organization works best when every shelf has a clear purpose. Grouping similar supplies together makes ingredients easier to find and reduces unnecessary movement around the kitchen.
You can also style a baking cart to match your kitchen. Wooden containers create a warm look, while clear jars make ingredients easy to identify. Wire baskets suit a modern setup, and labeled containers can keep smaller supplies from becoming messy. A few decorative touches can make the cart attractive without sacrificing useful storage space.
Before choosing containers or rearranging your cart, explore Baking Station Organisation Ideas That Will Transform Your Kitchen for additional ways to create a functional baking workspace.
These baking cart organization ideas will help you use vertical space, simplify ingredient storage, protect delicate tools, and create a setup that makes baking feel smoother from preparation through cleanup.
Baking Cart Organization Ideas You’ll Want to Copy
1. Create a Dedicated Mixing Shelf
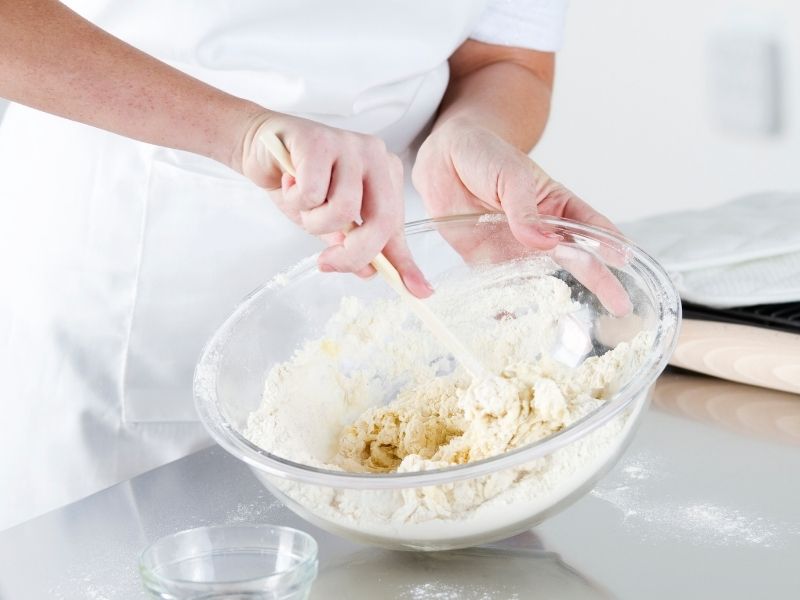
Start by giving your baking cart one shelf for everyday mixing equipment. Keep mixing bowls, whisks, spatulas, hand mixers, and measuring tools together so the entire setup supports one stage of baking.
Place the largest bowls toward the back. Smaller bowls can sit in front without blocking access to frequently used tools. Stack nesting bowls when possible because they reduce the amount of shelf space required.
Keep measuring cups and spoons inside a small container. That arrangement prevents them from disappearing underneath larger equipment.
If your baking collection still needs a few practical additions, review Essential Baking Tools Every Home Baker Needs before filling every available space.
A mixing shelf should remain relatively open. Avoid treating it as a storage area for unrelated kitchen items.
2. Use the Top Shelf for Everyday Essentials
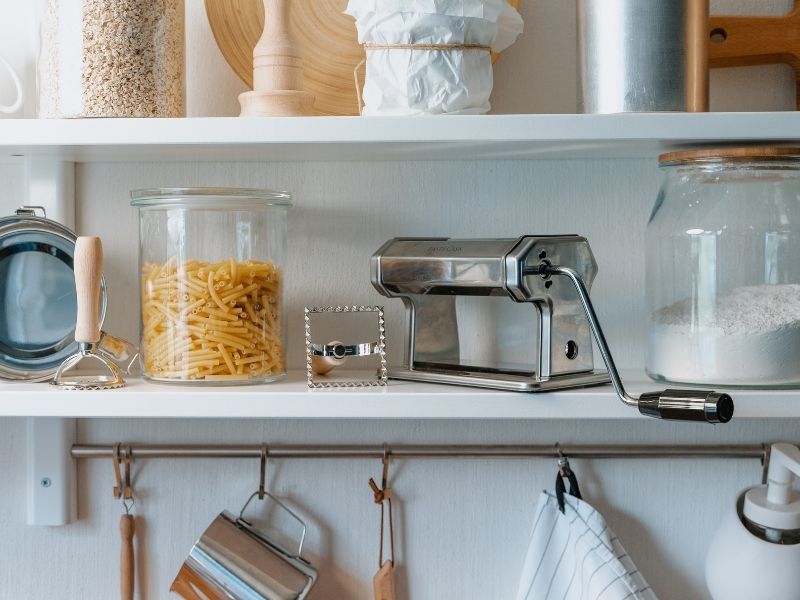
The top shelf works best for supplies used during nearly every baking session. Measuring cups, silicone spatulas, whisks, rolling pins, and small mixing bowls can stay within easy reach.
Avoid placing heavy appliances overhead. A crowded top shelf can also make everyday items difficult to grab.
Instead, arrange tools according to frequency. Place the most frequently used pieces toward the front and occasional tools farther back.
A small utensil holder can keep long tools upright. This simple addition prevents spatulas and whisks from forming an untidy pile.
You can also reserve one section for recipe cards or a tablet stand. Keeping recipes nearby makes preparation more convenient without consuming another counter space.
3. Turn One Shelf Into an Ingredient Station
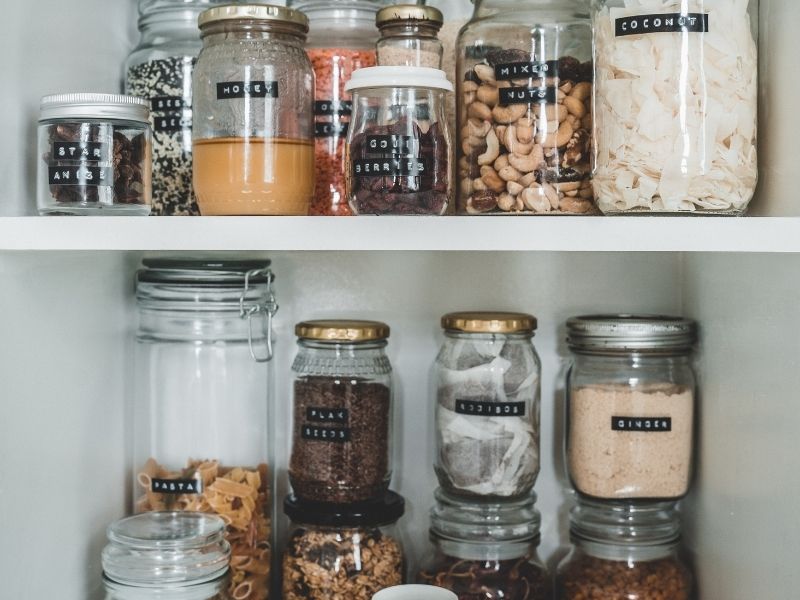
A baking cart can hold dry ingredients that you reach for frequently. Flour, sugar, cocoa powder, cornstarch, baking powder, and baking soda can occupy one organized shelf.
However, avoid placing very heavy ingredient containers on a shelf that feels unstable. Choose sturdy containers and distribute weight evenly across the cart.
Clear containers make ingredients easy to identify. Labels provide another layer of organization, especially when several powders look similar.
For a better understanding of different flours, explore Types of Baking Flour and When to Use Them.
Keep ingredient containers tightly sealed. Proper storage protects dry ingredients from moisture, odors, and pantry pests.
4. Add Clear Storage Containers
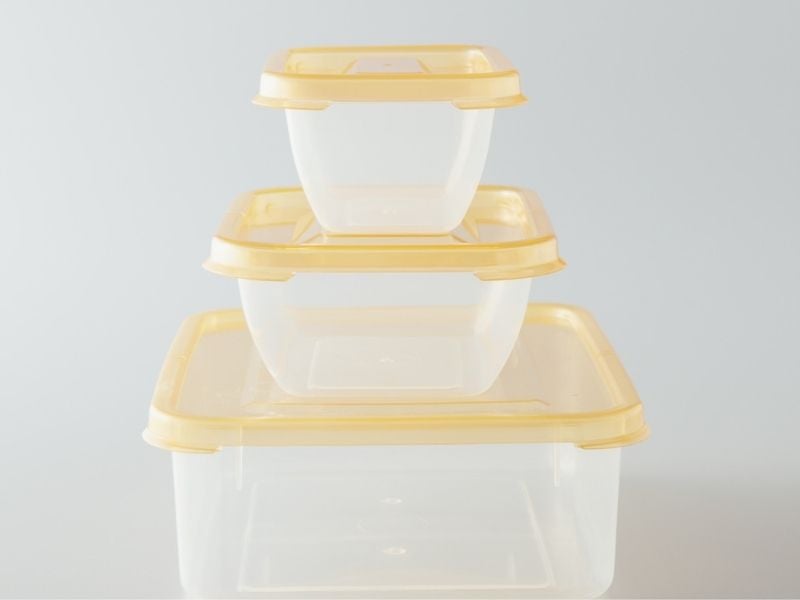
Clear containers can transform a cluttered baking cart because they allow quick visual identification. You can see when flour, sugar, sprinkles, chocolate chips, or nuts need replenishing.
Choose containers with secure lids. Airtight designs work particularly well for dry ingredients.
Use containers of similar shapes when possible. Uniform containers create cleaner rows and make the available shelf space easier to use.
Label each container clearly. Include the ingredient name and, when helpful, the date you opened the package.
For a more complete pantry system, How to Organize Your Baking Ingredients Like a Pro offers additional storage ideas.
5. Keep Piping Supplies Together
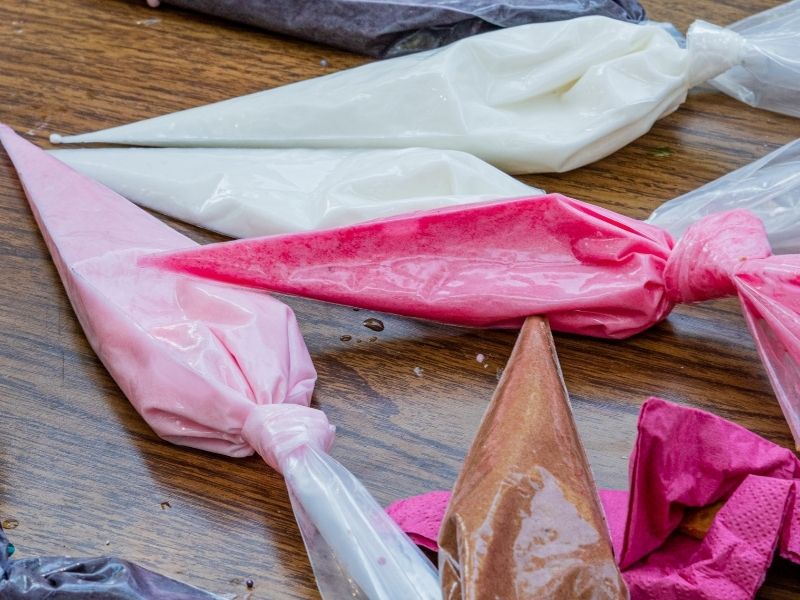
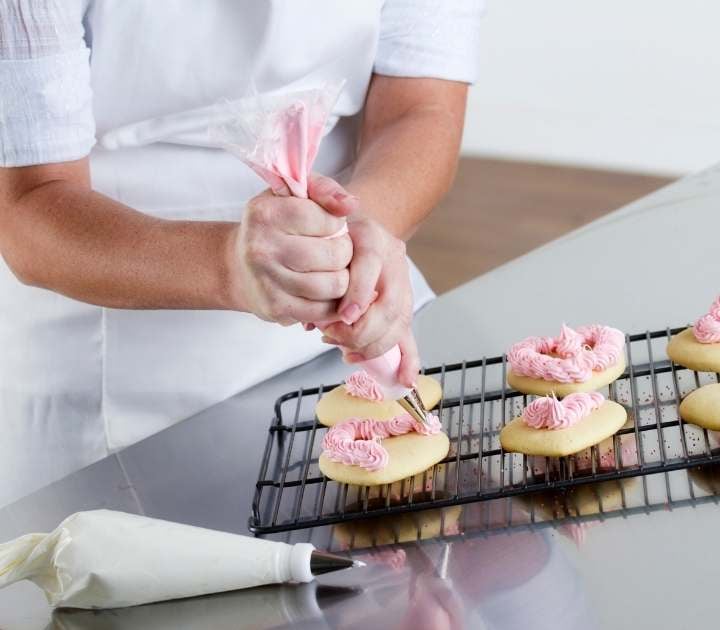
Piping bags, tips, couplers, brushes, scrapers, and decorating tools can quickly create clutter. Give these supplies one dedicated basket or drawer on your baking cart.
Use a divided container for piping tips. Sort them by size or design so you can find the correct piece quickly.
Store disposable piping bags flat or inside a narrow holder. Keep reusable bags clean and completely dry before storing them.
Place cake scrapers and decorating combs vertically when the shelf allows it. Their long shape makes vertical storage particularly efficient.
For decorative inspiration, browse 23 Beautiful Pastry Decorating Ideas when planning your decorating supplies.
6. Create a Small Decorating Drawer
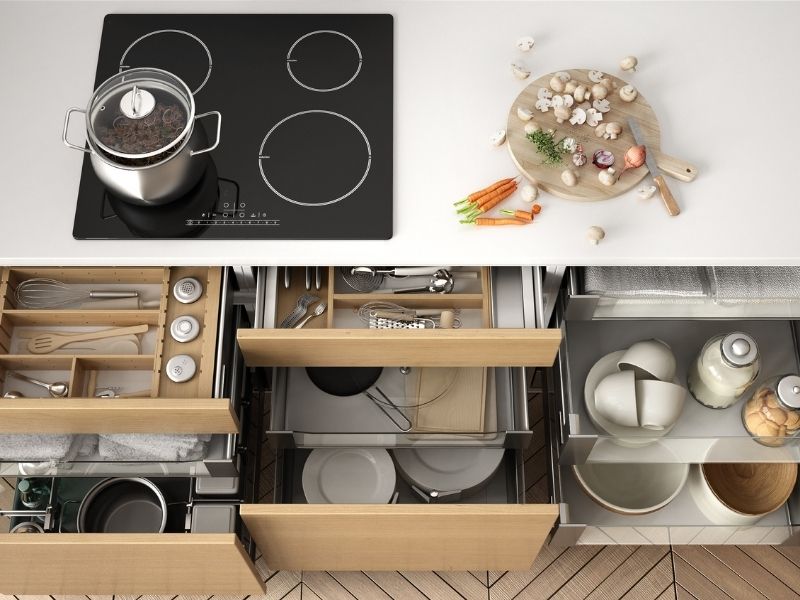
A shallow drawer can hold the tiny items that often disappear in larger storage spaces. Keep sprinkles, edible pearls, piping tips, food-safe brushes, cupcake liners, and small decorating tools inside.
Use small compartments to separate each category. Avoid mixing several types of sprinkles in one container because sorting them later becomes frustrating.
Arrange frequently used decorations toward the front. Seasonal decorations can occupy the back.
You can also use transparent drawer organizers. They make the contents visible while keeping small items contained.
7. Reserve a Shelf for Baking Pans
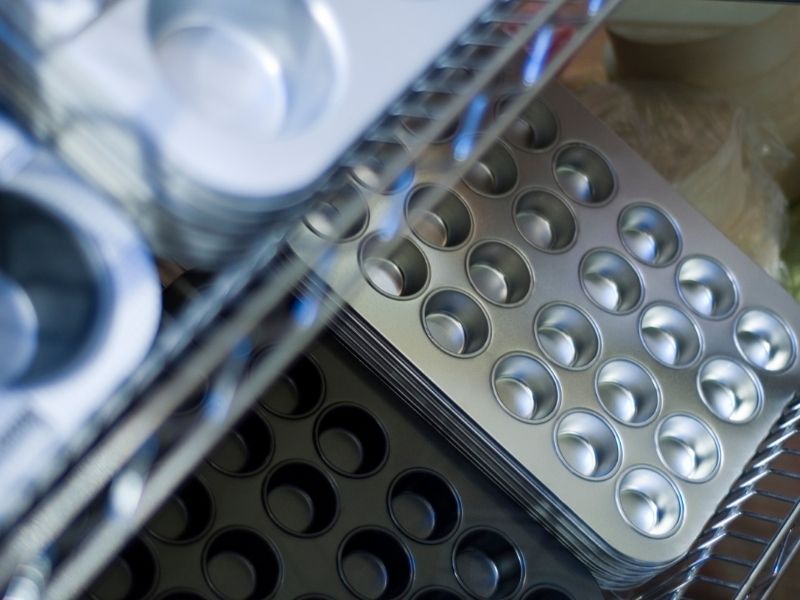
Baking pans often consume significant space because of their awkward shapes. A baking cart can provide a dedicated location for frequently used pans.
Stack pans by shape and size. Keep round cake pans together, loaf pans together, and square pans in another group.
Place parchment paper between delicate coated pans if stacking could cause scratches. Avoid forcing oversized pans into narrow shelves.
For occasional pans, consider storing them elsewhere. Your cart should support everyday baking rather than hold every item you own.
If cakes form a large part of your baking routine, 23 Cake Baking Mistakes and How to Avoid Them can help you pair better equipment organization with better baking results.
8. Install a Side Hook System
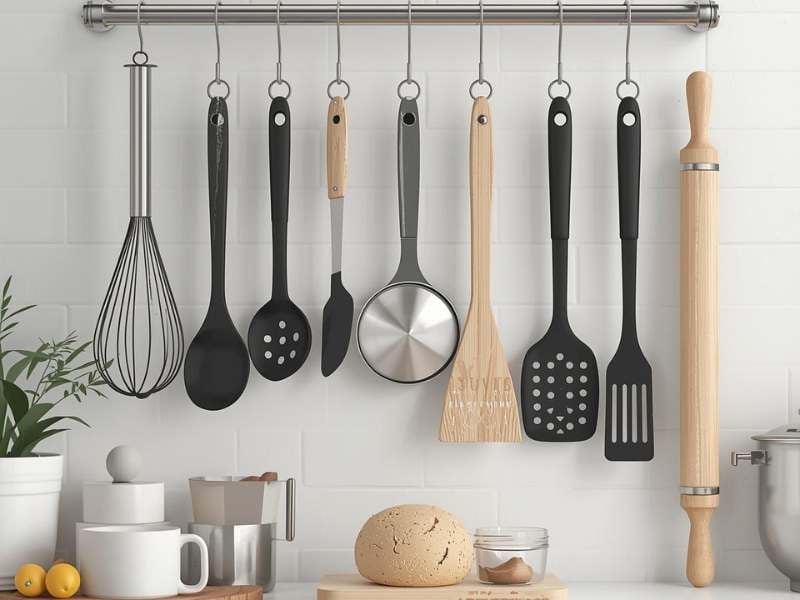
The sides of a rolling cart offer valuable storage space. Add removable hooks for measuring spoons, oven mitts, small strainers, or kitchen scissors.
Hooks work especially well because they use vertical space without reducing shelf capacity.
Choose strong adhesive or clamp-style hooks that match the cart material. Test the weight before hanging heavy equipment.
Keep hooks away from areas where they could snag clothing or catch on cabinets.
This small change can make a compact cart surprisingly useful.
9. Use Baskets for Flexible Storage
Baskets can hide visual clutter while keeping supplies accessible. They work particularly well for parchment paper, cupcake liners, cookie cutters, napkins, and seasonal decorations.
Choose baskets that fit neatly beneath the shelf above them. Wasted vertical space can make a cart feel smaller than it actually is.
Label baskets according to their contents. Simple labels such as “Decorating,” “Cookies,” “Cupcakes,” or “Tools” make retrieval easier.
Avoid placing heavy glass containers inside lightweight baskets. Match the basket to the weight of the items it holds.
10. Build a Cookie-Baking Zone
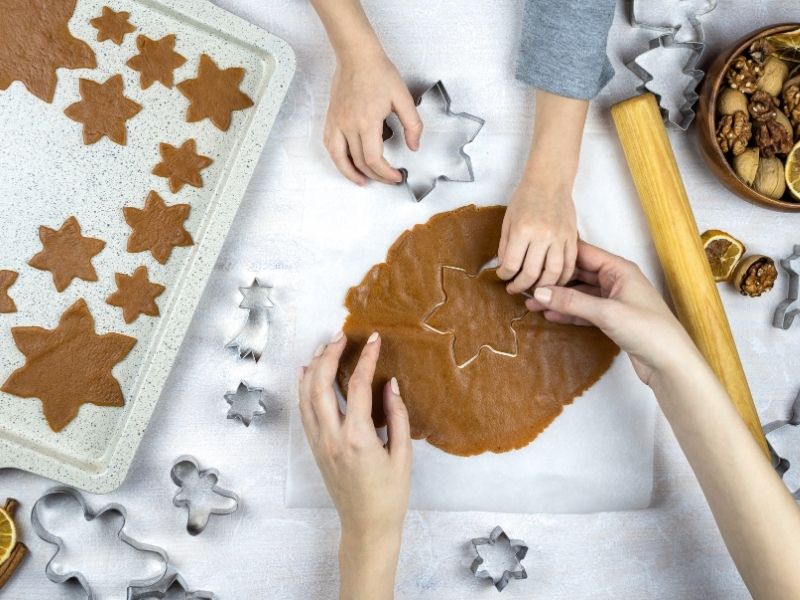
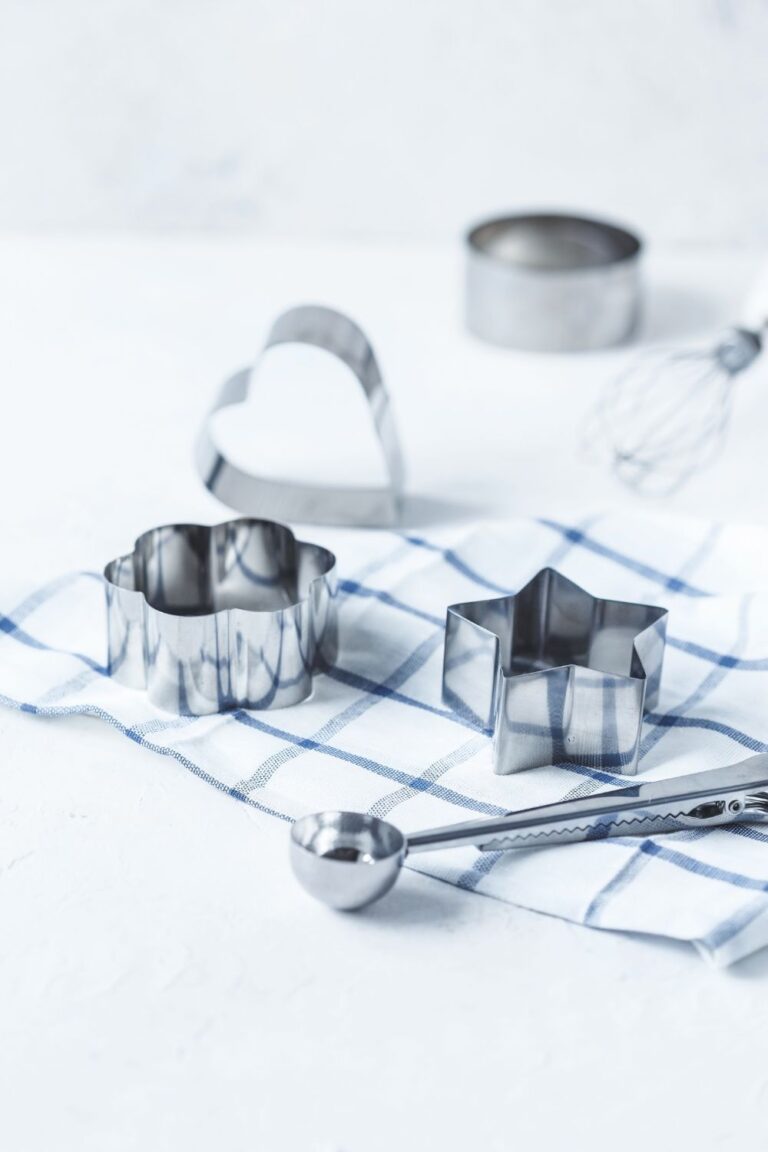
If cookies appear frequently in your baking routine, dedicate one section to cookie supplies. Keep cookie cutters, scoops, parchment sheets, cooling racks, decorating bags, and liners together.
Place cookie cutters inside a lidded container. Alphabetical or seasonal sorting can make larger collections easier to manage.
Store cookie scoops beside measuring tools. Their similar function makes them convenient to retrieve during portioning.
For troubleshooting help, keep 17 Common Cookie Baking Mistakes and How to Fix Them among your baking references.
11. Add a Recipe Station
A baking cart can double as a mobile recipe station. Add a tablet holder, cookbook stand, or slim document holder to one shelf.
Keep recipe cards inside a protective folder. This prevents flour, butter, and batter from damaging them.
A tablet stand works well when you follow digital recipes. Place it at an angle that keeps the screen visible without taking over the cart.
You can also keep a pencil nearby for quick notes.
Before beginning a complicated recipe, review How to Read a Baking Recipe Correctly Before You Start.
12. Organize According to Baking Frequency
Not every baking item deserves equal space. Start by identifying supplies you use every week.
Place frequently used tools on the easiest-to-reach shelf. Move occasional equipment toward lower or less accessible areas.
This system prevents unnecessary searching. It also keeps your cart focused on practical workflow rather than storage alone.
For example, a whisk may deserve front-row placement, while a specialty cake mold can stay lower.
Organizing according to frequency often makes a bigger difference than simply arranging everything by category.
13. Create a Cupcake Station
Cupcake supplies can occupy one compact section. Store liners, decorating tips, piping bags, sprinkles, cupcake boxes, and small spatulas together.
Keep liners inside a small covered container. This prevents them from bending or collecting dust.
Arrange decorating supplies in a shallow bin. You can remove the entire bin when decorating instead of gathering individual items.
For additional cupcake inspiration, consider combining simple frosting techniques with ideas from Baking Tips That Instantly Improve Your Results.
14. Store Measuring Tools in One Container

Measuring tools should never disappear beneath larger supplies. Keep measuring cups and spoons inside one dedicated holder.
Separate dry measuring cups from smaller measuring spoons if your collection is large.
Choose a container tall enough to prevent tools from falling over. A narrow utensil holder can work perfectly for this purpose.
Keep measuring tools close to your ingredient shelf. That placement supports a smoother preparation sequence.
Accurate measurements remain essential, so Baking Measurements Conversion Chart can serve as a useful companion resource.
15. Use the Bottom Shelf for Heavy Equipment
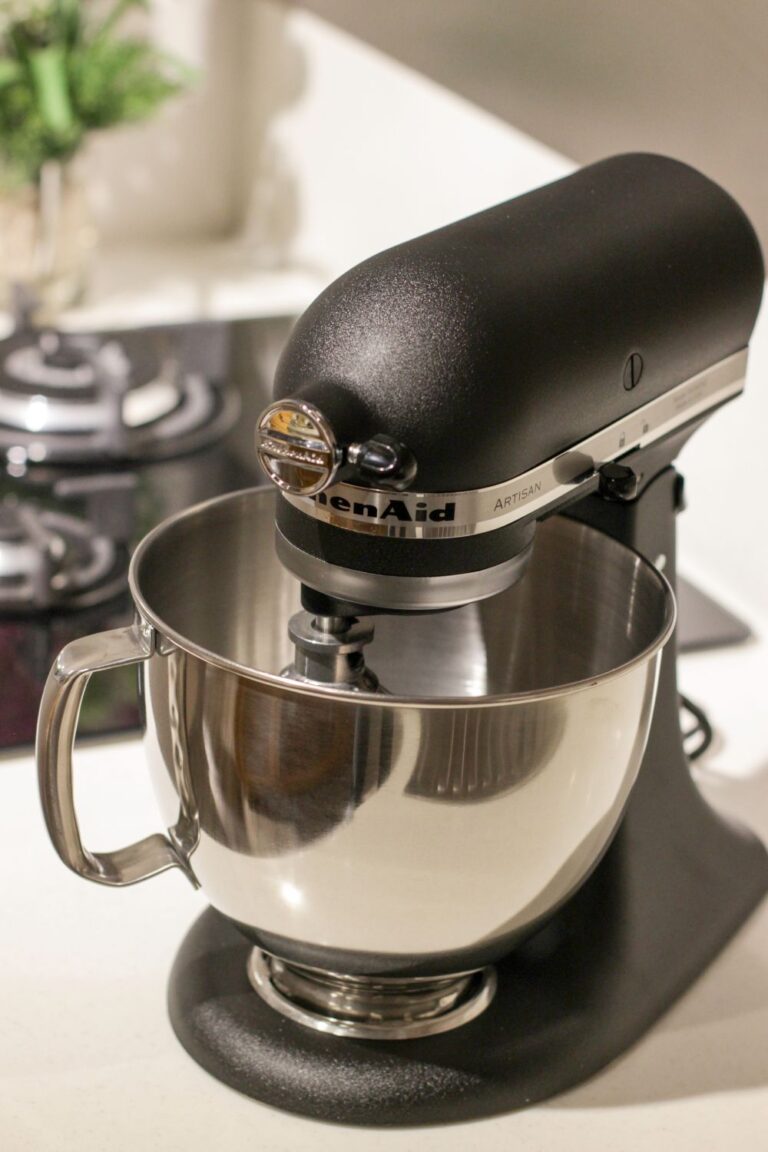
Heavy items should generally stay lower on the cart. Stand mixers, cast-iron bakeware, large glass bowls, and heavier ingredient containers can create instability when stored high.
Distribute weight across the lower shelf rather than concentrating everything on one side.
Keep the cart balanced before moving it. Uneven weight can make rolling more difficult.
If your cart feels unstable, remove unnecessary items before adding more storage containers.
A safe, balanced cart always matters more than maximum storage capacity.
16. Add a Baking Tool Cup
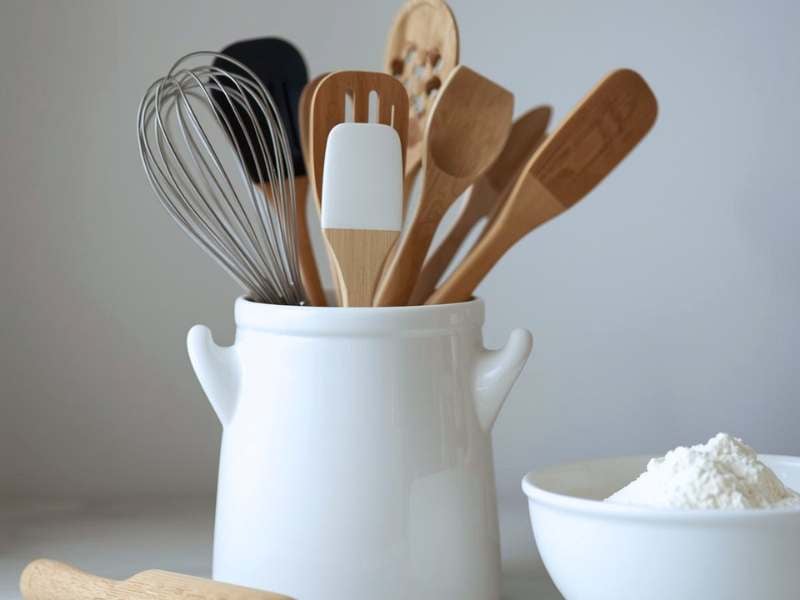
A simple cup or container can hold spatulas, pastry brushes, whisks, dough scrapers, and wooden spoons.
Place the container toward one side of the cart. This leaves the remaining shelf open for bowls or ingredients.
Group tools according to purpose. Decorating brushes can occupy one cup, while mixing tools stay in another.
Avoid stuffing too many utensils into one holder. Overcrowding makes individual tools harder to remove.
17. Create a Chocolate and Toppings Section
Chocolate chips, chopped chocolate, nuts, coconut, sprinkles, and dried fruit can occupy one small section.
Use narrow containers to avoid wasting shelf space. Stackable jars work particularly well for small quantities.
Keep chocolate away from direct heat and sunlight. A baking cart near an oven may not provide suitable storage during hot periods.
For ingredient guidance, Baking Ingredients Explained: What Every Ingredient Actually Does can help you understand how different additions affect your recipes.
18. Organize Seasonal Baking Supplies
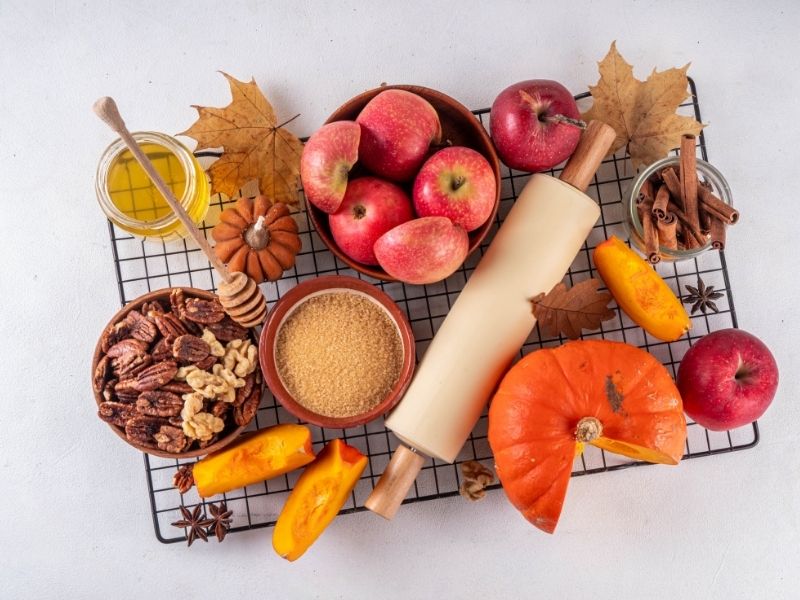
Holiday cutters, themed sprinkles, specialty liners, and decorative packaging do not need everyday shelf space.
Place seasonal supplies inside labeled bins. Store each holiday collection together.
For example, Christmas decorations can share one container, while Halloween supplies occupy another.
Rotate containers when the season changes. This keeps your everyday cart free from unnecessary clutter.
Seasonal rotation also makes decorating supplies easier to find when the right occasion arrives.
19. Use Magnetic Storage
Magnetic strips can hold lightweight metal tools such as measuring spoons, small whisks, or decorating tools.
Install the strip securely on the cart side. Test each tool before adding several pieces.
Magnetic storage keeps tools visible and frees shelf space.
However, avoid hanging heavy equipment from a weak magnetic strip. Lightweight supplies remain the safest choice.
20. Add a Labeling System
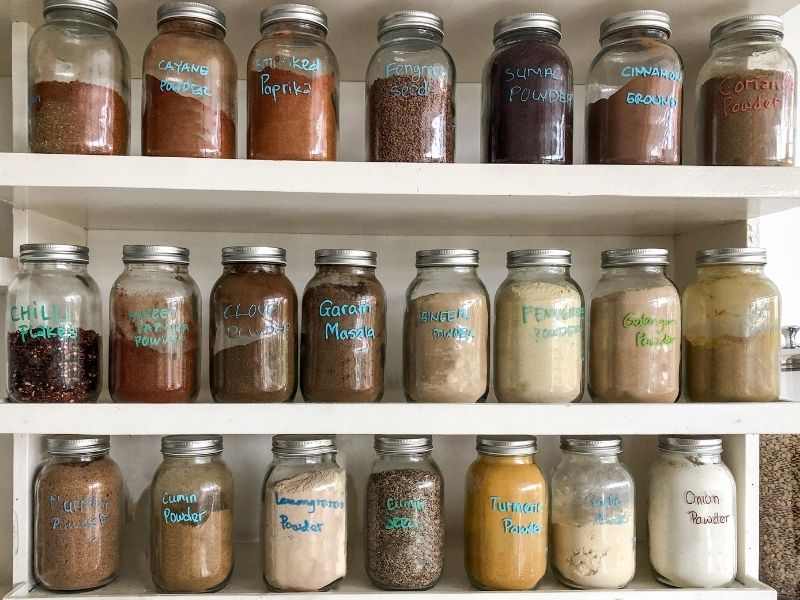
Labels give every container a clear purpose. They also help other household members return supplies to the correct location.
Use short labels rather than lengthy descriptions. “Flour,” “Decorating,” “Piping,” and “Cookie Tools” are easier to scan.
Choose removable labels if your organization system may change. Permanent labels work well for long-term ingredient containers.
Consistent labeling makes the entire cart look more intentional.
21. Create a Small Pastry Zone
A pastry-focused section can hold rolling pins, pastry brushes, cutters, dough scrapers, parchment paper, and specialty tools.
Keep fragile pastry cutters in a container where they will not become buried.
Place rolling pins horizontally if the shelf allows it. Alternatively, use a side hook for vertical storage.
If you make several pastry varieties, Puff Pastry vs Phyllo Dough vs Shortcrust: What’s the Difference can help you understand which tools suit different doughs.
22. Keep Parchment and Liners Upright
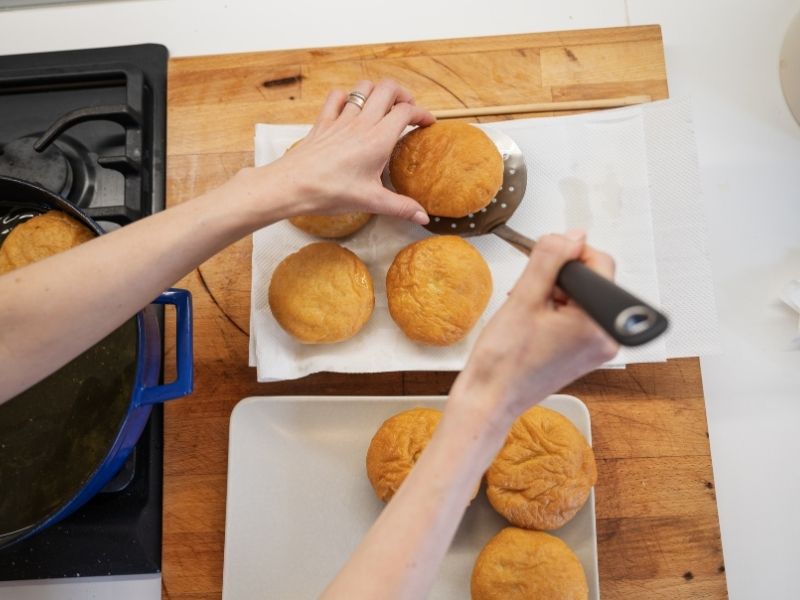
Parchment sheets, cupcake liners, and baking paper can become crushed when stored beneath heavy objects.
Use a narrow file holder or vertical basket instead. Upright storage keeps paper products neat and easy to grab.
Separate parchment from decorative cupcake liners. That arrangement makes preparation faster.
You can also store foil and plastic wrap nearby if you regularly use them for baking projects.
23. Turn the Cart Into a Mobile Baking Station
A rolling cart becomes especially useful when you treat it as a mobile station rather than a permanent shelf.
Before baking, roll it beside your main work surface. Keep the ingredients and tools needed for the recipe on the top shelf.
Once preparation ends, move the cart away from the counter.
This approach works especially well in small kitchens. For additional ideas, explore Small Kitchen Baking Ideas for Limited Spaces.
24. Create a Bread-Baking Section
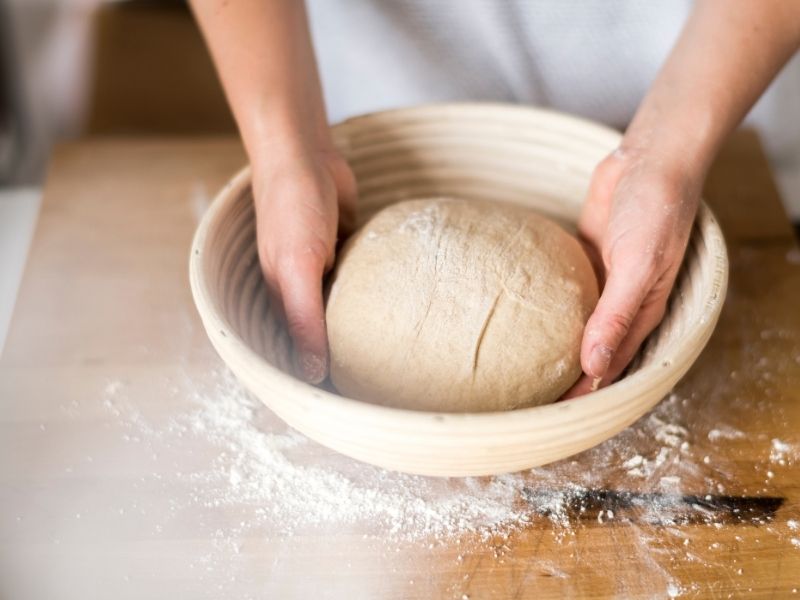
Bread tools can occupy one dedicated area if you bake loaves regularly. Store dough scrapers, proofing baskets, measuring tools, parchment, bread knives, and loaf pans together.
Keep flour separate from finished bread equipment. Flour dust can settle onto tools that need to remain clean.
For bread-making inspiration, explore Beginner’s Guide to Baking Bread at Home.
You can also reserve one basket for bread-specific accessories. This prevents specialty tools from spreading across the entire cart.
25. Use Stackable Containers
Stackable containers make vertical space more useful. They work particularly well for sprinkles, nuts, chocolate chips, cookie cutters, and small ingredients.
Choose containers with flat lids that stack securely.
Avoid stacking containers so high that the top pieces become difficult to reach. Accessibility still matters.
Group similar ingredients into the same vertical column. This arrangement keeps the cart visually organized while maximizing storage.
26. Keep Frequently Used Ingredients at Eye Level
Eye-level storage should contain items you reach for most often. Flour, sugar, cocoa powder, baking powder, and chocolate chips may deserve priority.
Less frequently used ingredients can move to the lower shelf.
Avoid placing extremely heavy jars at eye level. Use lightweight containers for this section.
This approach reduces unnecessary bending and searching during recipe preparation.
27. Add a Cleaning Section
A small cleaning container can hold pastry brushes, microfiber cloths, bench scrapers, and disposable cleaning wipes.
Keep cleaning supplies separate from ingredients. A sealed container can prevent accidental contact.
Place the cleaning basket toward the bottom or side of the cart.
Cleaning as you bake becomes easier when the necessary supplies stay nearby.
For broader troubleshooting and cleanup habits, Common Baking Mistakes and How to Fix Them Fast offers useful guidance.
28. Make Room for Cooling Equipment
Cooling racks can be awkward to store because of their flat, wide shape. Slide them vertically between the cart side and a sturdy basket if the design permits.
Alternatively, place smaller racks horizontally beneath a shelf.
Do not put heavy equipment on top of cooling racks because their wires can bend.
Keeping cooling equipment nearby makes it easier to transfer hot baked goods safely.
29. Organize Supplies by Recipe Type
Another practical system involves creating recipe-specific zones. You might dedicate one basket to cake supplies, another to cookies, and another to pastries.
This method works particularly well for bakers who repeat the same recipes.
For example, a cake basket might contain piping bags, cake scrapers, dowels, liners, and decorating tips.
A cookie basket could contain cutters, scoops, parchment, and decorating supplies.
30. Create a Budget-Friendly Baking Cart
You can organize a baking cart without purchasing expensive containers. Repurpose clean jars, small baskets, sturdy food containers, and inexpensive organizers.
Before buying anything, measure every shelf.
Then identify the supplies that need containment. Avoid purchasing storage products simply because they look attractive.
For affordable ingredient ideas, check Best Budget Baking Ingredients That Still Give Great Results.
A practical cart should solve storage problems rather than create new expenses.
31. Style the Cart Without Overcrowding It
A baking cart can look attractive while remaining functional. Add one small plant, a wooden utensil holder, a neutral label set, or a decorative jar.
However, avoid covering useful shelf space with decorations.
Keep styling elements toward the edges or on top of the cart.
A cohesive color palette can make mismatched containers feel more coordinated. White, wood, glass, black, or neutral tones usually work well together.
For more visual inspiration, explore Aesthetic Baking Setup Ideas For Beginners.
32. Build a Baking Business Cart
A baking cart can support a home baking business by keeping production supplies organized.
Create separate zones for decorating, packaging, measuring, and preparation.
Keep boxes and labels away from ingredients. This separation reduces clutter during busy orders.
You can also dedicate one basket to customer-order supplies. That basket can hold cake boards, ribbons, labels, cards, and packaging accessories.
If you plan to expand your baking operation, How to Start a Baking Business From Scratch offers additional business planning guidance.
33. Create a Photography-Friendly Baking Cart
Baking carts can also support content creation. Keep attractive bowls, wooden utensils, measuring cups, ingredients, and decorating tools accessible for quick photography setups.
Arrange visually appealing supplies toward the front. Hide stained, damaged, or heavily used containers toward the back.
A consistent setup can make recipe photography faster.
You can also use the cart as a mobile prop station. Roll it beside your workspace when filming or photographing a baking project.
For more visual content ideas, Baking Content Ideas for Instagram, Pinterest, and TikTok can help you develop baking-focused content.
Final Thoughts
A baking cart can become one of the most useful organization pieces in a busy kitchen. The goal does not involve filling every shelf. Instead, the best setup gives frequently used tools, ingredients, and decorating supplies a logical place.
Start by dividing the cart according to your baking habits. Keep everyday equipment accessible, place heavier items low, use baskets for small supplies, and reserve clear containers for ingredients that need frequent replenishment.
Then customize the system around your favorite baking projects. A cookie baker may need more space for cutters and scoops, while a cake decorator may prioritize piping tools and decorating supplies.
Keep the arrangement flexible as your needs change. Remove supplies you rarely use, rotate seasonal items, and leave enough open space for new tools.
A well-organized cart should make baking feel easier, not more complicated. With thoughtful zones and practical storage, even a compact rolling cart can become a functional extension of your baking workspace.