Kitchen Storage Hacks Every Baker Needs
Disclosure: Some of the links in this post are affiliate links. This means if you click on the link and purchase an item, I will receive an affiliate commission at no extra cost to you.
Baking supplies can quickly take over cabinets, countertops, drawers, and pantry shelves. Flour bags compete with sugar containers, mixing bowls crowd the cabinets, and decorating tools somehow end up everywhere. A smarter storage system creates room without forcing a complete kitchen makeover.
The best kitchen storage hacks focus on accessibility, visibility, and practical use of available space. Simple additions such as shelf risers, clear containers, drawer dividers, rolling carts, and wall-mounted racks can turn awkward areas into useful baking zones.
Small kitchens benefit greatly from strategic storage. Vertical space can hold baking pans, measuring tools, and lightweight equipment, while deep cabinets can accommodate labeled bins and pull-out organizers. Even unused cabinet doors can become valuable storage areas for frequently used supplies.
Ingredient organization also deserves attention. Grouping similar ingredients makes recipe preparation faster and helps prevent duplicate purchases. A dedicated section for flours, sugars, spices, chocolate, decorating supplies, and baking accessories keeps everything easier to locate.
These Kitchen Storage Hacks Every Baker Needs can help create a cleaner, more functional baking environment without sacrificing style. The goal is not to own more storage products but to make better use of the space already available. With a few intentional changes, your kitchen can feel less crowded and much easier to bake in.
Read this next: How to Organize Your Baking Ingredients Like a Pro
Kitchen Storage Hacks Every Baker Needs
1. Turn One Cabinet Into a Baking Zone
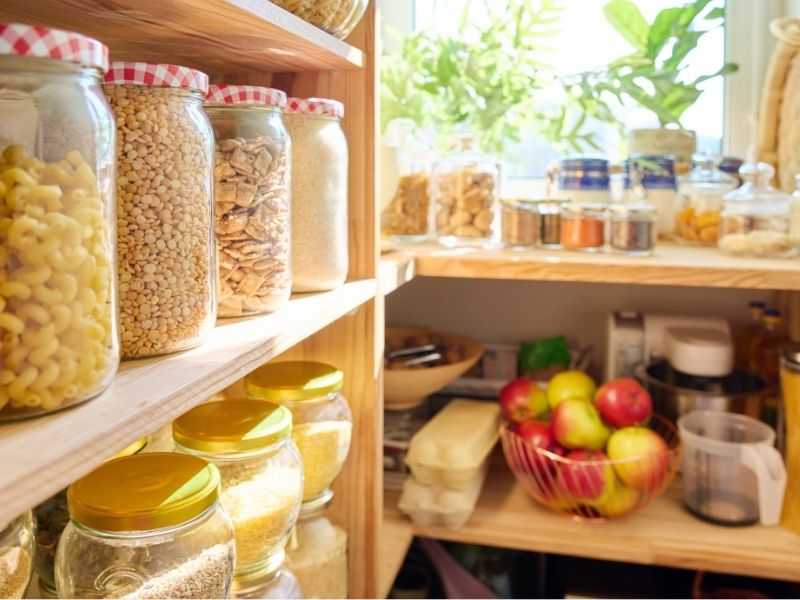
A dedicated baking cabinet can simplify your entire kitchen routine. Instead of scattering flour, pans, decorating tools, and ingredients across different cupboards, create one central storage area.
Place the supplies you use most often between waist and eye level. Reserve the highest shelves for seasonal decorations and rarely used equipment.
Group items by function rather than simply placing similar-sized objects together. Keep mixing supplies in one section, baking ingredients in another, and decorating equipment in its own space.
Before reorganizing, take inventory of your existing supplies. This helps you identify duplicates and unused items that consume valuable storage space.
If you are still building your collection, start with the Essential Baking Tools Every Home Baker Needs before adding more equipment.
2. Use Clear Containers for Dry Ingredients
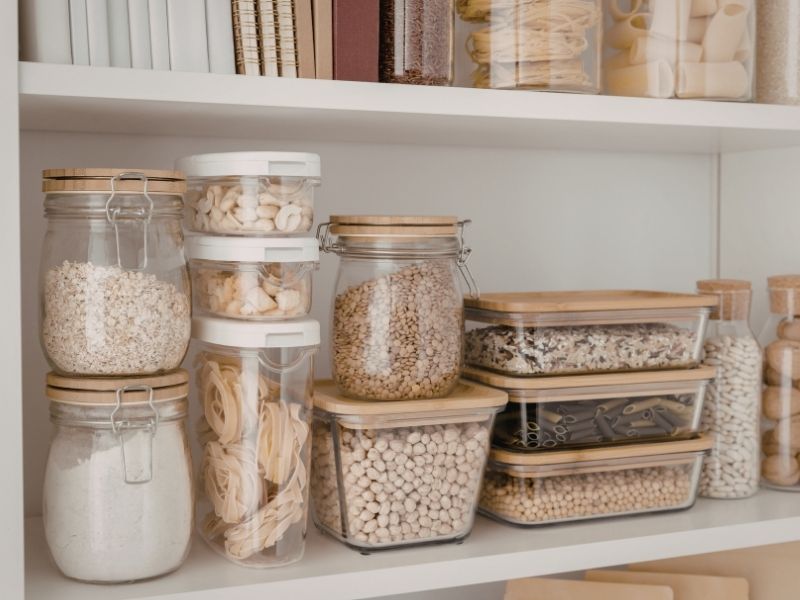
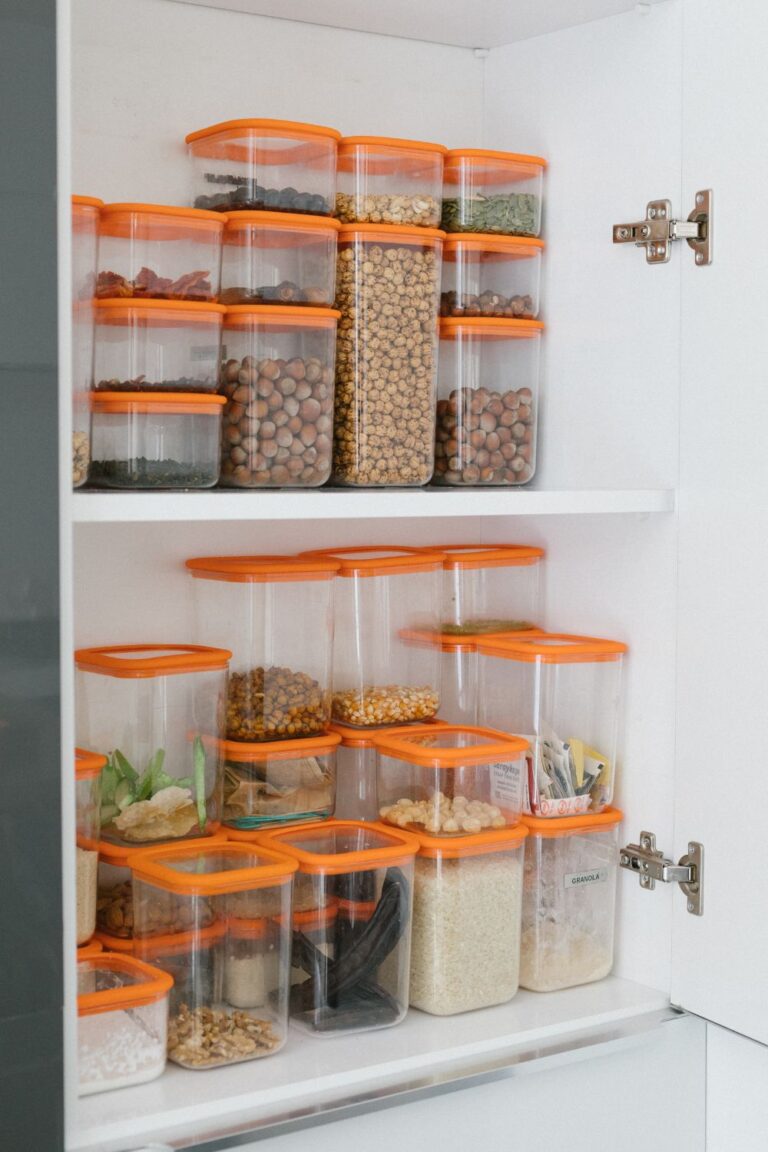
Clear containers can instantly make a crowded pantry easier to manage. Flour, granulated sugar, brown sugar, cocoa powder, oats, and other dry ingredients remain visible.
Choose airtight containers with secure lids to protect ingredients from moisture and kitchen pests. Matching containers also create a more cohesive appearance.
Label every container clearly. Include the ingredient name and useful storage information when necessary.
Avoid transferring ingredients into containers without checking their original labels and storage requirements first.
A transparent container system also makes grocery planning easier. You can see which staples need replenishing before your next baking session.
Open this next: Baking Content Ideas for Instagram, Pinterest, and TikTok
3. Install Shelf Risers
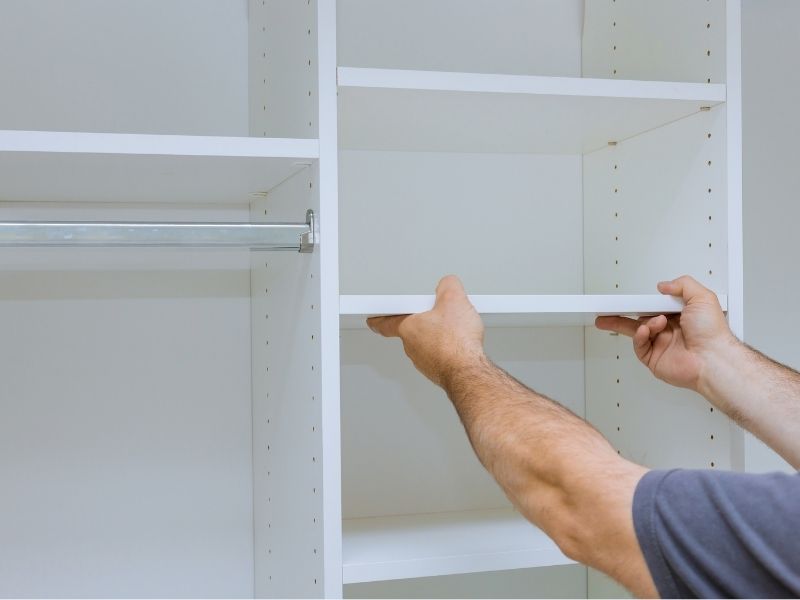
Tall cabinets often contain unused vertical space. Shelf risers create another storage level without requiring additional cabinetry.
Use them for spice jars, food coloring bottles, small ingredient containers, and lightweight baking supplies.
Place shorter containers beneath the riser and taller containers behind or above it. This arrangement keeps more products visible.
Choose sturdy risers that can handle the weight of your containers. Avoid overcrowding the extra level because accessibility matters more than maximum capacity.
See this next: 19 Easy Ways to Make Bakery-Style Cookies at Home
4. Store Baking Pans Vertically
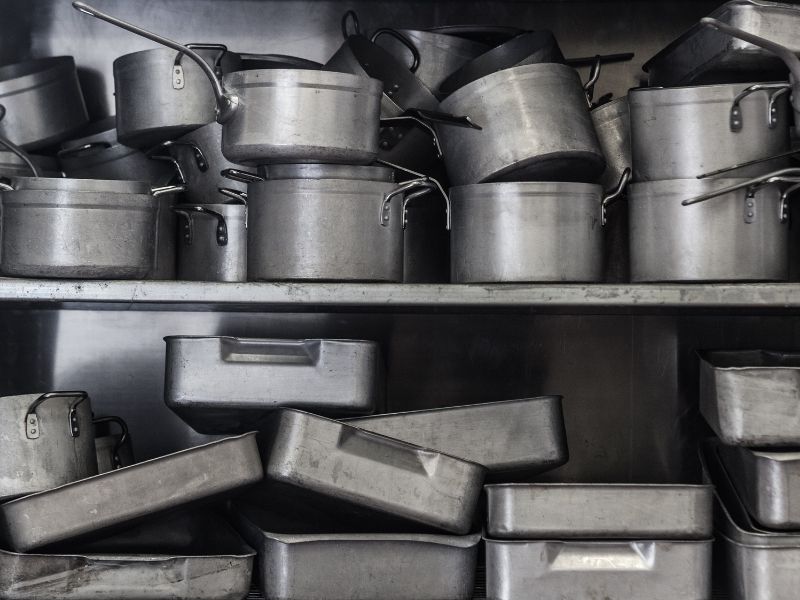
Horizontal stacks of baking pans can become frustrating during busy baking sessions. The pan you need often ends up buried underneath several others.
Vertical storage solves that problem. Use dividers, racks, or file-style organizers to keep baking sheets and pans upright.
Group similar pans together. Keep cake pans in one section, loaf pans in another, and flat baking sheets in a separate area.
Vertical storage also reduces unnecessary lifting. You can pull out one pan without disturbing the rest of the collection.
Come back to this: How to Keep Pastries Crispy After Baking
5. Add a Rolling Baking Cart
A rolling cart can provide flexible storage in kitchens with limited cabinets.
Use the top level for frequently used ingredients or equipment. Keep the middle shelf for bowls and tools, then reserve the bottom shelf for heavier supplies.
A cart can also move closer to your preparation area during baking. Once the session ends, roll it back against a wall or beside a cabinet.
This solution works particularly well for renters or bakers who cannot modify their kitchen permanently.
Don’t lose this: How to Build a Baking Pantry on a Budget
6. Make Better Use of Cabinet Doors
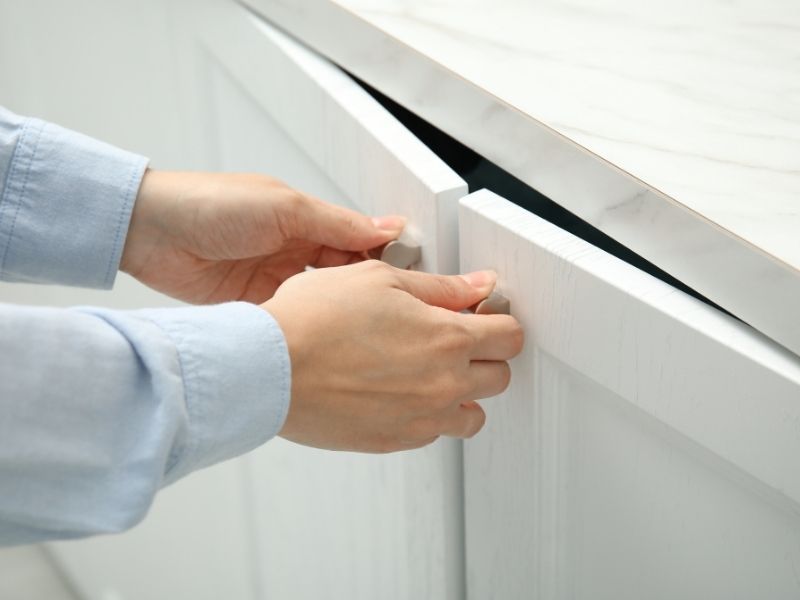
Cabinet doors provide valuable storage space that often goes unused.
Attach suitable organizers to store measuring spoons, small spice jars, parchment paper, or lightweight decorating tools.
Keep heavier items away from doors unless the organizer and hinges can safely support them.
Door storage works best for supplies you reach for frequently. It also keeps small items from disappearing inside deep cabinets.
Check this out: Reasons Why Baking Is Good for Your Mental Health
7. Create a Dedicated Measuring Station
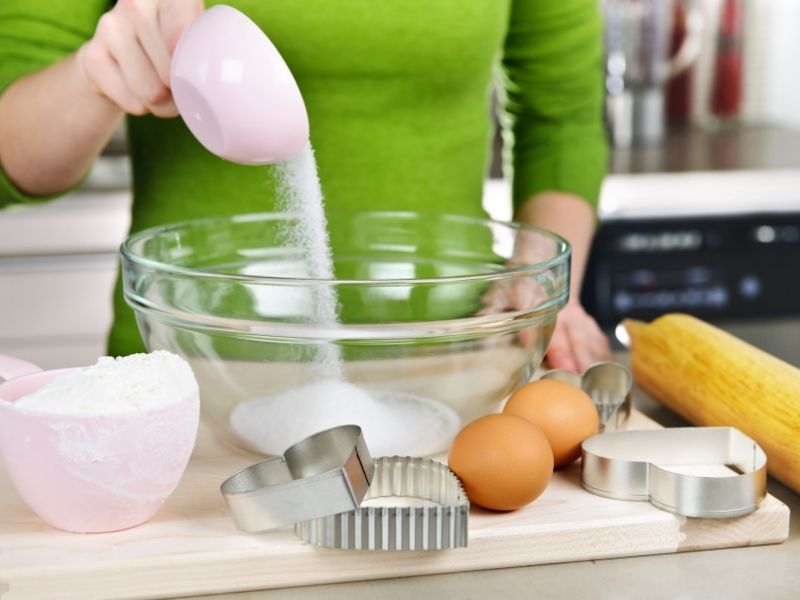
Measuring cups and spoons should stay together instead of traveling between drawers.
Use a small container or drawer organizer to keep the complete collection in one place.
Consider separating dry measuring cups from measuring spoons and liquid measuring cups.
Keeping these tools close to your ingredients can make recipe preparation faster. Accurate measurements also play an important role in consistent baking results.
Save this: How To Turn Your Baking Knowledge Into Digital Products
8. Use Drawer Dividers for Small Tools
Drawers can become chaotic when spatulas, scrapers, whisks, thermometers, and measuring spoons share one space.
Drawer dividers create separate compartments for each category.
Place frequently used tools toward the front. Store specialty equipment toward the back.
Adjustable dividers provide more flexibility because you can change the layout as your collection grows.
9. Organize Decorating Supplies in Small Bins
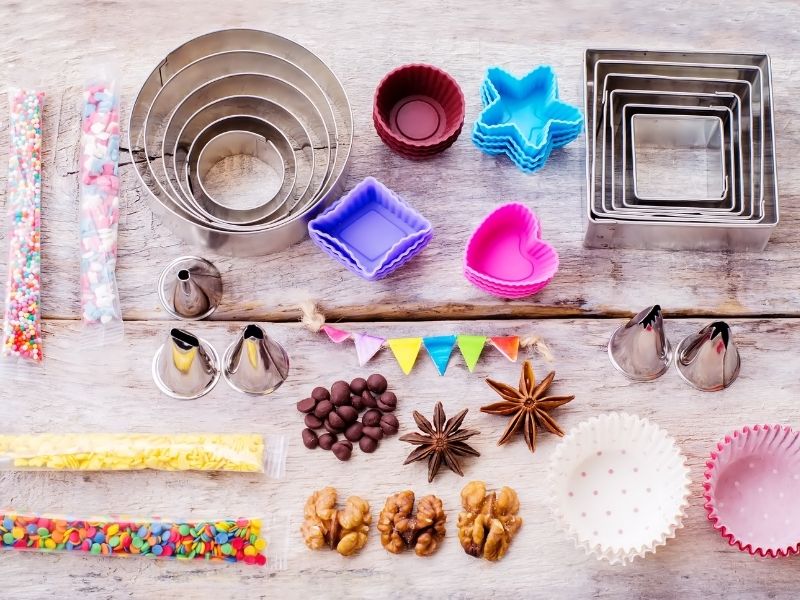
Cake decorating supplies contain many tiny pieces that easily disappear.
Use small bins for piping tips, couplers, food coloring, sprinkles, brushes, cutters, and decorating accessories.
Label each bin so you can locate supplies quickly.
Clear containers make this system even more effective because you can identify the contents without opening every box.
Save this guide: Shelf Life of Common Baking Ingredients (Printable Guide)
10. Create a Baking Ingredient Pull-Out Zone
Deep cabinets can waste space because ingredients at the back become difficult to reach.
Pull-out baskets or sliding organizers solve this problem. They allow you to bring the entire storage section forward.
Group similar ingredients inside each basket. One basket can hold specialty flours, another can hold sugars, and another can contain chocolate products.
This arrangement eliminates the need to move several containers before reaching one ingredient.
For more pantry guidance, explore Baking Pantry Essentials: What to Always Keep Stocked.
11. Keep Spices in a Tiered Organizer
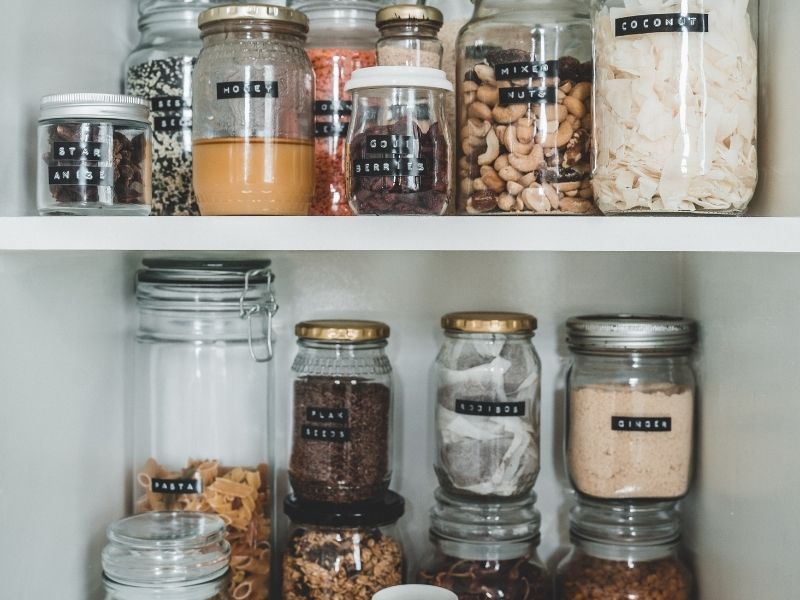
Baking spices often come in small bottles that disappear behind larger containers.
A tiered rack raises the back rows so every bottle remains visible.
Arrange cinnamon, nutmeg, ginger, cloves, cardamom, and other spices according to frequency or alphabetically.
Avoid storing excessive spice varieties simply because they look attractive. Keep the flavors you actually use and review older bottles regularly.
This guide will help you: Easy Baking Skills Every Home Baker Should Master First
12. Store Cookie Cutters in One Container
Cookie cutters can quickly spread across multiple drawers.
Place them inside one large container with smaller bags or sections for different categories.
Keep everyday shapes separate from holiday designs. Seasonal cutters can occupy a less accessible shelf.
A labeled container also makes holiday baking preparation much faster.
13. Use Hanging Rails for Utensils
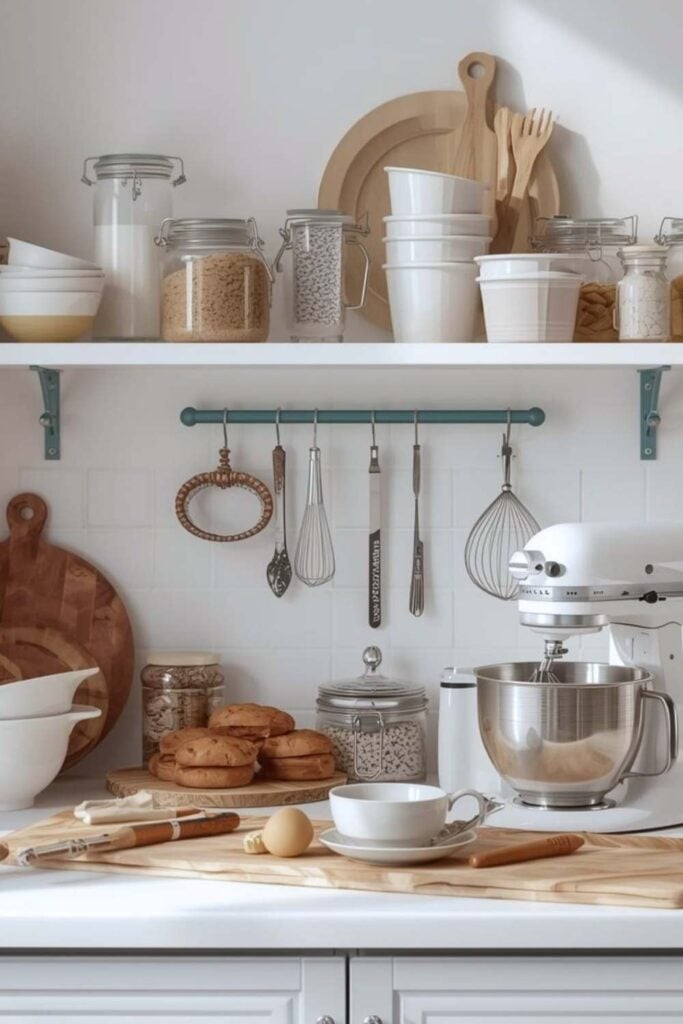
A wall-mounted rail can turn unused wall space into practical storage.
Hang lightweight whisks, spatulas, measuring cups, and other frequently used utensils from suitable hooks.
Keep the rail close to your preparation area. Avoid placing it directly above a cooking surface where grease could accumulate.
This approach keeps countertops clearer while making everyday tools easy to grab.
Keep this handy: Baking Confidence Tips for Complete Beginners
14. Create a Chocolate Storage Section
Chocolate chips, baking bars, cocoa powder, candy melts, and decorative chocolate can occupy one dedicated section.
Separate unopened products from partially used packages.
Use airtight containers for opened products when appropriate. Keep temperature-sensitive chocolate away from excessive heat and direct sunlight.
Grouping chocolate products together also prevents duplicate purchases.
15. Use Baskets for Baking Liners
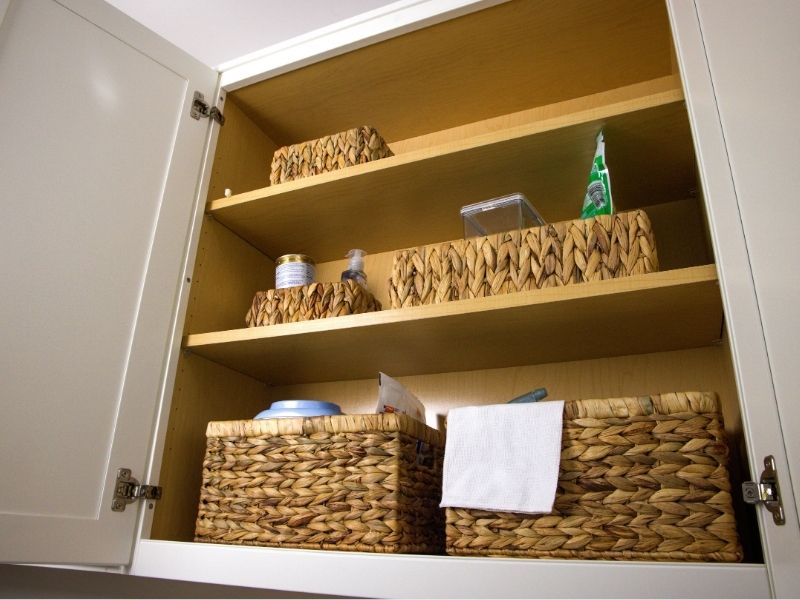
Cupcake liners and muffin papers can become messy when stored loosely.
Place them inside shallow baskets or containers. Separate everyday liners from seasonal patterns.
Use one basket for cupcake liners and another for parchment sheets or decorative wrappers.
Keep these baskets somewhere accessible because liners often become part of the preparation process.
Keep this page open: What You Need to Start Selling Cakes From Home
16. Install a Pegboard for Flexible Storage
A pegboard can provide adaptable storage for baking tools.
Use hooks for whisks, scissors, measuring cups, and lightweight equipment. Add small baskets for decorating accessories.
The major advantage comes from flexibility. You can move hooks as your storage needs change.
Keep the most frequently used tools within easy reach. Less-used equipment can occupy higher sections.
17. Use Stackable Storage Containers
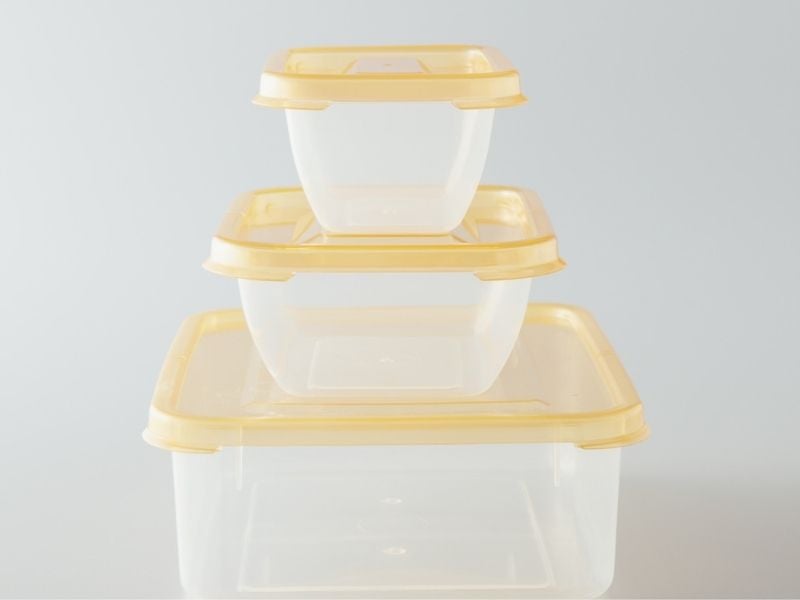
Stackable containers make better use of cabinet height.
Choose containers with stable, flat lids that allow safe stacking.
Keep heavier containers underneath lighter ones. Avoid creating stacks so tall that removing the bottom container becomes difficult.
Uniform containers also make shelf planning easier because they occupy predictable amounts of space.
18. Create a Specialty Flour Section
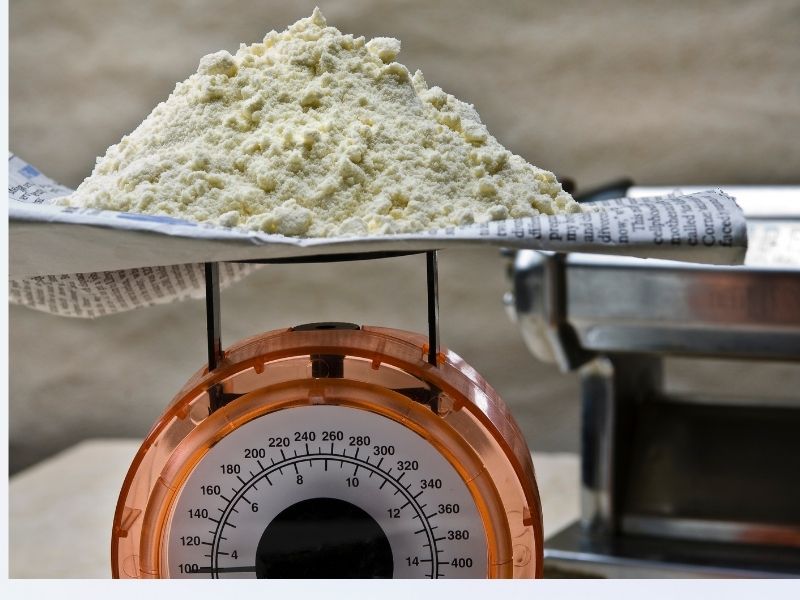
Different flours can make pantry shelves look cluttered.
Keep almond flour, bread flour, whole wheat flour, coconut flour, and other specialty varieties together.
Clearly label containers so you can distinguish each flour quickly.
For bakers who frequently experiment with different varieties, the guide to Types of Baking Flour and When to Use Them can help with choosing suitable options.
19. Store Heavy Equipment on Lower Shelves
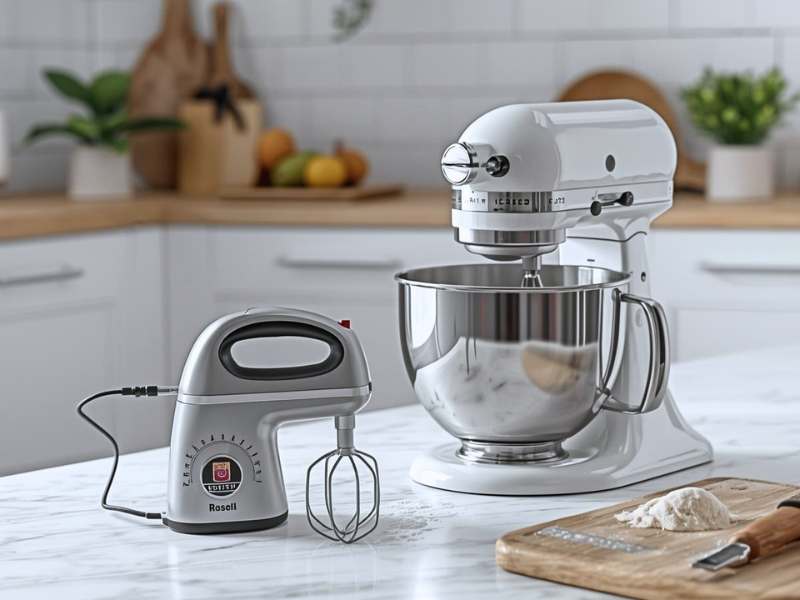
Heavy mixing bowls, cast-iron cookware, bulky appliances, and attachments should stay on sturdy lower shelves.
Lower storage reduces the risk of dropping equipment while reaching overhead.
Keep lightweight ingredients and decorating supplies on higher shelves.
This arrangement also makes your kitchen easier to navigate during active baking sessions.
20. Use a Lazy Susan in Deep Cabinets
A lazy Susan makes small bottles easier to access.
Place extracts, food coloring, syrups, sprinkles, or spices on the rotating surface.
Instead of reaching behind several containers, simply turn the organizer.
Choose a model that fits comfortably inside the cabinet without restricting movement.
21. Create a Baking Recipe Station
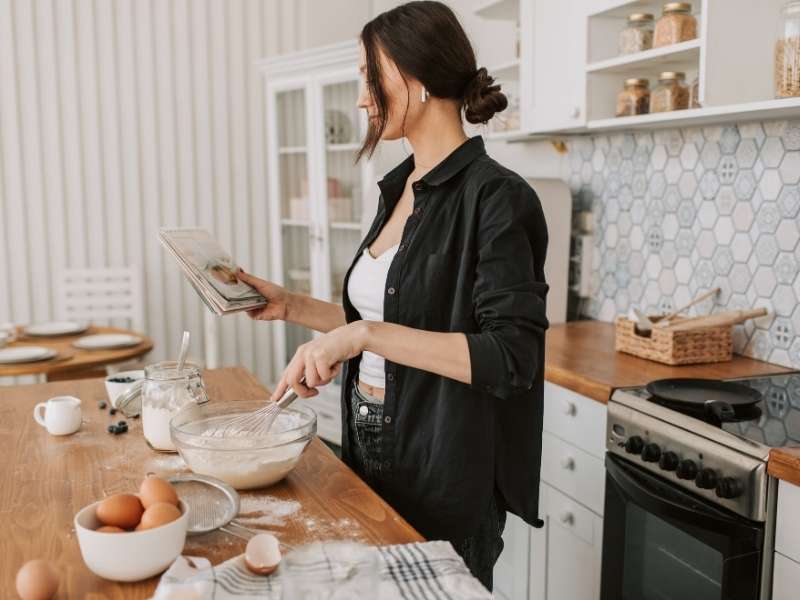
Recipes deserve their own organized area.
Use a file holder for printed recipes and notebooks. Keep frequently used recipes separate from older collections.
A tablet stand can provide another option for digital recipes. Place it away from areas where flour, batter, or water could reach it.
For recipe accuracy, How to Read a Baking Recipe Correctly Before You Start can help create a more organized preparation routine.
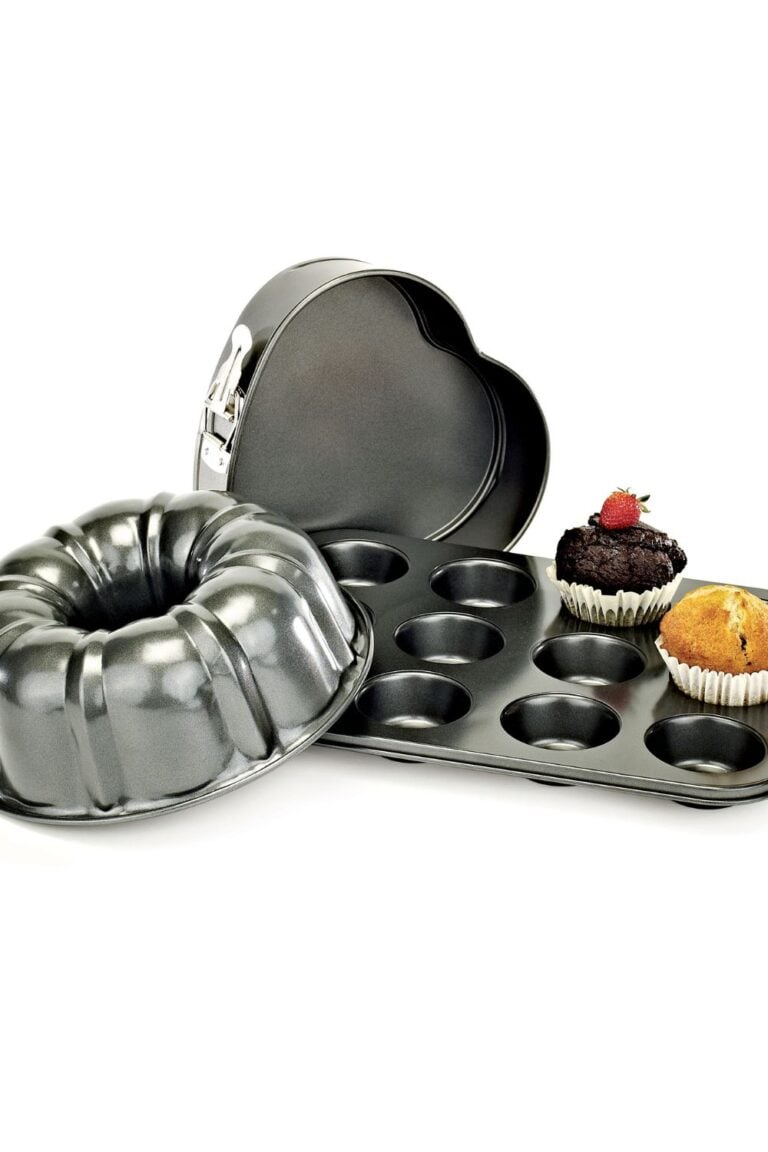
22. Organize Cake Pans by Shape
Cake pans become easier to manage when grouped by shape and size.
Place round pans together, followed by square, rectangular, loaf, and specialty designs.
Nest pans whenever their shapes allow safe stacking. Add separators when surfaces could scratch.
Keep the sizes used most often toward the front of the cabinet.
23. Create a Seasonal Baking Box
Holiday decorating supplies do not need to occupy prime storage space throughout the year.
Place seasonal sprinkles, cutters, cupcake liners, decorations, and themed packaging into labeled boxes.
Create separate containers for Christmas, Halloween, birthdays, and other occasions.
Move these boxes to higher shelves until the relevant season arrives.
24. Use Clear Bins for Baking Accessories
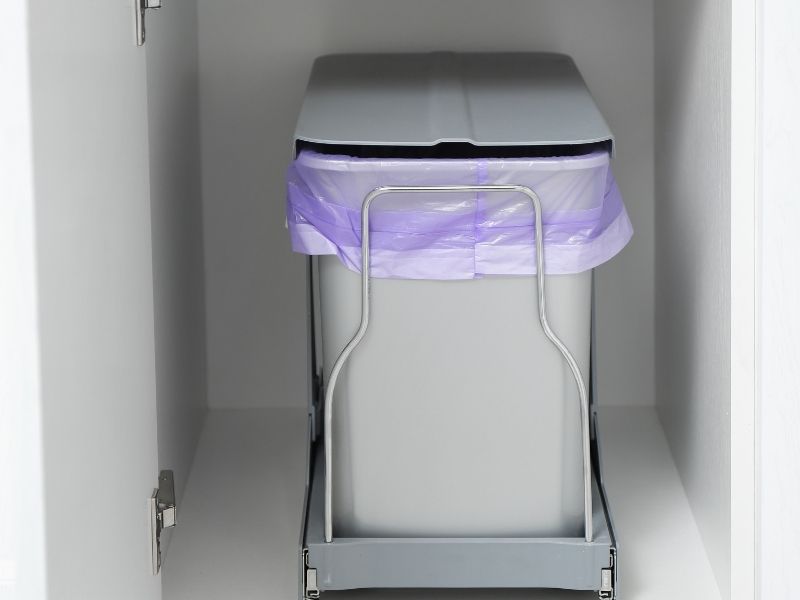
Clear bins work particularly well for supplies that come in small packages.
Use them for piping bags, edible decorations, food-safe brushes, cake toppers, and specialty tools.
Choose shallow bins for frequently used supplies. Deeper bins work better for bulkier equipment.
Clear storage also makes forgotten supplies easier to notice.
25. Organize by Baking Frequency
Storage should reflect actual habits.
Keep everyday ingredients and tools in the easiest locations. Move occasional supplies toward higher shelves or less accessible cabinets.
This method creates a kitchen that supports your workflow instead of forcing you to constantly search.
Track the supplies you use repeatedly for several baking sessions. Those items deserve prime storage positions.
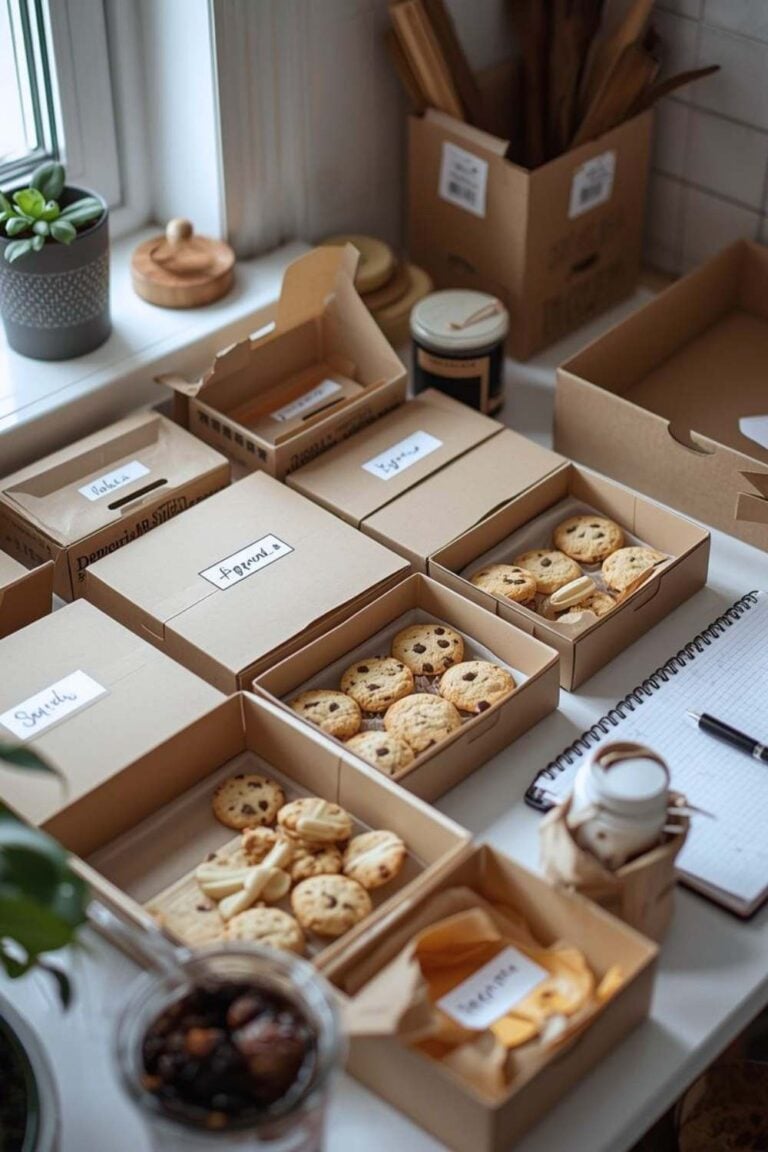
26. Create a Baking Packaging Station
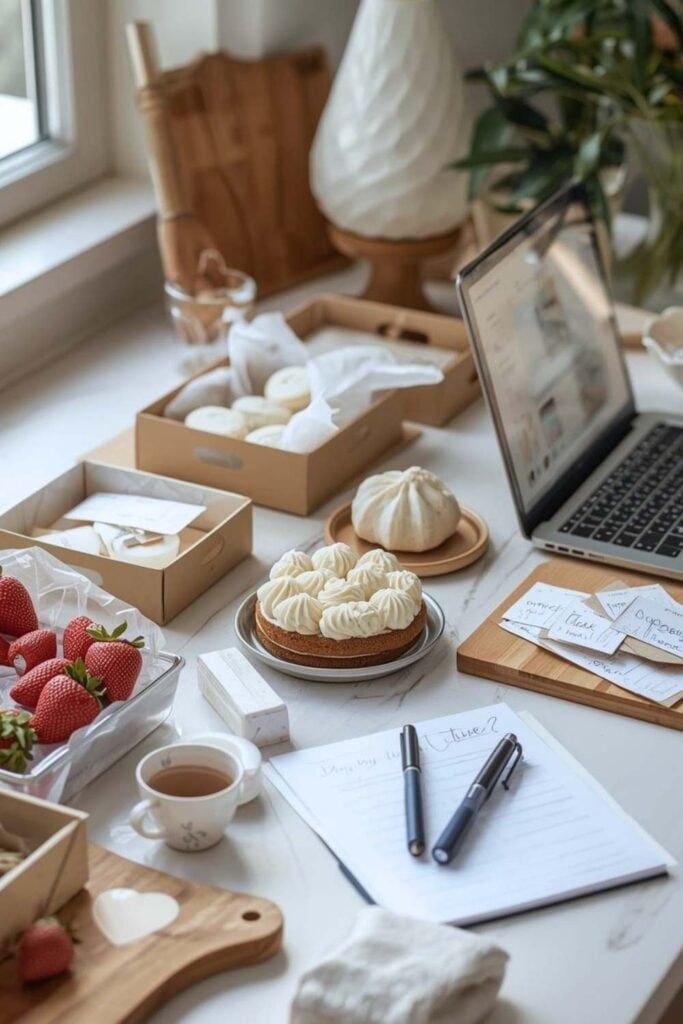
Home bakers who sell cakes, cookies, pastries, or desserts need organized packaging storage.
Keep boxes, bags, ribbons, stickers, labels, and tissue paper together.
Store flat packaging vertically when possible. Place smaller accessories inside labeled containers.
This setup can speed up order preparation considerably.
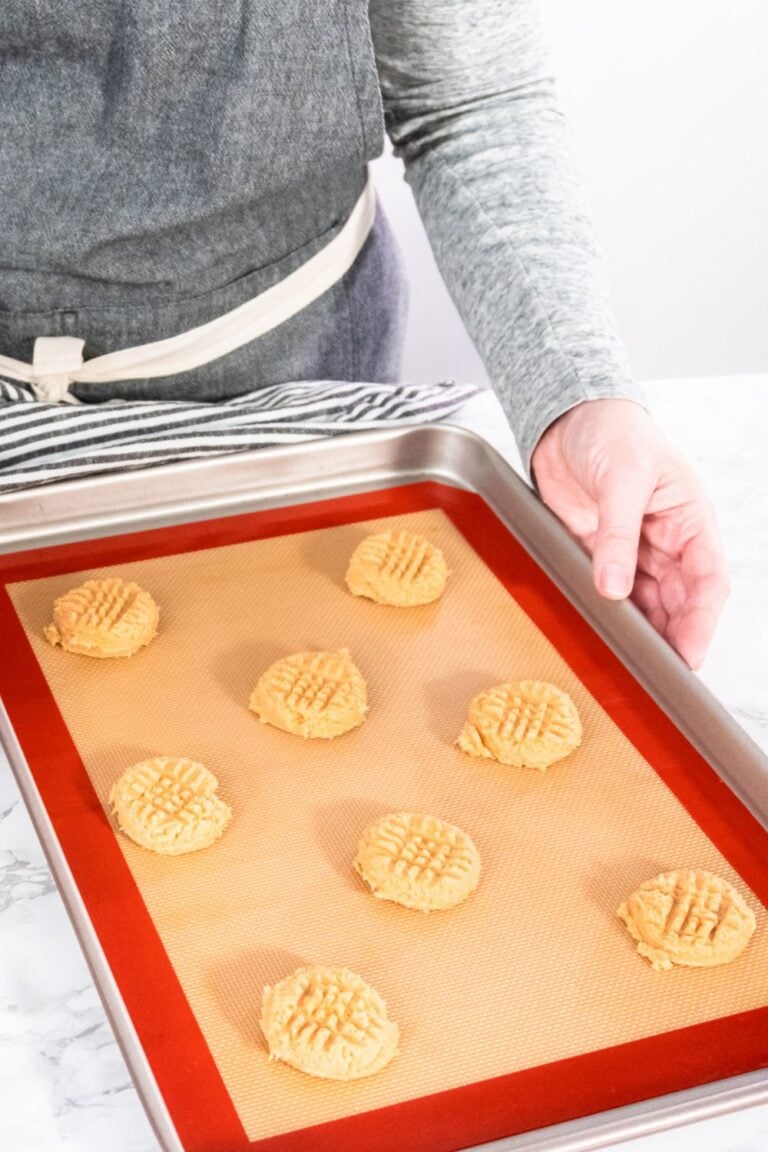
27. Add a Dedicated Parchment and Foil Area
Parchment paper, aluminum foil, and plastic wrap can consume valuable drawer space.
Use a mounted dispenser or narrow vertical organizer when suitable.
Keep parchment paper close to your baking pans. This placement makes preparation faster.
Avoid storing rolls where moisture or excessive heat could damage them.
28. Use a Small Cart for Decorating Equipment
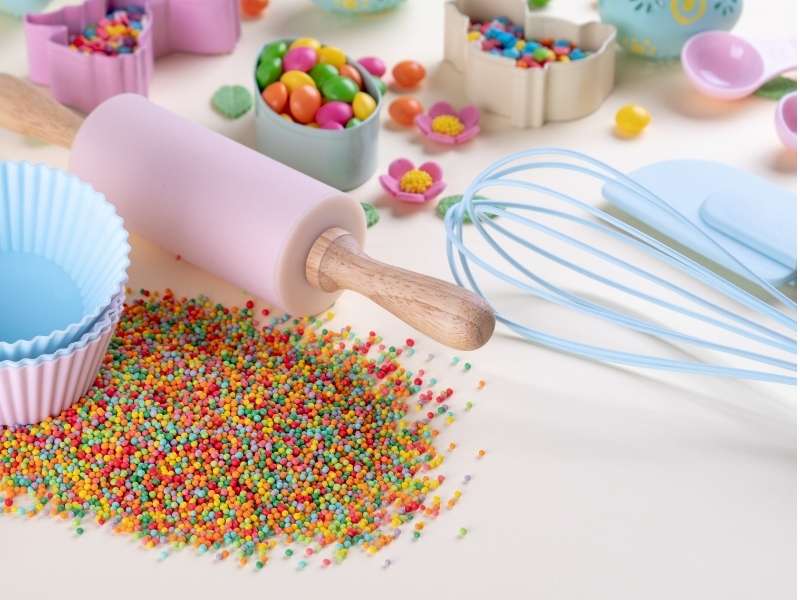
A second small cart can work as a mobile decorating station.
Keep piping bags, tips, turntables, spatulas, food coloring, and decorative supplies together.
Roll the cart near your workspace when decorating cakes. Return it to its storage position afterward.
This strategy prevents decorating equipment from spreading across the kitchen.
29. Keep Backup Ingredients Separate
Opening several packages of the same ingredient can create unnecessary clutter.
Keep unopened backup supplies in a separate pantry section. Move replacements into your main baking area as needed.
This arrangement also makes inventory easier.
For ingredients with specific storage requirements, check the Baking Ingredients Explained: What Every Ingredient Actually Does guide to better understand their roles and handling.
30. Label Shelves Instead of Only Containers
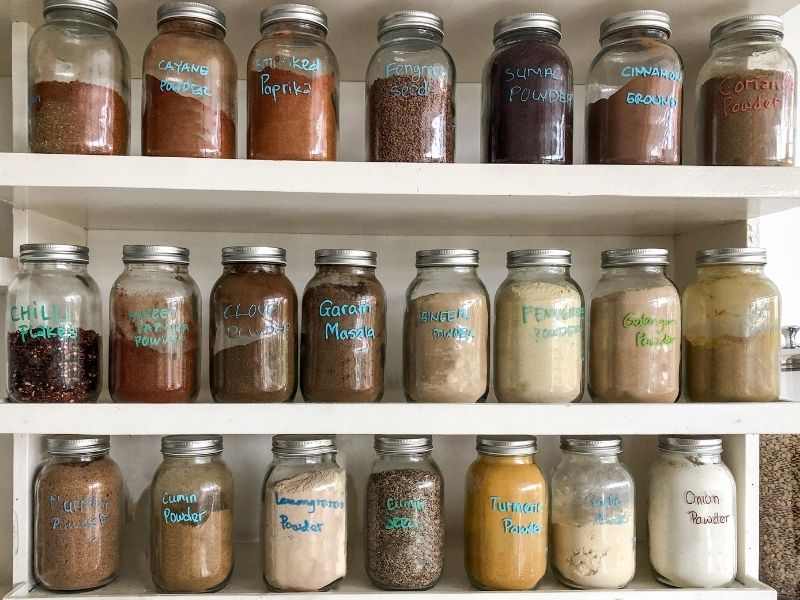
Shelf labels can help maintain an organization system shared by several people.
Use simple categories such as “Flours,” “Sugars,” “Decorating,” “Tools,” and “Pans.”
Labels should remain easy to read without creating visual clutter.
Once every category has an assigned home, returning supplies becomes much easier.
31. Keep Food Storage Containers Organized
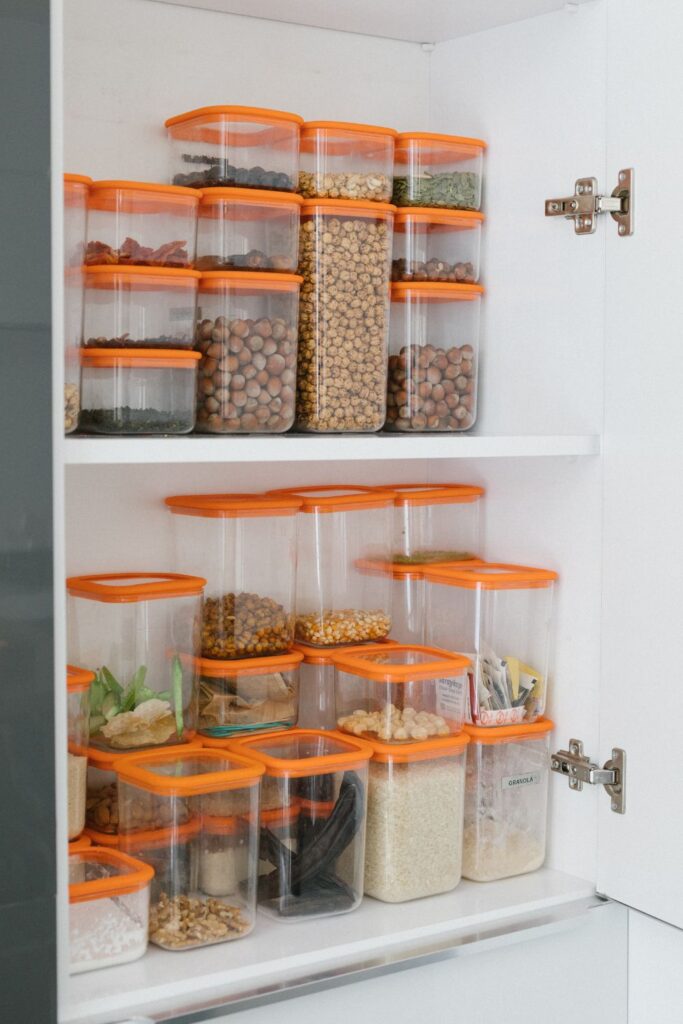
Food storage containers become frustrating when lids and bases separate.
Create one dedicated section for containers used to store ingredients or finished baked goods.
Nest containers by size and keep matching lids together.
For additional guidance, explore Best Food Storage Containers for Bakers when upgrading your collection.
32. Use Vertical Wall Space
Walls can provide storage without taking up cabinet or countertop space.
Install suitable shelves for lightweight baking supplies, cookbooks, or decorative storage containers.
Wall-mounted racks can also hold frequently used utensils.
Keep installations secure and avoid placing heavy equipment above areas where people regularly stand.
33. Maintain an Ingredient Rotation System
Good organization should prevent forgotten ingredients.
Place older products toward the front and newer purchases behind them. This simple rotation system encourages earlier use.
Check open packages regularly for freshness, spoilage, unusual odors, or pest activity.
A shelf that looks organized but contains forgotten ingredients still needs improvement.
34. Create a Baking Cleanup Station
Cleaning supplies can have their own designated location near the baking area.
Keep kitchen towels, reusable cloths, brushes, and suitable cleaning accessories together.
Avoid storing cleaning chemicals directly beside food ingredients.
A dedicated cleanup section encourages immediate cleanup after each baking session.
35. Use Narrow Organizers in Small Cabinets
Small cabinets benefit from slim storage solutions.
Narrow bins can hold extracts, food coloring, decorating tips, spices, or small packets.
Measure your available space before purchasing organizers. Height matters just as much as width.
Avoid filling narrow spaces so tightly that removing one item disturbs everything around it.
For additional ideas, explore Small Kitchen Baking Ideas for Limited Spaces.
Final Thoughts
Effective kitchen storage does not require a large pantry or expensive renovation. Small changes can make baking supplies easier to find and much easier to return.
Clear containers, vertical pan storage, drawer dividers, shelf risers, rolling carts, labeled bins, and dedicated baking zones can transform cluttered spaces.
The most useful system combines accessibility with realistic maintenance. Store frequently used supplies close to your workspace and move specialty items into less convenient areas.
Start with the cabinet, drawer, or shelf causing the most frustration. Once that space works better, repeat the same strategy throughout the kitchen.
A well-organized baking space gives every ingredient and tool a purpose, a location, and a simple path back home.