
Everything You Need to Start Baking Sourdough at Home
Disclosure: Some of the links in this post are affiliate links. This means if you click on the link and purchase an item, I will receive an affiliate commission at no extra cost to you.
Starting your sourdough baking journey can feel exciting, but the process may seem confusing at first. From creating a sourdough starter to choosing the right baking tools, there’s quite a lot to learn. You might wonder which ingredients to buy, how to feed your starter, and how to know when your dough has fermented enough. Thankfully, you don’t need an expensive kitchen or professional baking experience to get started.
With a few essential supplies, some patience, and a little practice, you can begin making delicious sourdough bread at home. A digital kitchen scale, mixing bowl, dough scraper, proofing basket, and suitable baking vessel can make your first attempts easier. You’ll also need basic ingredients like flour, water, and salt.
However, having the right equipment is only part of the journey. Understanding fermentation, dough handling, shaping, and baking will help you build confidence. Your first loaf might not look perfect, but every baking session teaches you something useful.
If you’re new to homemade bread, start with this beginner’s guide to baking bread at home to understand the basic techniques.
In this guide, we’ll explore everything you need to start baking sourdough at home, from essential ingredients and tools to starter care and helpful beginner tips.
1. Essential Ingredients for Baking Sourdough at Home
Before you start baking sourdough, you need a few basic ingredients. Thankfully, sourdough bread doesn’t require a long shopping list.
Bread Flour
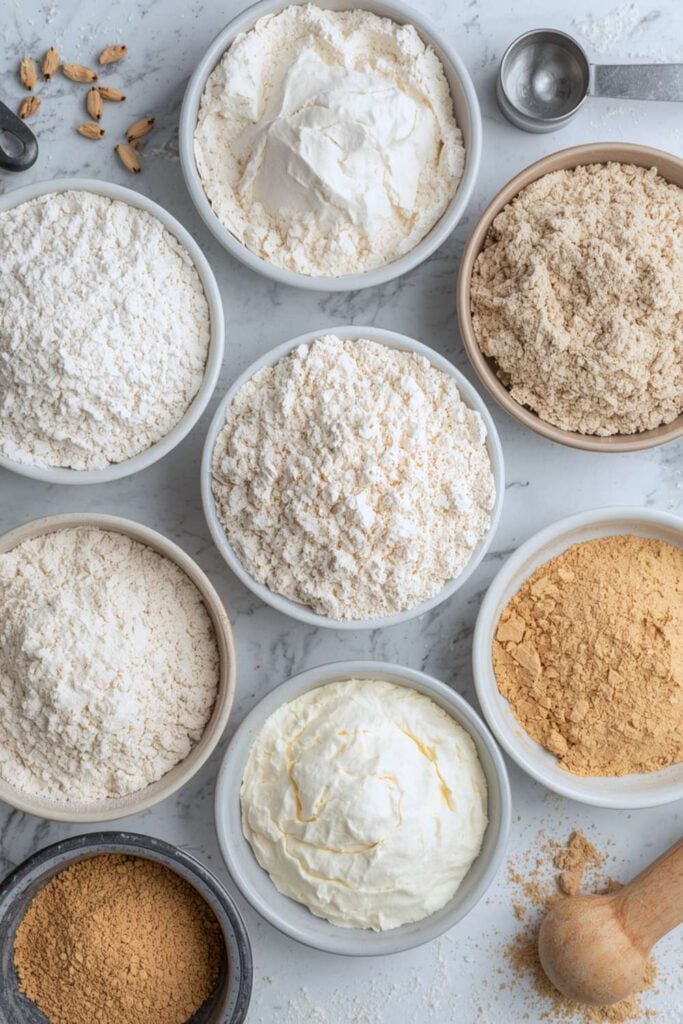
Bread flour is a popular choice for sourdough because it contains more protein than many regular flours. This helps develop gluten, which gives your dough structure and elasticity.
You can also experiment with other flour varieties as your skills improve. Learn more about different types of baking flour and when to use them.
Whole Wheat Flour
Whole wheat flour adds a deeper flavor to sourdough bread. It also contains more bran and germ than refined flour.
Many bakers use it alongside bread flour rather than relying on it entirely. This combination can create a flavorful loaf with a different texture.
Water
Water helps combine your ingredients and supports fermentation. You’ll use it when preparing your starter and mixing your dough.
Clean drinking water works well for most home baking routines. However, water quality can affect fermentation, so pay attention to how your starter behaves.
Salt
Salt adds flavor and helps regulate fermentation. It also contributes to the overall structure of your bread.
Use the amount specified in your recipe. Measuring accurately helps you maintain consistent results.
For more ingredient guidance, explore baking ingredients explained.
2. Sourdough Starter: The Most Important Ingredient
A sourdough starter is one of the first things you’ll need when making traditional sourdough bread.
It contains wild yeast and beneficial bacteria that develop through fermentation. These microorganisms help your bread rise and create its characteristic flavor.
You can make your starter using flour and water. However, it needs regular feeding and attention before it becomes strong enough for baking.
What You Need to Make a Sourdough Starter
- Flour
- Water
- A clean jar or container
- A kitchen scale
- A spoon or spatula
- A loose-fitting cover
How to Maintain Your Starter
Feed your starter regularly using flour and water. The feeding schedule depends on how you store it and how frequently you bake.
A healthy starter should show signs of activity, including bubbles and noticeable growth after feeding.
Avoid baking with a starter that hasn’t developed sufficient activity. Give it time to mature before relying on it for bread.
You can also read about eggs in baking and why they matter when exploring other baking ingredients, although traditional sourdough bread doesn’t require eggs.
3. Essential Tools for Baking Sourdough at Home
Having the right tools makes sourdough preparation easier. You don’t need every professional baking accessory, but several basic items can make a noticeable difference.
Digital Kitchen Scale
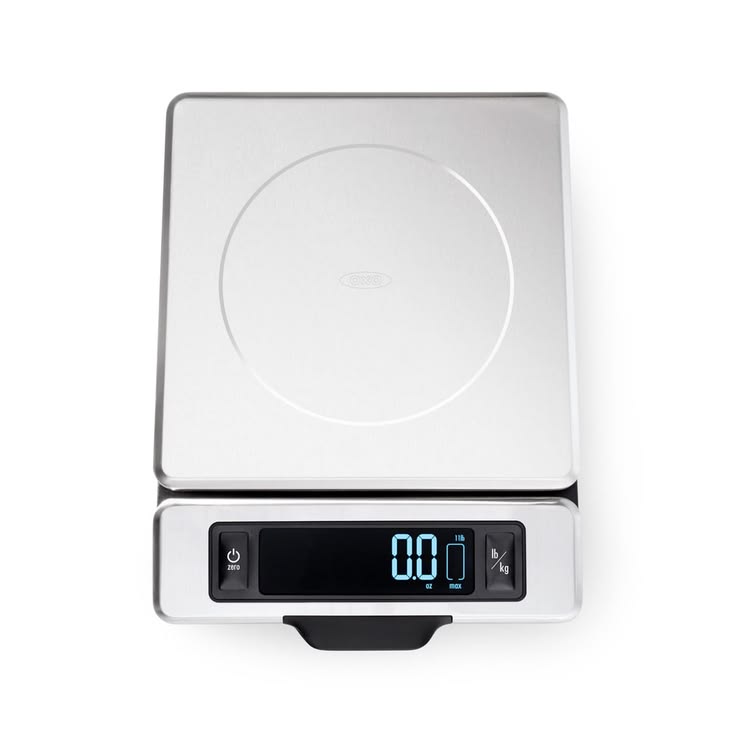
A digital kitchen scale helps you measure flour, water, and other ingredients accurately.
Sourdough recipes often use ingredient weights rather than cups. This makes a kitchen scale particularly useful.
Look for a scale with a clear display and suitable measurement capacity.
Large Mixing Bowl
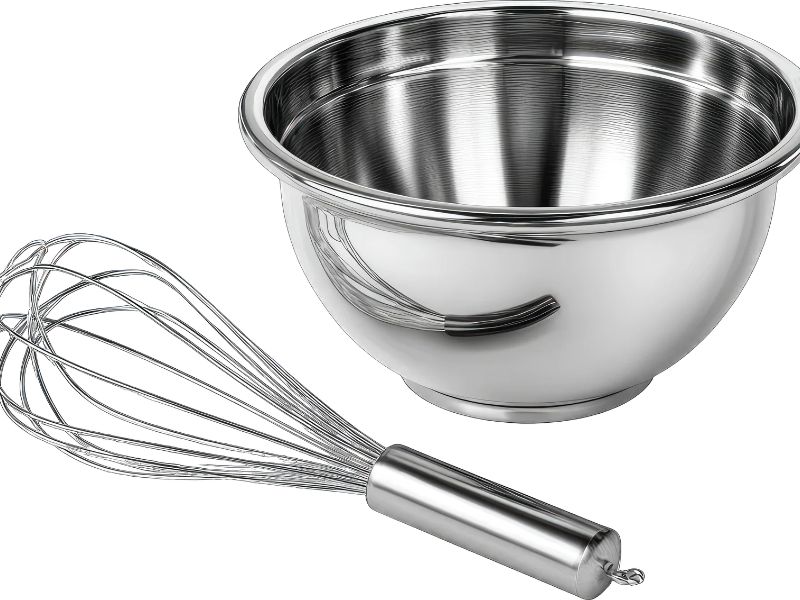
You’ll need a mixing bowl for combining ingredients and preparing your dough.
Choose one with enough room for mixing and dough expansion.
Glass, stainless steel, and food-safe plastic bowls can all serve this purpose.
Dough Scraper
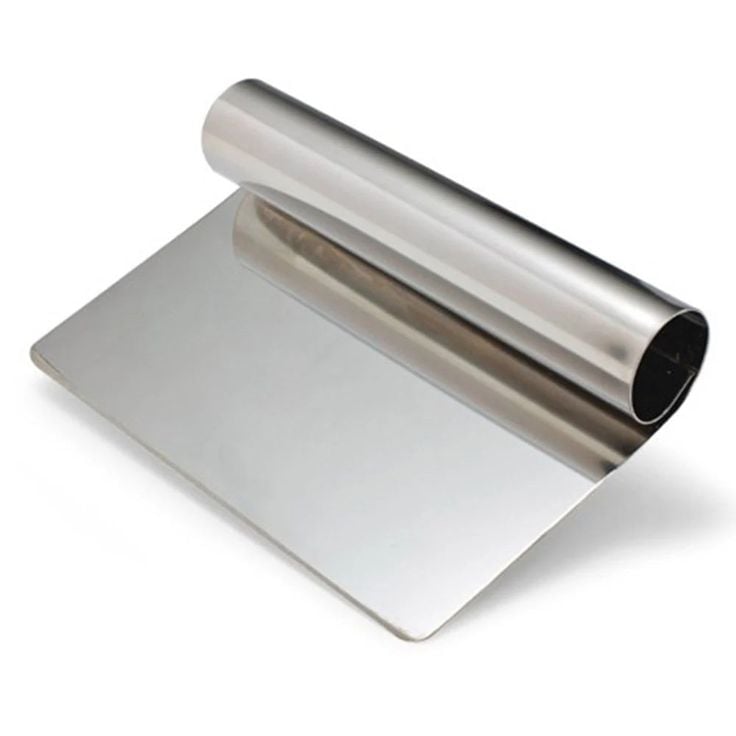
A dough scraper helps you handle sticky sourdough without making a mess.
You can use it to divide dough, lift it from your work surface, and clean away leftover dough.
Explore these best dough scrapers for bread bakers when choosing one.
Banneton Proofing Basket

A banneton basket supports shaped sourdough during its final proofing stage.
It helps maintain the dough’s shape before baking. Some baskets also create attractive patterns on the finished loaf.
Choose a suitable size for the amount of dough you usually prepare.
You can explore these best proofing baskets for sourdough for more ideas.
Bench Scraper
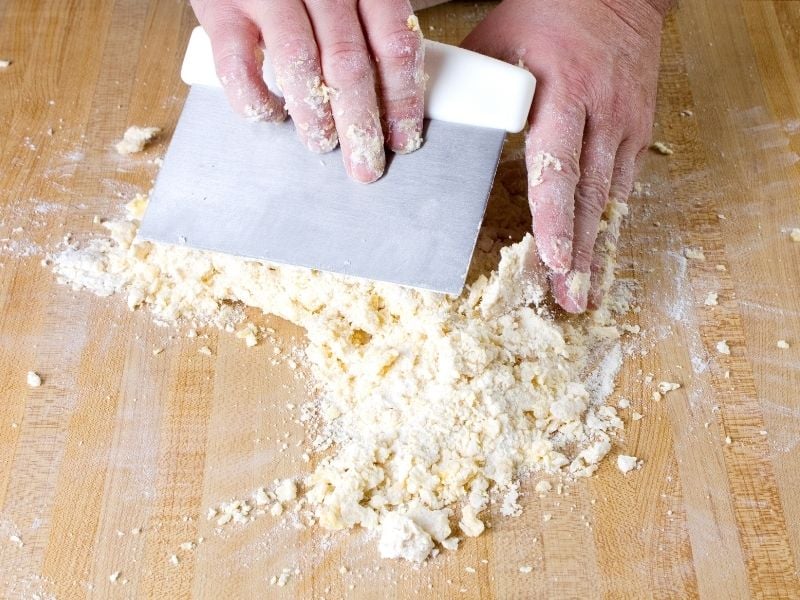
A bench scraper helps divide dough and move it around your work surface.
It also makes cleaning easier after kneading and shaping.
A sturdy scraper can become one of your most frequently used sourdough tools.
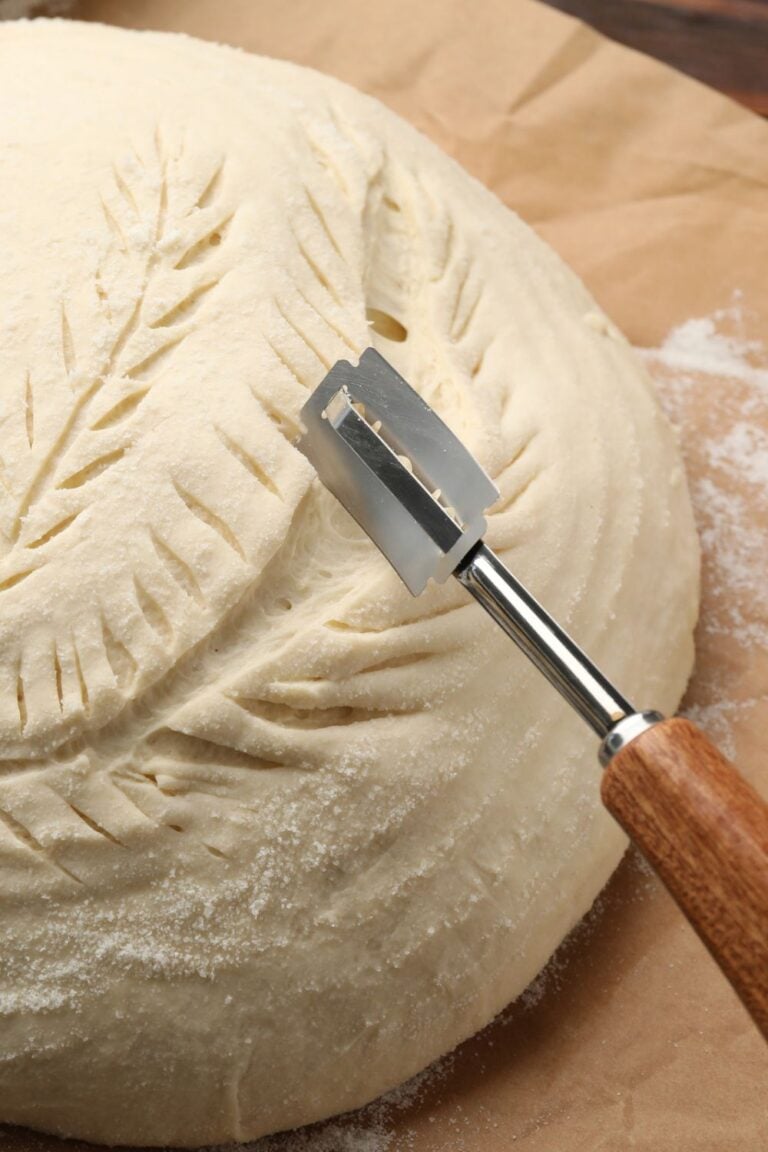
Lame or Bread Scoring Tool
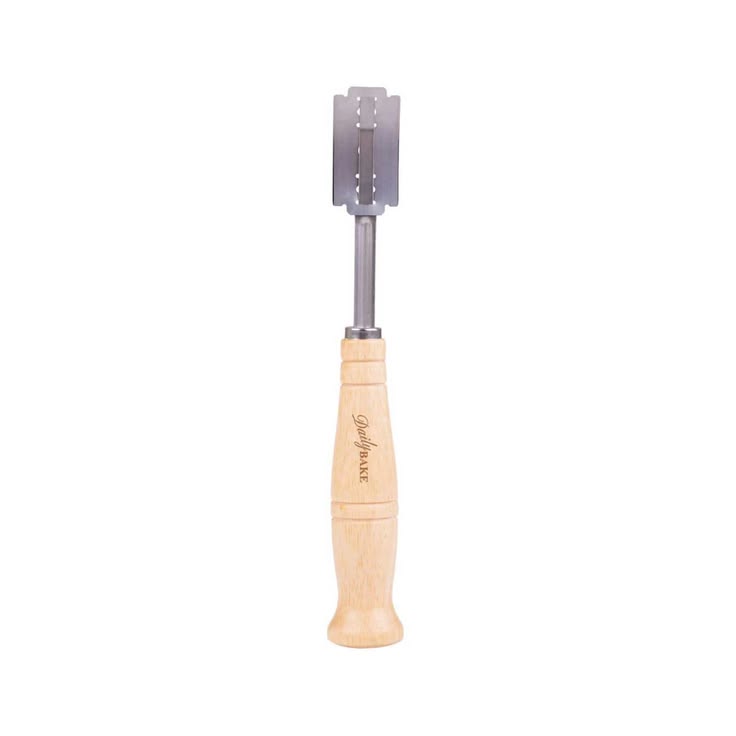
A bread lame helps you score sourdough before baking.
Scoring creates openings that allow the dough to expand during oven spring. It also gives your loaf a decorative finish.
Check out these best bread lames for sourdough when choosing a suitable tool.
Dough Whisk

A dough whisk helps combine flour and water during the initial mixing stage.
Its design makes it useful for mixing sticky dough without relying entirely on your hands.
You can also use a sturdy spoon or spatula if you prefer a simpler setup.
Kitchen Thermometer
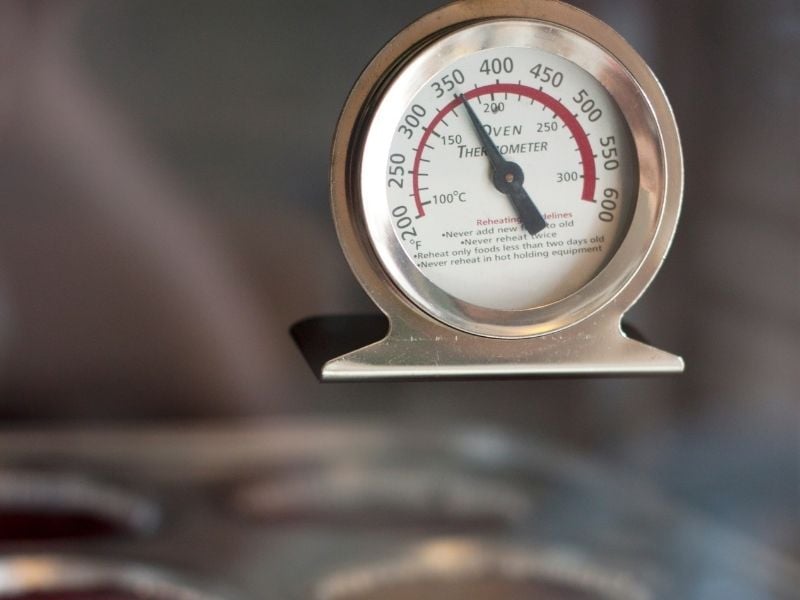
A kitchen thermometer helps you check temperatures during different baking stages.
You can use it to monitor water temperature and check the internal temperature of finished bread.
This gives you another way to understand how your baking process develops.
4. Baking Equipment for Sourdough Bread
After preparing your ingredients and dough, you’ll need suitable equipment for baking.
Dutch Oven
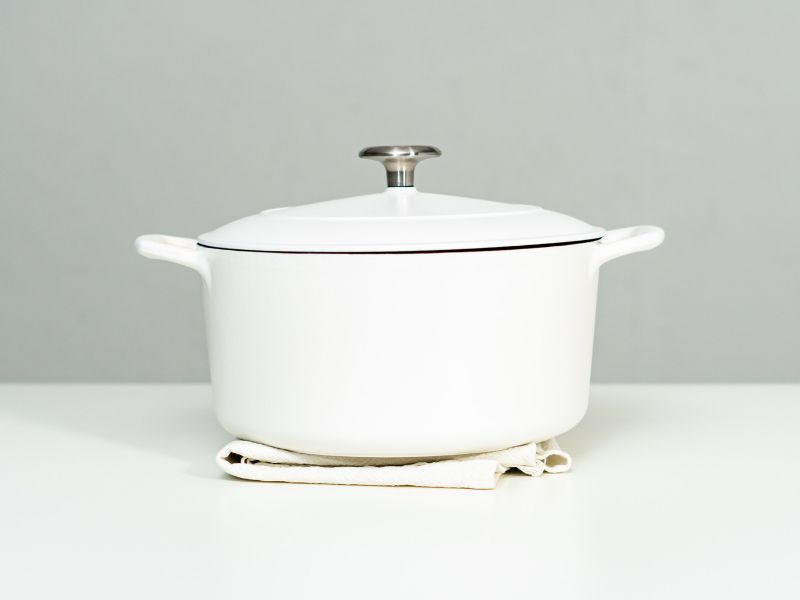
A Dutch oven is a popular choice for baking sourdough at home.
Its covered design helps trap steam during the early baking stage. This supports crust development and oven spring.
Choose one with suitable dimensions for your loaf.
Explore these best Dutch ovens for homemade bread before making your choice.
Baking Stone
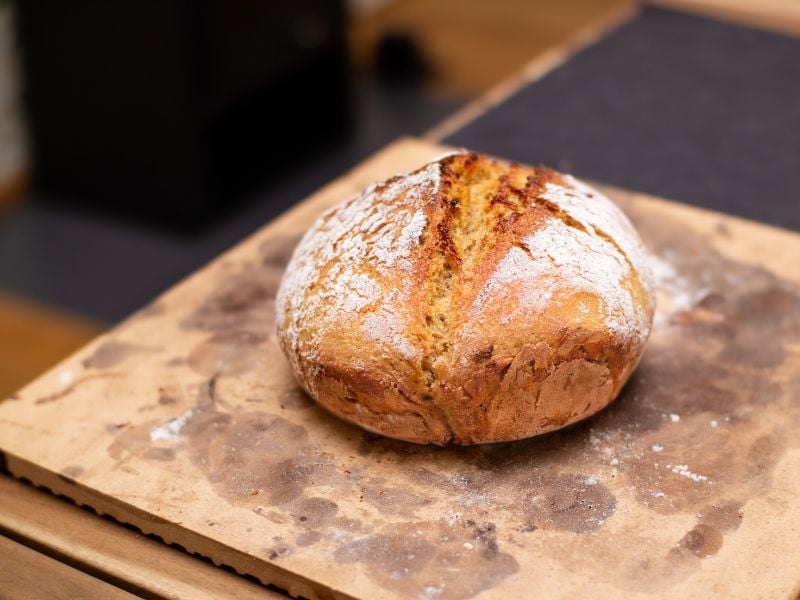
A baking stone provides a heated surface for baking bread.
It can help distribute heat during baking, depending on your oven and setup.
Always follow the manufacturer’s instructions when preheating and handling a baking stone.
Baking Steel

A baking steel offers another surface for baking bread and other dough-based recipes.
It stores heat and transfers it to the dough during baking.
However, baking steels can be heavy, so consider their dimensions and storage requirements.
Oven
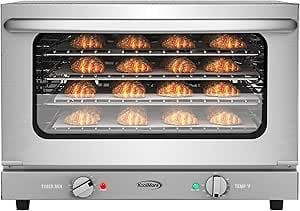
A reliable oven is essential for traditional sourdough baking.
You need an oven that can reach and maintain the temperatures required by your recipe.
Understanding your oven’s behavior can help you avoid uneven baking.
Read this guide to understanding baking temperatures before preparing your first loaf.
Cooling Rack
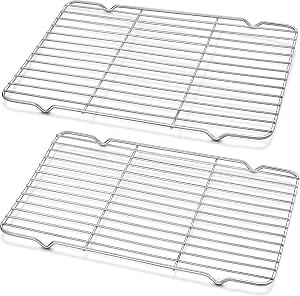
A cooling rack allows air to circulate around freshly baked bread.
Place your sourdough on the rack after removing it from the oven. This helps prevent trapped moisture underneath the loaf.
Avoid cutting into your bread immediately. Give it enough time to cool before slicing.
You can also explore these cookie cooling racks for perfectly baked cookies for general cooling equipment ideas.
Should You Buy a Bread Proofing Box?
A bread proofing box isn’t essential for every beginner. However, it can make dough fermentation easier to manage.
Room temperature changes can affect how quickly sourdough ferments. A proofing box gives you more control over the environment.
Some models offer adjustable temperature settings and timers. Others provide simple covered spaces for holding dough.
Before purchasing one, consider your baking frequency, budget, and available storage space.
If you want dedicated equipment, explore these best bread proofing boxes for perfectly risen homemade bread.
How to Make Your First Sourdough Starter
Making your first starter requires flour, water, and patience.
Here is a simple overview of the process.
Day 1: Combine Flour and Water
Add equal weights of flour and water to a clean jar.
Mix until everything combines into a thick paste. Cover the jar loosely and leave it at a suitable room temperature.
Day 2: Check for Activity
Look for small bubbles or changes in the mixture.
You might not notice much activity yet. That’s normal during the early stages.
Days 3–5: Begin Regular Feeding
Remove a portion of your starter and feed the remaining mixture with fresh flour and water.
Repeat according to your chosen starter schedule.
Days 6–7 and Beyond: Monitor Growth
Your starter should gradually become more active.
Look for consistent rising, bubbles, and a pleasant fermented smell.
Some starters take longer than seven days to become reliable. Continue feeding until yours shows consistent activity.
How to Make Your First Sourdough Bread
Once your starter becomes active, you can begin preparing your first loaf.
Follow your chosen recipe carefully because flour types and hydration levels affect the process.
Step 1: Measure Your Ingredients
Use a digital scale to measure your flour, water, starter, and salt.
Accurate measurements help you follow the recipe consistently.
Step 2: Mix the Dough
Combine the ingredients according to your recipe.
Mix until the flour absorbs the water and the ingredients come together.
Step 3: Allow the Dough to Rest
Some recipes include an initial resting stage called autolyse.
This allows flour and water to combine before you add the remaining ingredients.
Follow your recipe’s instructions for this stage.
Step 4: Perform Stretch and Folds
Stretch and folds help develop dough strength.
Pull one side of the dough upward and fold it toward the center. Repeat around the dough as directed by your recipe.
Step 5: Complete Bulk Fermentation
Allow the dough to ferment until it shows the signs described in your recipe.
Watch for increased volume, bubbles, and a more developed structure.
Step 6: Shape Your Dough
Transfer the dough to a lightly floured surface.
Shape it carefully to create surface tension. Then place it inside a suitable proofing basket.
Step 7: Complete the Final Proof
Allow the shaped dough to proof according to your recipe.
Some recipes use room-temperature proofing, while others include refrigeration.
Step 8: Score and Bake
Turn your dough onto a suitable baking surface.
Use a bread lame to score the top. Transfer it into your preheated baking vessel and follow your recipe’s baking instructions.
Step 9: Cool Before Slicing
Remove your finished bread and place it on a cooling rack.
Allow it to cool properly before slicing.
For more baking guidance, explore how to know when your cake is properly baked. The principles of checking doneness are useful across baking, although bread requires its own indicators.
Common Sourdough Problems Beginners May Experience
Your first sourdough loaves might not turn out exactly as expected.
However, understanding common problems can help you improve with every attempt.
Your Starter Doesn’t Rise
An inactive starter may need more time, consistent feeding, or a more suitable environment.
Check your feeding routine and the type of flour you use.
Your Dough Feels Too Sticky
High-hydration dough can feel difficult to handle.
Use a dough scraper and follow your recipe’s handling instructions.
Avoid adding too much extra flour because it can change your dough’s hydration.
Your Bread Doesn’t Rise
Several factors can affect bread fermentation.
Your starter may lack sufficient activity, or your dough may need more fermentation time.
Read why bread doesn’t rise and common reasons for more troubleshooting ideas.
Your Bread Turns Out Dense
Dense sourdough may result from fermentation problems, weak dough development, or shaping difficulties.
Pay attention to your starter activity and dough development.
Your Crust Becomes Too Hard
Baking temperature and time can affect crust texture.
Follow your recipe’s instructions and allow the bread to cool properly.
For more practical advice, explore how to keep pastries crispy after baking.
Your Bread Spreads During Baking
Dough that lacks sufficient strength may spread instead of holding its shape.
Pay attention to shaping, fermentation, and dough handling.
How to Store Homemade Sourdough Bread
Proper storage helps your sourdough stay enjoyable after baking.
Allow your loaf to cool completely before storing it.
For short-term storage, use a suitable bread bag or bread container. Avoid sealing warm bread because trapped moisture can affect its texture.
You can freeze suitable portions if you want to store bread for longer.
Slice the loaf before freezing if you prefer taking out individual portions.
For more storage advice, explore how to store baked goods to keep them fresh.
You can also learn more about the shelf life of common baking ingredients.
How to Build a Sourdough Baking Setup on a Budget
Starting sourdough baking doesn’t require an expensive kitchen.
Focus on the equipment that supports your most important baking tasks.
Begin with:
- A digital kitchen scale.
- A mixing bowl.
- A clean starter jar.
- A dough scraper.
- A suitable proofing basket.
- An oven.
- A baking vessel.
- A cooling rack.
You can purchase additional tools as your experience grows.
For example, a bread lame and proofing box can become useful additions later.
Avoid buying equipment simply because it looks attractive. Choose tools that solve actual problems in your baking routine.
These budget baking ingredients that give results can also help you manage your spending.
Tips for Getting Better at Sourdough Baking
Sourdough baking improves with practice.
You don’t need to master every technique during your first attempt.
Use these simple tips to build confidence.
- Keep your starter on a consistent feeding schedule.
- Measure ingredients using a digital scale.
- Follow recipes carefully when starting.
- Monitor dough development instead of relying only on time.
- Keep notes about your fermentation results.
- Learn how different flours affect dough texture.
- Avoid changing several recipe variables at once.
- Give your bread enough time to cool.
- Clean your baking equipment after each session.
- Practice shaping and scoring regularly.
You can also explore these baking confidence tips for complete beginners as you develop your skills.
Frequently Asked Questions About Starting Sourdough Baking
What do I need to start baking sourdough at home?
You’ll need flour, water, salt, an active sourdough starter, a mixing bowl, and a digital kitchen scale.
A proofing basket, dough scraper, bread lame, and suitable baking vessel can also help.
Can beginners bake sourdough without special equipment?
Yes. You can begin with basic kitchen tools and a suitable oven.
You don’t need a professional proofing cabinet or expensive baking equipment.
How long does it take to make a sourdough starter?
Many starters need around a week or longer to develop reliable activity.
The exact time depends on feeding, temperature, flour, and other conditions.
Do I need a Dutch oven for sourdough?
No, but a Dutch oven can make home sourdough baking easier.
Its covered design helps trap steam during the early baking stage.
What flour works best for sourdough?
Bread flour is a popular choice because its protein content supports gluten development.
Whole wheat flour can also add flavor and variety.
Can I use regular kitchen bowls for sourdough?
Yes. A suitable mixing bowl works well for preparing dough.
You can also use appropriate containers for fermentation.
How often should I feed my sourdough starter?
Your feeding schedule depends on how you store your starter and how frequently you bake.
Follow a consistent routine that suits your storage conditions.
Why does my sourdough bread taste too sour?
Flavor depends on fermentation time, starter condition, temperature, and your recipe.
Experiment gradually to find a flavor you enjoy.
Can I freeze homemade sourdough bread?
Yes. Allow the bread to cool completely before freezing.
You can freeze whole loaves or individual slices in suitable freezer packaging.
How can I make my sourdough crust better?
Proper fermentation, shaping, scoring, and baking conditions all influence crust development.
Follow a reliable recipe and adjust your technique gradually.
Final Thoughts
Starting sourdough baking at home becomes easier when you understand the ingredients, tools, and basic techniques.
You don’t need an expensive baking setup to make your first loaf. A healthy starter, good flour, accurate measurements, and suitable baking equipment provide a solid foundation.
Take your time learning fermentation and dough handling. Your first attempts may involve a few mistakes, but every loaf gives you an opportunity to improve.
Start with the essentials, practice consistently, and enjoy the process of making homemade sourdough bread.