Why Is My Pie Crust Tough? Common Reasons Explained
Disclosure: Some of the links in this post are affiliate links. This means if you click on the link and purchase an item, I will receive an affiliate commission at no extra cost to you.
A tough pie crust can turn an otherwise delicious pie into a disappointing dessert. Instead of breaking into tender, flaky layers, the crust may feel chewy, dense, hard, or difficult to cut. Several small decisions during preparation can create this problem, including overworking the dough, adding too much flour, using warm butter, measuring ingredients inaccurately, or baking at an unsuitable temperature. Understanding the reason behind the problem makes it much easier to prevent it next time.
Pie crust belongs to the wider world of pastry, which includes many textures and preparation methods. Exploring Different Types of Pastries can help you understand why some doughs should remain tender while others need strong structure or distinct layers. For beginners, 17 Pie Baking Mistakes That Ruin Perfect Crusts provides additional guidance for identifying common crust problems.
This guide breaks down the most common reasons pie crust becomes tough and explains how to fix each one. You will learn how flour, water, butter, mixing, rolling, chilling, shaping, and baking affect your crust. With a few simple adjustments, you can create a pie crust that feels tender, flaky, and easy to slice.
Why Is My Pie Crust Tough?
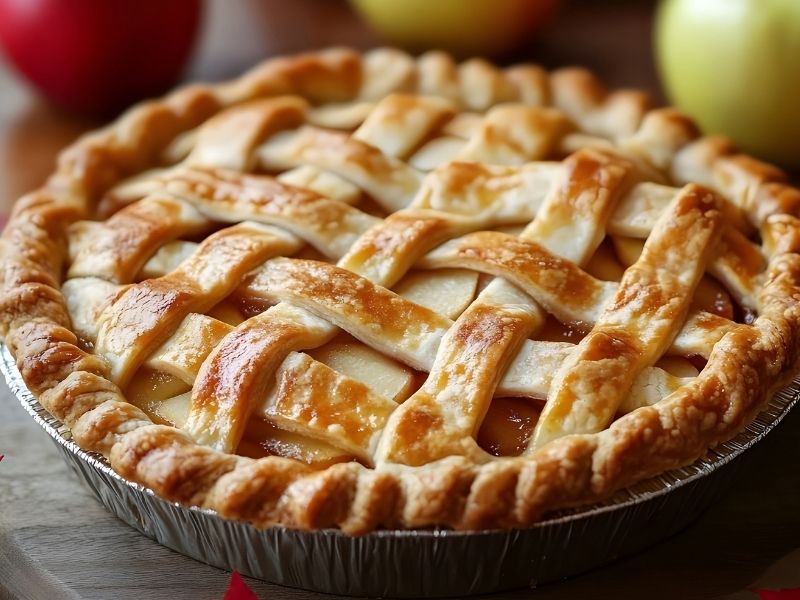
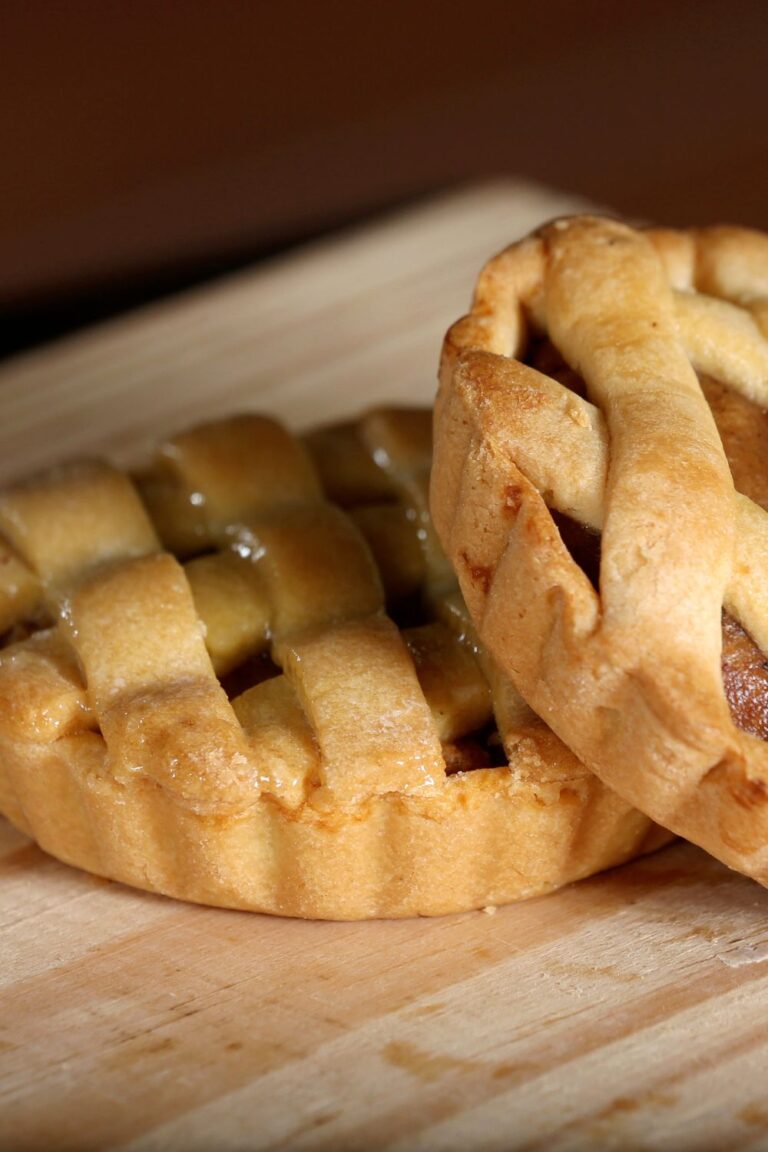
A homemade pie crust should generally feel tender and flaky rather than chewy or hard.
When your crust turns tough, the problem usually begins before the pie enters the oven.
The dough may have developed too much gluten.
The butter may have become too warm.
Too much flour may have been added.
The dough may have received excessive handling.
Even the baking temperature can influence the final texture.
The good news is that most tough-crust problems are easy to identify once you understand what happened.
Pie dough does not require extensive kneading.
It needs enough mixing to bring the ingredients together while keeping the structure delicate.
That difference separates pastry dough from bread dough.
1. You Overworked the Dough
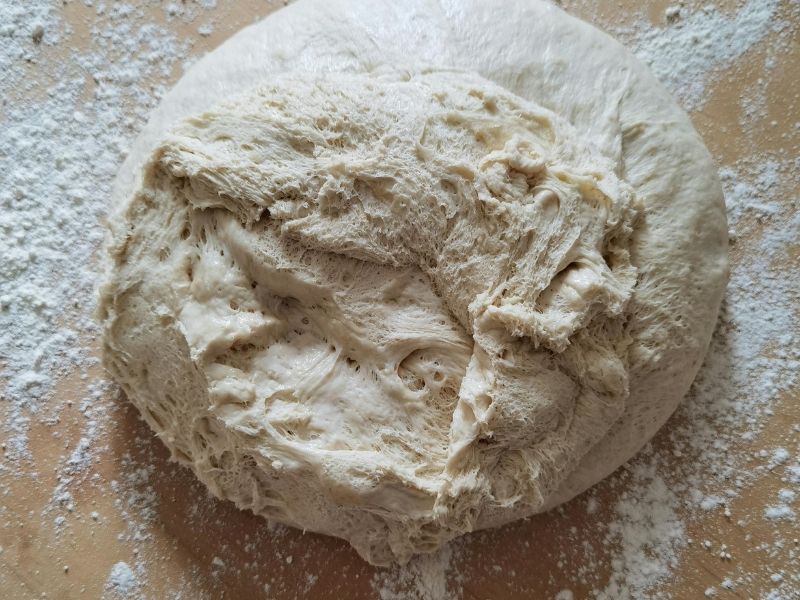
Overworking is one of the most common reasons for a tough pie crust.
When flour comes into contact with water, gluten begins developing.
Gluten provides structure and elasticity.
That quality is useful in bread.
Pie crust generally needs less gluten development because excessive gluten can create a chewy texture.
Every time you mix, knead, press, or roll the dough, you create opportunities for gluten development.
The goal is to bring the dough together without treating it like bread dough.
Once the dough holds together, stop mixing.
You may still see small streaks or pieces of butter.
That is not necessarily a problem.
Those pieces can help create flaky layers during baking.
For more information about techniques such as mixing, folding, and kneading, read Baking Terms Explained (Fold, Cream, Knead & More For Beginners).
2. You Added Too Much Water
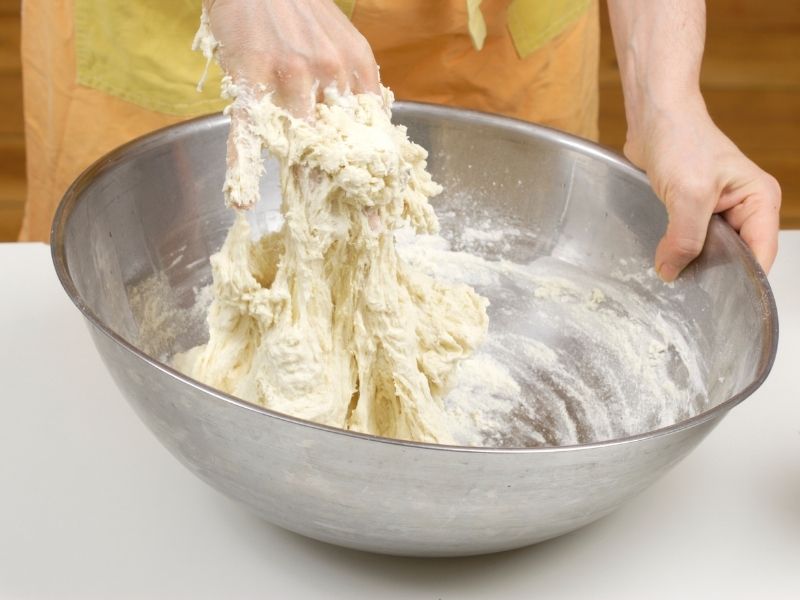
Water is necessary because it brings the flour and fat together.
However, adding more water than necessary can encourage gluten development.
This can make the dough tougher.
Many beginners add extra water because the dough looks crumbly.
Pie dough does not always need to look perfectly smooth before chilling.
A crumbly mixture can come together when pressed gently.
Add water gradually.
Use only enough to make the dough hold together.
If your recipe gives a specific amount, begin with the recommended quantity.
Environmental conditions can affect how much liquid the flour absorbs.
Humidity, flour type, and measuring technique can all make a difference.
3. You Added Too Much Flour
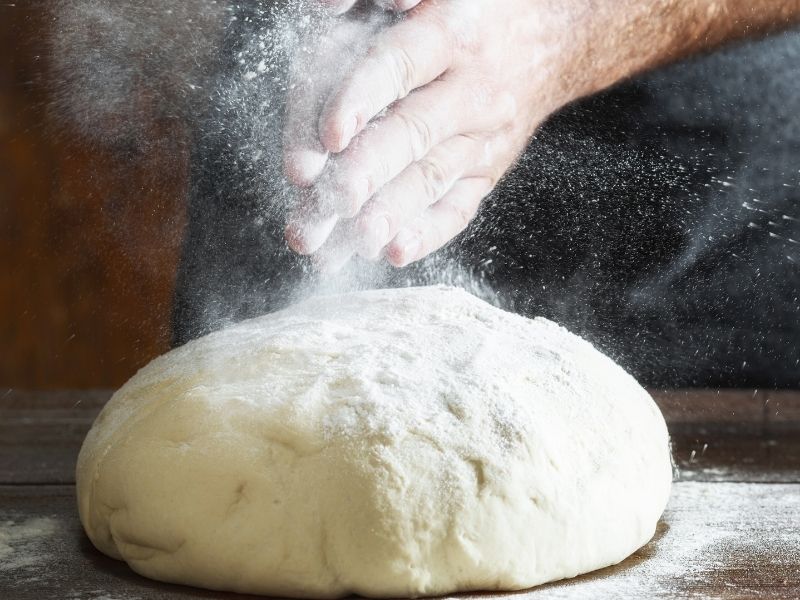
Excess flour can make pie crust dry and tough.
This often happens during rolling.
A baker sees sticky dough and keeps dusting the work surface with flour.
Eventually, significant amounts of flour become incorporated into the dough.
That changes the original ingredient ratio.
The dough becomes firmer and less tender.
Use a light dusting instead.
If the dough becomes sticky, chilling it may be a better solution than repeatedly adding flour.
A bench scraper can also help lift the dough from the counter without requiring large amounts of flour.
Your flour choice matters too. Types of Baking Flour and When to Use Them explains how different flour varieties can affect baked results.
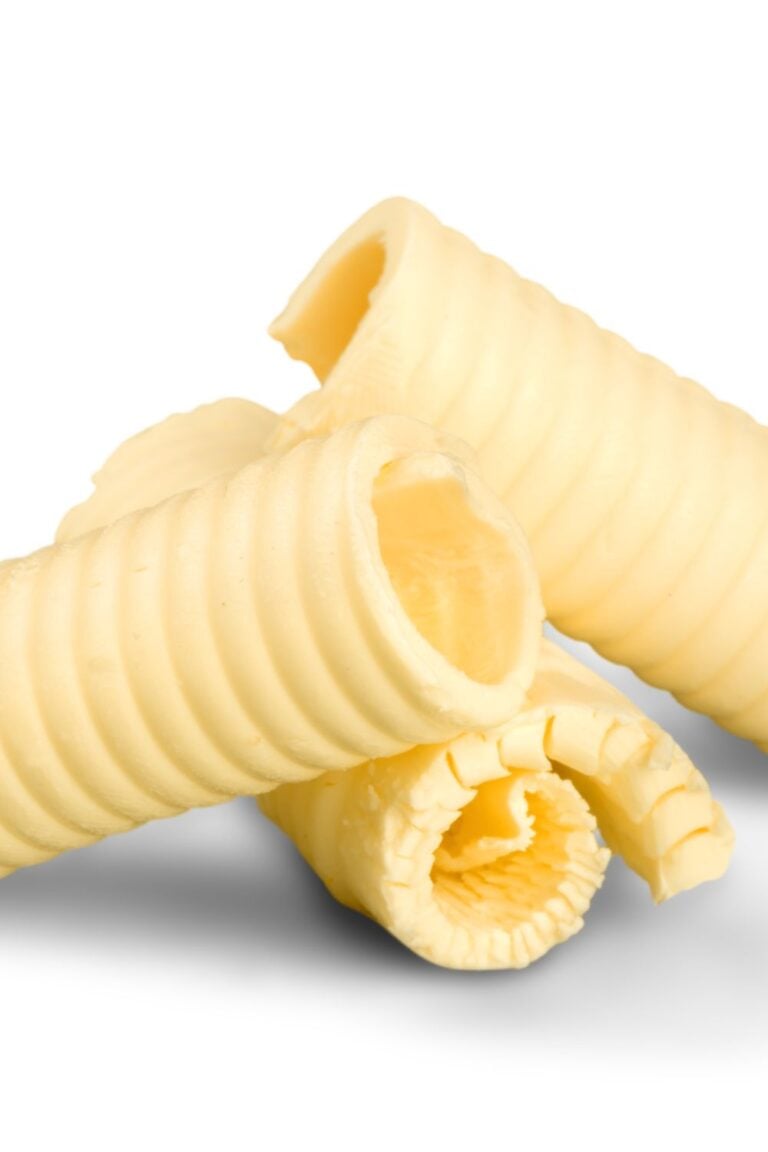
4. Your Butter Was Too Warm
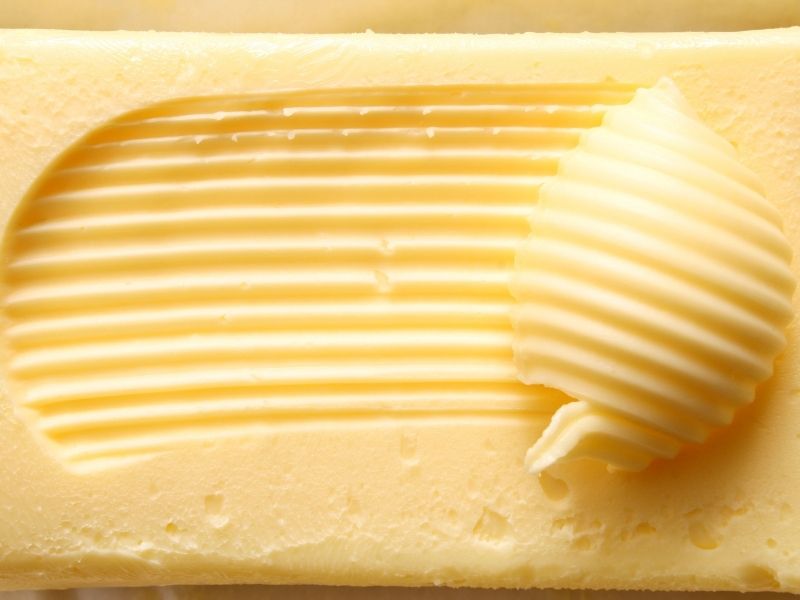
Butter temperature plays an important role in pastry.
Cold butter creates separation between fat and flour.
During baking, water inside the butter turns into steam.
That steam helps create flaky pockets.
When butter becomes too warm during preparation, it can blend too thoroughly into the flour.
The result may be a denser crust.
Warm butter can also make the dough greasy and difficult to handle.
Work quickly when preparing the dough.
If your kitchen is warm, refrigerate the dough before rolling.
You can also chill the butter and mixing bowl beforehand.
Butter should remain firm but workable.
It should not be melted or excessively soft.
Understanding how different fats behave can improve your pastry technique. Butter vs Margarine in Baking: Does It Really Matter? explains the differences between these common baking fats.
5. You Used the Wrong Butter-to-Flour Ratio
The amount of fat affects the texture of pie crust.
Too little fat can create a drier, firmer crust.
Too much fat can make the dough difficult to handle.
Recipes are formulated around particular ingredient ratios.
Changing those proportions casually can affect the final result.
This becomes especially important when substituting ingredients.
For example, replacing butter with another fat may change moisture content and texture.
Follow the recipe carefully until you understand how each ingredient affects the dough.
For more guidance on replacing missing ingredients, see Baking Substitutions Guide (When You’re Missing Ingredients).
6. Your Measurements Were Inaccurate
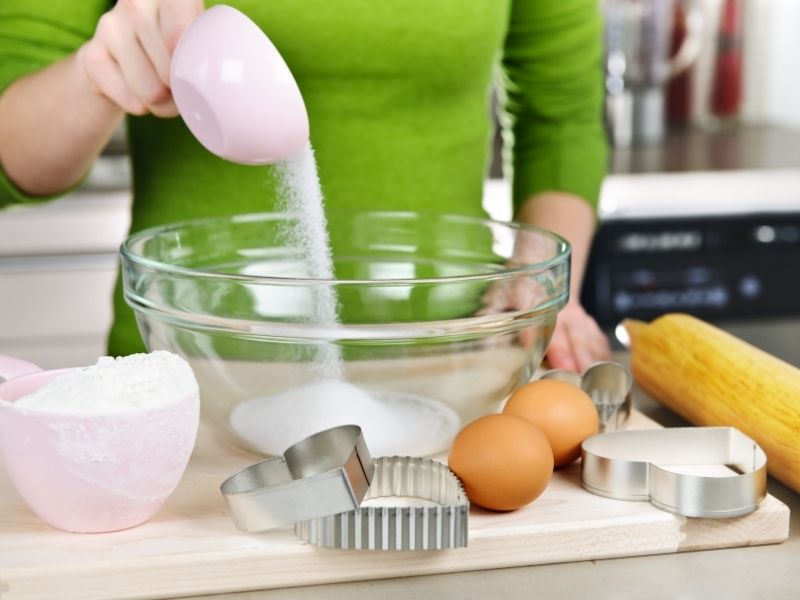
Measurement errors can quickly affect pastry dough.
Adding extra flour is especially easy when using cups.
Flour can become compressed inside a measuring cup.
That means one person may use significantly more flour than another while technically using the same cup measurement.
A kitchen scale provides greater accuracy.
Weighing ingredients helps maintain the intended flour-to-fat-to-liquid ratio.
This can make your results much more consistent.
If you prefer volume measurements, spoon flour lightly into the measuring cup and level the surface.
Avoid scooping directly from a tightly packed flour container.
Accurate measurement is one of the simplest ways to improve homemade pastry.
7. You Kneaded the Dough Like Bread
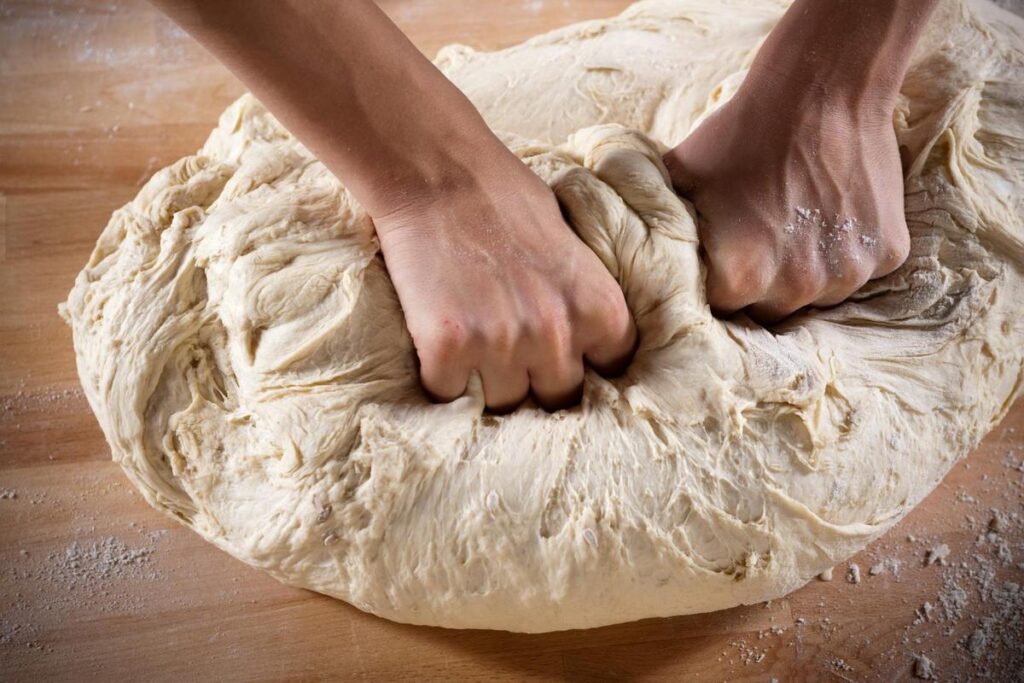
Pie dough should not be kneaded like bread dough.
Bread requires gluten development.
Pie crust generally benefits from limited gluten development.
Kneading stretches and strengthens the gluten network.
That creates elasticity and chewiness.
Instead, gently press and fold the dough until it holds together.
You may need to press loose pieces together with your hands.
That is very different from repeatedly kneading the dough.
If you’re still learning basic baking techniques, Easy Baking Skills Every Home Baker Should Master First can help you understand how different doughs should be handled.
8. You Rolled the Dough Too Many Times
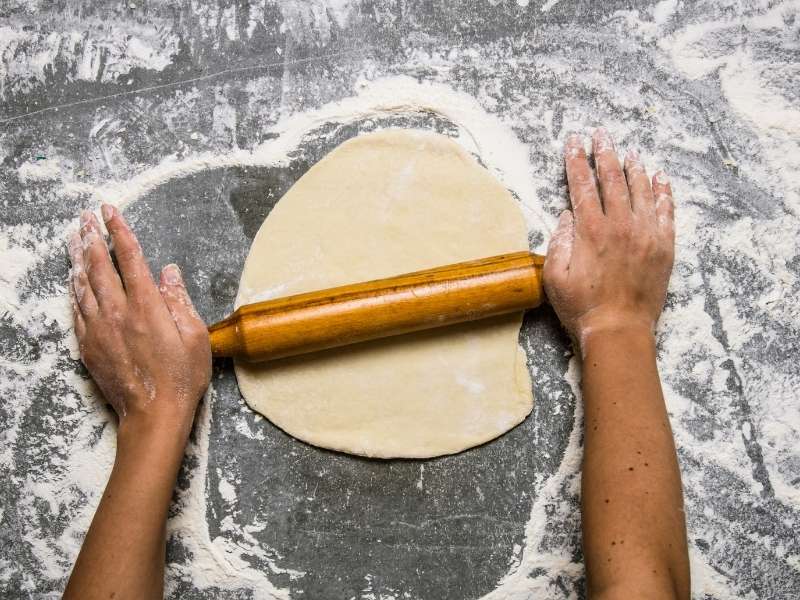
Repeated rolling can make pastry tougher.
Every time you gather scraps and roll them again, you introduce additional flour and handling.
The first roll usually produces the most tender pastry.
Cut your shapes efficiently.
If you are making decorative strips, plan your cuts before rolling.
When scraps must be reused, press them together gently.
Do not knead them aggressively.
Second-round dough may be slightly less tender than the first.
This is why experienced bakers try to minimize waste during shaping.
9. You Pressed Too Hard While Rolling
Rolling pastry requires controlled pressure.
Heavy pressure can compress the butter.
It can also make the dough thinner in some areas and thicker in others.
Start from the center.
Roll outward with moderate pressure.
Rotate the dough periodically.
Check the thickness as you work.
If the dough resists rolling, stop.
Allow it to rest for a few minutes.
Forcing the dough can create additional gluten tension.
A short rest can make it easier to roll without excessive pressure.
10. You Did Not Chill the Dough
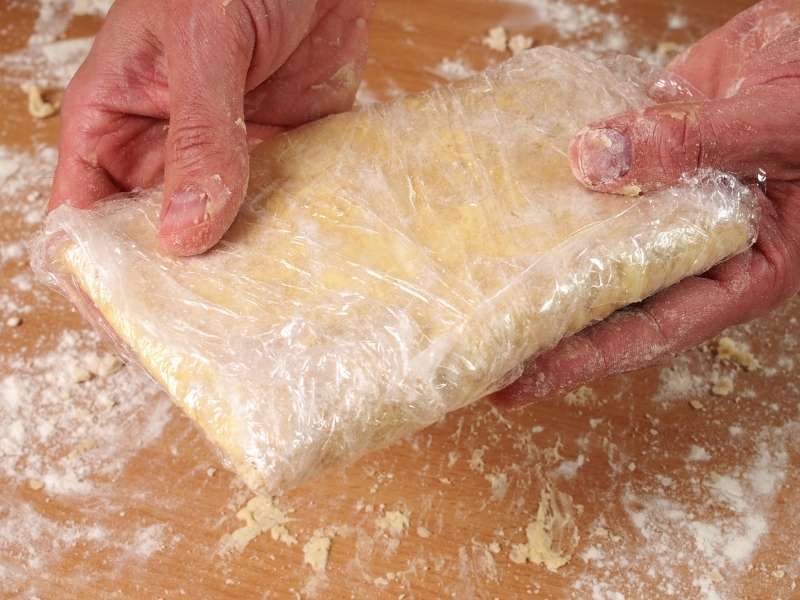
Chilling serves several purposes.
It firms the butter.
It relaxes gluten.
It makes the dough easier to handle.
It also helps the crust maintain its shape during baking.
After mixing, chill the dough before rolling if the recipe recommends it.
You may also need to chill the shaped crust before baking.
This is particularly helpful in warm kitchens.
Skipping chilling can produce dough that becomes soft and difficult to manage.
If your pastry repeatedly loses its shape, temperature may be part of the problem.
11. You Stretched the Dough Into the Pie Pan
Stretching dough can create problems.
When you pull the dough to make it fit the pan, you create tension.
That tension can cause the pastry to shrink during baking.
Instead, gently lower the dough into the pan.
Allow it to settle naturally into the corners.
Avoid pulling the edges.
Trim excess dough after it has been positioned correctly.
A relaxed crust is more likely to hold its shape.
This technique becomes especially important for deep-dish pies and tart shells.
12. You Did Not Let the Dough Rest
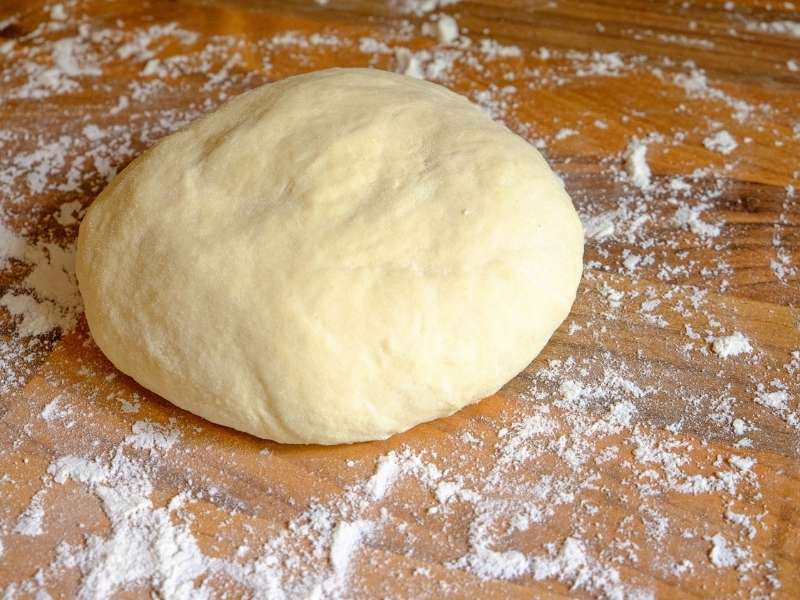
Resting allows gluten to relax.
Even if you handled the dough carefully, rolling can create tension.
A rest gives the dough time to relax before baking.
This can make the pastry easier to shape.
It may also reduce shrinkage.
Wrap the dough and refrigerate it according to your recipe.
Avoid leaving uncovered dough exposed to the refrigerator for long periods.
The surface can dry out.
Proper resting is a small step that can produce a noticeable difference.
13. Your Oven Temperature Was Too Low

Baking temperature affects pastry structure.
An oven that is too cool may allow butter to melt before the crust develops enough structure.
The pastry can become greasy rather than crisp.
A properly heated oven helps the crust set at the right stage.
Always preheat the oven.
Do not rely entirely on the oven’s displayed temperature.
Some ovens run hotter or cooler than their settings suggest.
An inexpensive oven thermometer can help you identify temperature differences.
For a deeper explanation, Understanding Baking Temperatures for Better Results explains how temperature affects baking outcomes.
14. You Baked the Pie for Too Long
Overbaking can also create a hard crust.
The longer pastry remains exposed to heat, the more moisture it loses.
A crust that starts tender can become dry and firm when baked excessively.
Watch the color carefully.
A golden-brown crust usually indicates good browning.
Very dark edges may indicate excessive baking.
Use the recipe’s timing as a guide rather than an absolute rule.
Ovens vary.
Pan material also affects baking speed.
Begin checking your pie near the lower end of the suggested baking time.
15. Your Pie Filling Was Too Wet
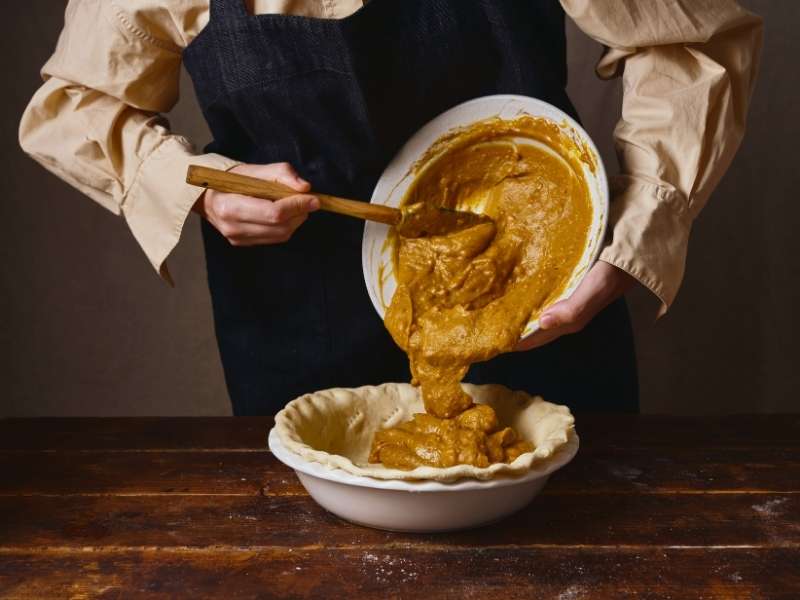
A soggy filling is usually associated with a soft crust, but excessive moisture can also complicate pastry texture.
Fruit releases liquid as it cooks.
Custards contain significant moisture.
If the filling is not properly prepared, moisture can migrate into the crust.
A crust that stays wet for too long may not bake properly.
Thickening fruit fillings can help.
Allowing certain fillings to cool before assembly may also help.
The filling and crust need to work together.
Different pastry styles respond differently to moisture. The Science of Baking Made Simple for Beginners explains how ingredients and baking processes interact.
16. You Skipped Blind Baking When Needed
Some pies require blind baking.
This means partially or fully baking the crust before adding the filling.
Blind baking can help create a firm pastry base.
It is particularly useful for fillings that contain substantial moisture or require little baking.
Without blind baking, the crust may remain undercooked.
An undercooked crust may feel dense or chewy.
Follow the specific recipe because not every pie needs this technique.
Pie weights can help prevent the crust from puffing during blind baking.
17. You Used the Wrong Type of Flour
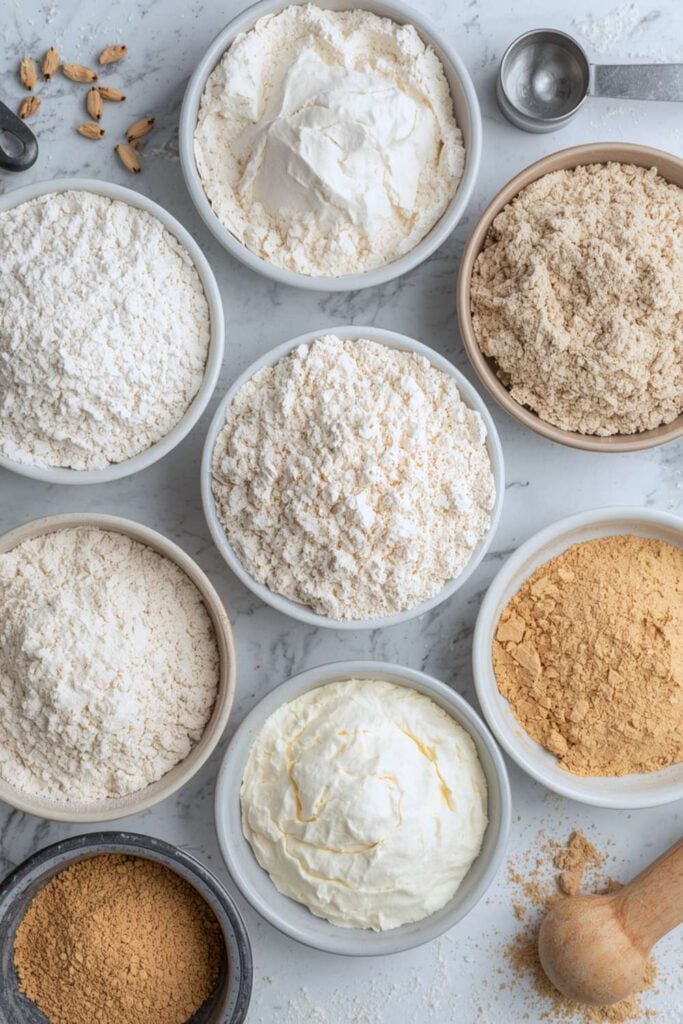
Flour protein affects gluten development.
Higher-protein flour generally produces stronger gluten.
That can be useful for bread.
A tender pie crust usually benefits from avoiding excessive gluten development.
All-purpose flour works well for many pie recipes.
Some bakers prefer pastry flour for especially tender results.
Do not switch flour varieties without considering how the change affects the recipe.
Different Different Types of Pastries also require different structural characteristics.
A flaky pie crust does not need the same strength as laminated dough or bread.
18. Your Dough Was Too Dry
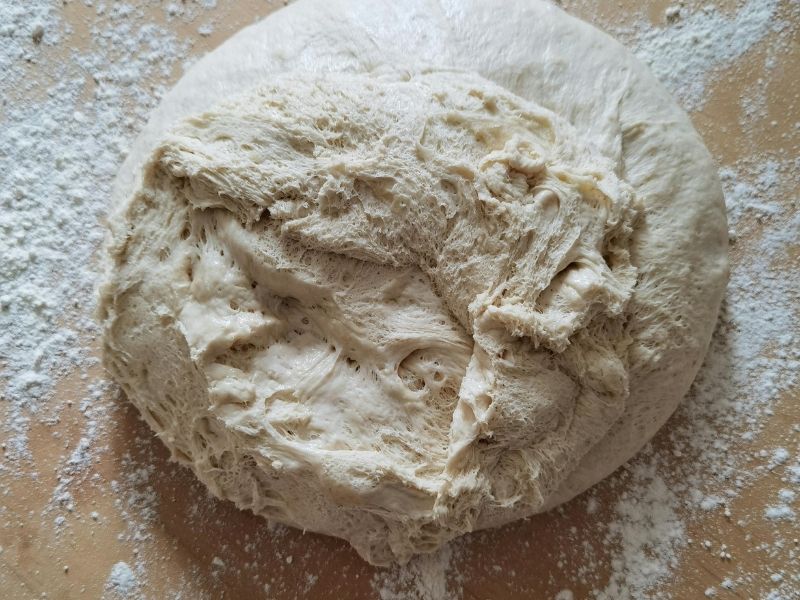
Dry dough can become difficult to roll and shape.
It may crack around the edges.
You may then compensate by pressing and handling it excessively.
That extra handling can contribute to toughness.
A dough should hold together without feeling wet.
If it appears excessively dry, add liquid gradually.
Do not pour in a large amount at once.
Small additions give you more control.
Remember that the dough may become easier to handle after resting.
19. You Used Too Much Liquid
The opposite problem can also occur.
Excess liquid can encourage gluten development.
It may also make the dough sticky.
You may then compensate by adding extra flour.
That creates another imbalance.
Add liquid gradually and stop once the dough comes together.
Different flour types absorb liquid differently.
Humidity can also influence how much liquid is needed.
This is another reason experienced bakers rely on dough texture rather than blindly following measurements.
20. Your Work Surface Was Too Warm
A warm countertop can soften butter quickly.
This becomes a problem during summer or in warm kitchens.
Stone, marble, and metal surfaces can behave differently from wooden or laminate counters.
The goal is to keep the pastry cool.
If the dough starts becoming shiny or greasy, stop rolling.
Place it in the refrigerator.
You can also chill your rolling pin.
Work in smaller batches if necessary.
A cooler workspace can make pastry preparation dramatically easier.
21. You Added Too Much Flour During Shaping
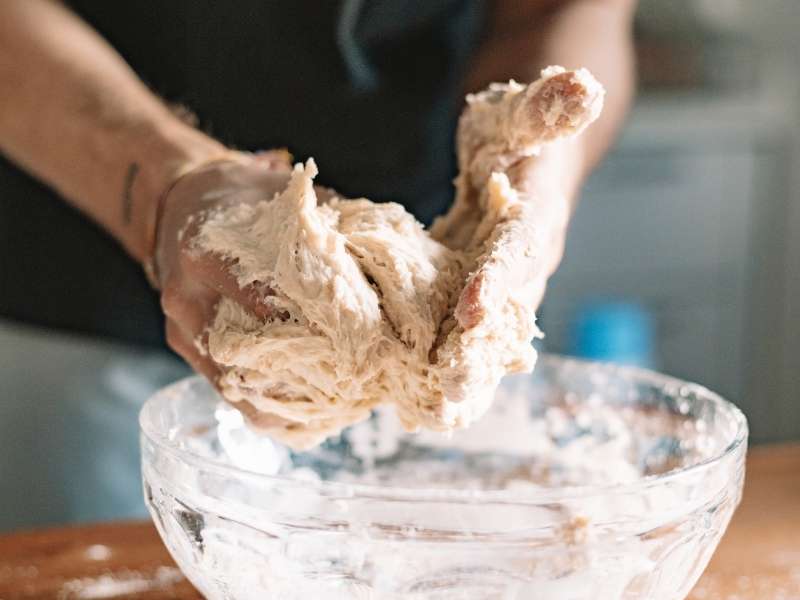
Flour is useful for preventing sticking.
However, every additional dusting can affect the final dough.
Instead of heavily flouring the surface, use a light coating.
Lift and rotate the dough regularly.
A pastry mat can also reduce sticking.
If your dough repeatedly sticks, temperature may be the underlying problem.
Chilling the dough often works better than continuously adding flour.
22. Your Dough Cracked During Rolling
Cracking does not automatically mean the dough is ruined.
Cold dough can crack when it is too firm.
Let it sit at room temperature briefly before continuing.
Do not immediately add water.
The dough may simply need to become slightly more flexible.
Press cracks together gently.
Continue rolling gradually.
If the edges repeatedly crack, the dough may be too dry.
Evaluate the texture before making any changes.
23. Your Crust Shrunk in the Oven
Shrinkage can result from several problems.
Overworking develops gluten.
Stretching the dough creates tension.
Skipping rest prevents the gluten from relaxing.
Not chilling the shaped crust can also contribute.
After placing the dough in the pan, avoid pulling it.
Let it sit naturally.
Trim the edges without stretching them.
Chill the prepared crust before baking.
These small adjustments can help the pastry maintain its original shape.
How to Rescue a Tough Pie Crust
Once a pie crust has already baked tough, there is not much you can do to reverse its texture.
However, you can improve the eating experience.
Serve the pie with whipped cream, ice cream, custard, or a soft fruit topping.
These additions can provide moisture and contrast.
For future pies, identify the cause rather than simply changing the entire recipe.
If the dough was overworked, reduce handling.
If the butter became warm, improve chilling.
If you added too much flour, change your rolling technique.
If the oven was too hot or cool, check its actual temperature.
Troubleshooting works best when you change one variable at a time.
How to Make a Tender Pie Crust
Start with cold ingredients.
Measure flour accurately.
Use the correct amount of fat.
Add liquid gradually.
Mix only until the dough comes together.
Avoid kneading.
Chill the dough.
Roll it gently.
Use minimal flour during shaping.
Avoid stretching the dough into the pan.
Chill the shaped crust before baking.
Bake in a properly preheated oven.
These steps create the foundation for a tender crust.
The same principle applies across many forms of pastry: handling, temperature, ingredient ratios, and baking conditions all influence texture.
Why Different Types of Pastries Behave Differently
Understanding Different Types of Pastries can make troubleshooting easier.
Shortcrust pastry aims for tenderness and a crumbly or flaky texture.
Puff pastry relies on clearly separated butter and dough layers.
Filo pastry depends on extremely thin sheets.
Choux pastry relies heavily on steam and structure.
Danish pastry combines yeast fermentation with lamination.
Each pastry requires different handling.
A technique that works for bread may damage pie dough.
A technique that creates excellent puff pastry may not apply to shortcrust.
Understanding the purpose of each dough helps you know when to mix, fold, chill, or roll.
How to Read Your Dough Before Baking
Experienced bakers often use visual and tactile clues.
The dough should hold together without becoming sticky.
Butter should remain visible in appropriate pastry recipes.
Edges should not feel excessively dry.
The dough should roll without requiring extreme pressure.
These observations can reveal problems before the pastry reaches the oven.
Do not focus exclusively on the recipe timer.
Pay attention to the actual dough.
For beginners, The Most Common Beginner Baking Questions Answered can help clarify many confusing baking situations.
The Importance of Proper Baking Equipment
The right equipment can make pastry preparation easier.
A kitchen scale improves accuracy.
A rolling pin helps create even thickness.
A bench scraper makes portioning easier.
A pastry brush handles egg wash.
A pie plate affects heat distribution.
An oven thermometer checks actual temperature.
You do not need dozens of expensive gadgets.
A few reliable tools can make a significant difference.
If you are building your baking collection, Essential Baking Tools Every Home Baker Needs (with budget options) explains which basic equipment deserves priority.
Practice Makes Pie Crust Easier
Pie dough becomes easier with repetition.
Your first crust may not look perfect.
The edges may crack.
The dough may feel slightly too dry.
The finished crust may not have the texture you wanted.
Each attempt teaches you something.
Write down what happened.
Record the flour quantity.
Note how much water you used.
Pay attention to the butter temperature.
Record the oven temperature.
After several attempts, patterns become easier to recognize.
That knowledge is more valuable than simply memorizing a recipe.
Final Tips for Better Pie Crust
Keep ingredients cold when the recipe requires it.
Measure flour carefully.
Avoid excessive liquid.
Handle the dough gently.
Do not knead pie dough.
Use minimal flour during rolling.
Chill the dough before shaping and baking.
Never stretch the dough into the pan.
Use an accurate oven temperature.
Avoid excessive baking time.
Allow the finished pie to cool according to the recipe.
These habits can dramatically improve your results.
If you want additional practical techniques, Baking Tips That Instantly Improve Your Results offers more ways to improve consistency.
Bake it at the correct temperature.