19 Cake Decorating Ideas for Beginners
Disclosure: Some of the links in this post are affiliate links. This means if you click on the link and purchase an item, I will receive an affiliate commission at no extra cost to you.
Cake decorating can feel intimidating when you see elaborate designs covered with delicate piping, smooth buttercream, and detailed decorations. However, beginners can create beautiful cakes with simple techniques and the right approach. You do not need expensive equipment or advanced skills to make your first decorated cake look polished.
Start by learning basic frosting techniques, simple piping patterns, and easy ways to add texture. A few dependable tools can also make decorating much easier, so reviewing Essential Baking Tools Every Home Baker Needs (with budget options) can help you prepare before decorating.
These 19 cake decorating ideas give beginners practical ways to transform ordinary cakes into attractive desserts. You can experiment with buttercream swirls, piped borders, fresh fruit, chocolate details, sprinkles, and minimalist designs. Each idea requires manageable techniques, making them suitable for birthdays, celebrations, holidays, or casual weekend baking.
Cake Decorating Ideas for Beginners
Decorating a cake does not require professional-level skills. With a few basic techniques, you can turn a simple homemade cake into something beautiful, personal, and celebration-ready.
The key involves choosing designs that match your current skill level. Simple piping, smooth frosting, chocolate decorations, fresh fruit, and sprinkles can create impressive results without complicated equipment.
Before decorating, make sure your cake has cooled completely. You can also review How to Know When Your Cake Is Properly Baked to avoid decorating a cake that still feels warm inside.
Now, let’s explore 19 beginner-friendly ideas you can practice at home.
19 Cake Decorating Ideas for Beginners
1. Simple Buttercream Swirls
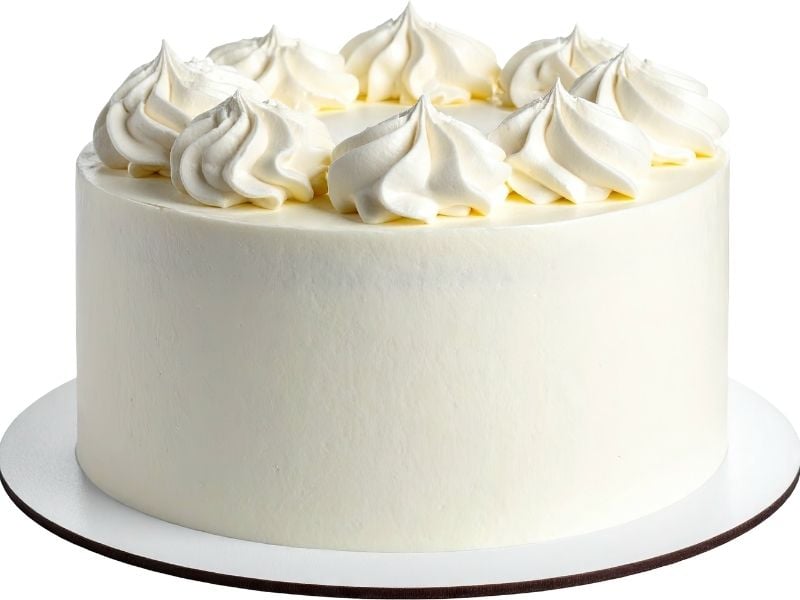
Buttercream swirls create an elegant finish with very little effort. You only need frosting, a piping bag, and a star-shaped piping tip.
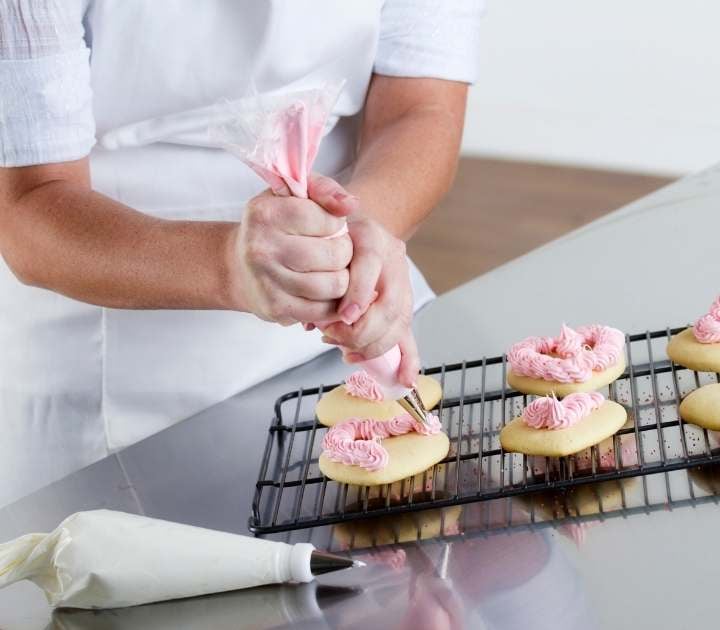
Fill your piping bag with buttercream and hold it directly above the cake. Squeeze gently while moving your hand in a small circular motion.
Continue around the cake until you create evenly spaced swirls.
You can place the swirls around the entire surface or concentrate them around the edges. Add small sprinkles afterward for extra detail.
Keep your pressure consistent as you pipe. Consistency helps each swirl look similar.
For beginners, a simple vanilla buttercream provides an excellent starting point.
Read this: Cute Baking Supplies You Didn’t Know You Needed
2. Smooth Buttercream Finish
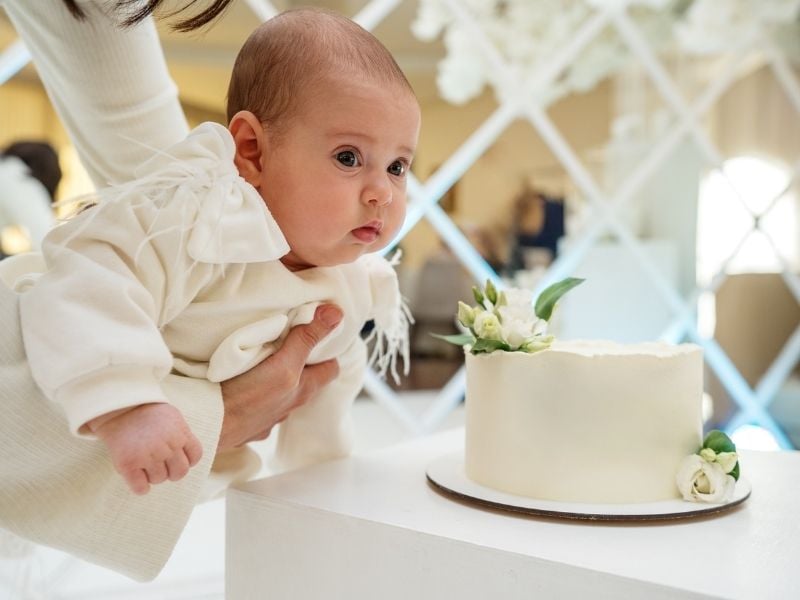
A smooth buttercream cake creates a clean and polished appearance. This design works particularly well for birthdays, anniversaries, and elegant celebrations.
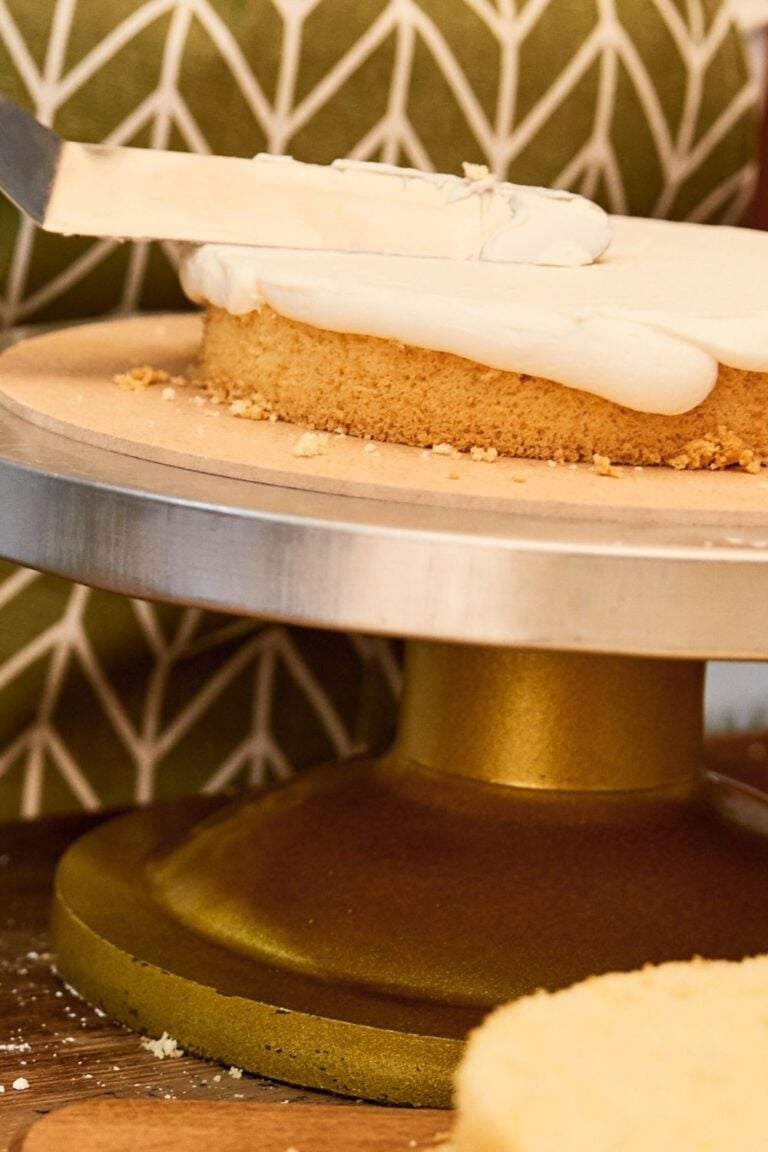
Begin by applying a generous layer of buttercream around the cake. Use an offset spatula to spread the frosting across the surface.
Next, use a cake scraper to smooth the sides. Rotate the cake slowly while holding the scraper against the frosting.
Do not worry about achieving perfection immediately. Several gentle passes usually produce a cleaner surface than aggressive scraping.
Finish the top with small decorative details around the edge.
You can leave the cake completely plain for a minimalist appearance or add a simple message in the center.
3. Rosette Cake
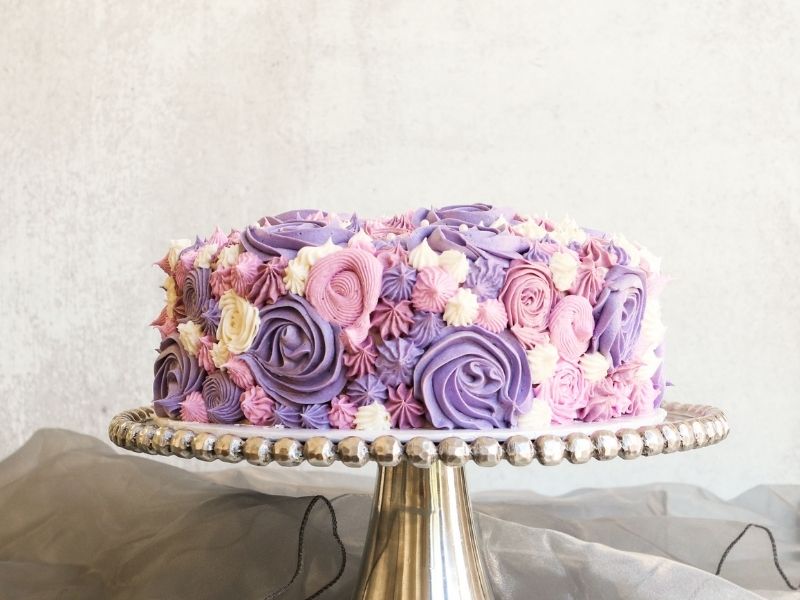
Rosettes create a romantic appearance without requiring complicated piping skills.
Use a star piping tip and begin at the outer edge of each flower. Pipe in a circular motion while gradually moving toward the center.
Release pressure before pulling the piping bag away.
Place the rosettes close together to cover the entire cake. Alternatively, create a cluster on one side for a modern asymmetrical design.
Use one frosting color for a classic appearance. You can also combine two shades for a soft gradient.
Rosettes work beautifully on birthday cakes, bridal showers, and Mother’s Day desserts.
Check this guide: Baking Measurements Conversion chart (Cups, Grams, Ounces Explained)
4. Naked Cake Design
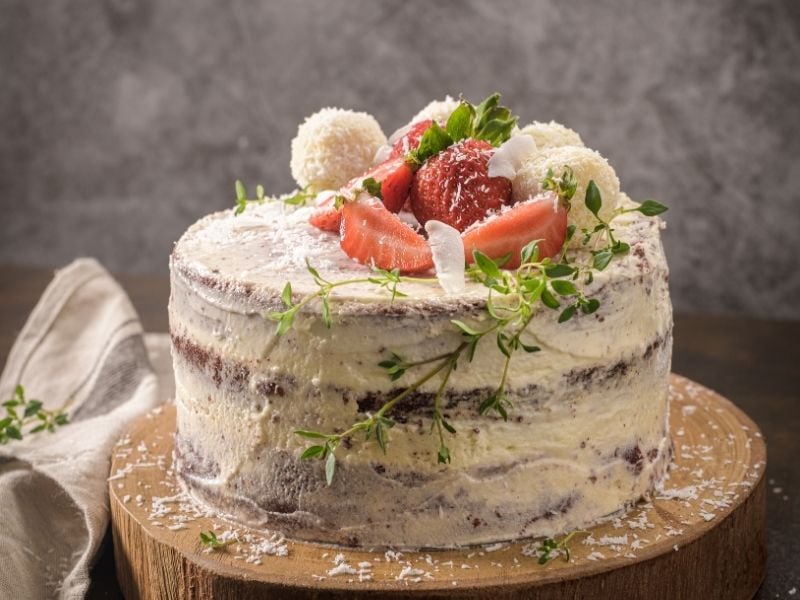
A naked cake uses minimal frosting, allowing some of the cake layers to remain visible.
Start by placing one cake layer on your serving board. Add a thin layer of buttercream before placing another layer on top.
Continue until you finish stacking the cake.
Apply a very thin coat of frosting around the outside. Use your scraper to create a rustic appearance.
Add fresh berries, edible flowers, or a light dusting of powdered sugar.
This style works especially well when your cake layers have attractive colors or fillings.
The design also reduces the pressure of achieving perfectly smooth buttercream.
Open this next: Aesthetic Baking Setup Ideas For Beginners
5. Sprinkle Border
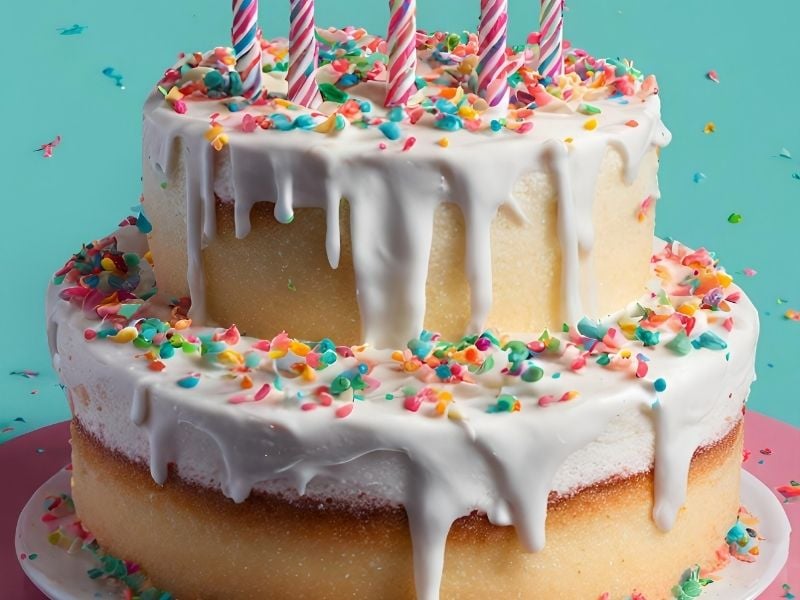
Sprinkles provide one of the easiest ways to decorate a cake.
First, frost the cake with a smooth or textured buttercream layer. Then gently press sprinkles around the bottom edge.
You can create a narrow border or cover a larger section for a playful effect.
Match your sprinkle colors to the celebration. Pastel sprinkles work beautifully for baby showers, while bright colors suit children’s birthdays.
Metallic sprinkles can create a more sophisticated finish.
Keep a baking tray underneath the cake while decorating. The tray catches loose sprinkles and makes cleanup easier.
See this: What You Need to Start Selling Cakes From Home
6. Chocolate Drip Cake
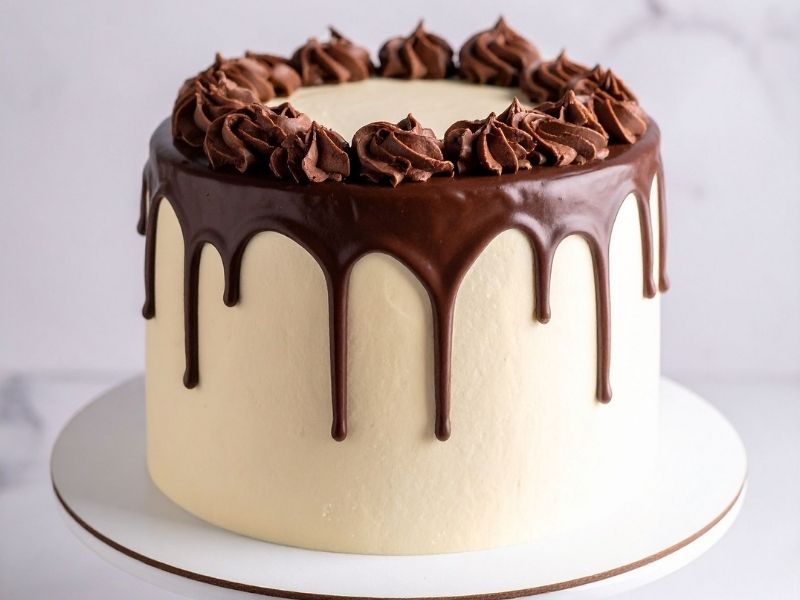
Chocolate drips instantly make a cake look more elaborate.
Prepare a chocolate ganache with a consistency that flows slowly. If the ganache feels too hot, allow it to cool before applying it.
Spread a thin layer across the cake top. Then use a spoon or piping bag to create individual drips along the edge.
Control the amount of pressure carefully. Too much ganache can create long, messy drips.
Once the border looks consistent, cover the top with additional ganache.
Finish with chocolate curls, berries, cookies, or small buttercream decorations.
Dark chocolate creates a dramatic appearance, while white chocolate offers a softer look.
Come back to this: The Different Types of Sugar Used in Baking Explained
7. Fresh Fruit Decoration
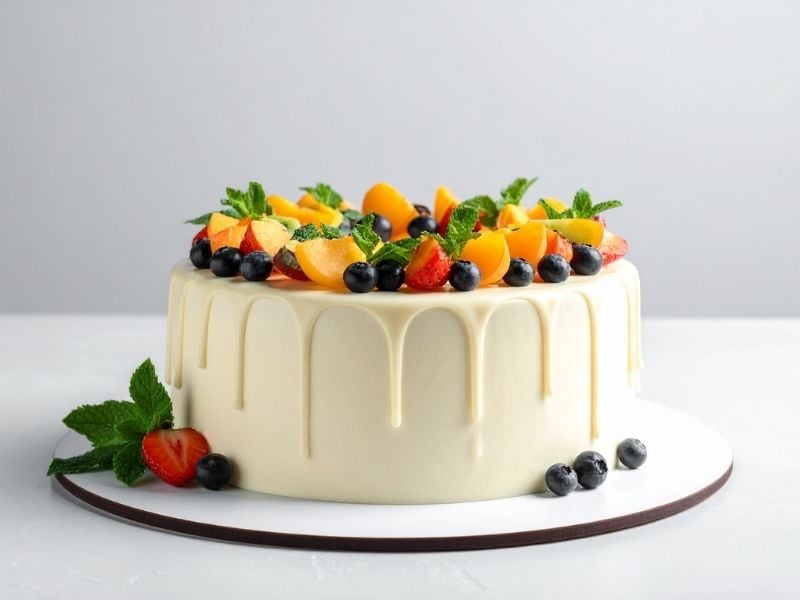
Fresh fruit gives cakes natural color and texture.
Strawberries, blueberries, raspberries, blackberries, kiwi, peaches, and grapes can all create attractive designs.
Arrange the fruit around the top edge or create a central cluster.
Dry the fruit thoroughly before placing it on buttercream. Excess moisture can affect the frosting.
Slice larger fruits into consistent pieces for a cleaner presentation.
For an elegant cake, combine berries with a few small edible flowers.
Keep fruit refrigerated until you decorate the cake. Add it shortly before serving for the freshest appearance.
See this guide: 17 Pie Baking Mistakes That Ruin Perfect Crusts
8. Piped Shell Border
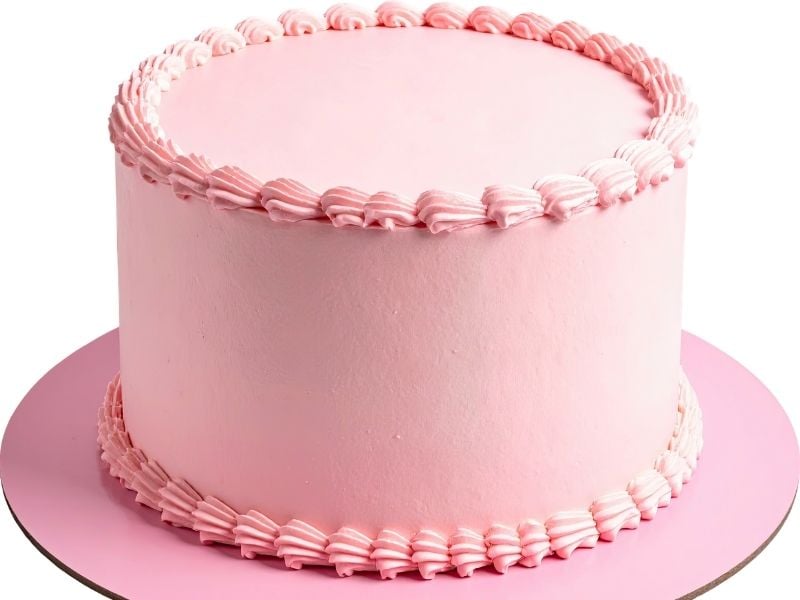
A shell border gives a cake a traditional bakery-style finish.
Use a star piping tip and hold the bag at approximately a 45-degree angle.
Squeeze firmly, then stop pressure while pulling the tip slightly forward.
Repeat the movement around the cake.
Try practicing the technique on parchment paper first. This allows you to understand the required pressure before working directly on your cake.
A single shell border around the bottom edge can make a simple cake look finished.
You can also add another border around the top edge.
Check this out: Beginner’s Guide to Baking Bread at Home
9. Two-Tone Buttercream
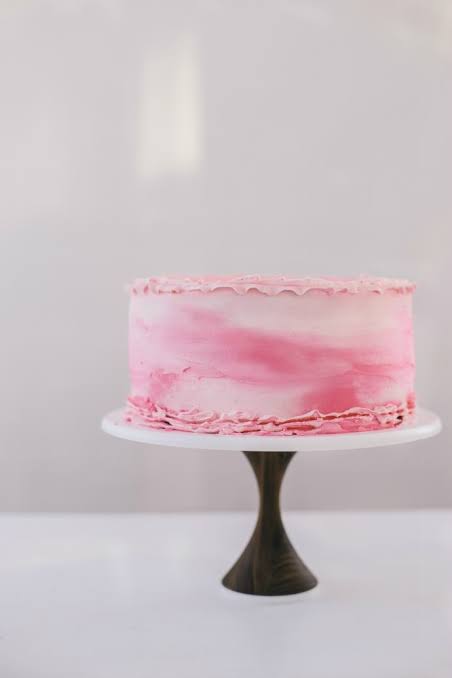
Two-tone buttercream creates visual interest without requiring advanced decorating skills.
Choose two colors that complement each other. Place both colors inside one piping bag fitted with a suitable tip.
As you pipe, both shades emerge together.
Pastel combinations create a soft appearance. Stronger colors create a bold celebration cake.
You can also use two shades of the same color for a subtle gradient.
Avoid choosing too many contrasting colors at first. Two shades provide enough visual interest while keeping the design cohesive.
10. Textured Buttercream
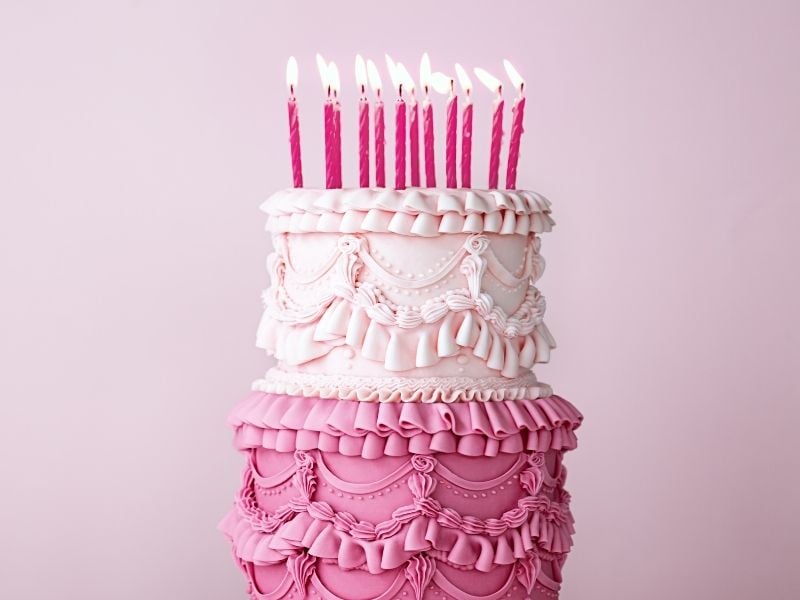
Textured frosting offers an excellent solution when smooth buttercream feels difficult.
Apply a generous layer of frosting around the cake. Then drag an offset spatula through the buttercream to create lines.
Move vertically for a striped appearance. Move horizontally for a layered texture.
You can also use a small spoon to create gentle waves.
The beauty of textured buttercream comes from its relaxed appearance. Small imperfections can actually make the cake look intentionally rustic.
Finish with berries, sprinkles, or a simple piped border.
11. Simple Floral Cake
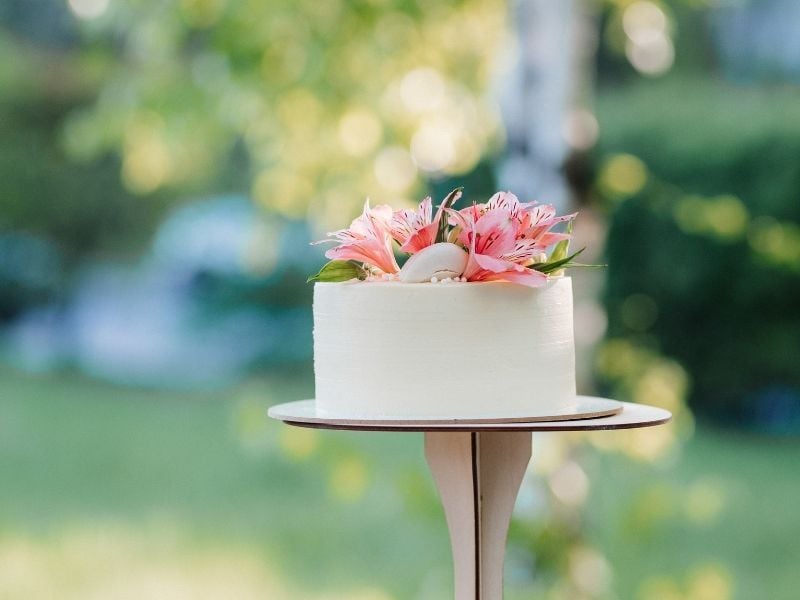
Flowers can transform an ordinary cake into an elegant centerpiece.
Beginners can create simple buttercream flowers using basic piping tips. Small five-petal flowers provide an easy starting point.
Pipe several flowers around the top edge. Add small dots of contrasting frosting to create flower centers.
You can use different shades of one color to create depth.
For a faster option, use edible flowers after confirming that they work safely with food.
Keep floral decorations balanced. Too many flowers can make the cake look crowded.
A small cluster often creates a more sophisticated result.
12. Cookie-Topped Cake
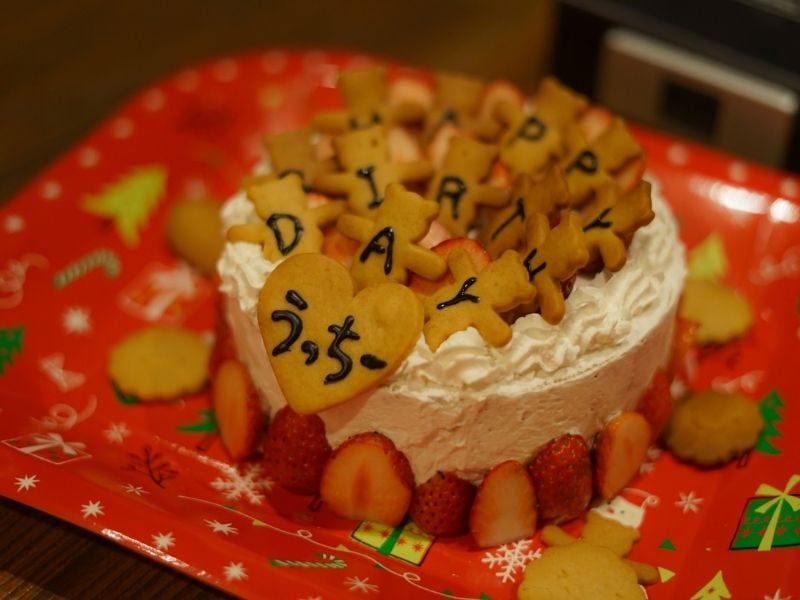
Cookies can become beautiful cake decorations.
Place chocolate chip cookies, sandwich cookies, shortbread, or decorated sugar cookies around the cake.
You can arrange them vertically along the sides or place them across the top.
Break a few cookies into smaller pieces and sprinkle the crumbs around the base.
This approach works particularly well for children’s birthdays and casual celebrations.
Match the cookie flavor with the cake for a cohesive dessert. Chocolate cookies pair naturally with chocolate or vanilla cake.
For more cookie inspiration, explore 19 Easy Ways to Make Bakery-Style Cookies at Home.
13. Powdered Sugar Finish
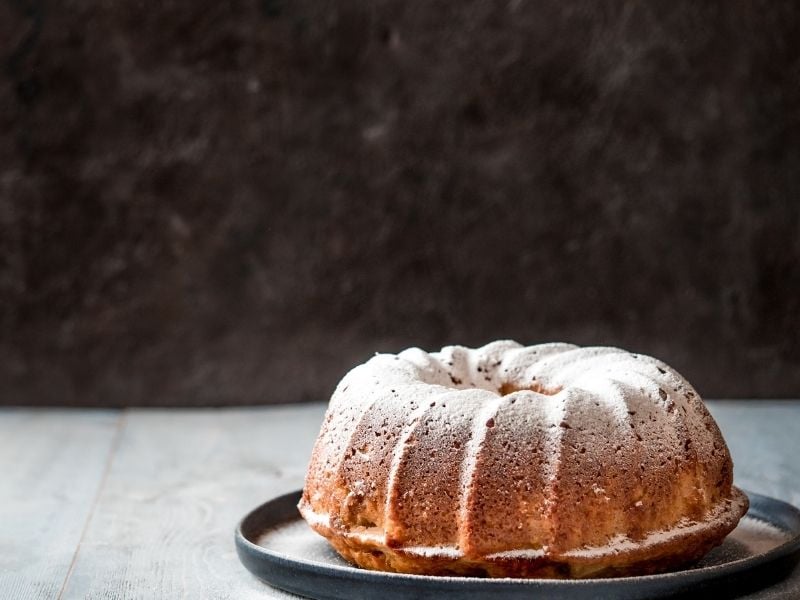
Powdered sugar creates an understated finish that works beautifully on simple cakes.
Place a stencil over the cooled cake. Sprinkle powdered sugar gently across the surface.
Remove the stencil carefully to reveal your design.
You can create hearts, stars, flowers, geometric patterns, or simple lettering.
This technique works especially well with chocolate cakes because the white sugar creates strong contrast.
For a rustic cake, skip the stencil and dust powdered sugar lightly across the entire surface.
Serve the cake soon after decorating because moisture can gradually dissolve the sugar.
14. Candy Cake
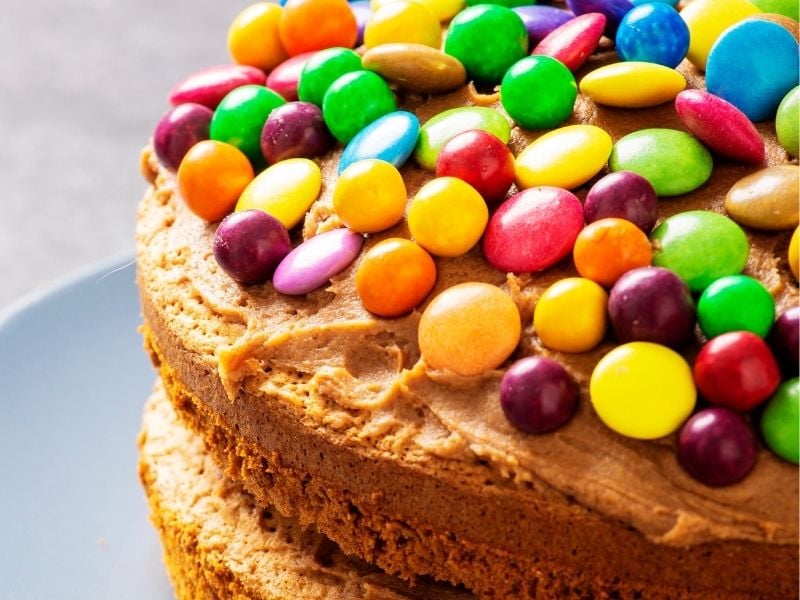
Candy creates a colorful and playful decorating option.
Choose candies that complement the cake flavor and celebration theme. Chocolate pieces, gummy sweets, candy-coated chocolates, and small caramels can all work.
Cover the cake with buttercream first. Then arrange the candy around the top.
Create a single candy border for a restrained design. Alternatively, cover the entire top for a dramatic celebration cake.
Keep candy pieces secure by pressing them gently into the frosting.
Avoid placing extremely heavy candy pieces on soft frosting because they can slide downward.
15. Dragee or Pearl Border
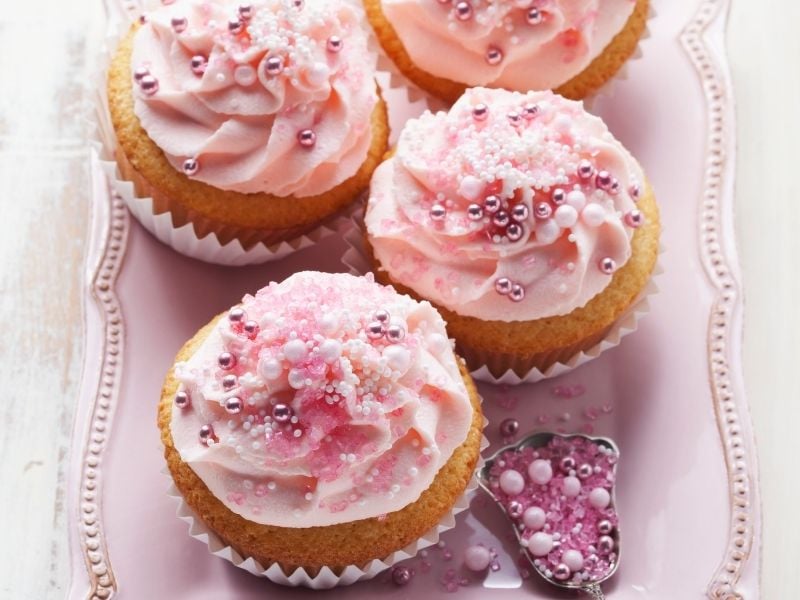
Decorative sugar pearls can create an elegant cake without complicated piping.
Apply small dots of buttercream around the cake edge. Press each pearl gently into the frosting.
Create one continuous border or arrange several rows.
White pearls work beautifully on wedding cakes. Gold or silver decorations can create a festive appearance.
Choose decorations that suit the cake’s overall style.
A simple white cake with a single pearl border can look remarkably polished.
16. Simple Cake Lettering
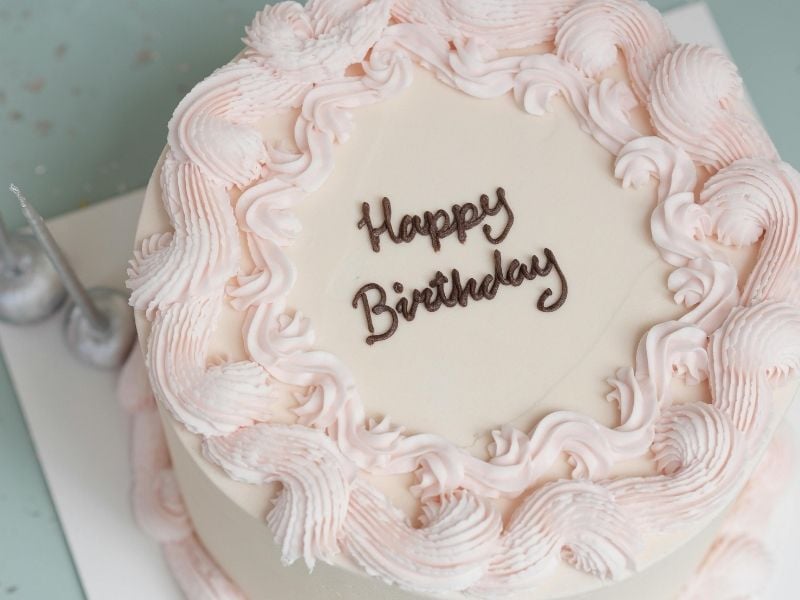
Adding a short message personalizes your cake instantly.
Use a piping bag fitted with a small round tip. Practice writing on parchment before working on the cake.
Keep your message short. Words such as “Happy Birthday,” “Congrats,” or “Love You” require less space.
Chill the cake before piping. Cold frosting provides a firmer surface for lettering.
Use contrasting frosting so the message remains easy to read.
If your first attempt looks uneven, cover the lettering with sprinkles or small decorations and try again.
Practice improves your control quickly.
17. Ombre Cake
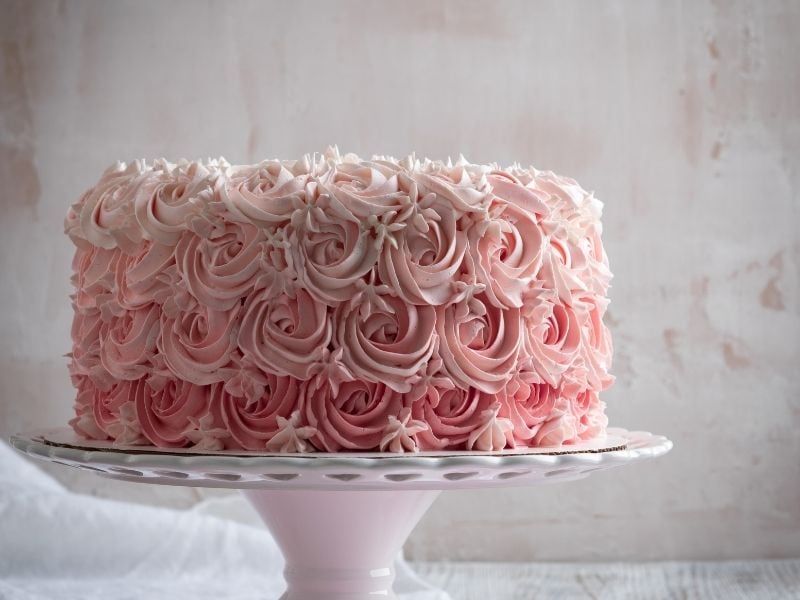
An ombre cake gradually transitions from one shade to another.
Choose three frosting shades from the same color family. Start with the darkest shade near the bottom.
Apply the middle color above it, followed by the lightest shade near the top.
Use a scraper to blend the transitions gently.
Do not overwork the frosting because excessive scraping can remove too much color.
Pink, blue, lavender, peach, and green all work beautifully for this technique.
Add simple white piping along the top edge for a finished appearance.
18. Rustic Cake Decorating
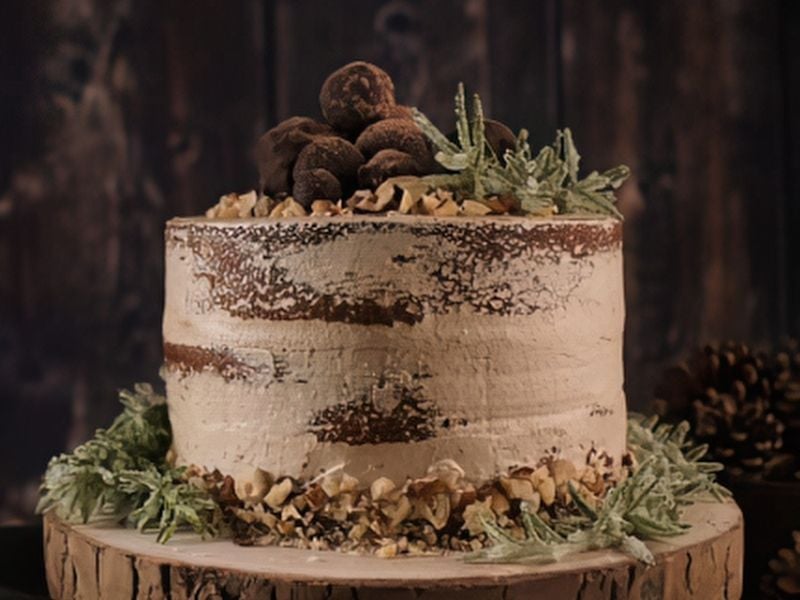
Rustic decoration allows you to embrace texture instead of chasing perfection.
Apply buttercream with an offset spatula and leave visible strokes across the sides.
Add fresh berries, small flowers, chopped nuts, or chocolate pieces.
You can also create rough peaks around the top edge.
This style works particularly well for homemade cakes because the design feels warm and relaxed.
Choose natural colors for a softer appearance.
A rustic cake can look beautiful even when your piping skills remain basic.
19. Simple Chocolate Shards
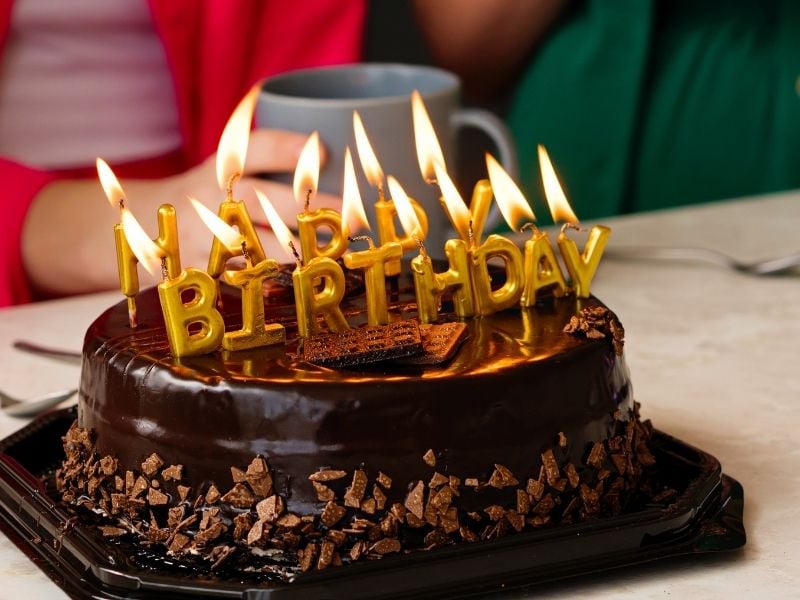
Chocolate shards create height and drama with minimal decorating experience.
Melt chocolate carefully and spread it thinly across parchment paper.
Allow it to set until firm but still slightly flexible. Break the chocolate into irregular pieces.
Insert the shards into the top of your frosted cake.
Arrange pieces at different heights to create dimension.
You can use dark, milk, or white chocolate. Add chopped nuts, sprinkles, or edible glitter before the chocolate sets.
Keep the shards relatively lightweight so they do not damage the frosting.
How to Make Beginner Cake Decorating Easier
Good preparation can make decorating much less stressful.
Start with a completely cooled cake. Warm cake layers can soften buttercream and make stacking difficult.
Trim uneven tops before decorating. A level cake creates a stronger foundation for your design.
Use a turntable when possible. Rotating the cake while you frost helps you maintain consistent pressure.
Keep your frosting at the right consistency. Extremely soft buttercream can slide, while overly firm frosting can become difficult to spread.
Prepare all decorations before you begin. Place sprinkles, piping bags, fruit, chocolate, and other elements within easy reach.
You can also review Baking Terms Explained (Fold, Cream, Knead & More For Beginners) if unfamiliar baking terminology makes tutorials confusing.
Choosing the Right Frosting
Buttercream remains one of the easiest frostings for beginners.
American buttercream offers a simple method and works well for piping. Swiss meringue buttercream provides a smoother, less sweet result but requires additional technique.
Cream cheese frosting works beautifully with carrot, red velvet, and spice cakes. However, it tends to soften more quickly than traditional buttercream.
Whipped cream creates a light finish but requires careful refrigeration.
Choose your frosting according to the design you want to create.
For smooth cakes, use a frosting that holds its structure. For rustic designs, a softer frosting may work perfectly.
Essential Decorating Tools
You do not need an enormous collection of equipment.
Start with an offset spatula, cake scraper, piping bags, piping tips, turntable, and cake board.
A small round piping tip helps with lettering and details. A star tip works well for rosettes, shells, and swirls.
A bench scraper helps create smooth sides.
Parchment paper also comes in handy for practicing piping techniques.
Store your decorating supplies together so you can find them quickly before each baking project. Baking Station Organisation Ideas That Will Transform Your Kitchen can provide useful organization inspiration.
Cake Decorating Tips for First-Timers
Start with one technique instead of combining several complicated ideas.
For example, create a smooth buttercream cake and add one simple border. Once you feel comfortable, introduce piping, sprinkles, or fresh fruit.
Practice piping before touching the cake. A few minutes of practice can improve your pressure control.
Keep your movements slow and deliberate. Fast movements often create uneven shapes.
Use chilled cake layers when possible. Firmer layers tend to handle frosting more easily.
Do not compare your first cake with professional bakery creations. Professional decorators develop their skills through repeated practice.
Instead, focus on making each cake slightly better than your previous attempt.
For additional guidance, Easy Baking Skills Every Home Baker Should Master First can help strengthen your overall baking foundation.
Final Thoughts
These 19 cake decorating ideas prove that beautiful cakes do not require complicated techniques.
Start with simple swirls, textured buttercream, sprinkle borders, or fresh fruit. Once those techniques feel comfortable, experiment with rosettes, ombre frosting, chocolate drips, and decorative shards.
Keep your designs balanced and avoid adding decorations simply to fill empty space. Sometimes one beautiful detail creates a stronger result than ten competing elements.
Most importantly, give yourself permission to practice. Every decorated cake teaches you something about frosting consistency, piping pressure, color combinations, and presentation.
With patience and regular practice, even a beginner can create cakes that look polished, creative, and worthy of any celebration.